We’ve noticed a steady increase in installation requests from large national design agencies. Installing for national accounts has become a consistent addition to the number of spot graphics and wraps we do monthly.
A recent installation we completed made me think about some things that need to be considered when quoting projects for outside companies. Many of these considerations are for when you’re handling the project from start to finish, but there are a few extra things to consider when the graphics are shipped to you instead.
I will use this recent job to break down the project from an installation standpoint. The company that hired us created an excellent design that looks fantastic on the oversized vehicle we wrapped. I quoted this installation based on photos and proofs sent to us, but there were a few things that I missed that made a big difference in the overall time it took us to complete the installation.
Design
When designing a wrap, I spend time photographing the vehicle, taking measurements, looking at the condition of the paint, checking out obstacles, and planning the artwork around those obstacles. When we’re sent the graphics for a job, this entire part of the process is skipped.
When quoting the job, we relied on a template proof, which made it difficult to determine size and obstacles.
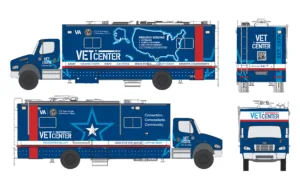
We’re relying on the company’s emailed and printed proofs showing how the graphics should fit the vehicle. Usually, these proofs are designed on a vehicle template, so we’re not seeing the vehicle itself. In a few cases, the actual vehicle is brought by for inspection before installation, but we usually get a year, make, model, and the type of material being shipped to us.
Since you’re relying on the agency hiring you to have done due diligence on the vehicle’s condition, you have to focus on the design itself and how they expect it to fit the vehicle. Consider straight lines or lines of text, especially if they go over obstacles. Look closely at complex installs with busy patterns that have to align; designs that have to align from side to back or front or designs with text that has to fit in tight spaces.
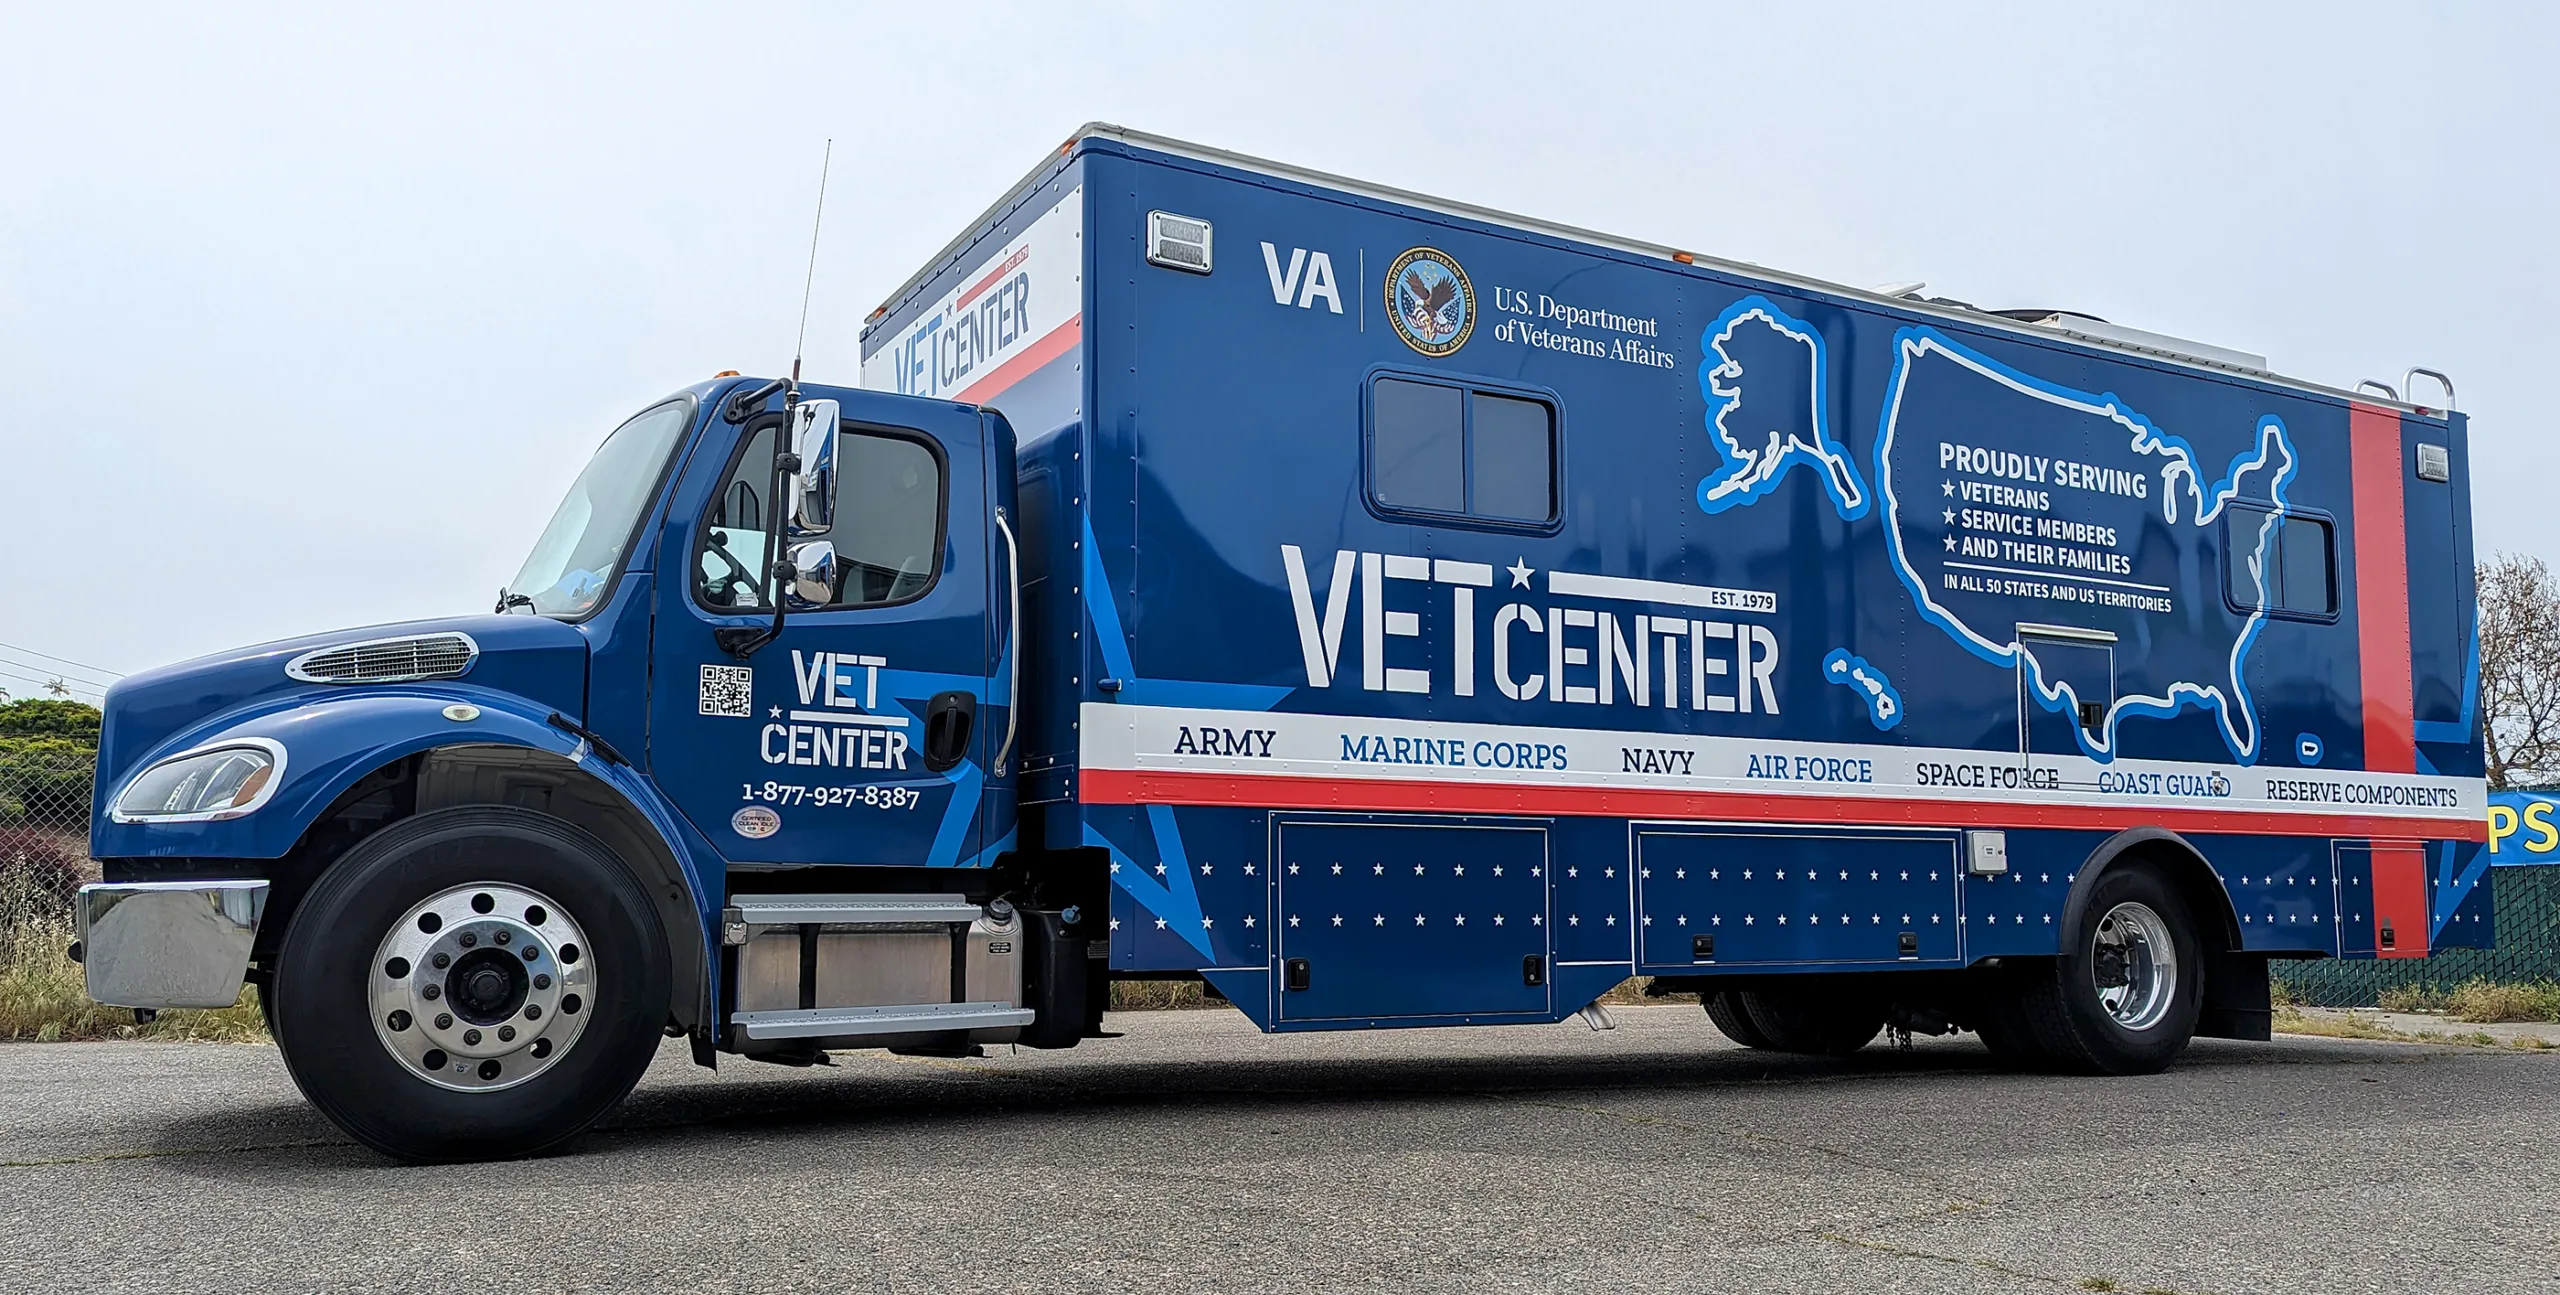
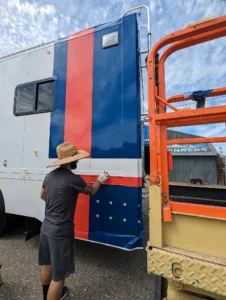
The Veterans Center truck wrap discussed here had straight stripes that ran down the sides, connecting to the back of the vehicle. The stripes also had to run along a body line on the truck. It made for a striking design but a trickier install because we had to make sure both sides were installed at just the right height to connect to the back. Vertical lines also had to stay perfectly straight.
Size
Removing old graphics, cleaning off old caulk and chalky paint, removing parts, and detail cleaning around obstacles are all necessary prior to installation, but the time spent must be accounted for. We wrap a lot of large vehicles, so size isn’t necessarily a factor in how difficult an installation is, but it does affect how long it takes to wrap. A bigger size means more coverage and more vinyl to install. A larger vehicle may also require ladders, scaffolding, or scissor lifts, which adds to the time involved in setting up and climbing up and down. Consider the time to set up for an installation and factor it into your estimate.
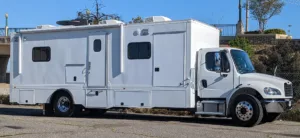
Looking at the proofs of the Veterans Center truck wrap, I realized it was a large truck. However, because I didn’t design the wrap or see the vehicle in person ahead of time, I didn’t have a clear picture of how large it was.
Another huge factor in how long it took us to wrap this truck was the height of it. We can fit a 12′ 6″ or shorter vehicle through our roll-up door. And since we can fit an entire city bus in our back shop, we usually get most vehicles into the shop easily.
I couldn’t tell from the photos, and didn’t think to ask, what obstacles were on top of the truck. Without the A/C unit and satellite dish on top of the vehicle, it would have fit into our shop with no problems, but with them it was about 8″ too tall to bring inside.
Weather, obstacles, and the overall size of the vehicle all contributed to the actual time spent installing.This meant that the entire multi-day installation was completed outside. Fortunately, it wasn’t summer yet, but the weather greatly affected the installation. The wind picked up in the afternoon for two days, lifting and blowing around panels as we tried to tape them up and install them. We also had problems with the sun heating one side as we were applying, which slowed the installation.
We could fit the vehicle’s front end in the shop, so when it was time to wrap the front we did move it. But because the vehicle had to be left outside in general, each day we had to park it where our outside cameras could monitor it, and then in the morning it would have to be moved again to be convenient for installation. It wasn’t a big deal, but each day the truck had to be moved around at least twice—another small thing that added time to the installation.
Prep

For every installation, you have to consider the prep that goes into the project to ensure you’re covering all your time. This is an easy step to skip when planning your install, but it can significantly affect your profits.
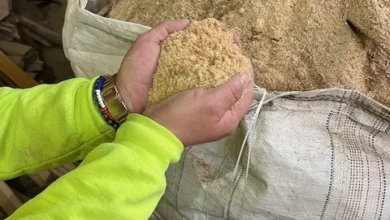
For this Veterans Center truck, we had to first remove old spot graphics before we could clean and prep the truck. During the removal, we noticed the truck had a chalky finish to the paint, which often happens on older vehicles. We’ve found the best way to remove this is to fill a bucket with warm water and orange cleaner. Using a window squeegee, we brush on the soapy solution and squeegee it off, then we wipe the vehicle down with a dry towel. The chalky finish washes off quickly this way. An alcohol wipe-down follows this whole process.
Stripes, obstacles, and the need to align from one side of the vehicle to the other made this installation a bit trickier than anticipated. Another thing to consider when preparing for an installation is the time it takes to roll and label graphics that are sent to you. Usually, the graphics arrive in one or more boxes with all the graphics rolled onto one tube. These big rolls have to be laid out and re-rolled into the individual panels.
Each rolled panel must be clearly marked using the provided proofs and, hopefully, labeling on the vinyl. We also note on the proof where the panels fall and how we labeled them to keep the process as clear as possible.
Some companies provide the spot graphics already cut down to individual pieces, but often we receive them all nested together on a big sheet. We have to cut them out, label them, and sort them by the side of the vehicle to keep it all clear.
Obstacles
We remove as many obstacles as possible on commercial wraps to speed up installation. Depending on the number of parts removed, we get a box for each side or for the whole truck to keep all the parts and hardware together.
Stripes, obstacles, and the need to align from one side of the vehicle to the other made this installation a bit trickier than anticipated. For this Veterans Center truck, we were able to remove many parts on the cab of the truck easily, which not only made installation faster but also improved the finish of the final install. On the back of the truck was a ladder that we knew we couldn’t remove, but there were support bars in the middle of the ladder that should have come off so we could wrap behind the ladder in one large panel.
Unfortunately, there were stripped screws in some of these bars, and we couldn’t remove them. This increased the number of panels we had to do behind the ladder and made the installation take longer. The removal—or lack of removal—of obstacles can be challenging to figure out ahead of time, but time should still be budgeted for this step in the vehicle prep process.
Obstacles will also increase the time spent trimming. Properly trimming around doors, handles, hinges, awnings, lights, and other parts adds a lot of time to the installation process. This is also a part of the process that can set a poor installation apart from an excellent one. It also directly affects the durability of the installation.