I heard Justin Pate once say, “Gravity is your friend.” Installation of wall graphics starts from the top down. Once the first panel is positioned, use the masking tape to establish a temporary hinge point, roughly 10″ down from the top. Apply the tape on the edges at the hinge to secure the panel in place. I have found that applying the tape at a 45-degree angle, pointed upwards, reduces the stress on the tape and reduces shifting. If you have a long wall with many panels, you want to have the first panel lined up exceptionally well, and not have it move when taped in place.
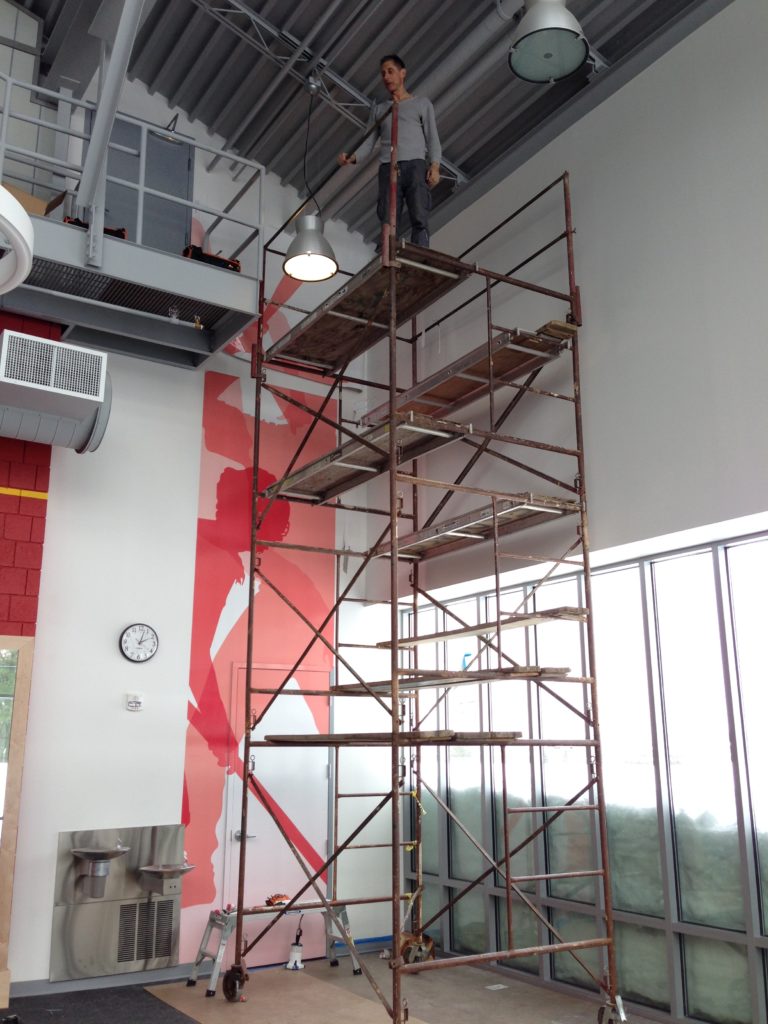
From here, the top of the panel may be curled down, and a liner cutter may be used to expose roughly 6″ of the top of the panel. This point will establish your permanent hinge. From here, remove the 6″ tall section of liner, swing the film back against the wall, and squeegee from the bottom of the exposed adhesive up to the top. Trim off bleed from the top before proceeding. I am a fan of getting all work done at a specific elevation and then moving on. There’s no sense in moving your ladder or scaffold unnecessarily back to the same position.
Once the top section is completed, the panel may be slightly pulled away from the wall to reveal the top of the remaining liner. Pull the liner down roughly 2′, leaving a slight curl that assists in keeping the unapplied film away from the wall. Many wall films have a slideable adhesive, and you want to avoid adhesive pre-tack. With the liner holding the film from the wall, squeegee from the center out, with stroke widths approximately half the width of your squeegee.
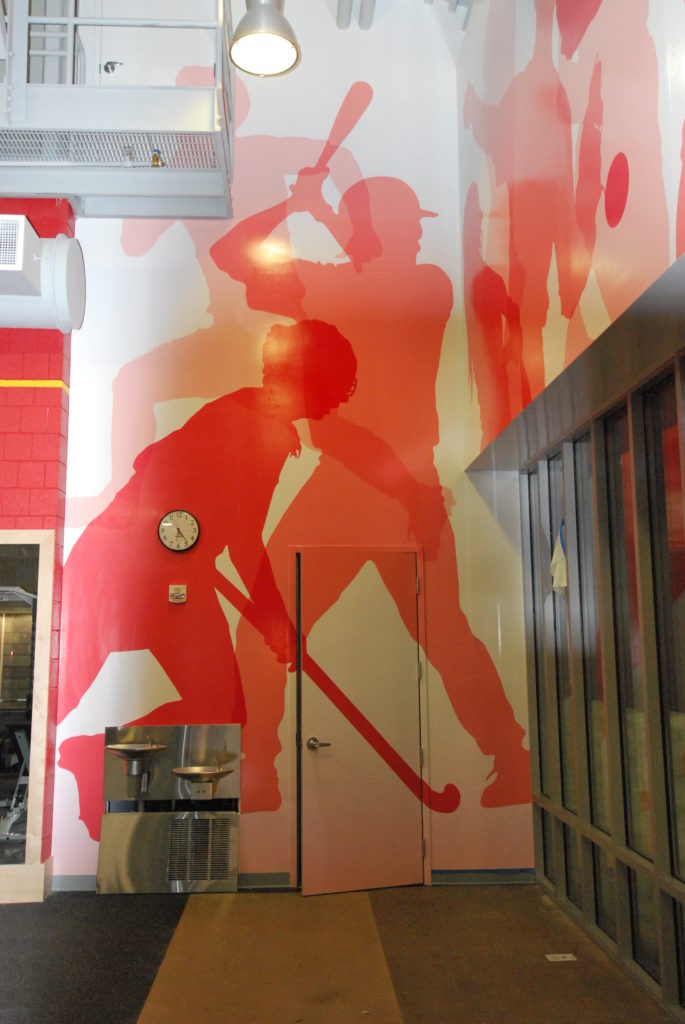
Once your application gets within a few inches of the curled back liner, pull the liner another 2′ and repeat until the entire panel is applied. The last step is to trim the bottom of the panel. The above sequence may be repeated on each panel through completion.
This process will vary with experience and material selection, and you’ll establish your own problem-solving/efficiency improvement techniques. There are countless tools and strategies to deploy that are beyond the scope of this basic guide.
My advice for beginners is to get on the installer-related social groups and jump in on the conversation. Even us “old” installers are picking up ideas on the daily.
Learn more about the steps to apply wall graphics in the November issue of GRAPHICS PRO.