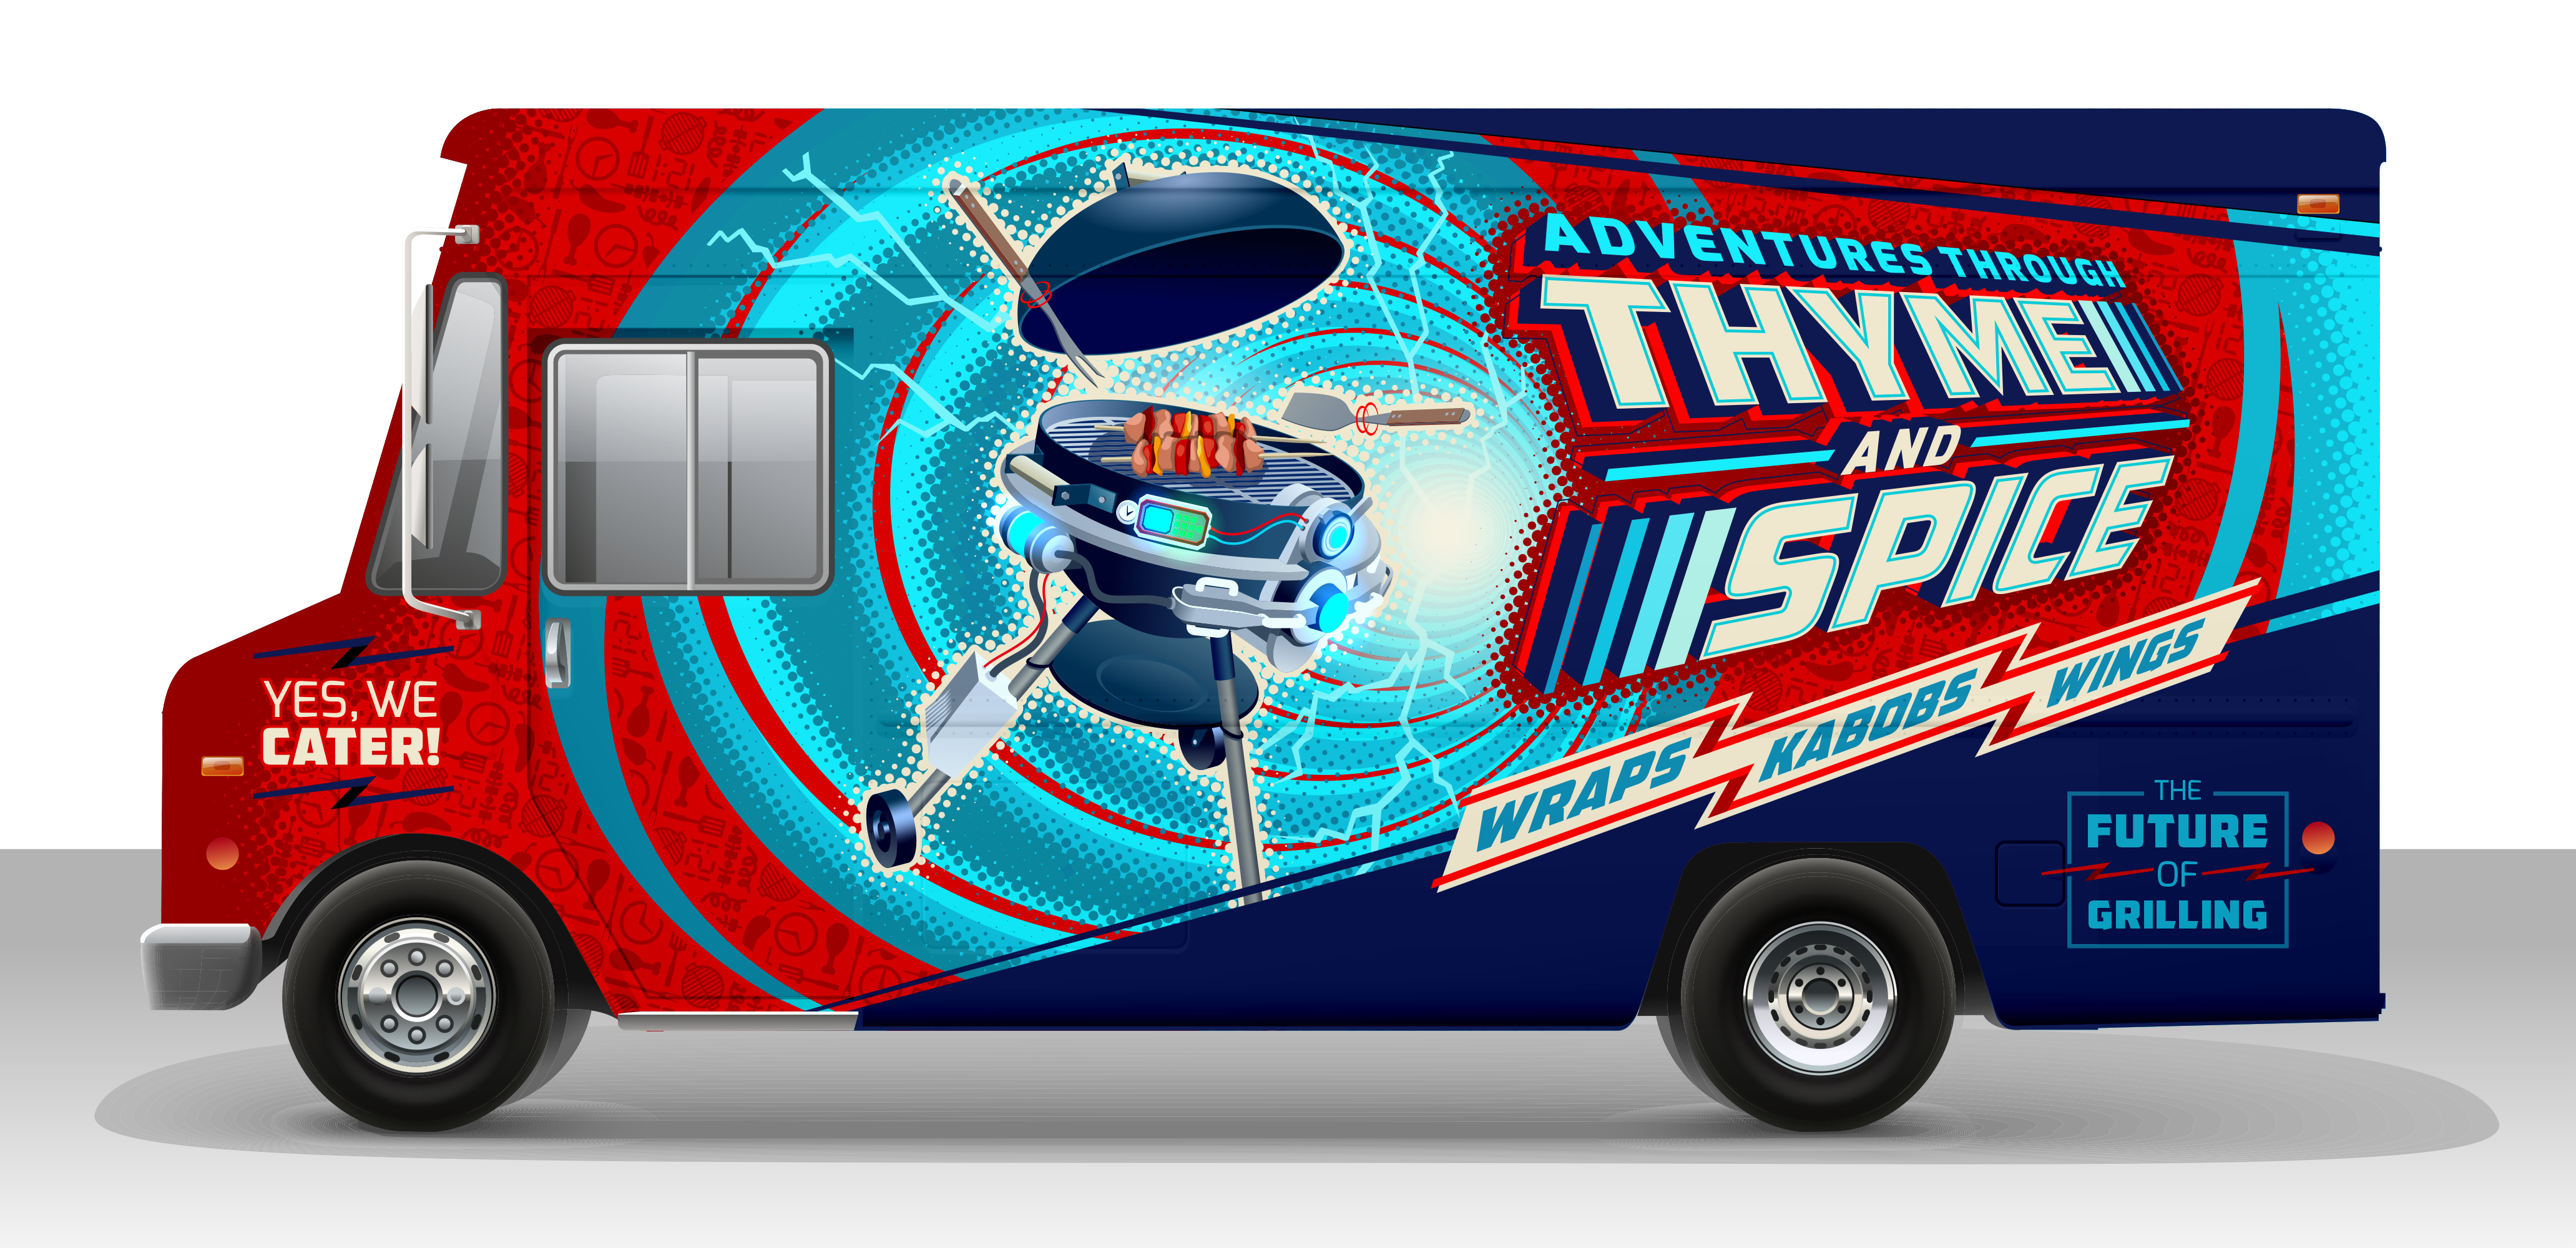
Vehicle wraps are an easy (and often cost-effective) way to take advantage of existing company cars, trucks, or vans and transform them into eye-catching, moving billboards that capture the attention of potential customers anywhere they go.
While vehicle wraps are common, designing them requires skill and attention to detail. These printed vinyl wraps are fitted close to the vehicle, and most people will only see the design when the vehicle is in motion.
A wrap must thus be easy to view and understand in just a few seconds to make an impact on potential customers. Follow these four simple steps to ensure your vehicle wraps are a design success.
Step 1: Measure all specs precisely and accurately
Every vehicle’s make and model requires a different size and shape for its wrap, so it’s essential to confirm that you’re using the correct specs. You may already know the exact specs for your car, truck, or van. If not, you can measure them yourself if you have access to the physical vehicle.
Next, use these specs to set the appropriate paper size in your graphic design software. For example, if your car is 200″ wide and 70″ high, then you’ll want to set the width to 210″ and height to 80″ so there is some room for bleed or error. This is because the printed design will have to wrap around the edges of your car’s doors and windows. You’ll want to leave between 5-10″ of room for bleed.
Graphic design solutions, like CorelDRAW Graphics Suite, allow you to work within the unique requirements of large format projects like vehicle wraps. When creating these designs, the right solution will enable you to draw to scale to better understand how your design will look once printed and applied to the vehicle(s).
Other software features to make designing vehicle wraps more efficient are color management and font handling capabilities.
You’ll also want to ensure that the resolution is set to at least 300 dots per inch (DPI) so that any images or logos are not pixelated when the wrap is printed if bitmap images are included (this may not be a problem if you are working with vectors only). If you’re not sure what resolution or format should be used, check with the printer you’ll be working with.
Don’t forget to include the vehicle windows in your measurements if they will also be wrapped.
Step 2: Create the frame in your graphic design software
The outline or frame of your vehicle wrap allows you to see what the final product will look like. Some graphic design solutions enable you to search and select from templates that match the various makes and models of real vehicles.
Use the frame to play around with the different design elements you want to include in your wrap to see how they will look and fit on the vehicle. Keep in mind that horizontal measurements will be more precise in scaling images with minimal distortion, while vertical measurements tend to have more angles and curves to accommodate.
This is when using a graphic design application that supports a soft proofing option is particularly valuable. With a soft proof, you can view the design on-screen with colors displayed as expected on the specific printer you’re using.
Step 3: Finalize your design within the frame
The next step is to finalize all images, text, logos, designs, etc. that will be included in the final vehicle wrap and their placement frame or template that you previously created.
Ensure that you use the correct brand color palette for the company and that these colors will be in harmony with the base color of the car, truck, or van if parts of the vehicle remain visible. Also, ensure that the company’s contact information is included (if applicable).
Finally, be sure to examine your design from all angles to avoid a potential design “fail” that could occur if logos or images are unintentionally moved, stretched, or distorted.
Step 4: Prepare your design for printing
Now it’s time to get your vehicle wrap ready for printing. At this stage, be sure to verify that:
- You’re using the correct specs and dimensions and have included room for bleed
- You’re using the correct image frame or template for the make and model of the vehicle
- The design looks good from all angles and views, and nothing is improperly displayed or distorted
- All necessary elements are included in your design (e.g., logos, proper brand colors, any company contact information — such as a phone number or website)
Finally, you’ll want to copy all the objects in the frame and group them before exporting to an EPS, PDF, or other requested file format for printing or sending send to the shop that will print the actual vehicle wrap on vinyl.
Vehicle wraps are an exciting design format, as they help businesses quickly and easily engage on-the-go audiences. Creating the right wrap requires a graphic design solution that includes built-in features to make the design process more efficient so you can focus on what matters most: building a creative, memorable design that will help increase business.


