Try This: Sublimating Tumblers
Increase your profits by applying a range of colors to a tumbler
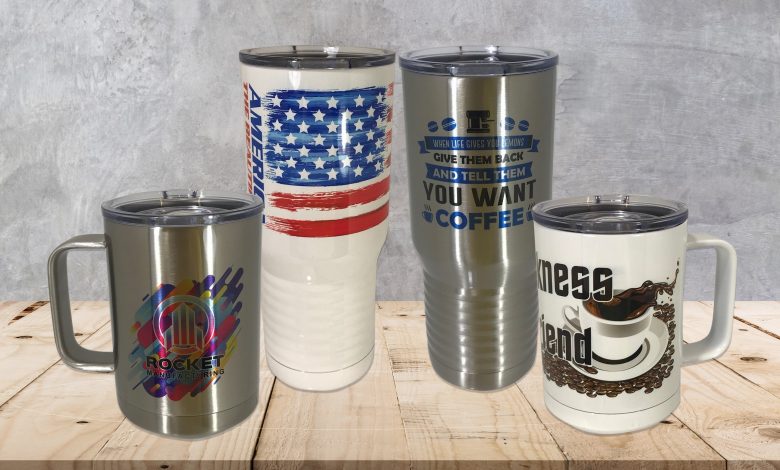
Double-walled drinkware has become popular in the last few years. Many distributors now carry sublimatable versions of these products in both stainless steel and white. Until recently, most had to be sublimated using an oven and some kind of heat wrap. This process takes more prep time and dwell time. To make the process easier, there are now versions that will fit nicely into a mug press.
There are some issues to keep in mind when sublimating the double-walled drinkware in a mug press:
- Not all tumblers will fit into a mug press. The 30-ounce tumblers are too large in diameter and will not fit.
- Because not all mug presses are created equally, the dwell time in a press can vary. (The settings used in this tutorial are based on a mug press from Geo Knight. You may have to tweak your dwell time slightly for other brands.)
- Be sure that the artwork does not go beyond the size limits of the mug press.
- Because of the gap where the mug press closes, you will not be able to have the artwork wrap around the entire tumbler.
Supplies and equipment needed:
- Mug press
- Substrate (tumbler)
- Sublimation transfer
- Scratch paper
- Heat tape
Mug press settings:
- Temperature – 380 F
- Dwell time – 60 to 75 seconds
- Pressure – light to medium (be careful, as too much pressure can bend the tumbler)
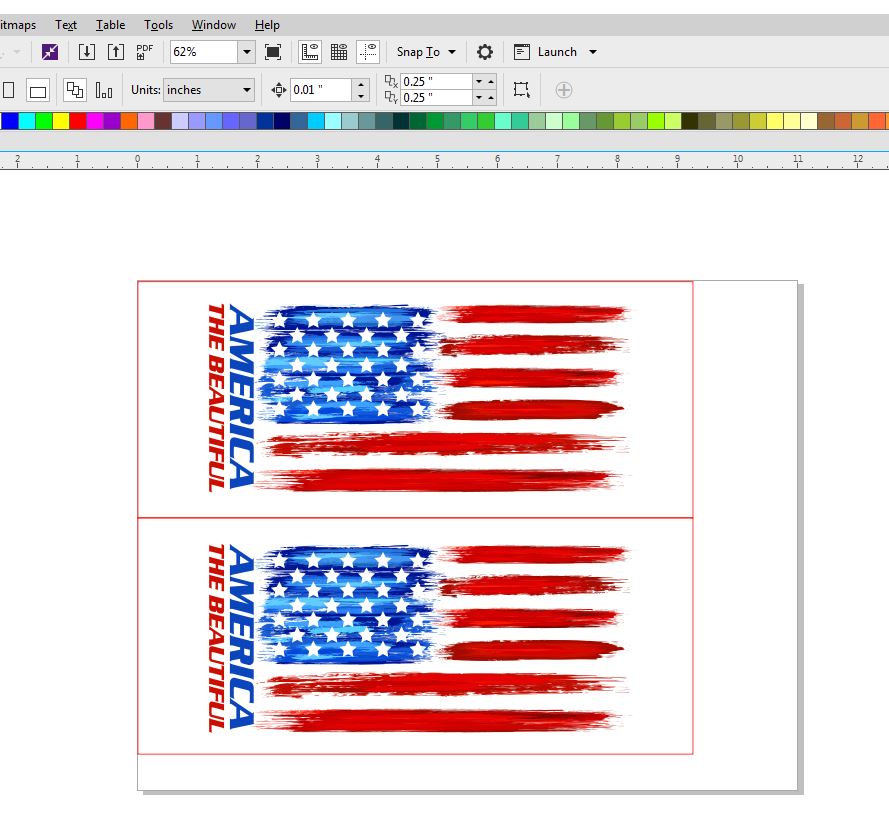
Step One: Create the Transfer
All images courtesy JDS Industries
Download the .eps template from www.jdsindustries.com/dropbox and import it into your design software. Place your artwork within the guidelines and then print the transfer. Depending on the size of the tumbler, you may have more than one layout on a page. Mug-size paper may also work if you don’t want to spend time cutting transfers apart.
Step Two: Prepare to Press
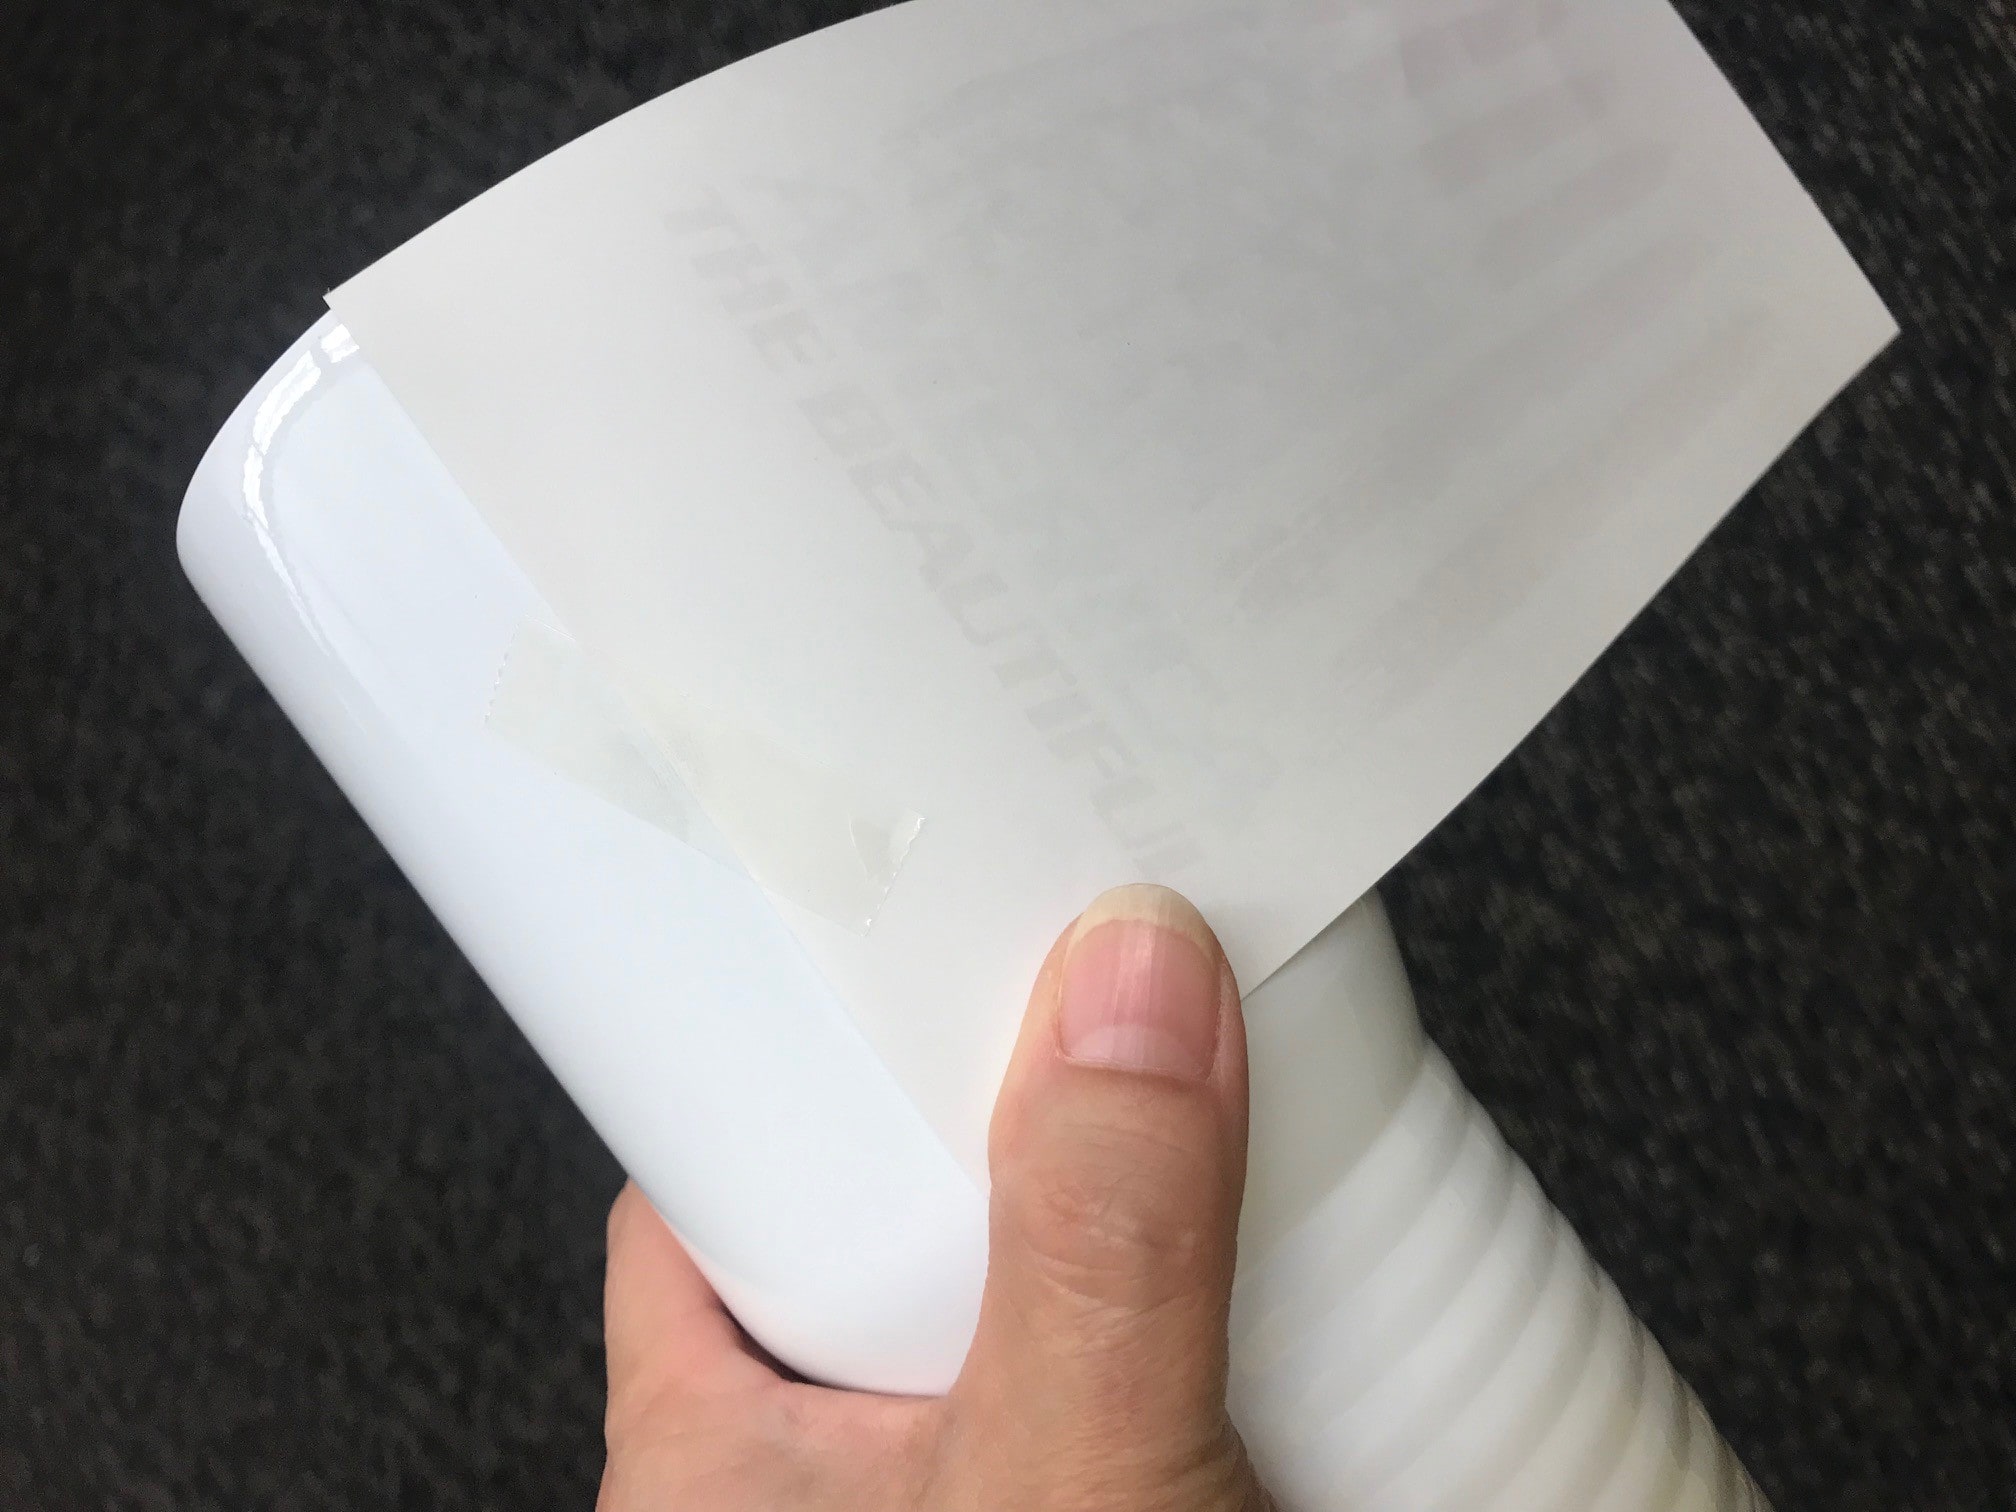
Once the transfer is printed and/or cut, remove the lid and place the transfer on the tumbler and tape both ends with heat tape.
Step Three: Scratch Paper
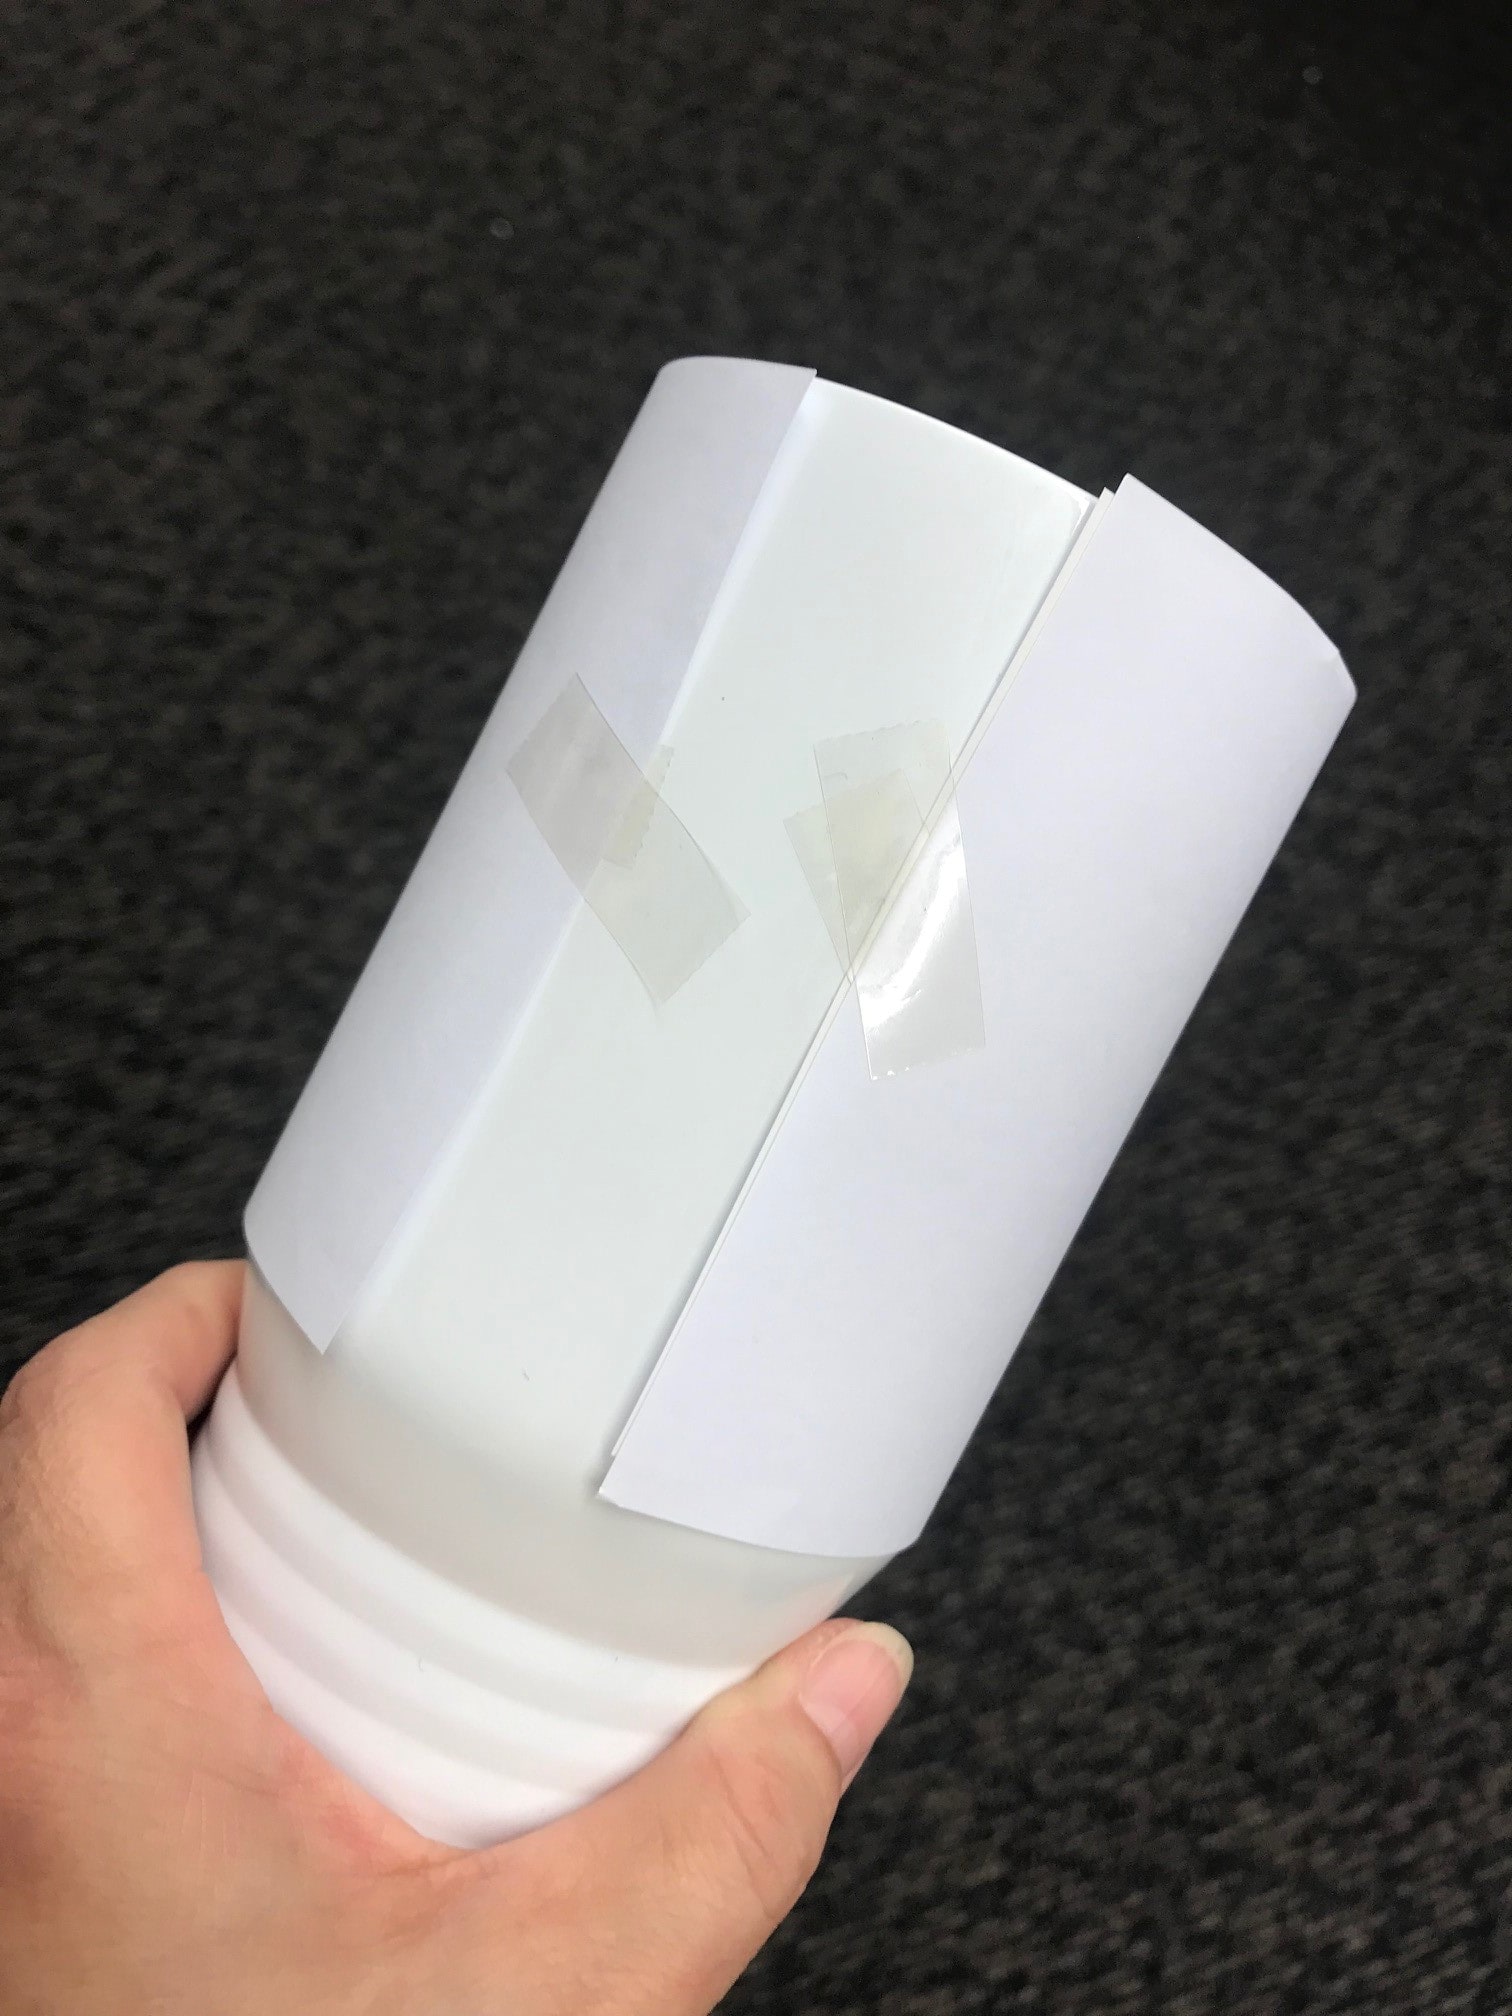
Wrap a piece of scratch paper that is about the same size as the transfer around the tumbler and tape it. This prevents any ink from getting onto the pad in the mug press.
Step Four: Press the Tumbler

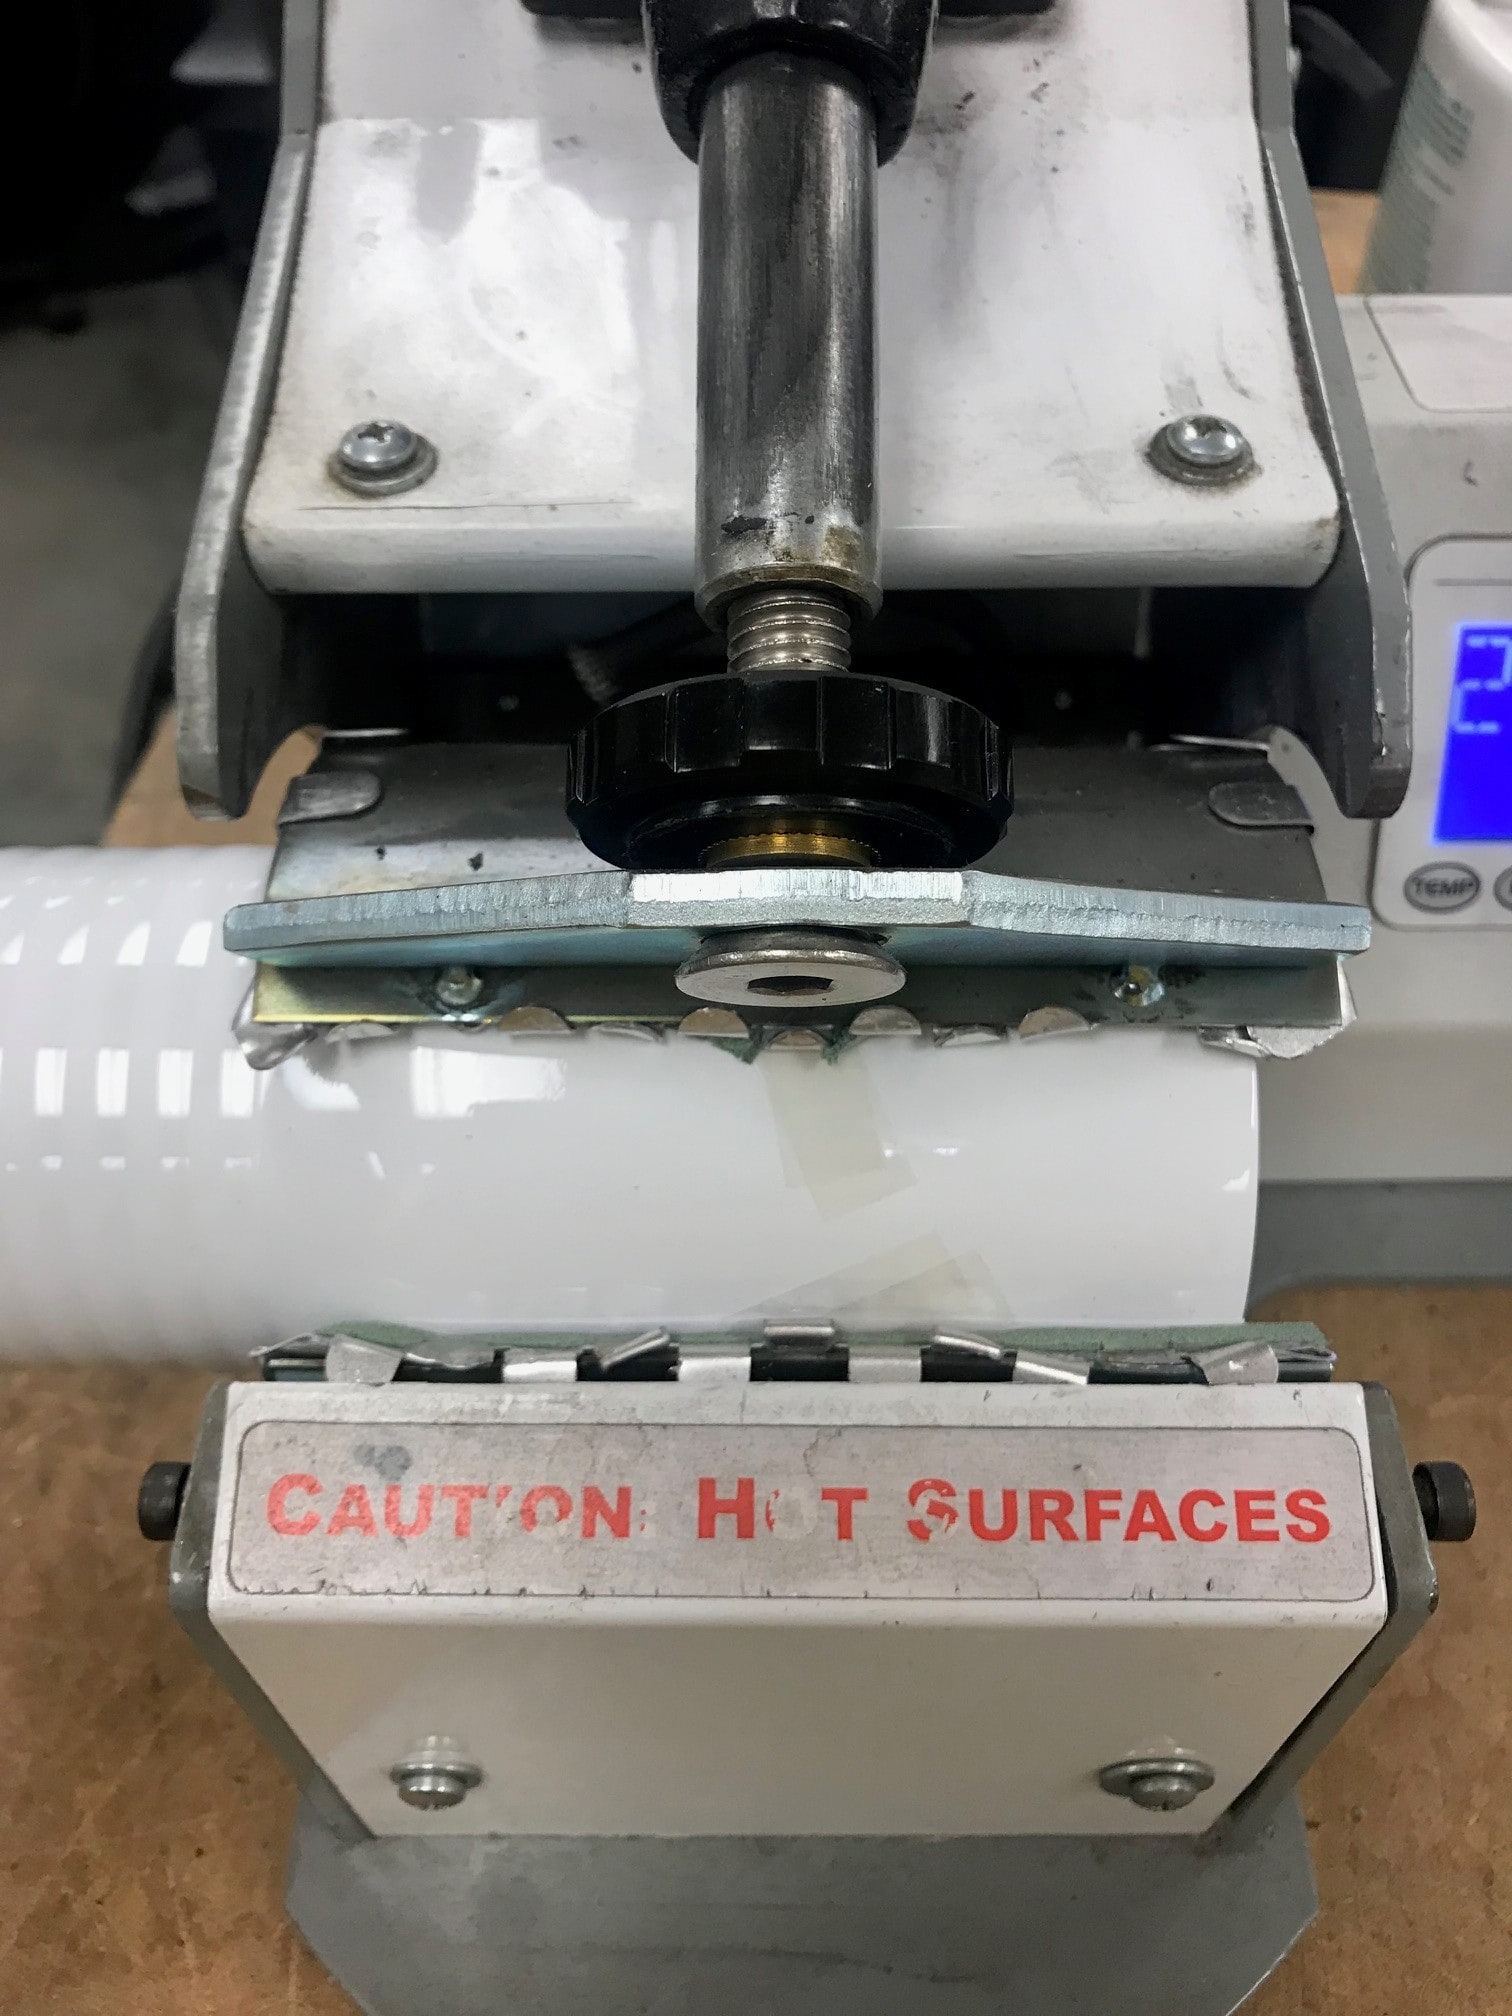
Place the tumbler in the mug press using the settings listed above. It is important that the pressure is even without being too firm.
Step Five: Remove from Press
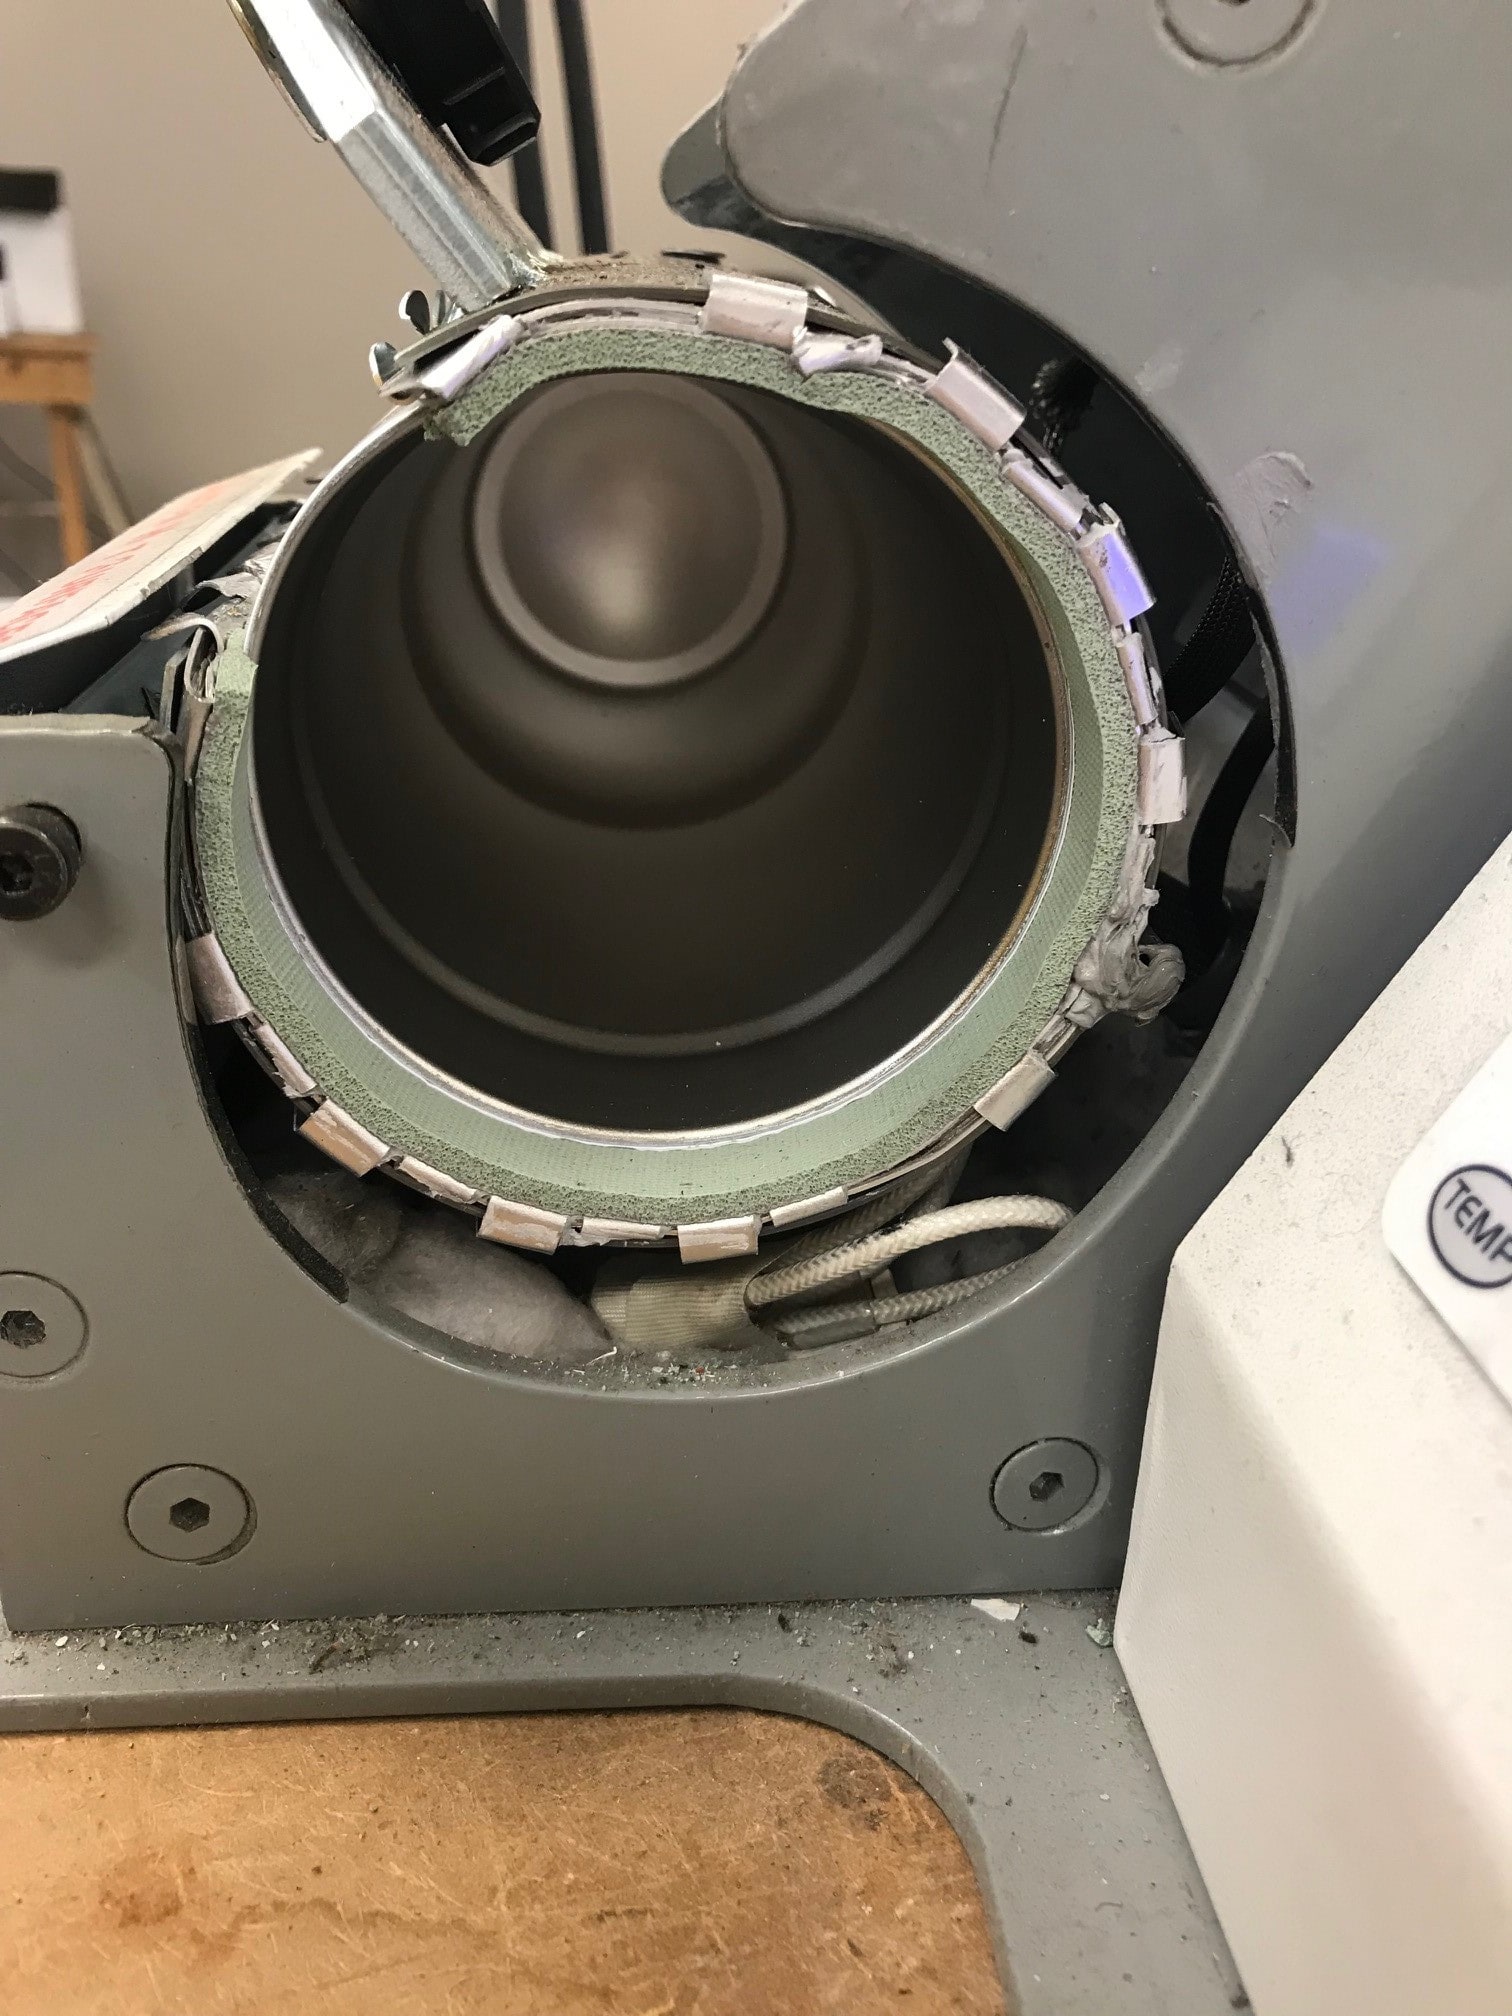
Once completed, remove the tumbler from the press and carefully remove the scratch paper and transfer. Use heat resistant gloves, if necessary, as the tumbler will be hot. Let the tumbler cool.

Adding color to the tumblers is just another way to increase the value. Your customers will love these unique products.