Try This: Sublimate and Curve Metal Photo Panels
Become familiar with how to curve smaller metal panels into self-standing, high-value works of art that can be displayed on a desk or nightstand.
Although most folks are familiar with sublimatable metal photo panels being displayed on a wall, some aren’t familiar with curving smaller metal panels into self-standing, high-value works of art that can be displayed on a desk or nightstand.
Since a table display can be viewed from both sides, I recommend using the double-sided version of ChromaLuxe (4″ X 16″ panoramic, 5″ X 7″, 6″ X 8″, and 11″ X 14″) to provide decorating options that include using the same photo on both sides, a different photo on each side, or a photo on one side and text (e.g., wedding invitation or graduation announcement) on the other. Once imaged, a column roller similar to the Accucutter Precision Roller can be used to gently curve the photo panels into a letter “C” or “S” shape. Some decorators, however, don’t have a roller and improvise by curving the metal by hand. How can this be done? This tutorial shows you how.
Equipment needed:
- Sublimation printer
- Sublimation paper
- ChromaLuxe double-sided metal
- Heat press set to 400 F with medium pressure and a 75 second press time
- DyeTrans Pro Spray
- Roll of plain paper (normally used for cover paper with sublimation)
Step one: Graphics
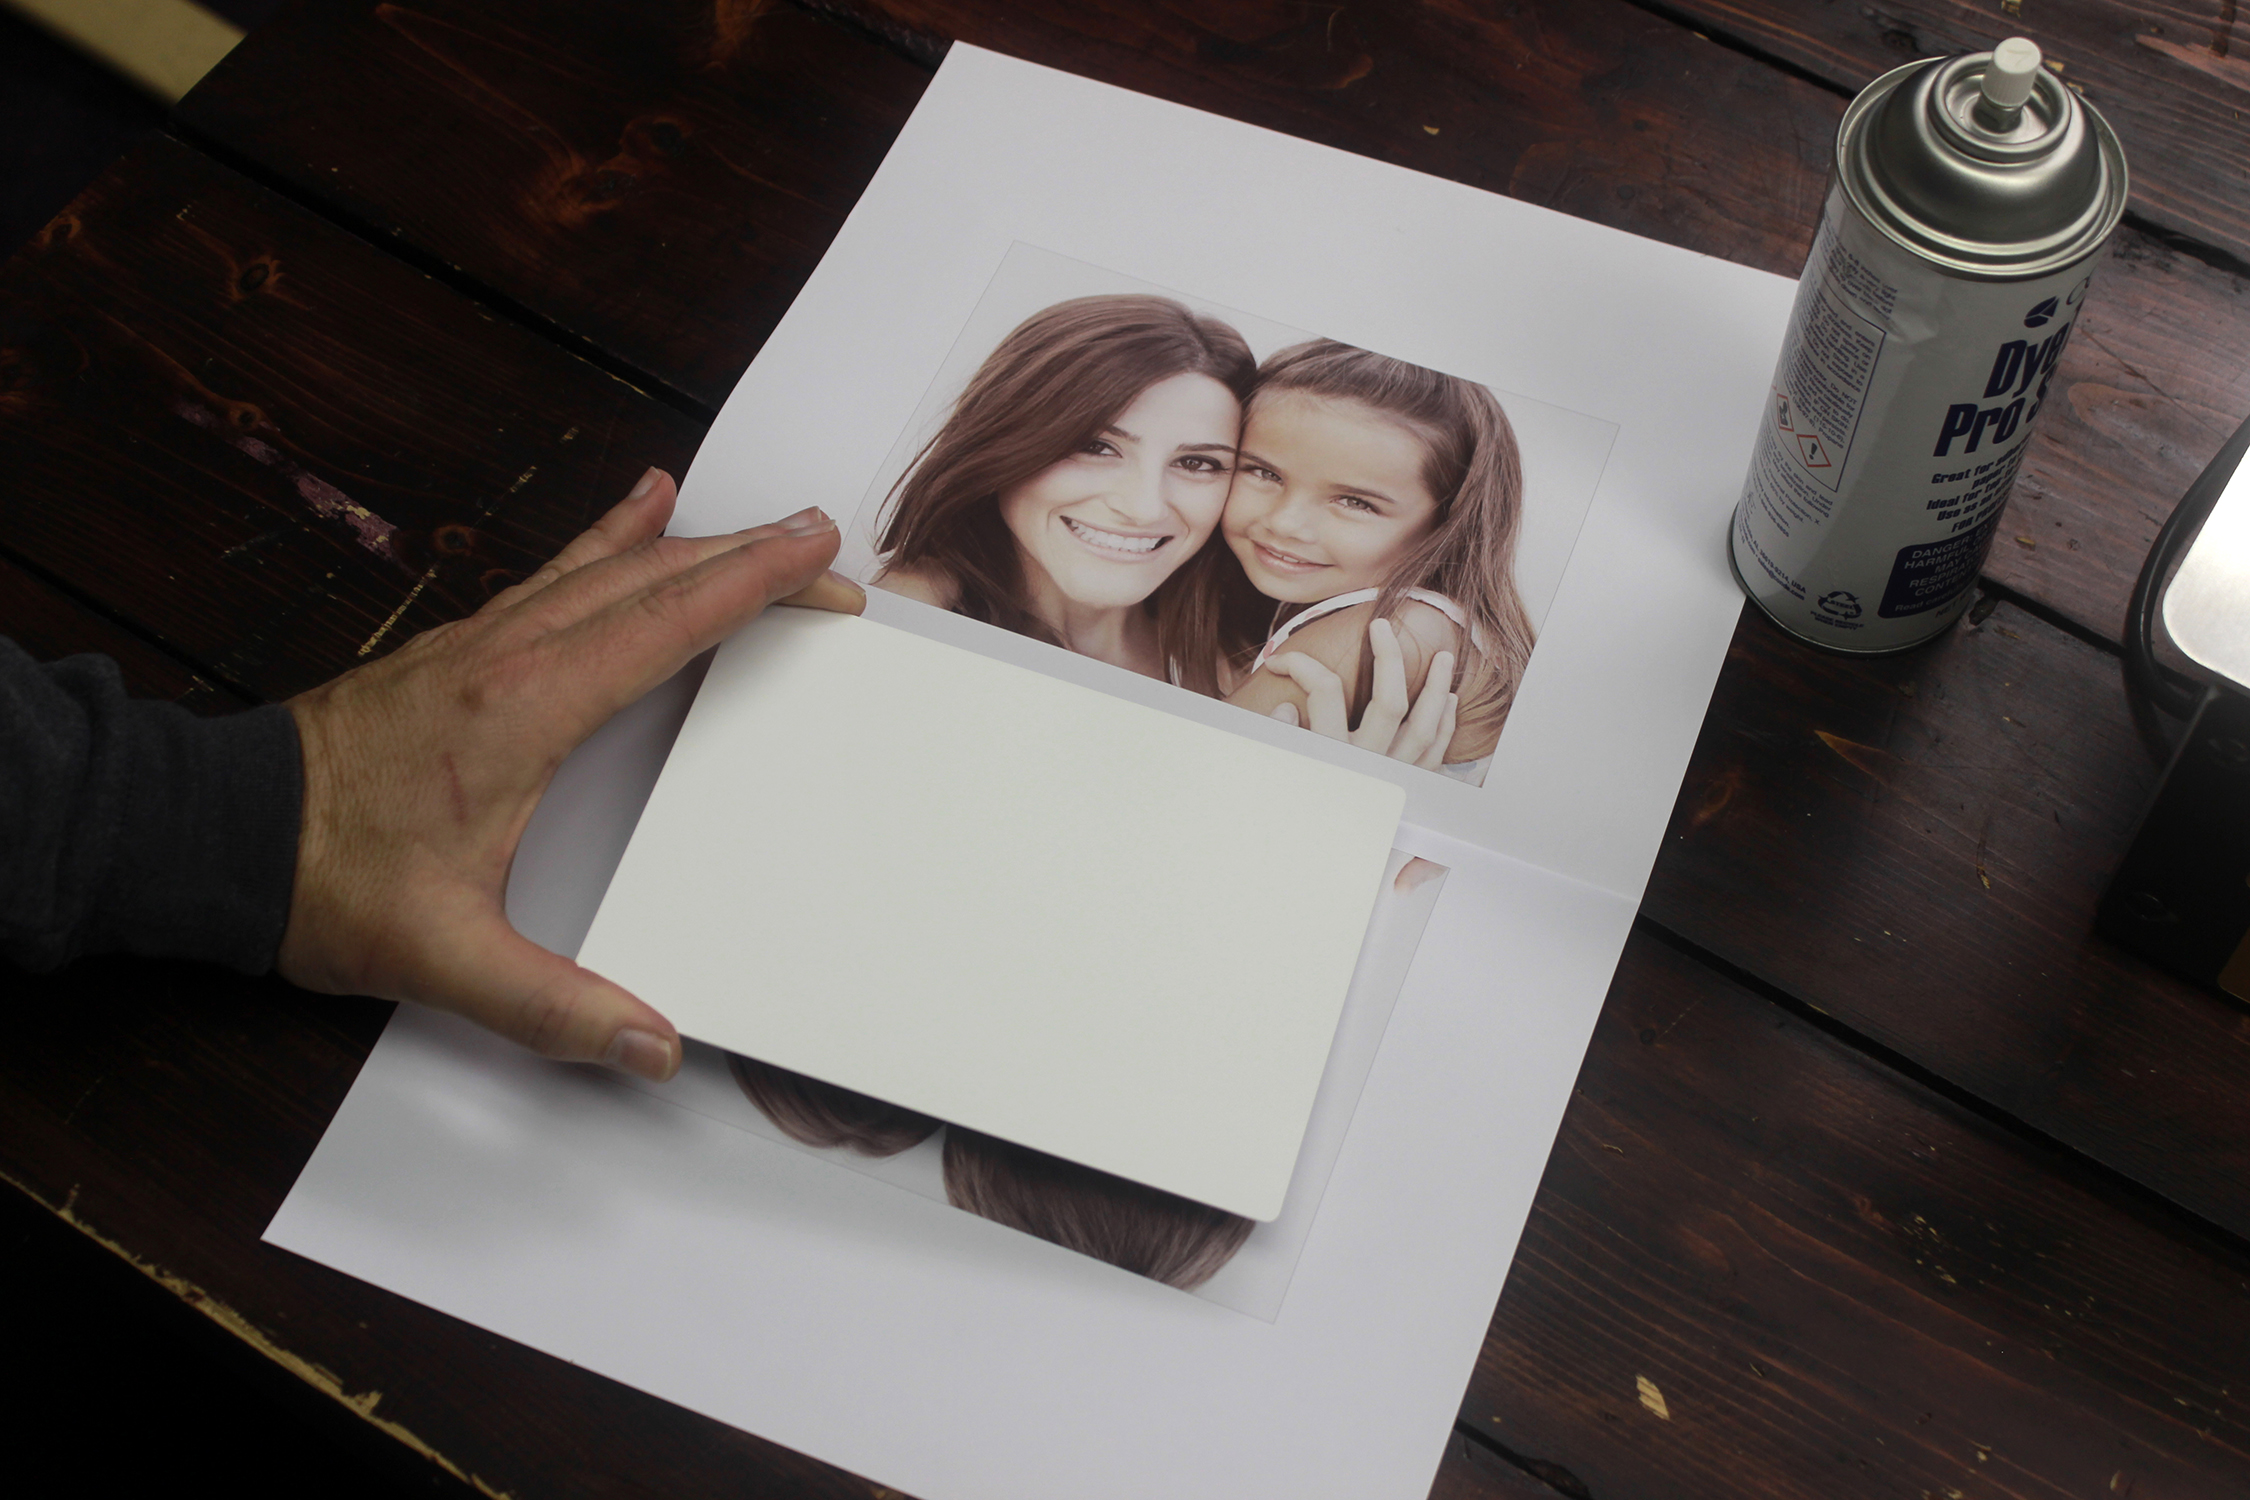
To properly size/format your artwork, always design your graphics using a corresponding product template (examples available on www.conde.com). If size permits, print both photos on the same piece of paper with the top photo rotated 180 degrees (upside down).
Step two: Dry Transfers
Dry the transfer(s) by placing under the heat press’s platen (without closing) for 10 seconds. Fold the transfer paper so that the two photos line up with each other. Reopen and spray a light mist of Pro Spray on the transfers.
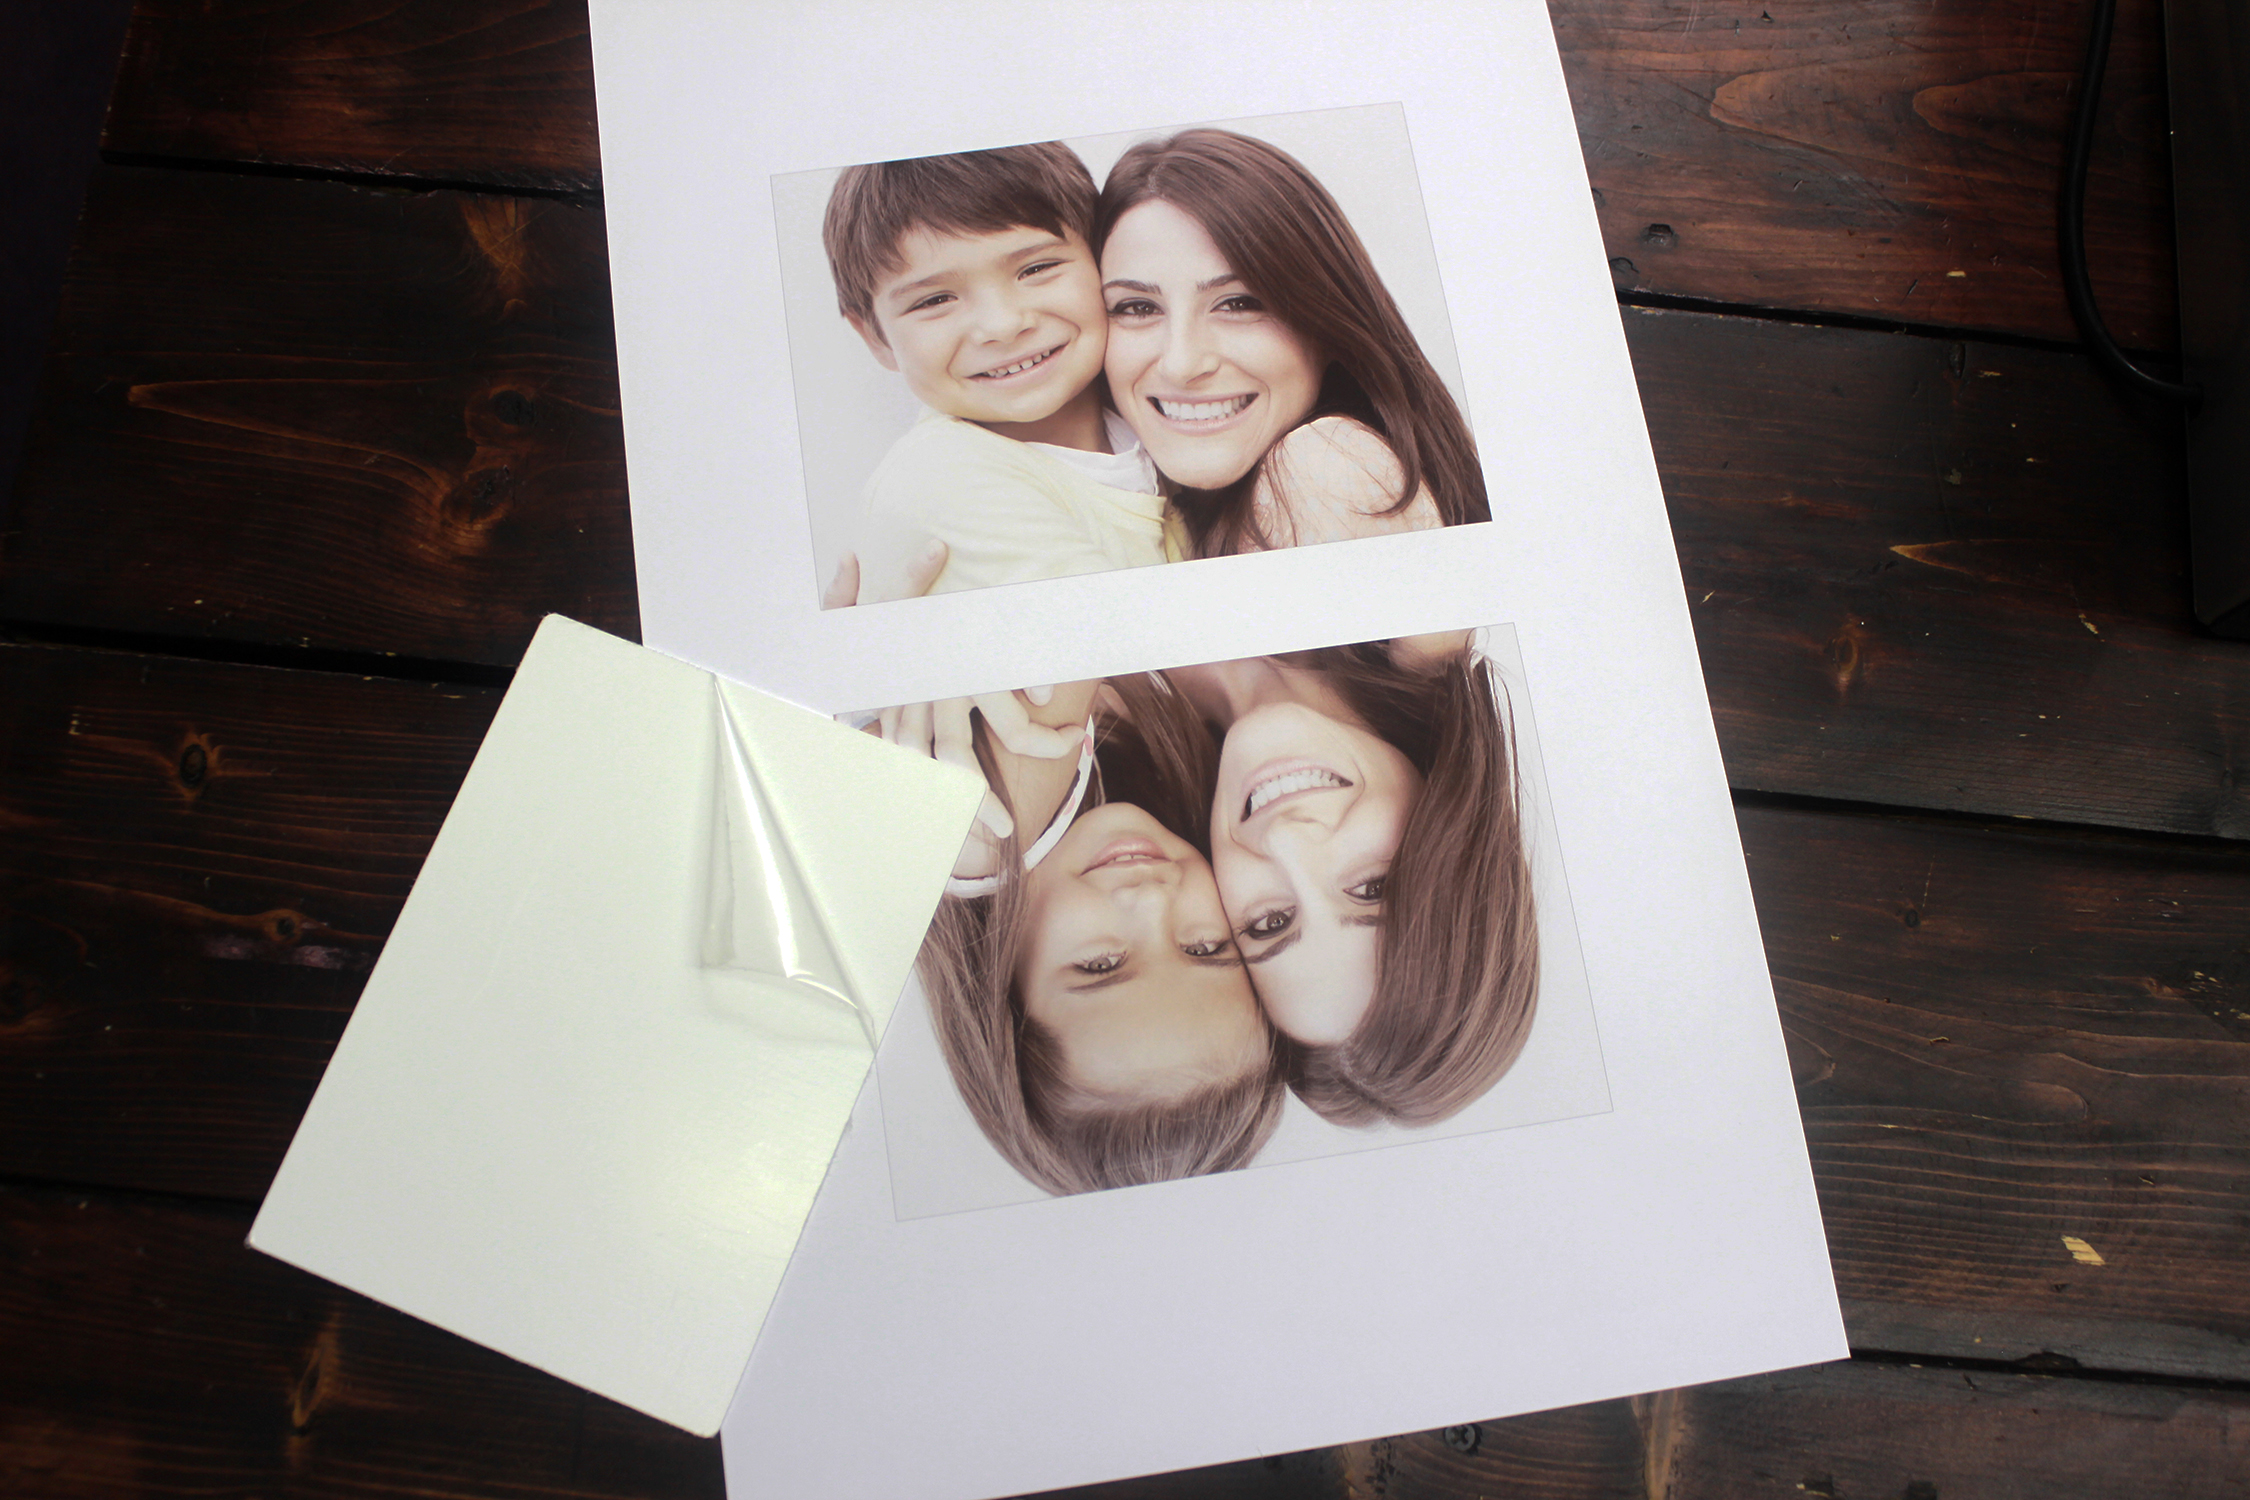
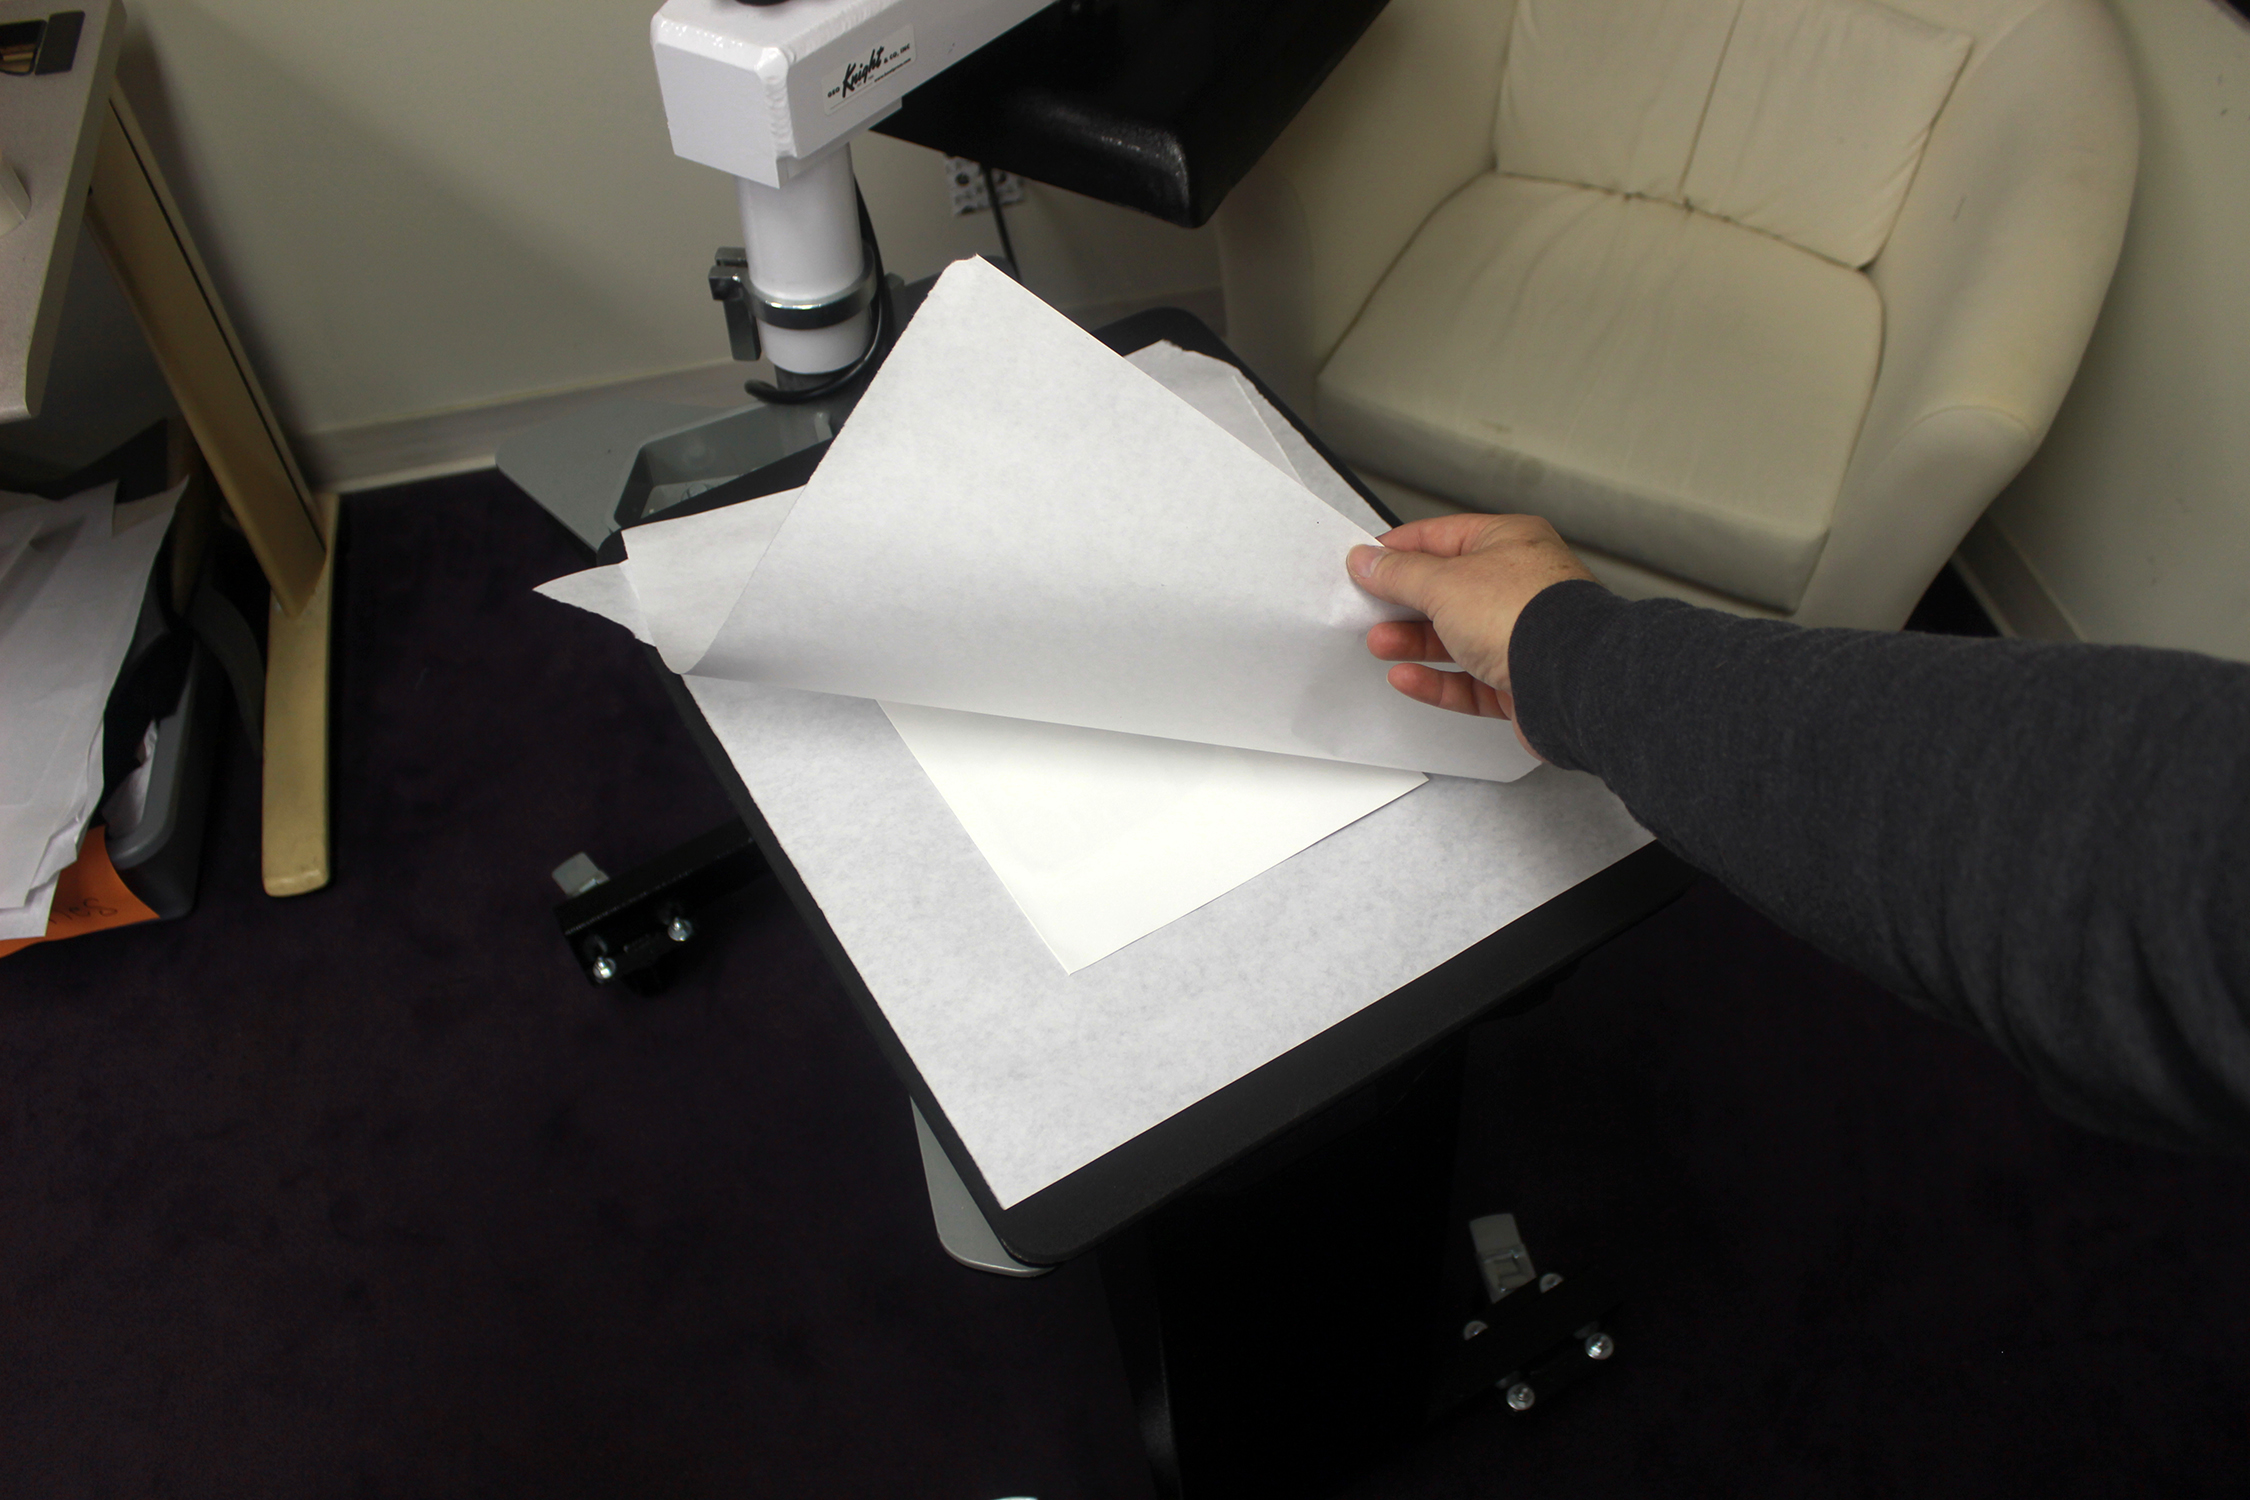
Step three: Press
Remove the protective peel coat from the surface of the metal. Place the transfer on a table face-up and align/place the metal on one of the images. Fold the transfer back so that second photo is aligned with the metal. Place this “sandwich” in the press between two pieces of protective paper and press for 75 seconds. Open the heat press and carefully remove the imaged metal. Let the imaged metal cool.


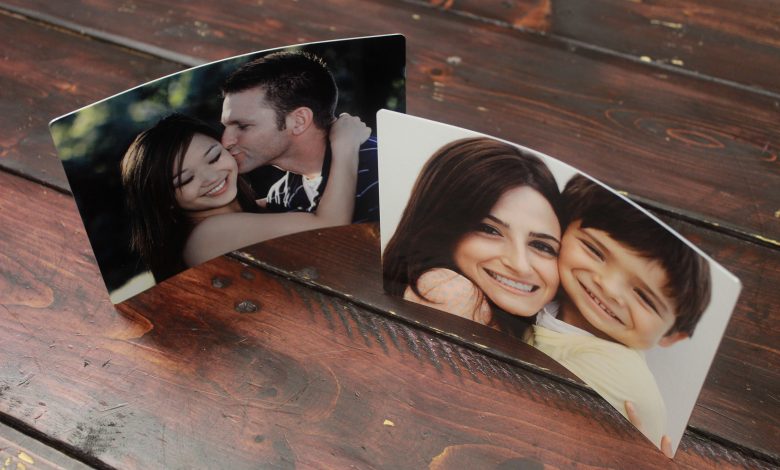
Step four: Curve
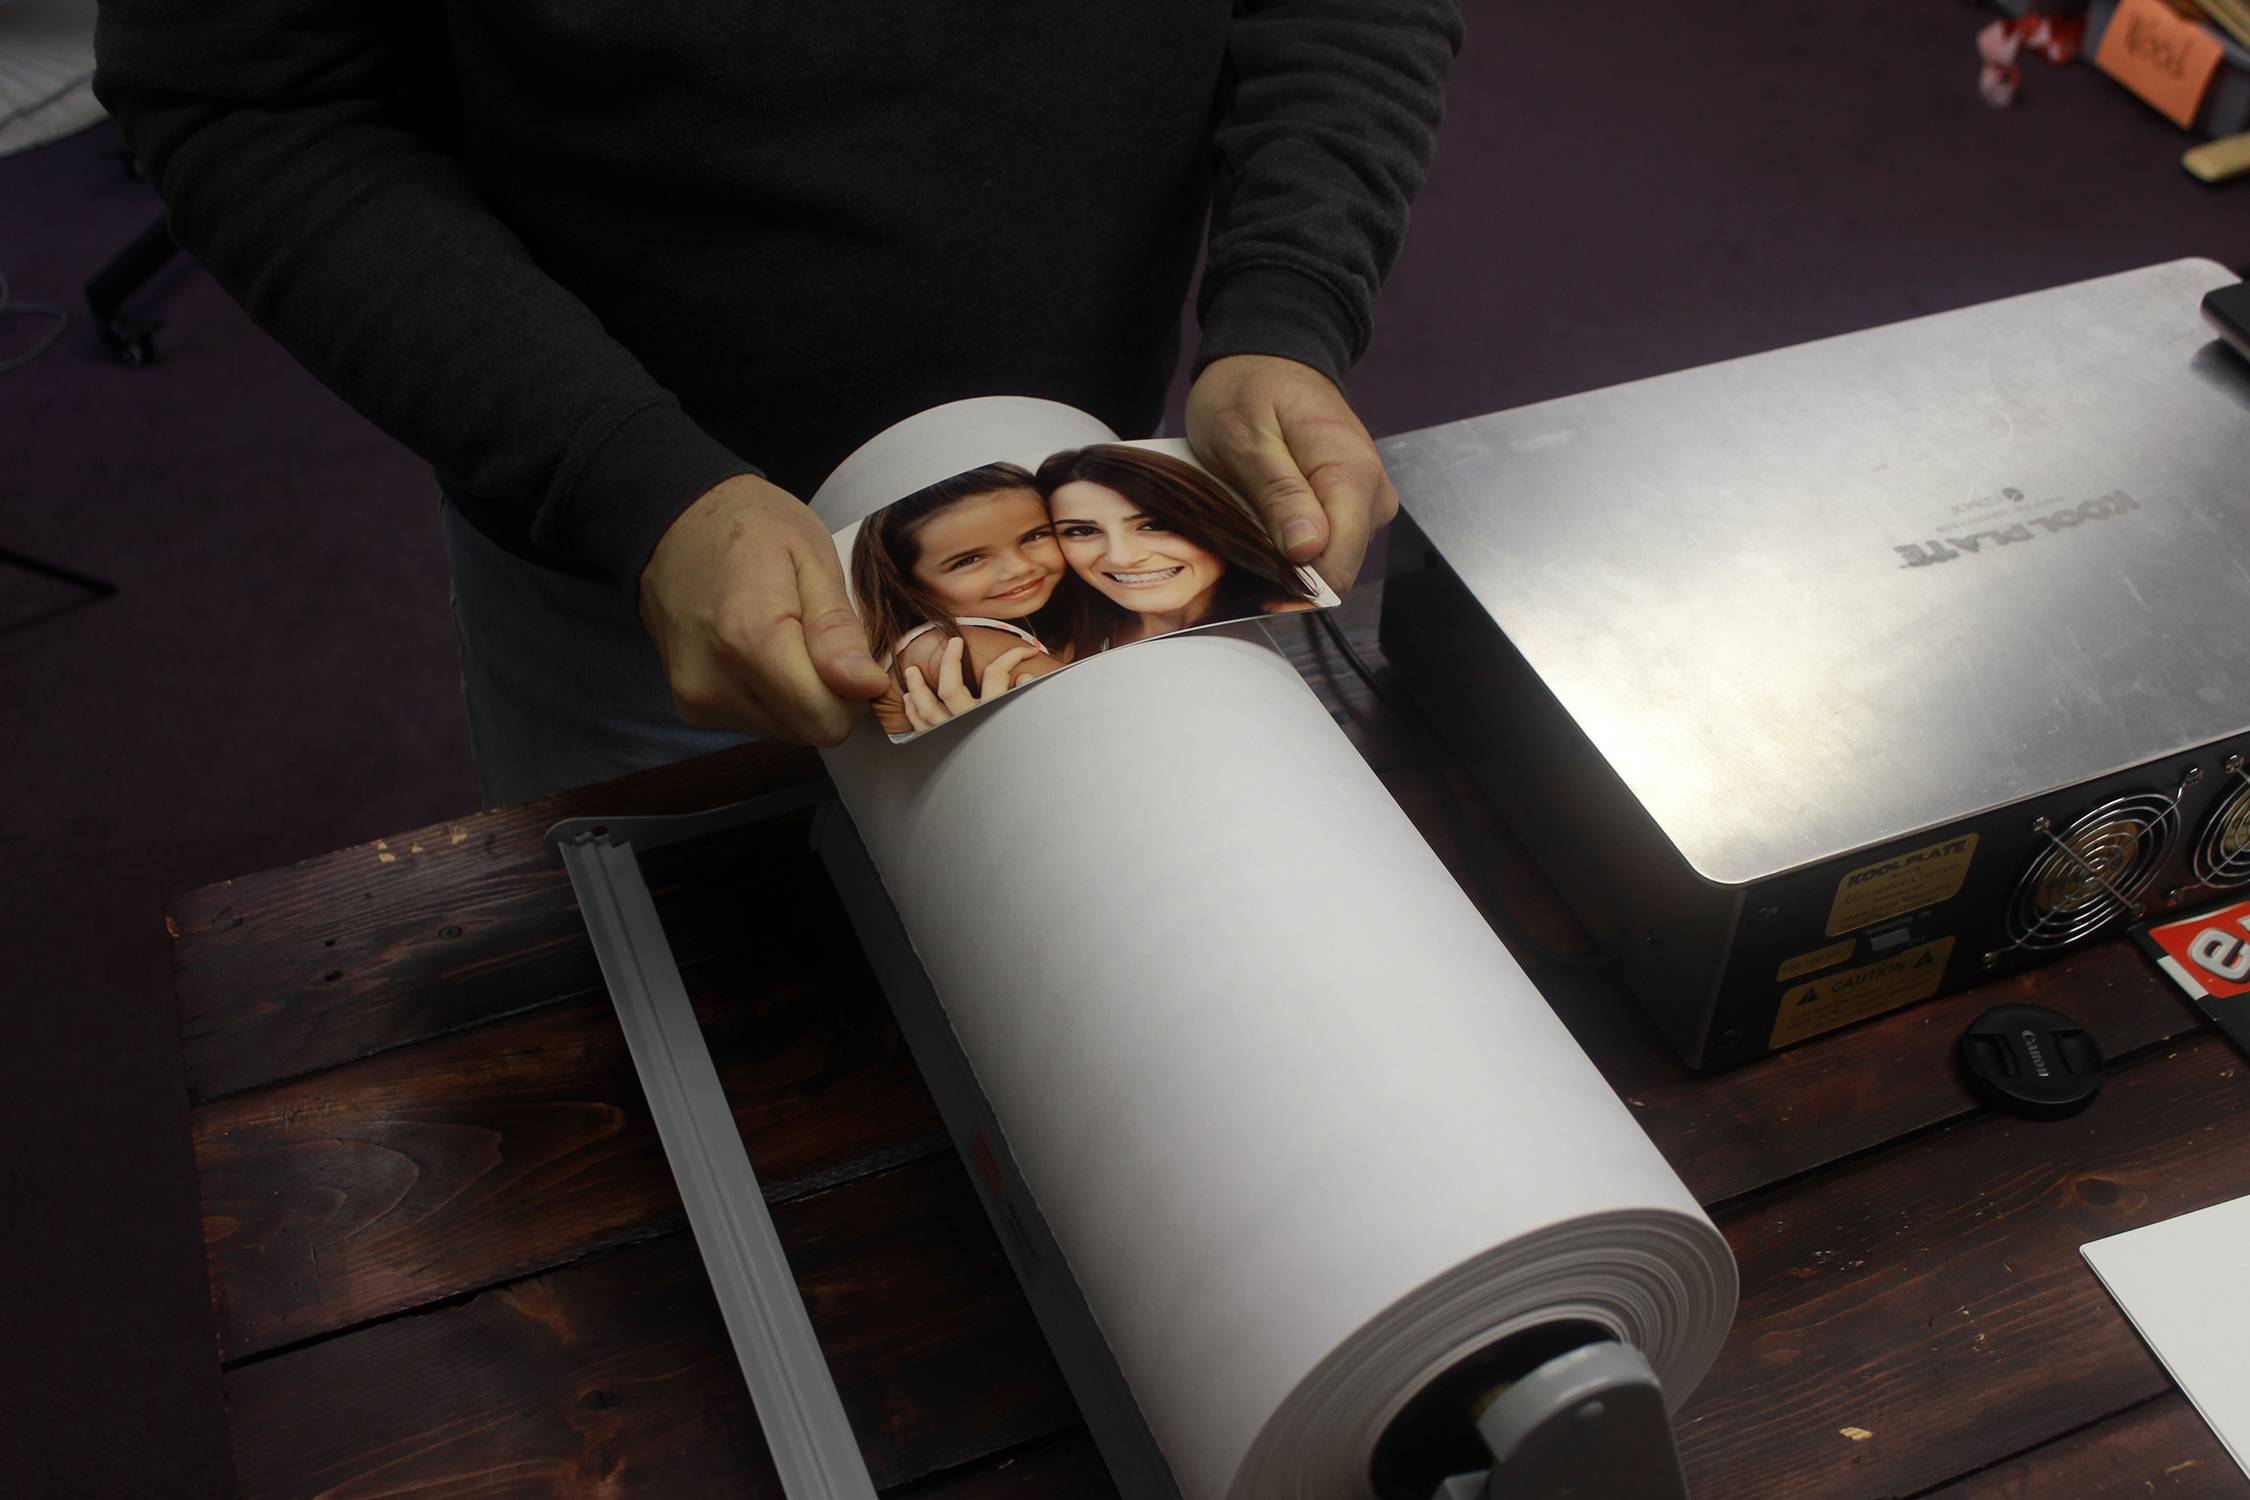
To curve the metal, place it on top of a large roll of paper and hand curve it once for a “C” curve or hand curve half of metal and then flip and hand curve other section for an “S” curve.
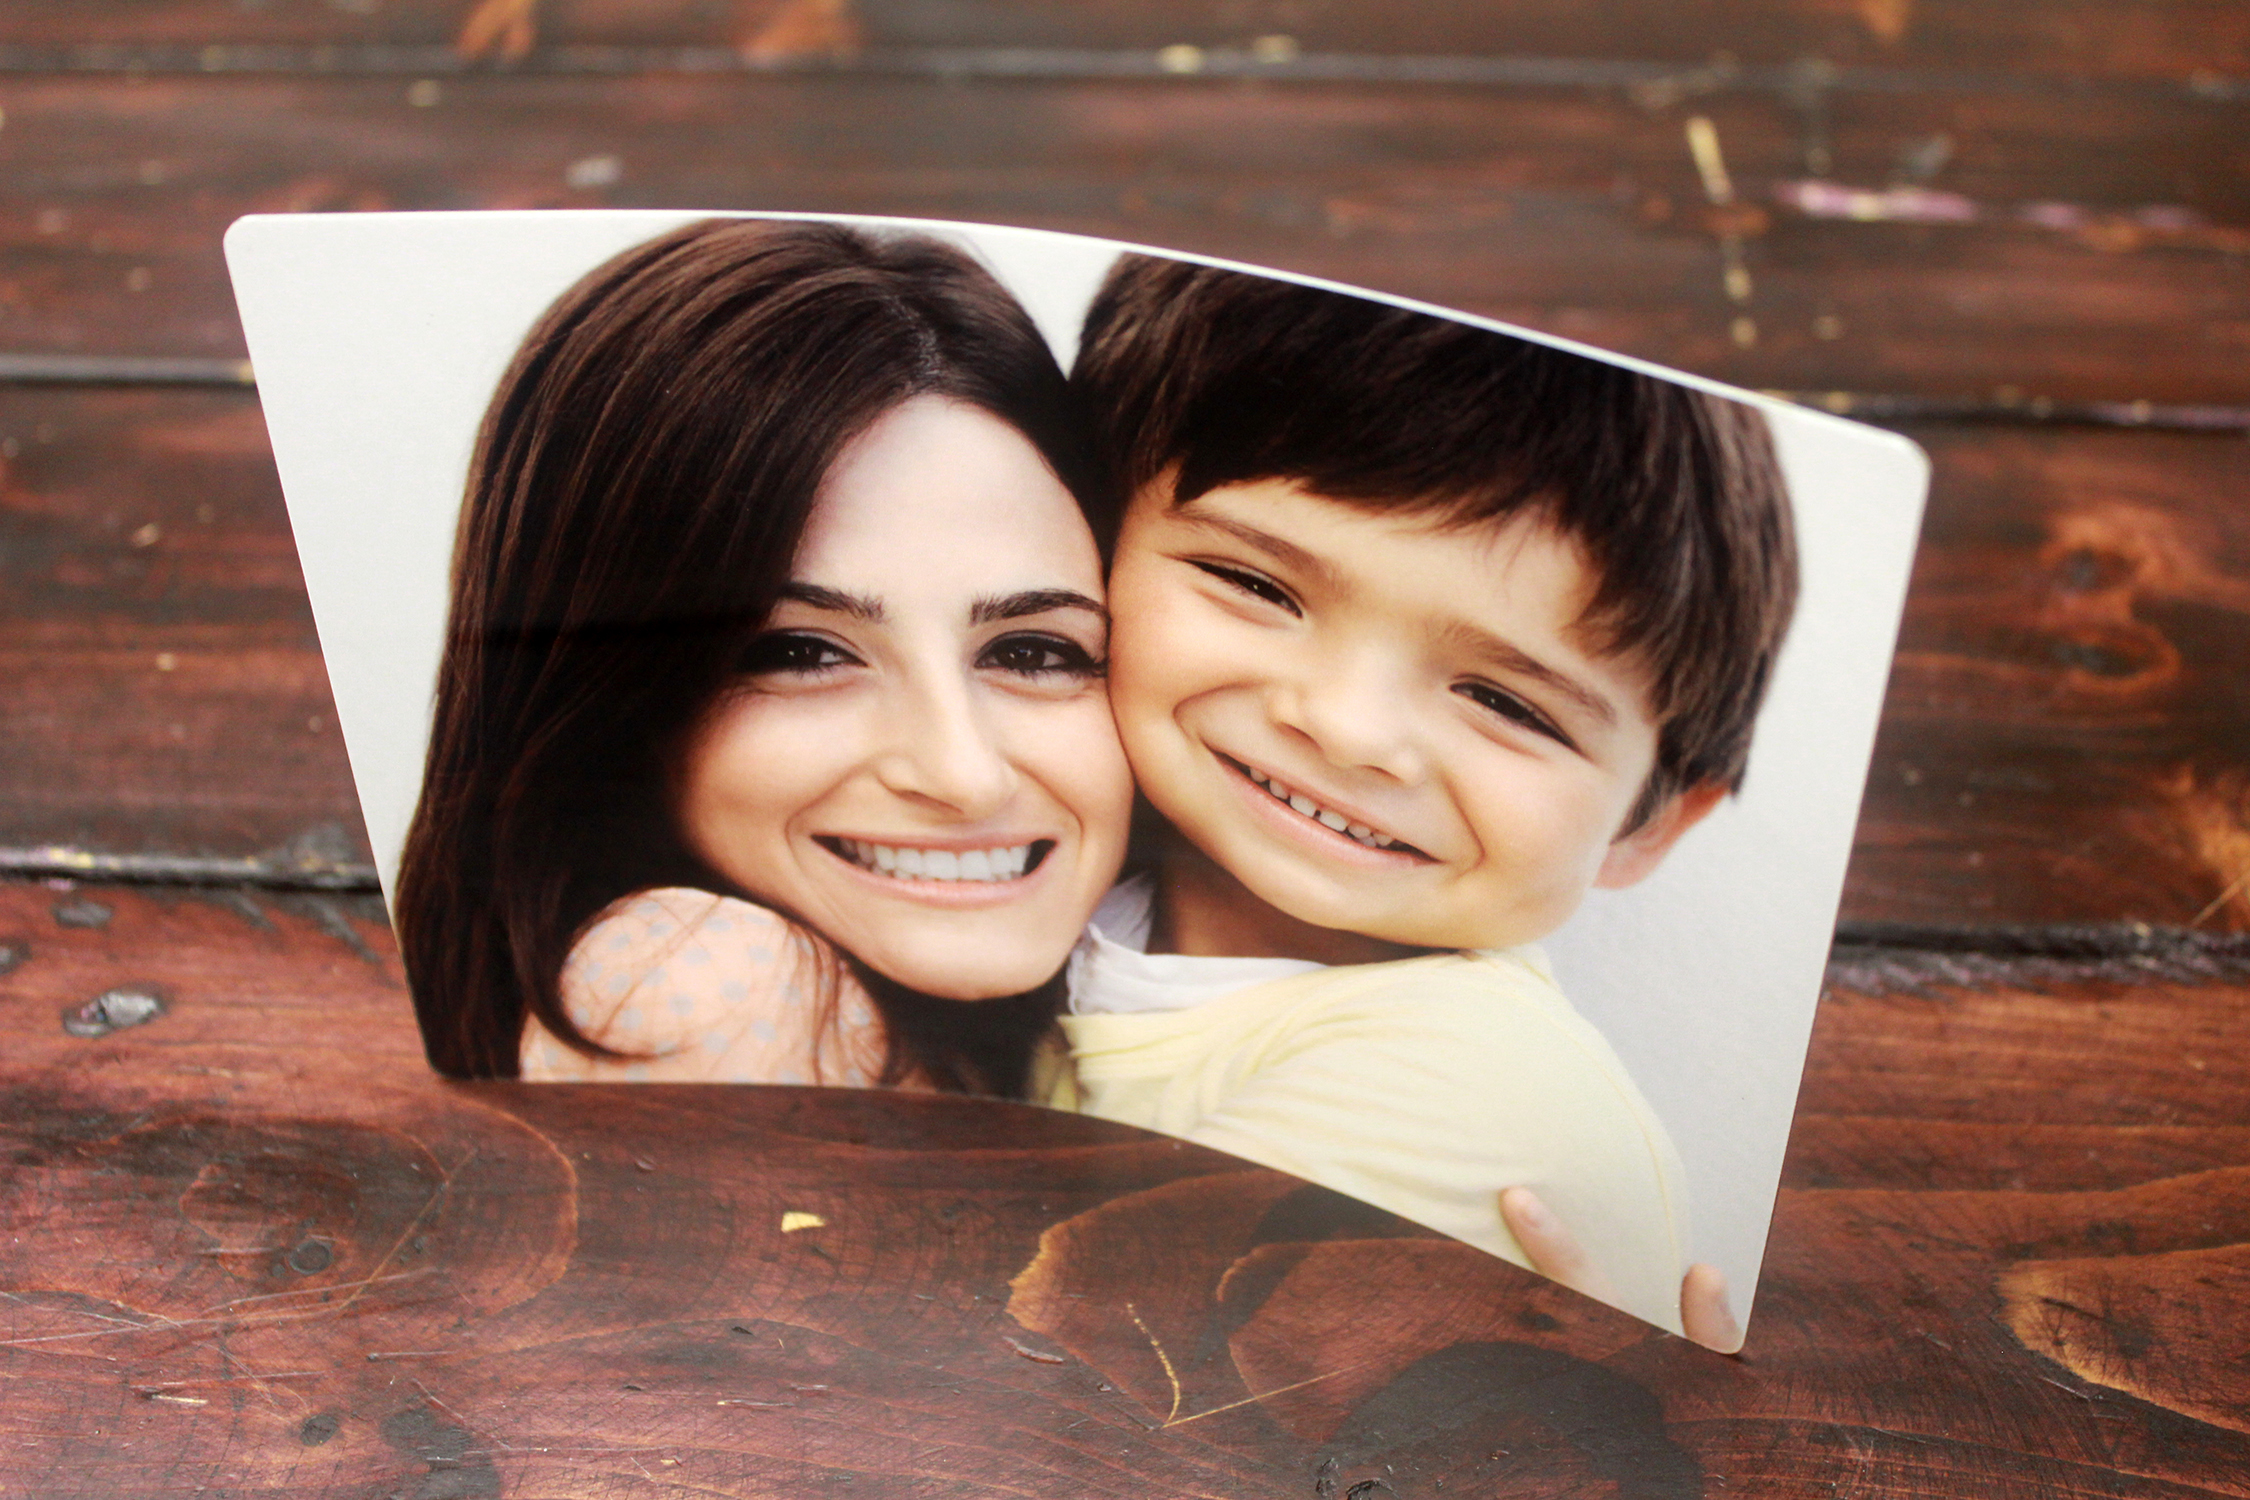
Now you have a high-value, self-standing ChromaLuxe metal photo panel!
All images courtesy Condé