Try This: Sandcarve a Paver Brick
Give back to your community and show off what you can do all in one.
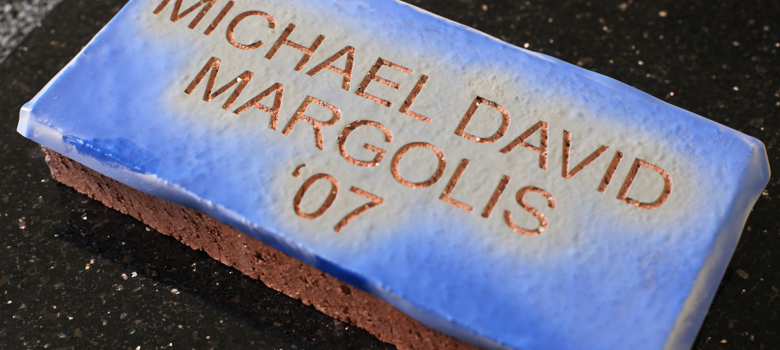


Donating etched bricks for a walkway or a memorial is a great way to give back and show off your sandcarving capabilities. By partnering with a local organization or cause, you can show your commitment to the community and pave the way for new people within it to make their way to your shop. Here’s how it’s done…
Materials Needed:
- Clay paver brick
- Sandcarving system (Used here: Rayzist 2034VXA)
- Photoresist (Used here: Rayzist’s SR2000 – 4 mil)
- Mini blow torch
- Color-fill (Used here: black Lithchrome paint)
- Blasting tape
Settings Used:
- Pressure: 45
Step One: Adhere photoresist to brick
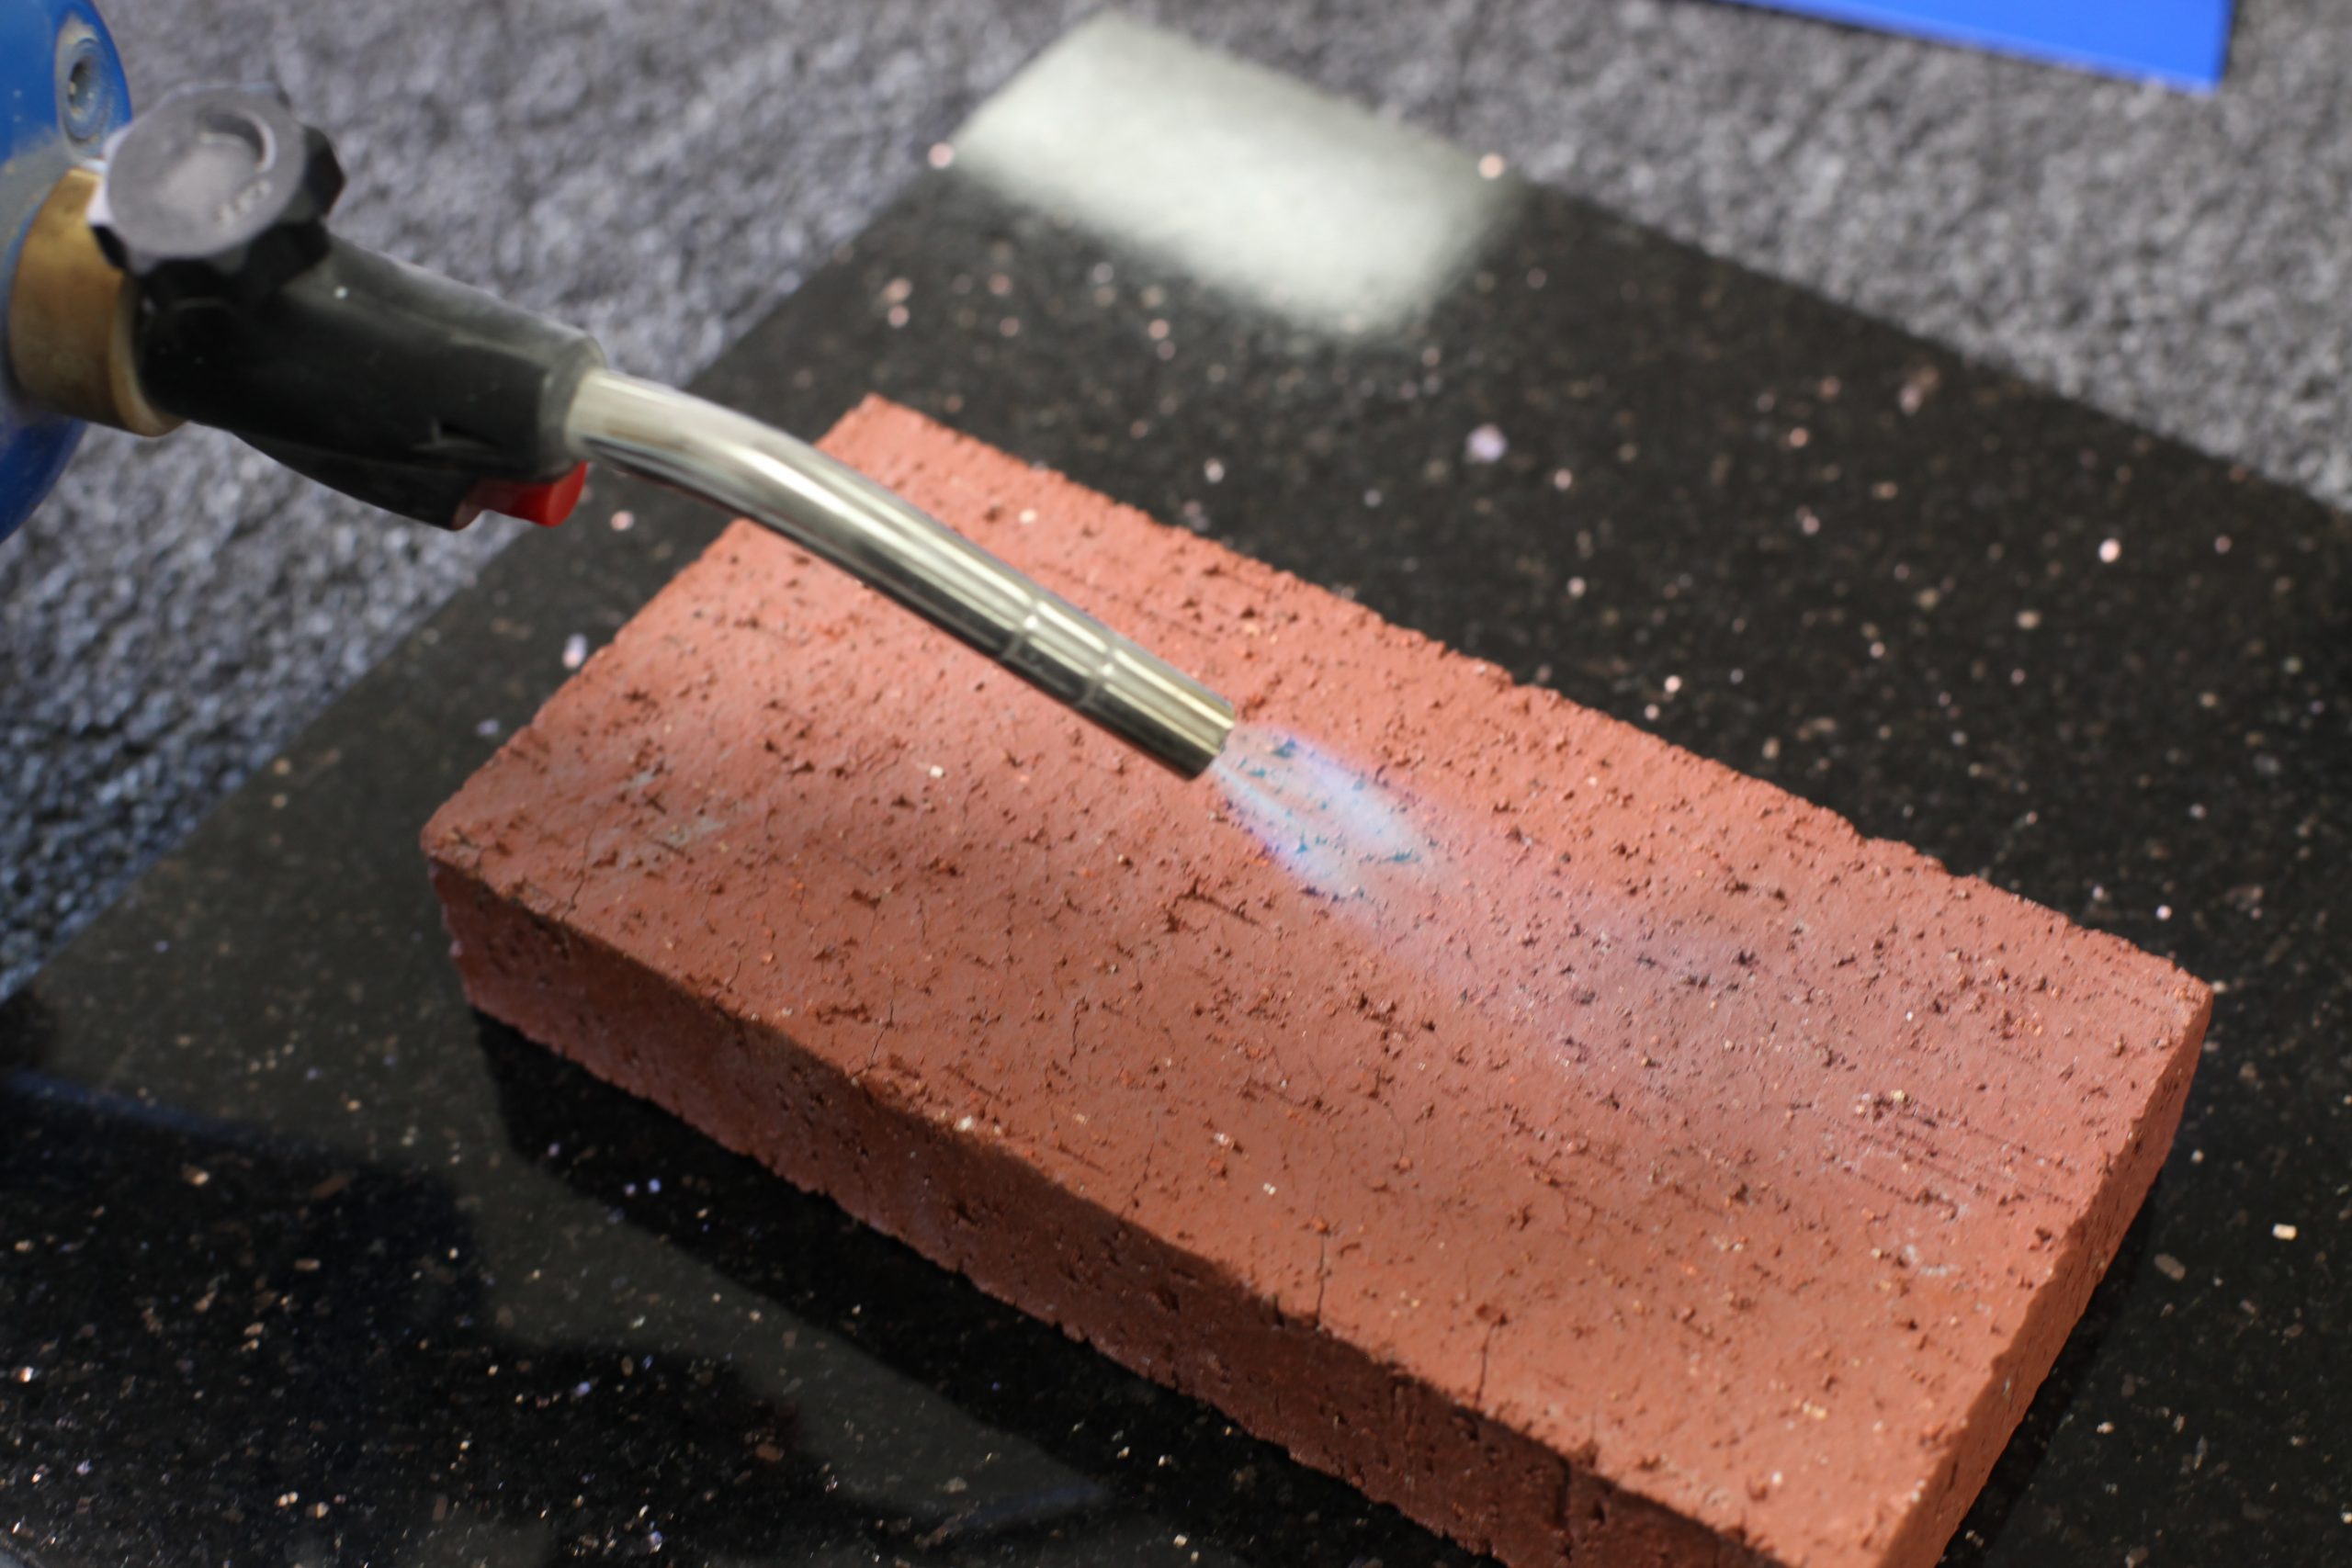
Place your hand on the surface that you’re putting the photoresist film on. You never want to apply photoresist mask to a cold brick or stone because the adhesive isn’t going to adhere properly.
If the paver is cold to the touch, take a mini blow torch and heat the surface for 30-40 seconds or until it is hot to the touch. Alternatively, you could lay it out in the sun for several hours, so it can warm up.
Once your brick is ready for application, press the sticky side of the mask onto the surface. If you are using a laser mask, you may need to brush on a few layers of adhesive to get it to stick. Depending on how deep you want to etch, you may also decide to double up your laser mask and make it an 8-mil mask.
Squeegee and remove the carrier. Then, tape off the exposed areas. I also recommend pressing down the centers of your text, especially for letters like ‘A’ or ‘B’.
Step Two: Sandcarve
Place the paver into the machine and blast the membrane away evenly. If you are using a 6-mil photoresist and you want to sandcarve quicker and with more depth, increase the pressure on your machine and sandcarve closer to the surface (about 3-4 inches).
Keep in mind, you always want to blast straight on and at a 90-degree angle. Blasting at an angle could potentially lift up the corners of the mask and affect the readability of the product.
Step Three: Paint (optional)
Place the etched paver into a paint booth or paint-safe area. Evenly spray a light coat of color-fill paint. Then, rotate the brick 90 degrees at a time to ensure all the cracks and grooves are filled.
Step Four: Remove mask
Carefully peel the mask. There may be little pieces left behind, so I recommend using blasting tape to tack them up.
-Liz Haas, Rayzist