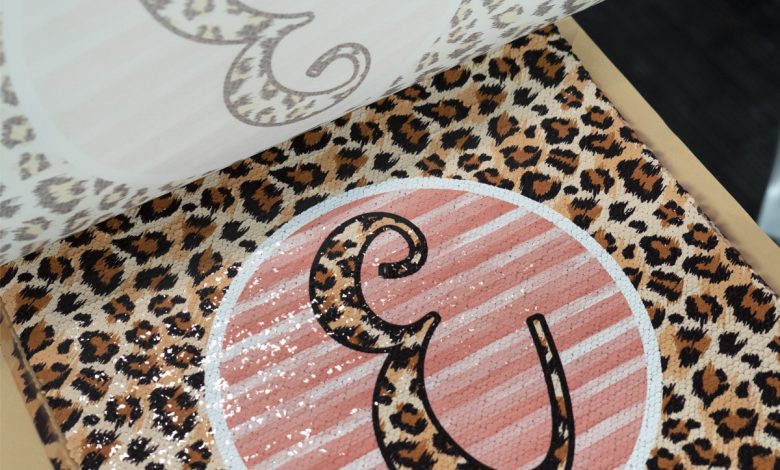
Try This: Personalize a Flip-Sequin Pillow
Create unique and blingy flip-sequin pillowcases using sublimation transfers.
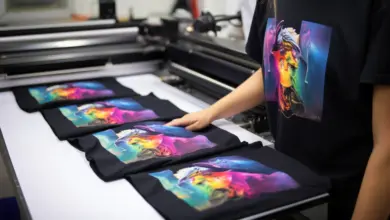
Customized gifts continue to get better and, of course, blingier. You can now easily create fun, unique, and blingy flip-sequin pillowcases using sublimation transfers. Sublimation transfers are an easy, low cost decorating solution for this use that gives you a soft and lightweight finish.
The sequins on the pillowcase we’re using in this tutorial have a polyester coating, allowing you to use sublimation. When sublimation ink is heated, it turns from a solid to a gas that transfers itself into the fibers of the polyester surface. This means that you’ll have a permanently printed design that won’t crack or peel. This also means that the surface texture of what you’re decorating is left intact, so you don’t have worry about losing the shininess of the sequins with the print. The blingy-ness level of the sequins remains the same before and after printing.
Required equipment and supplies:
- Sublimation transfer (you can upload your artwork using the Stahls’ Artwork Uploader and have your custom sublimation transfer sent to your door and ready to heat apply)
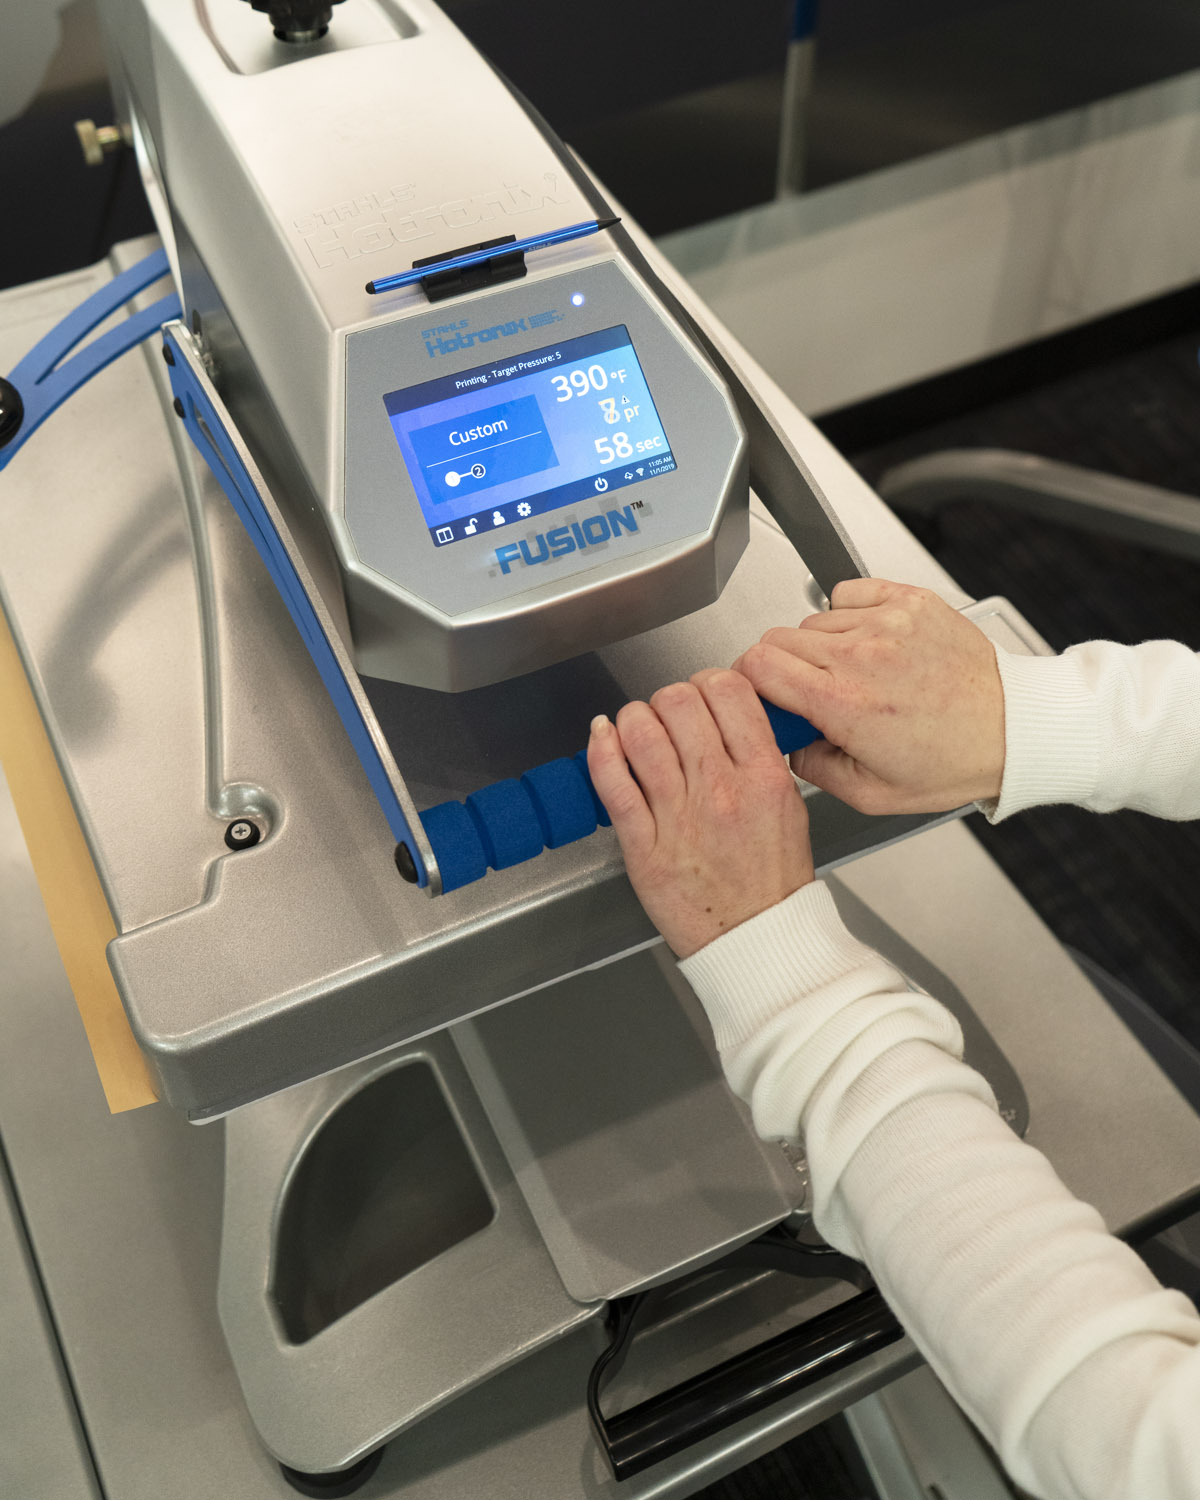
- Heat press (used here: Hotronix Fusion IQ)
- Flip-sequin pillowcase (used here: reversible sequin sublimation pillowcase 16″ X 16″ from Coastal Business Supplies)
- Kraft paper cover sheet
Application settings:
- Time: 60 seconds
- Temperature: 395 F
- Pressure: Medium
- Peel: Hot
Step 1: Getting your design ready
Upload your custom artwork using Stahls’ Custom Artwork Uploader.
Tip: If you want to cover the entire sublimatable area, make the background of your artwork slightly larger than the item’s printable area, or with a bleed, creating an overhang to ensure that edges of the pillowcase are fully covered during application. For this example, because the printable area is 16″ X 16″, I made my artwork 16.4″ X 16.4″.
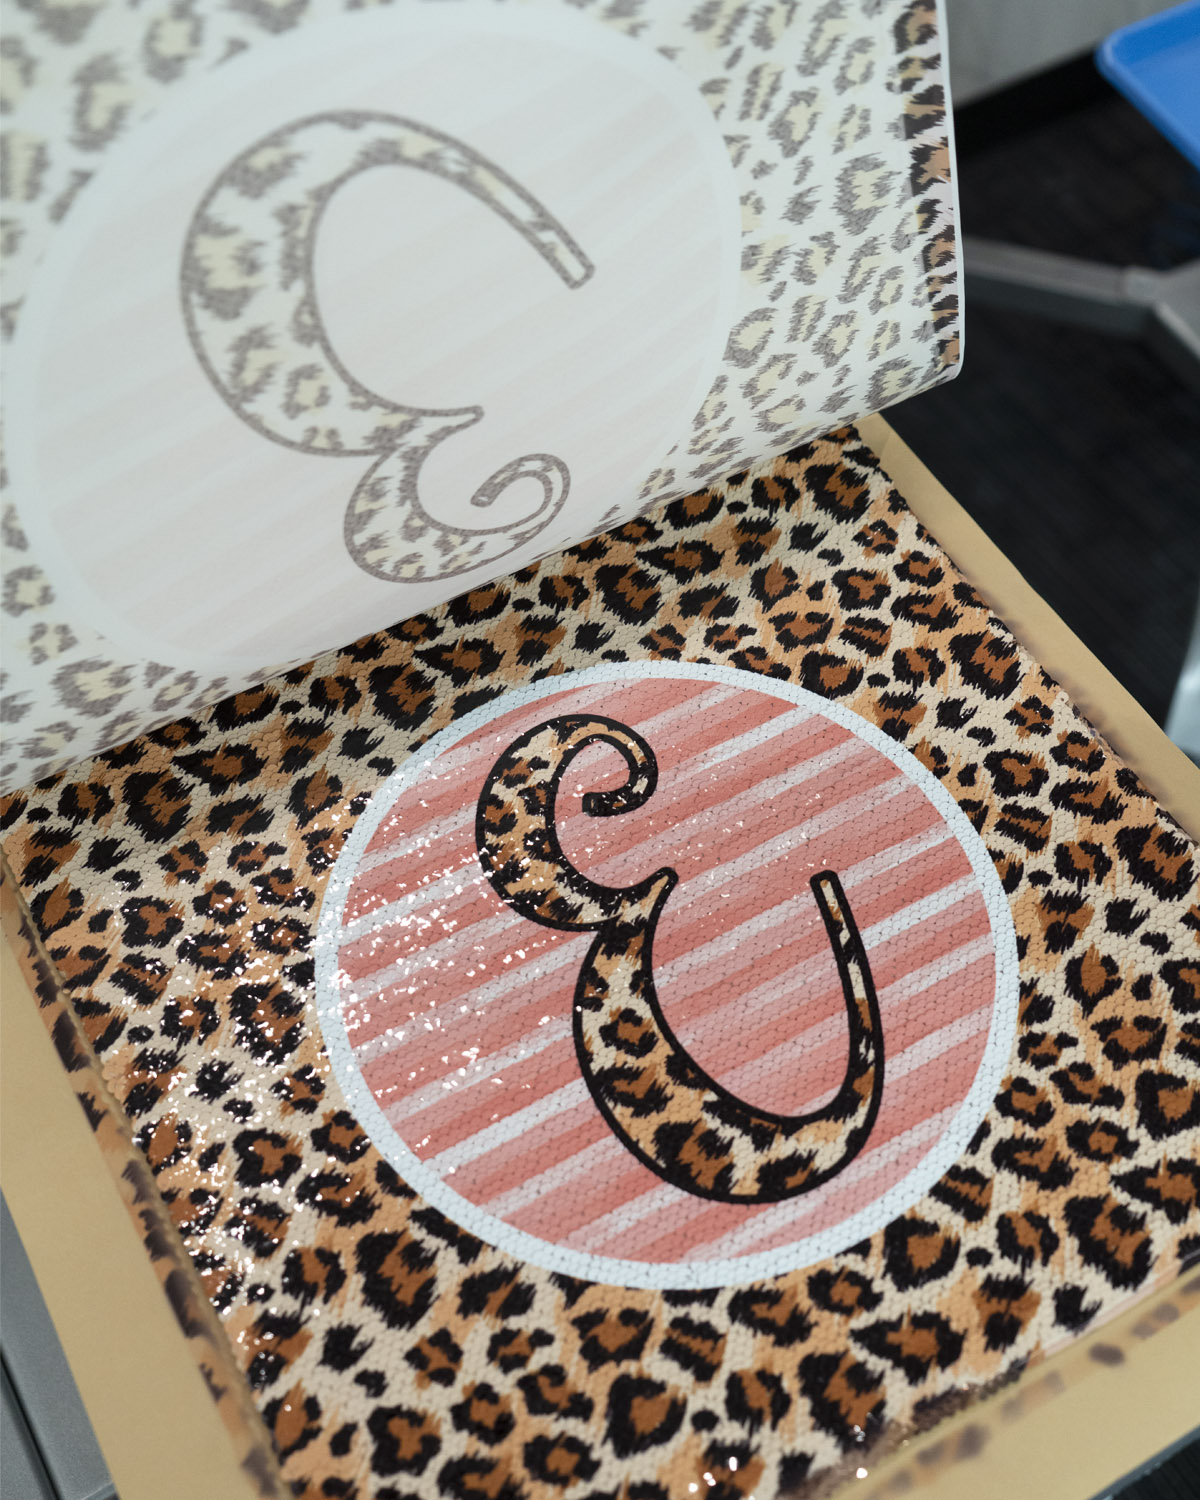
Note: Images on the transfer paper will appear “faded” until pressed.
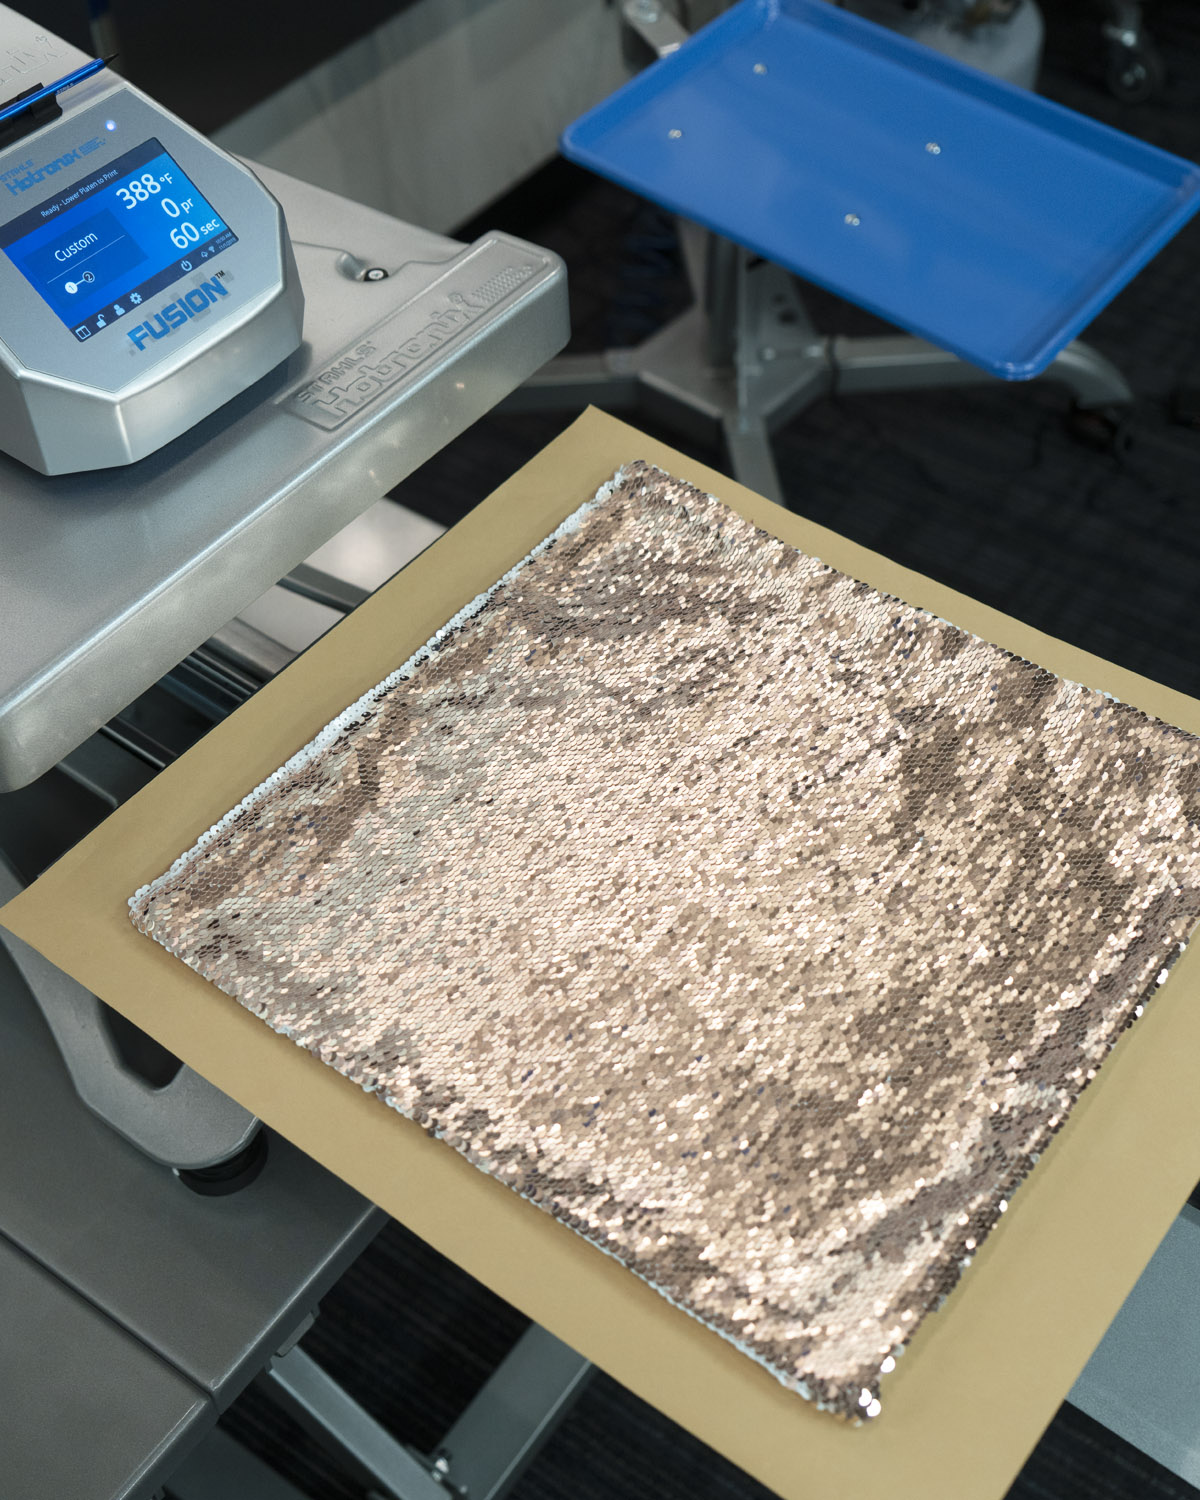
Step 2: Preparing for heat application
(All images courtesy Sarah Montreuil)
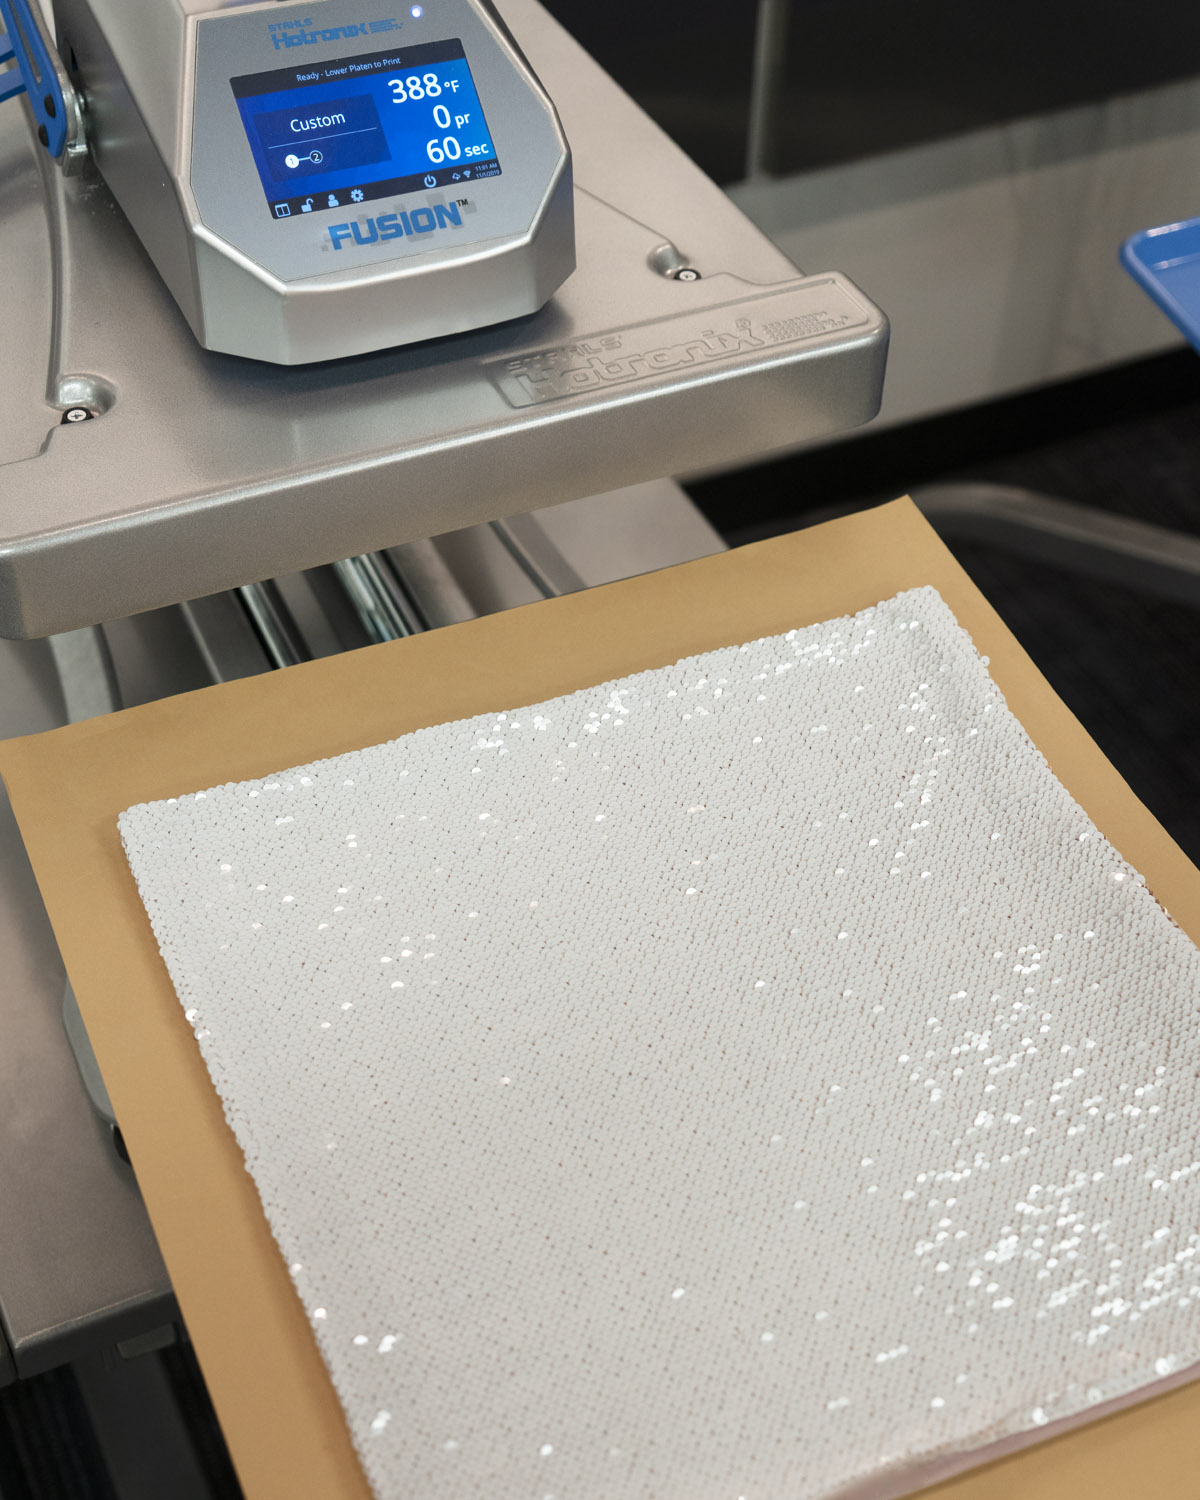
Place the pillowcase face-up on the platen.
Tip: If using an oversized design like the one in this example, place a cover sheet under the pillow to cover the surface of the platen so that the excess area of the print transfers onto the kraft paper rather than the platen.
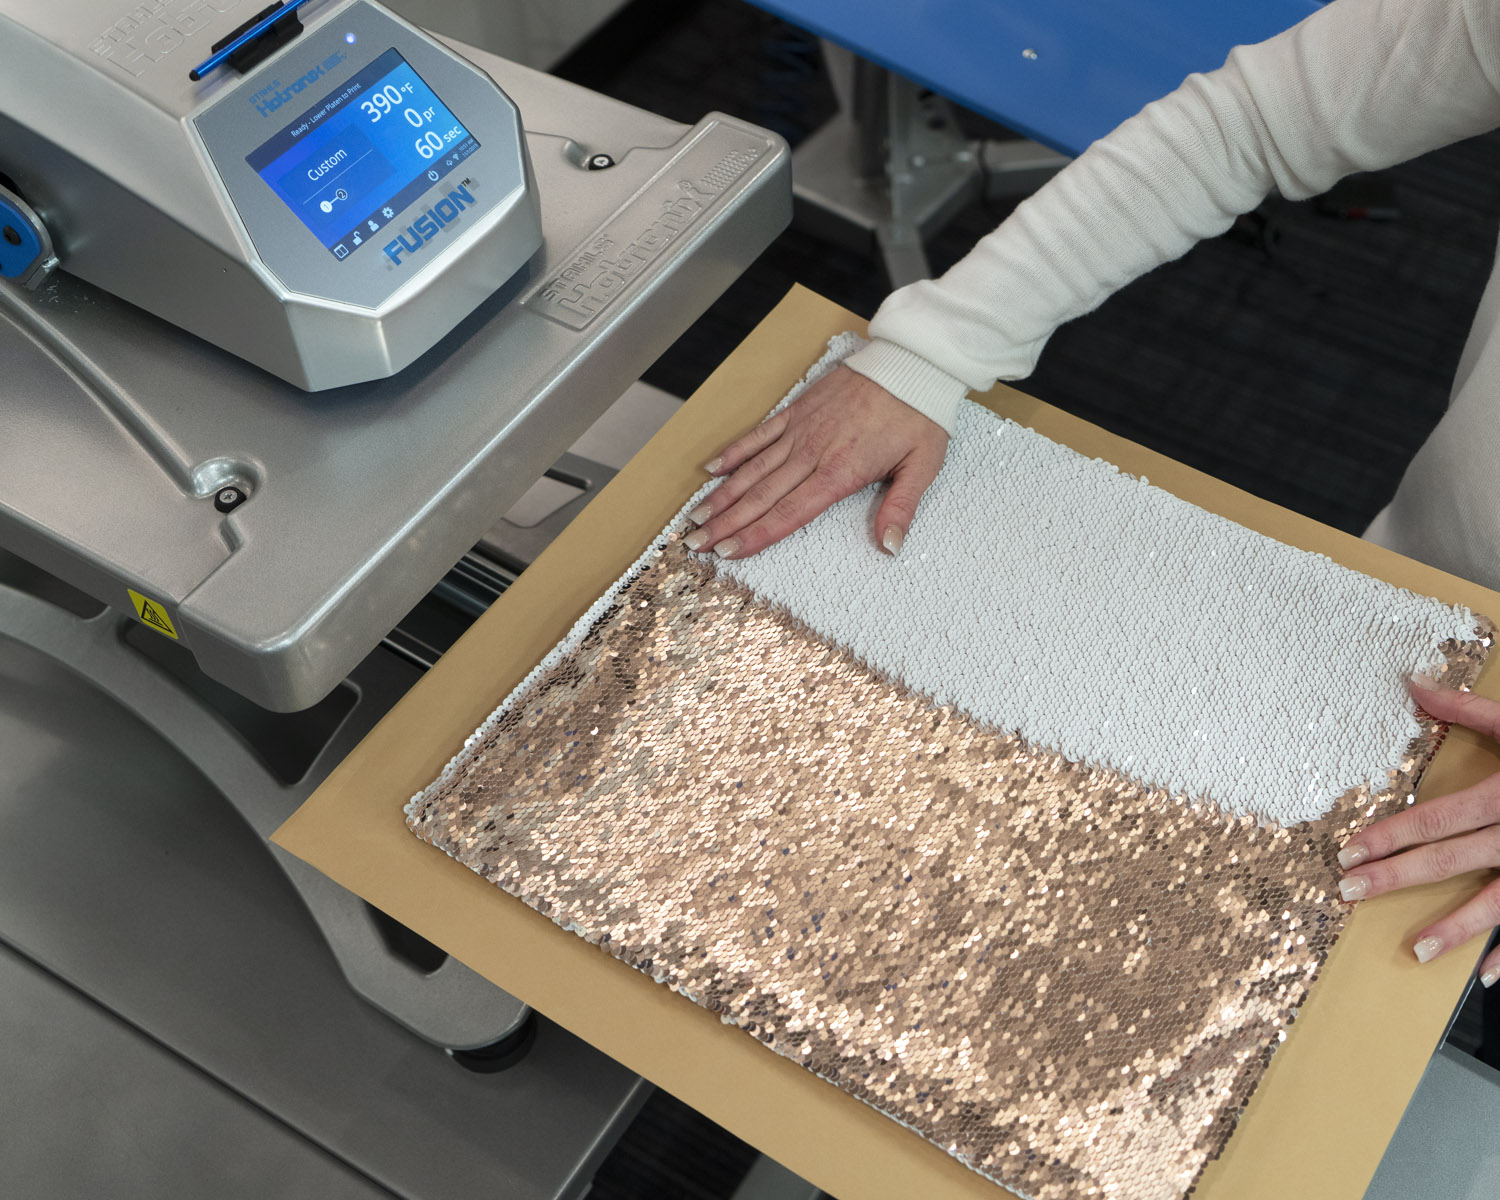
Step Three: Pillowcase prep
Swipe all sequins to the white side. Make sure to get sequins along the edges — due to the nature of the seam, you might not be able to get every little sequin along the edges to flip over, which is okay! It won’t affect the overall look of the finished product if some are left behind.
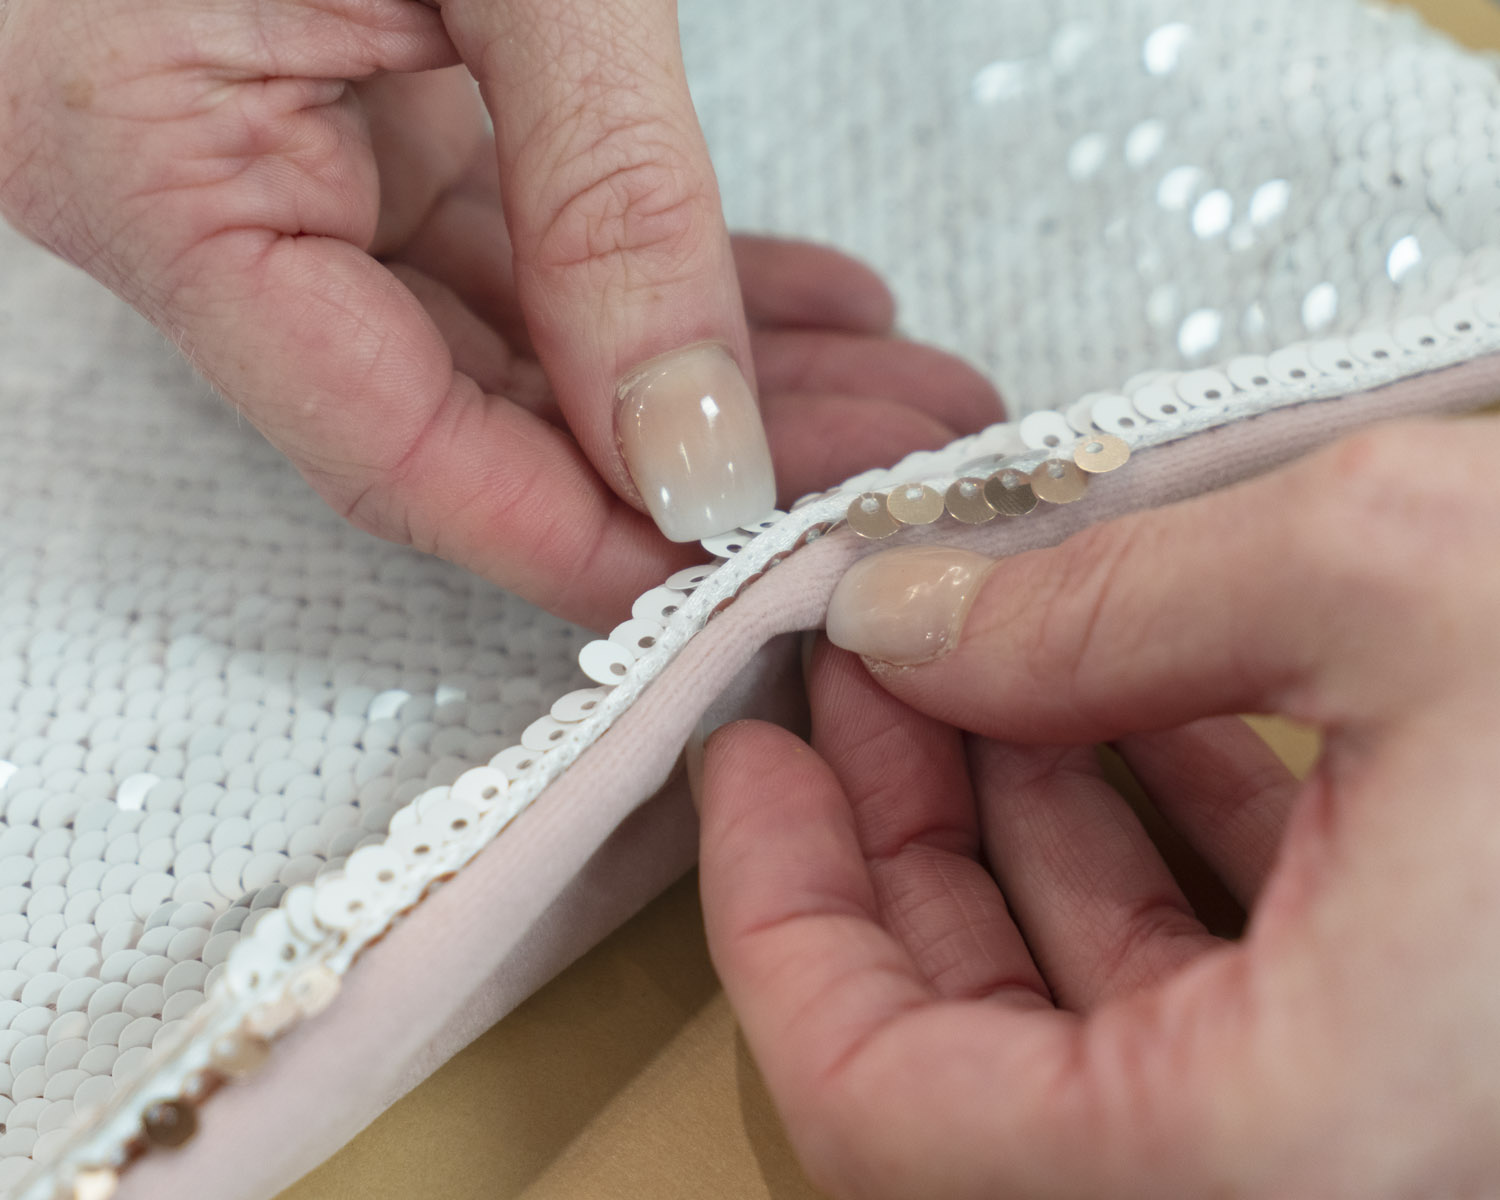
Don’t worry if every little sequin along the edges isn’t flipped — it won’t affect the overall look of the finished product.
Step Four: Application
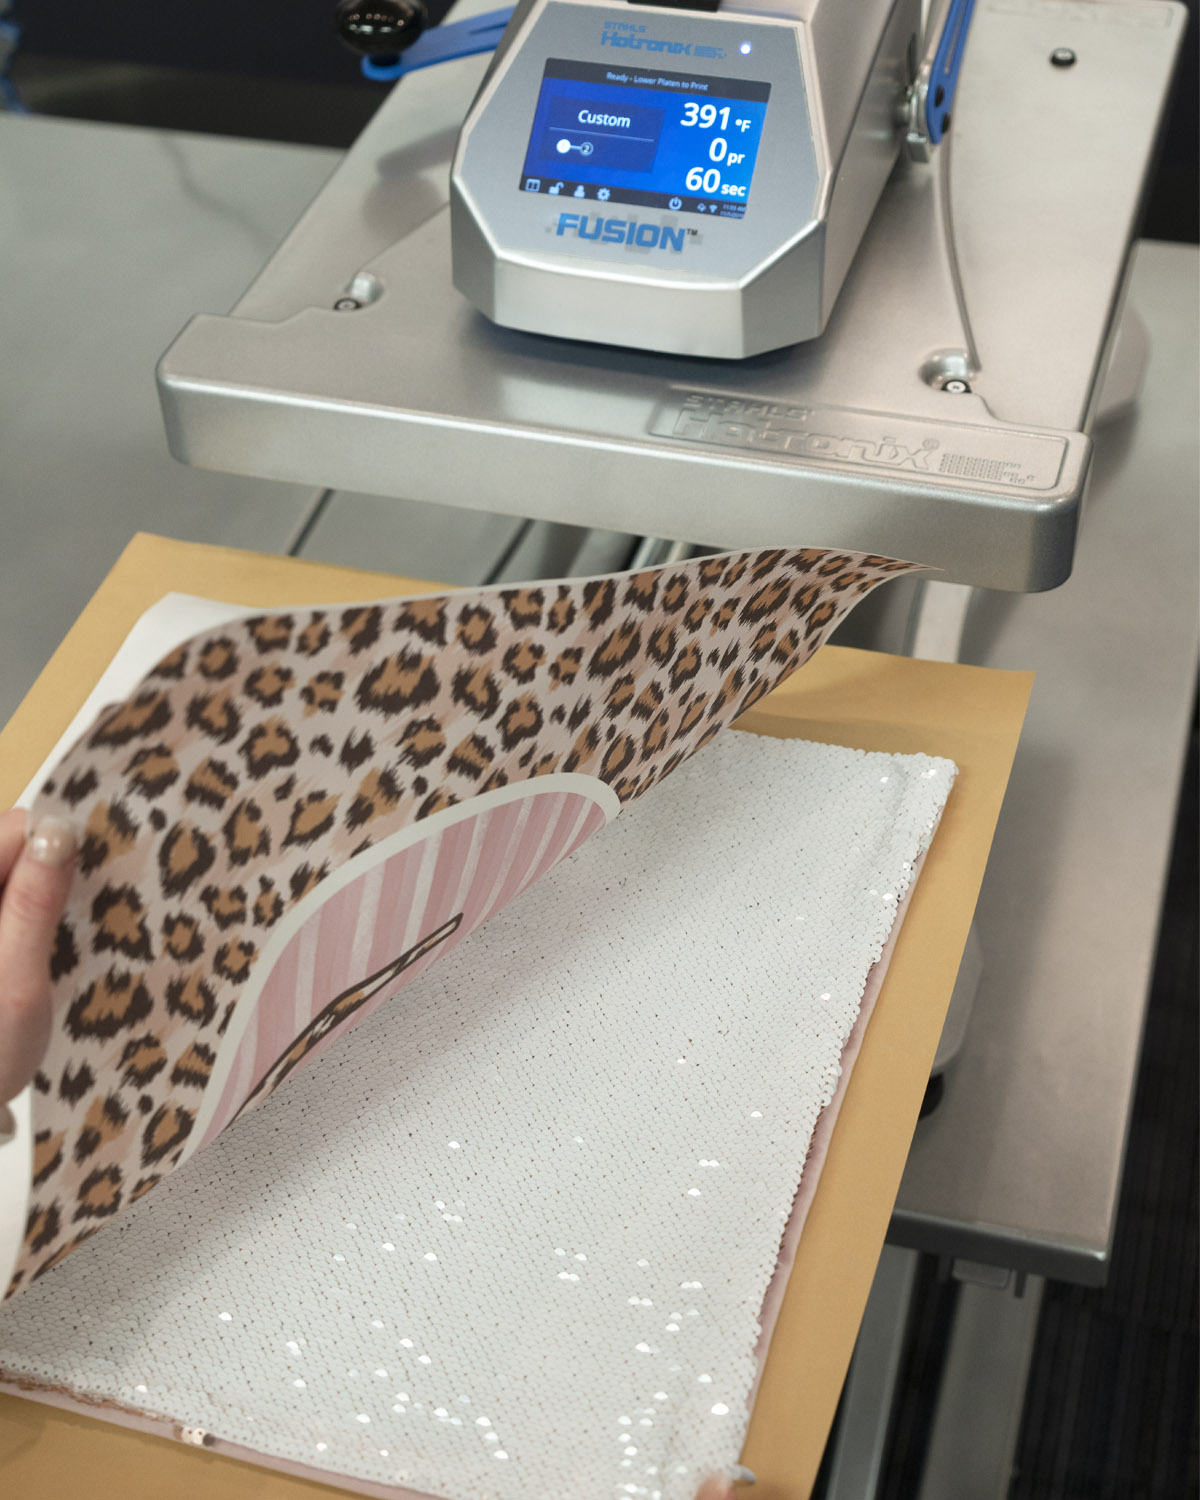
Place the transfer face-down on the pillowcase.
Place the sublimation transfer face-down on the pillowcase.
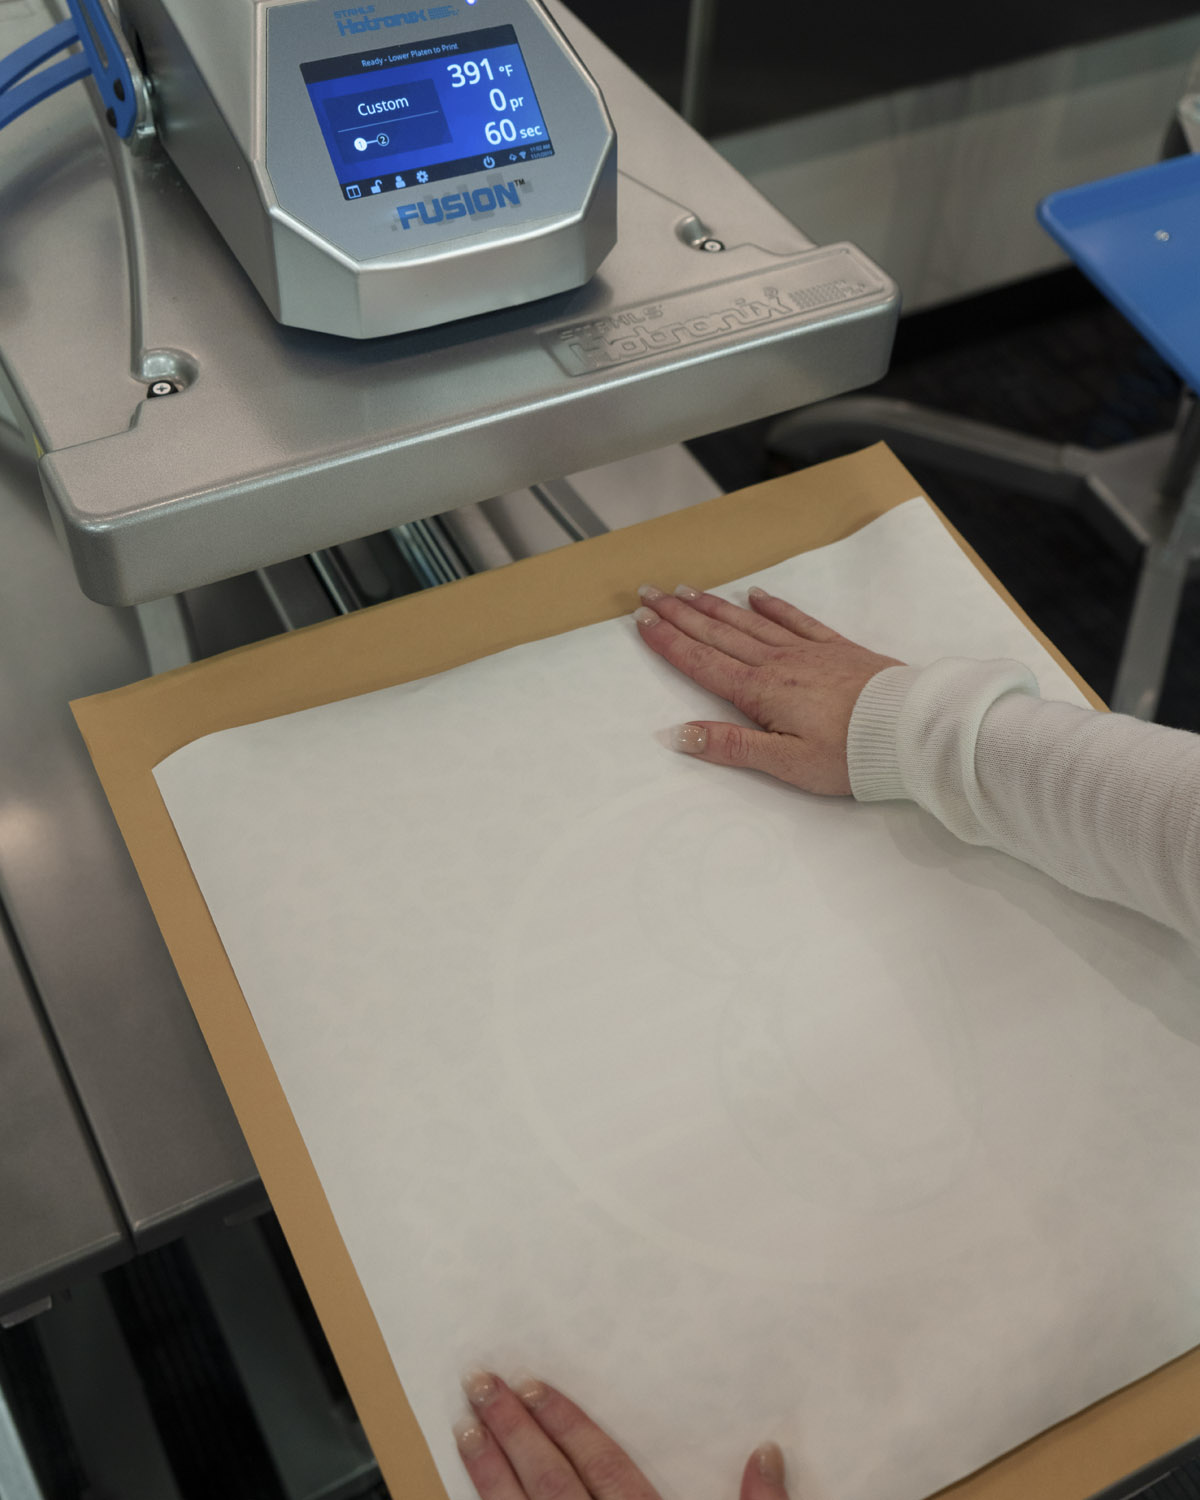
Gently place one hand on top of the transfer to hold the paper in place, and with the other hand, lightly feel around the edge of the transfer to ensure the print is covering all the desired sequins.
Apply your transfer using the application instructions listed, and just like that, you have a uniquely decorated item.
Tip: Please note that settings will vary depending on equipment used.