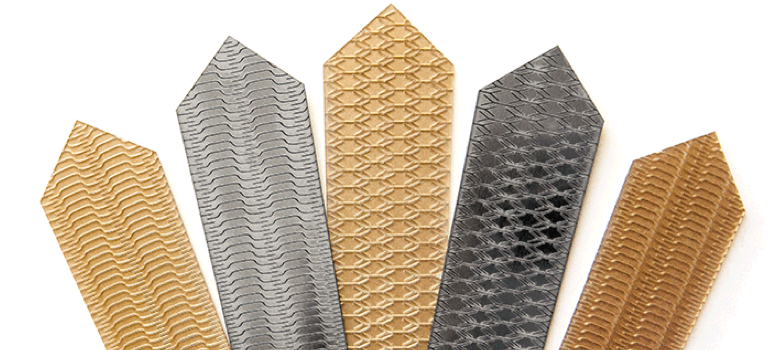
With Father’s Day fast approaching, help your customers ditch that boring old necktie for dad this year. Using your laser cutter and plastic sheet stock, you can create decorative patterns for a flexible finished tie.
Take it up a notch and use a metallic plastic for some additional bling or throw a magnetic badge attachment on the back and you’re good to go. You can even experiment with cutting patterns on different materials to produce a flexible creation of your own.
And to keep the fun going after the holiday, these custom laser-cut ties also make a super addition to photo booths, selfie stations, bachelor parties, and more.
Materials Needed:
- Engravable plastics (Used here: LaserMax by Rowmark)
- Magnetic badge attachments
- Laser system
Settings:
- Cut: vector
- Speed: 40 percent
- Power: 50 percent
Step One: Prepare the artwork
Graphics are available for download from Epilog Laser, though you are welcome to design your own.
Once you have the artwork you want to use, import it into your graphic software and make adjustments as necessary.

All images courtesy Epilog Laser.
Step Two: Send to the laser
Send the job to the laser with the correct parameters for your machine wattage.

Step Three: Assemble
Attach a magnetic clip to the back of the tie and secure around your shirt collar.

-Amy Dallman, Epilog