Sublimation Best Practices
Learn techniques to execute quality sublimated products in this feature from the March issue of A&E.


Quality is job number one that we all can agree needs to be executed with sublimation, but we as producers and decorators can only work with what we have from our client or design resolution. The good news is there are a few best practices you can follow that will help, even if an image is poor quality. Let’s discuss those as well as look at a few projects to help illustrate them.
Practical Pointers
Growing up in the industry, we started at 360 DPI (dots per inch) as a sufficient resolution considering flesh tones was the main reproduction in the late ’80s. In today’s world, we have cell phone cameras that are 5.0 megapixel and higher. I still feel that 360-plus is a great resolution for printing; the key is the designing and color factor. When reproducing sublimation, I strongly suggest doing test prints on standard laser or inkjet printer for proof.
We need to remember all substrates are not created equal, but we do know that 400 F is our general temperature with any brand of heat press for sublimation transferring. With the temperature in play, we need to focus on substrates.
For example, let’s look at aluminum (metal). This requires a 400 F temperature for 45 to 65 seconds for time (always remove any protective film before pressing)… or does it? The answer is yes, but when we turn to jewelry, plastic lunch boxes, and cell phone case covers, all of which have the aluminum insert metal, do we still go with 45 to 60 seconds? No. With this particular metal, the gauge thickness is thin. We call these “insert products”: when you take the sublimation metal and apply it to the substrate in a result that gives you a finished product in two parts. For these inserts, it is 30 seconds for aluminum and/or metal.
Let’s talk fabrics. Are they created equal? No again. When sublimating standard fabric, 100 percent polyester is needed and can be the only material used for full-color release (the available options include tote bags, aprons, can wraps, and more). Here again, you may think the standard 400 F for 45 to 60 seconds; however, polyester performance garments such as T-shirts should not be sublimated for 45 to 60 seconds. These materials are designed to absorb body heat. A standard heat press at 400 F achieves great results in 30 seconds with no box lines, no bleed-through, and no garment discoloration. Remember: garments are dyed so heat and pressure can and will affect the colors.
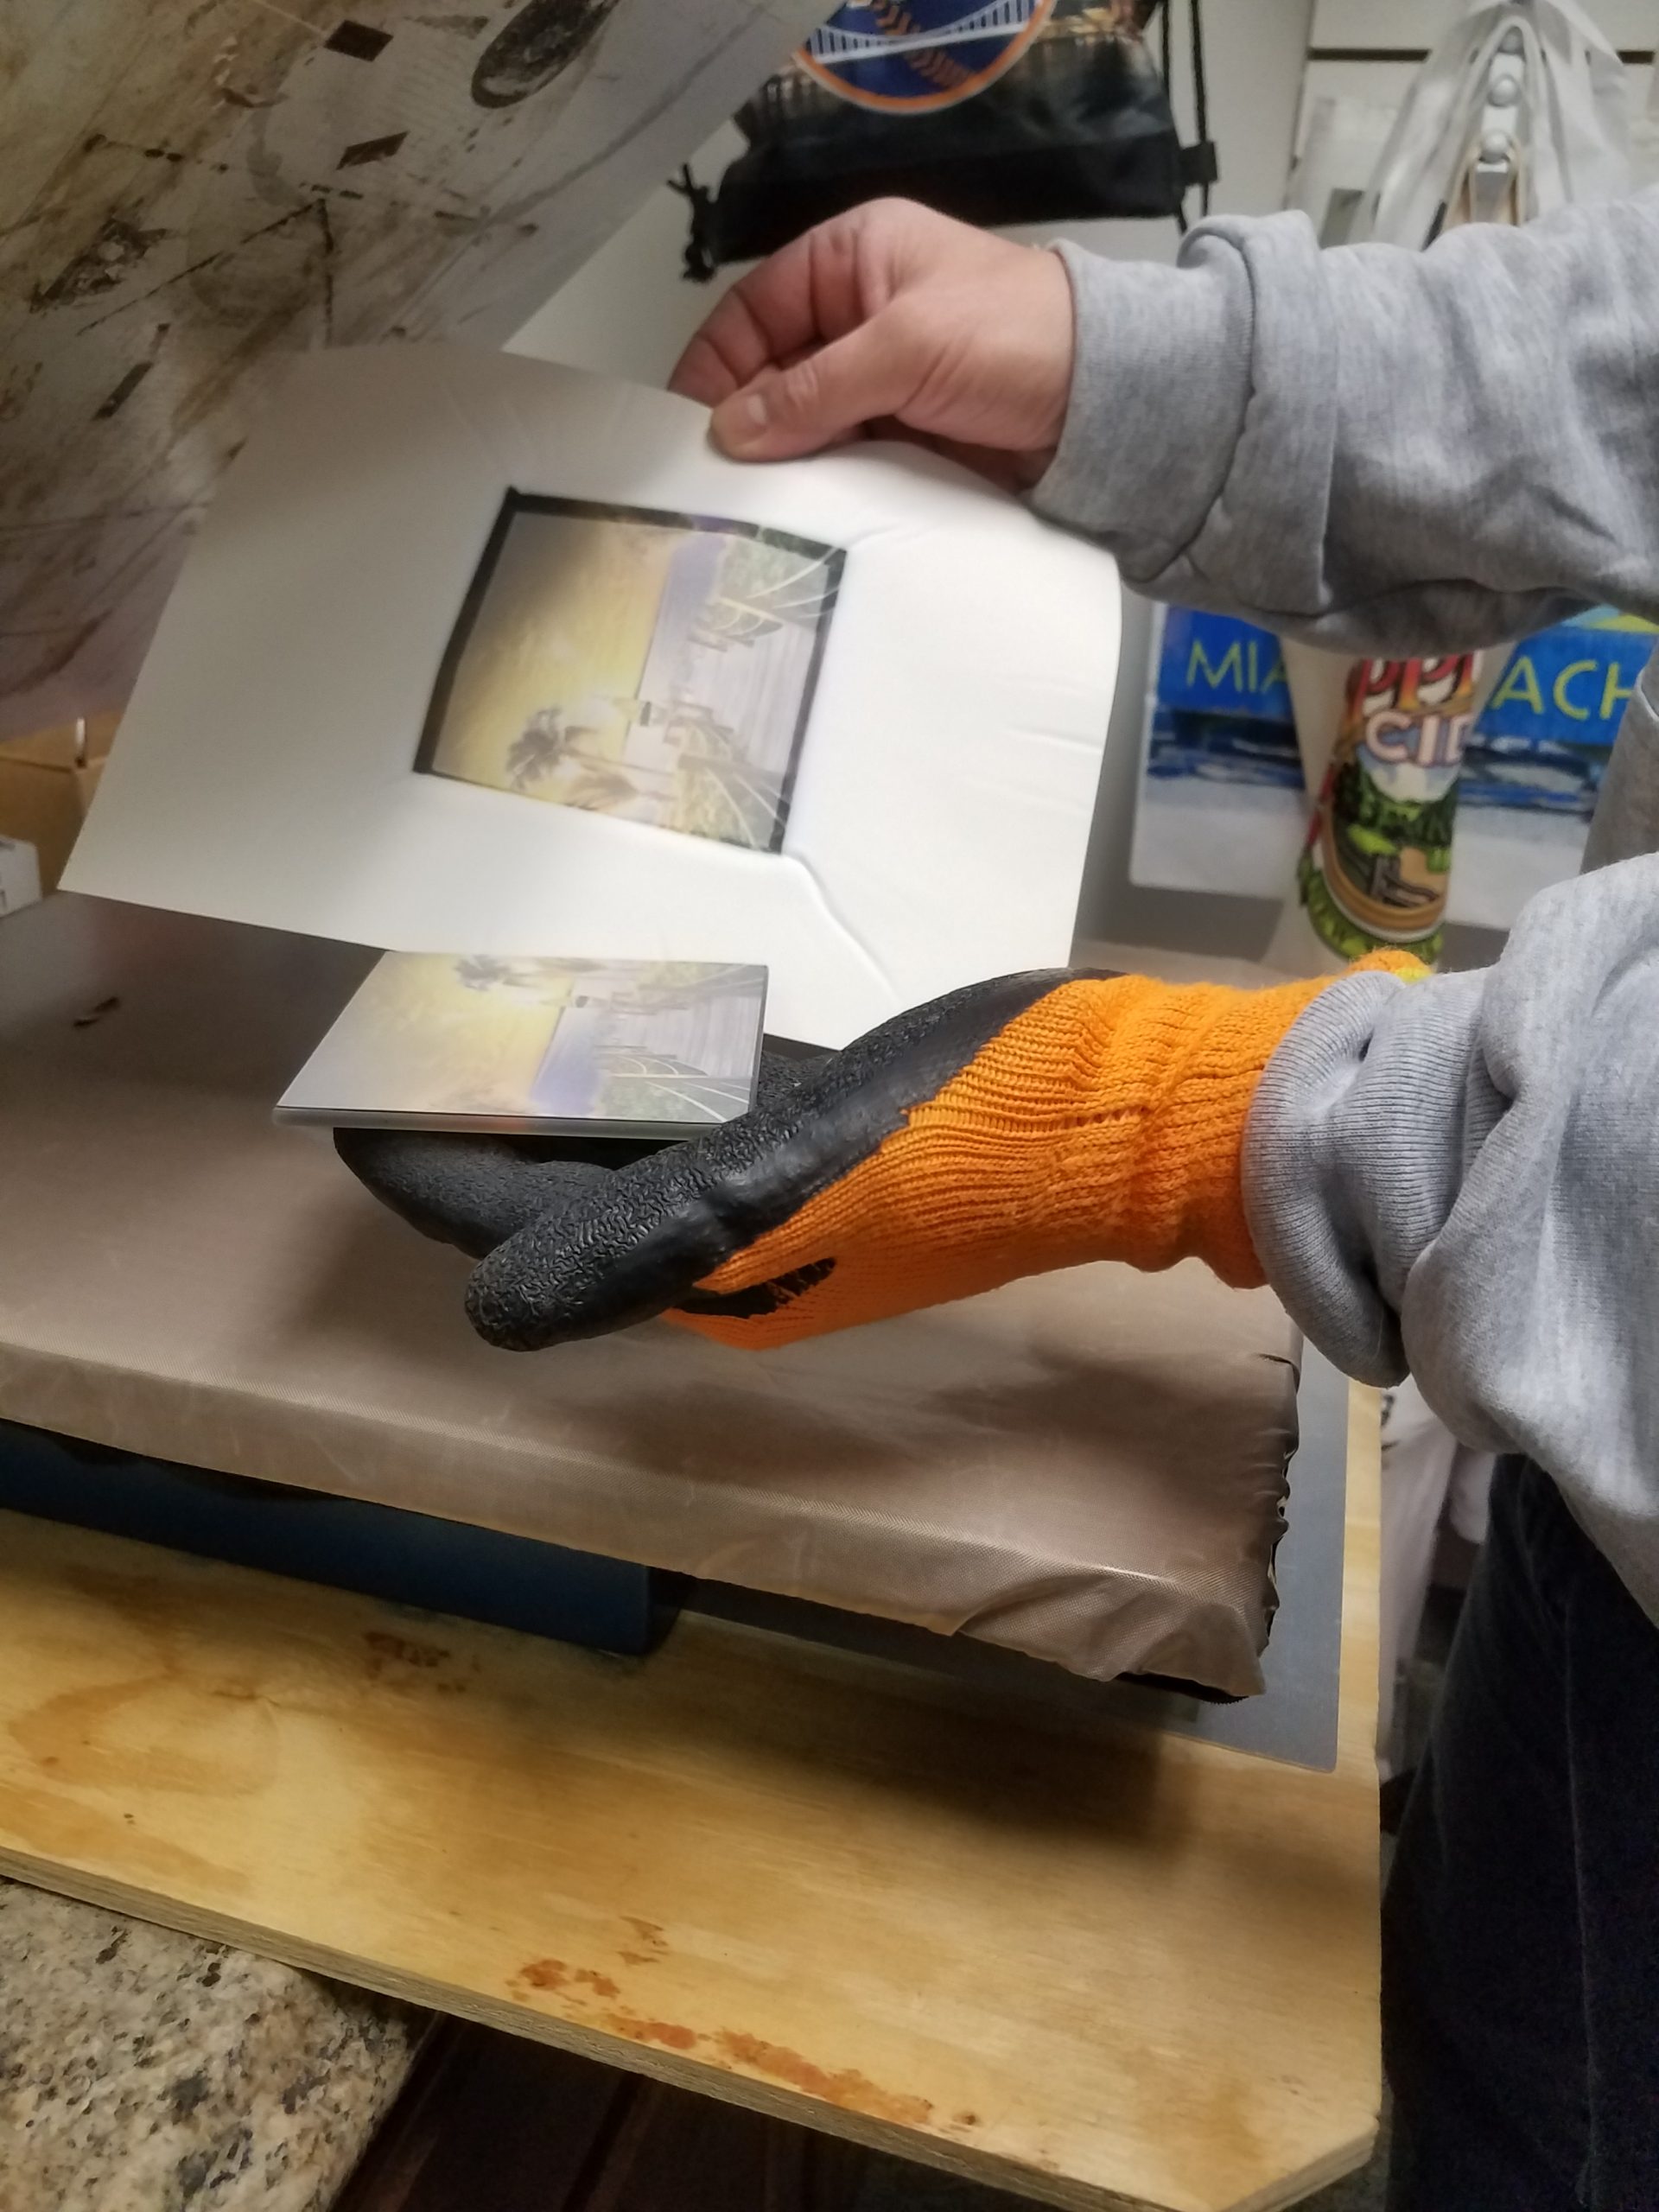
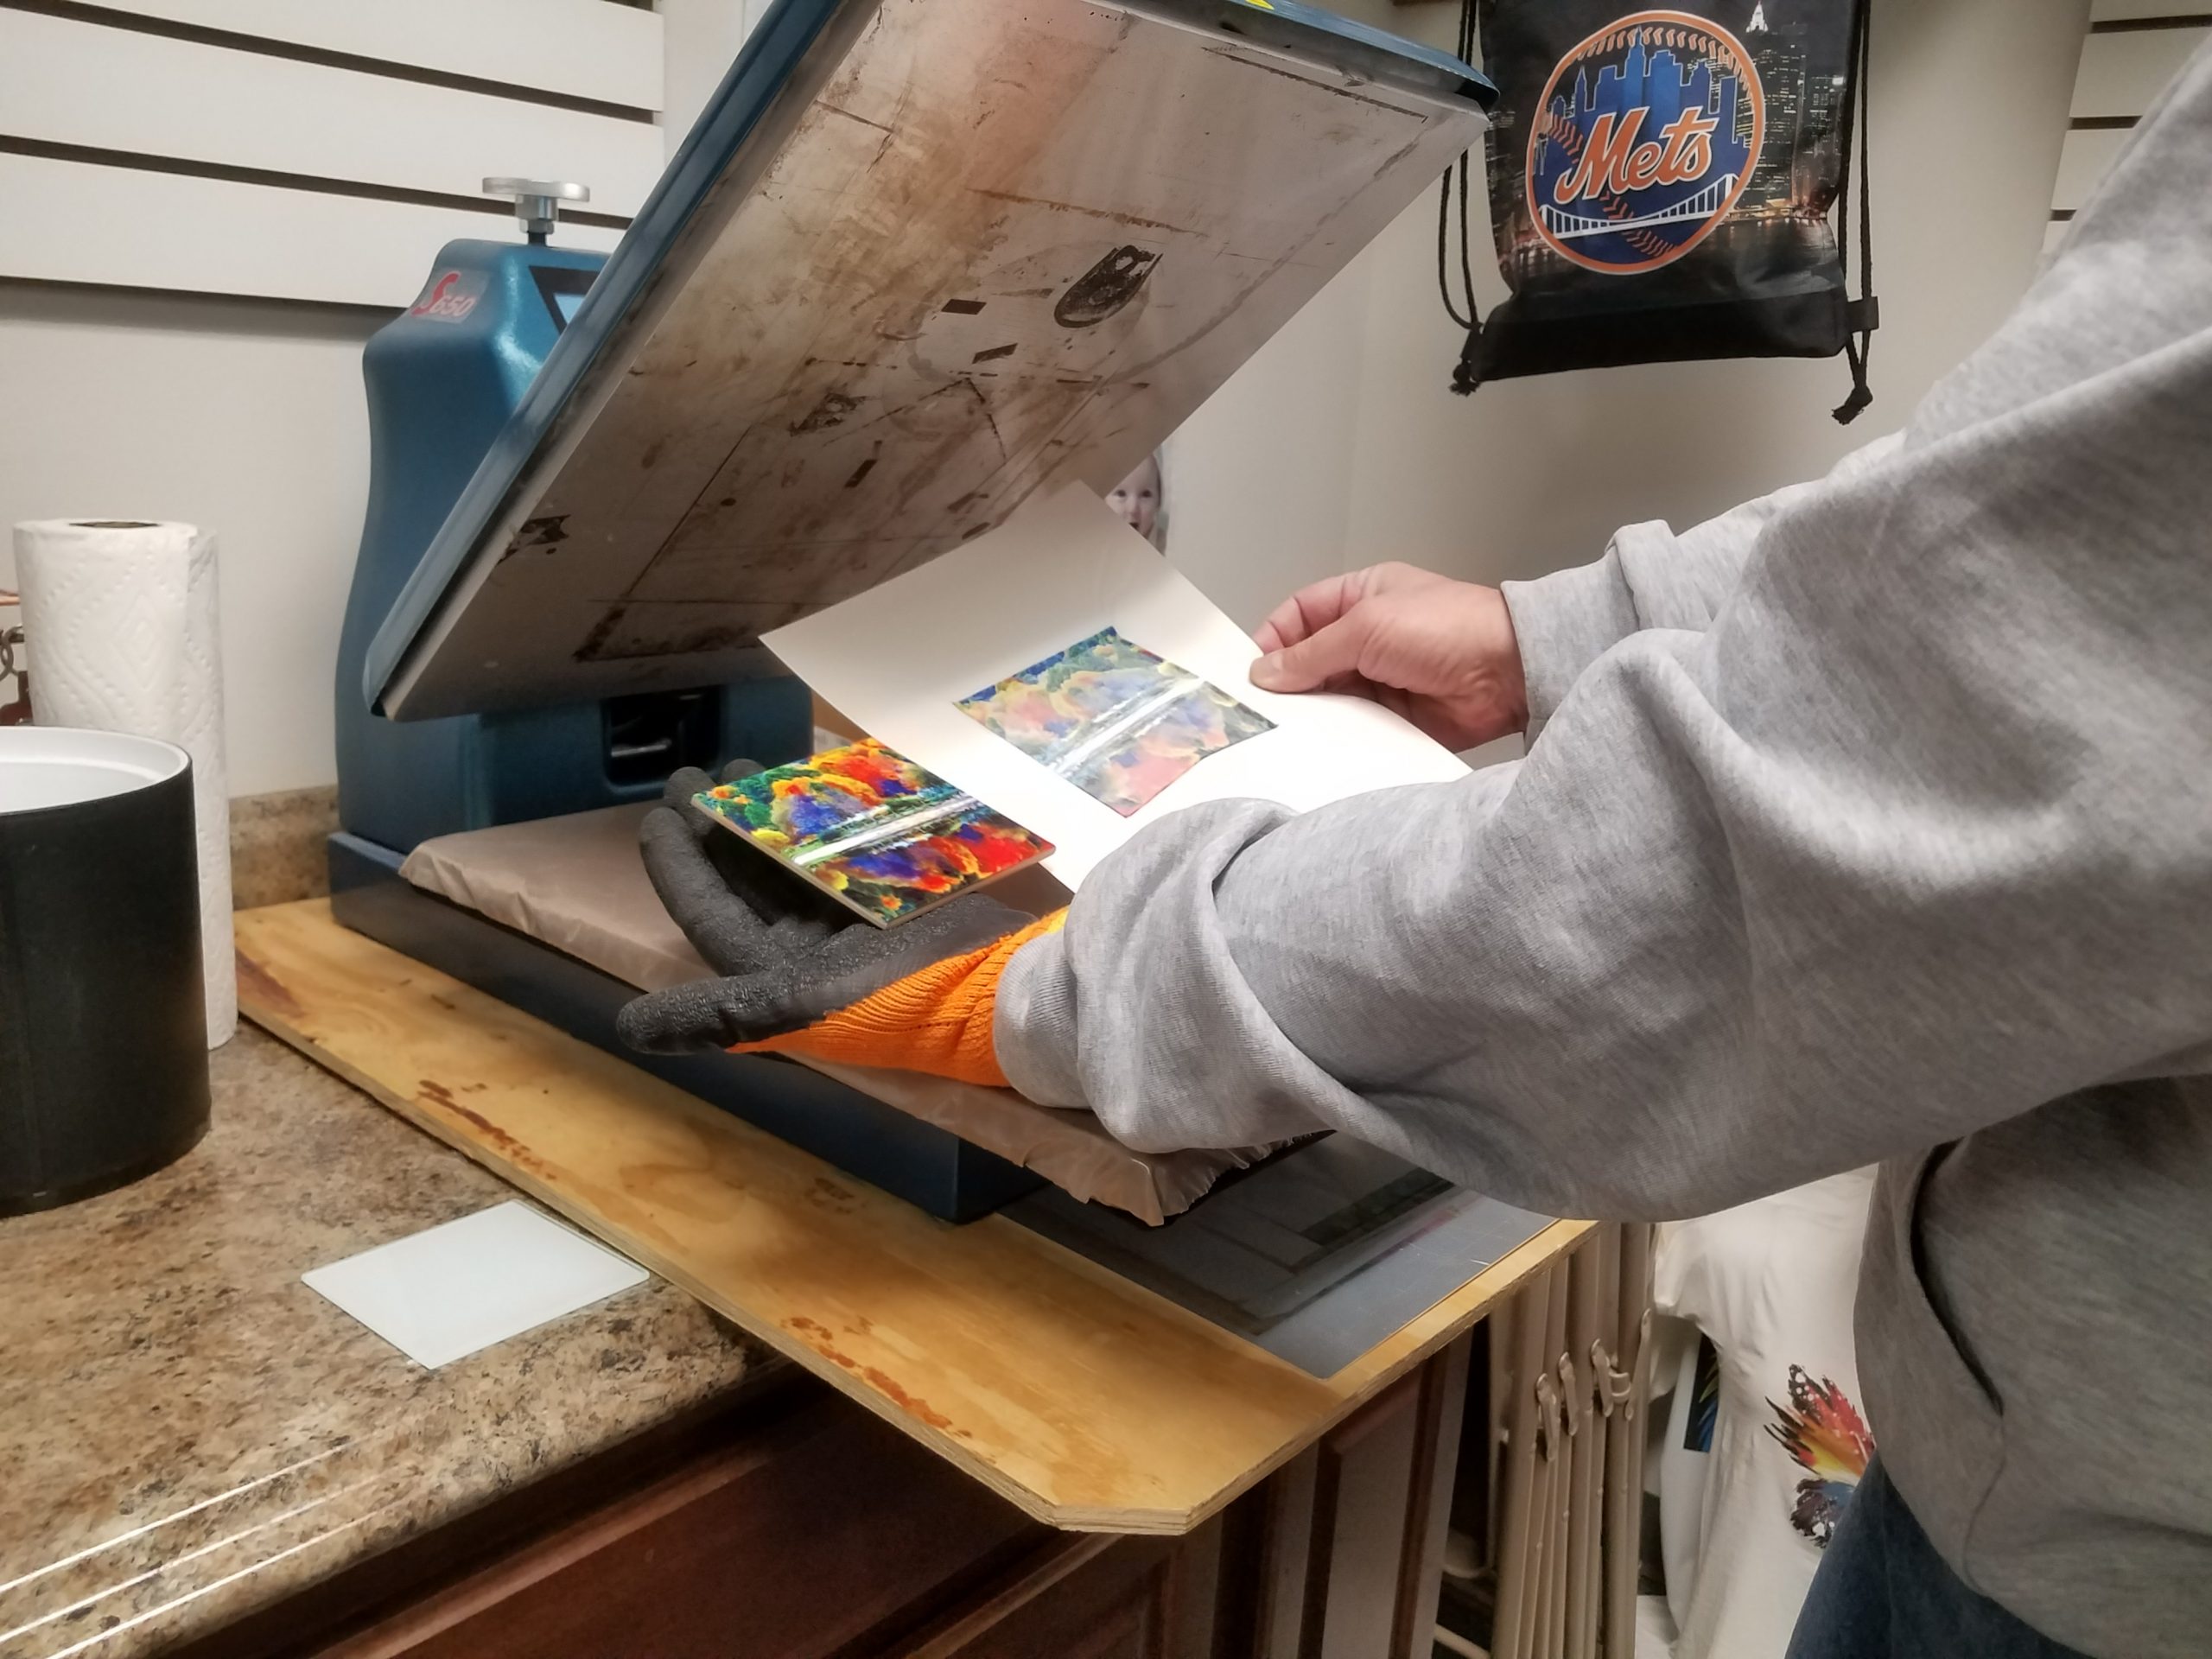
One of my favorite products to sublimate is ceramics. Mugs and tiles, and glass cutting boards, crystals, and slates all fall under this umbrella. Notice we put those in one category – they are so easy and fast. But we need to understand that ceramic is a poor conductor of heat. We can sublimate in 30 seconds; however, with ceramic, glass, and slate, you will need more time. These items vary from 4 to 8 minutes.
However, after researching, we have found a way to make this particular process easy: with the slate’s paper face up on the heat press platen, place the slate face down on the image. Don’t cover it with anything (some might cover it with a Nomex or felt pad; this stops the heat from penetrating through the ceramic to sublimate). Press at 400 F for 8 minutes (some slates vary due to coating, which is either glossy or matte finish).
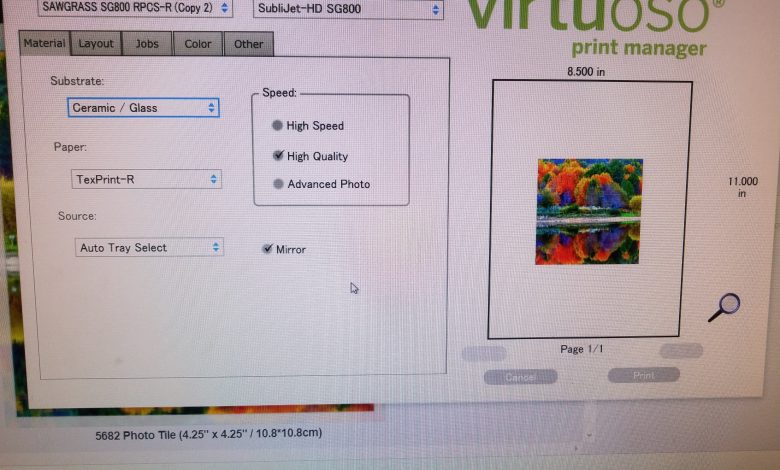
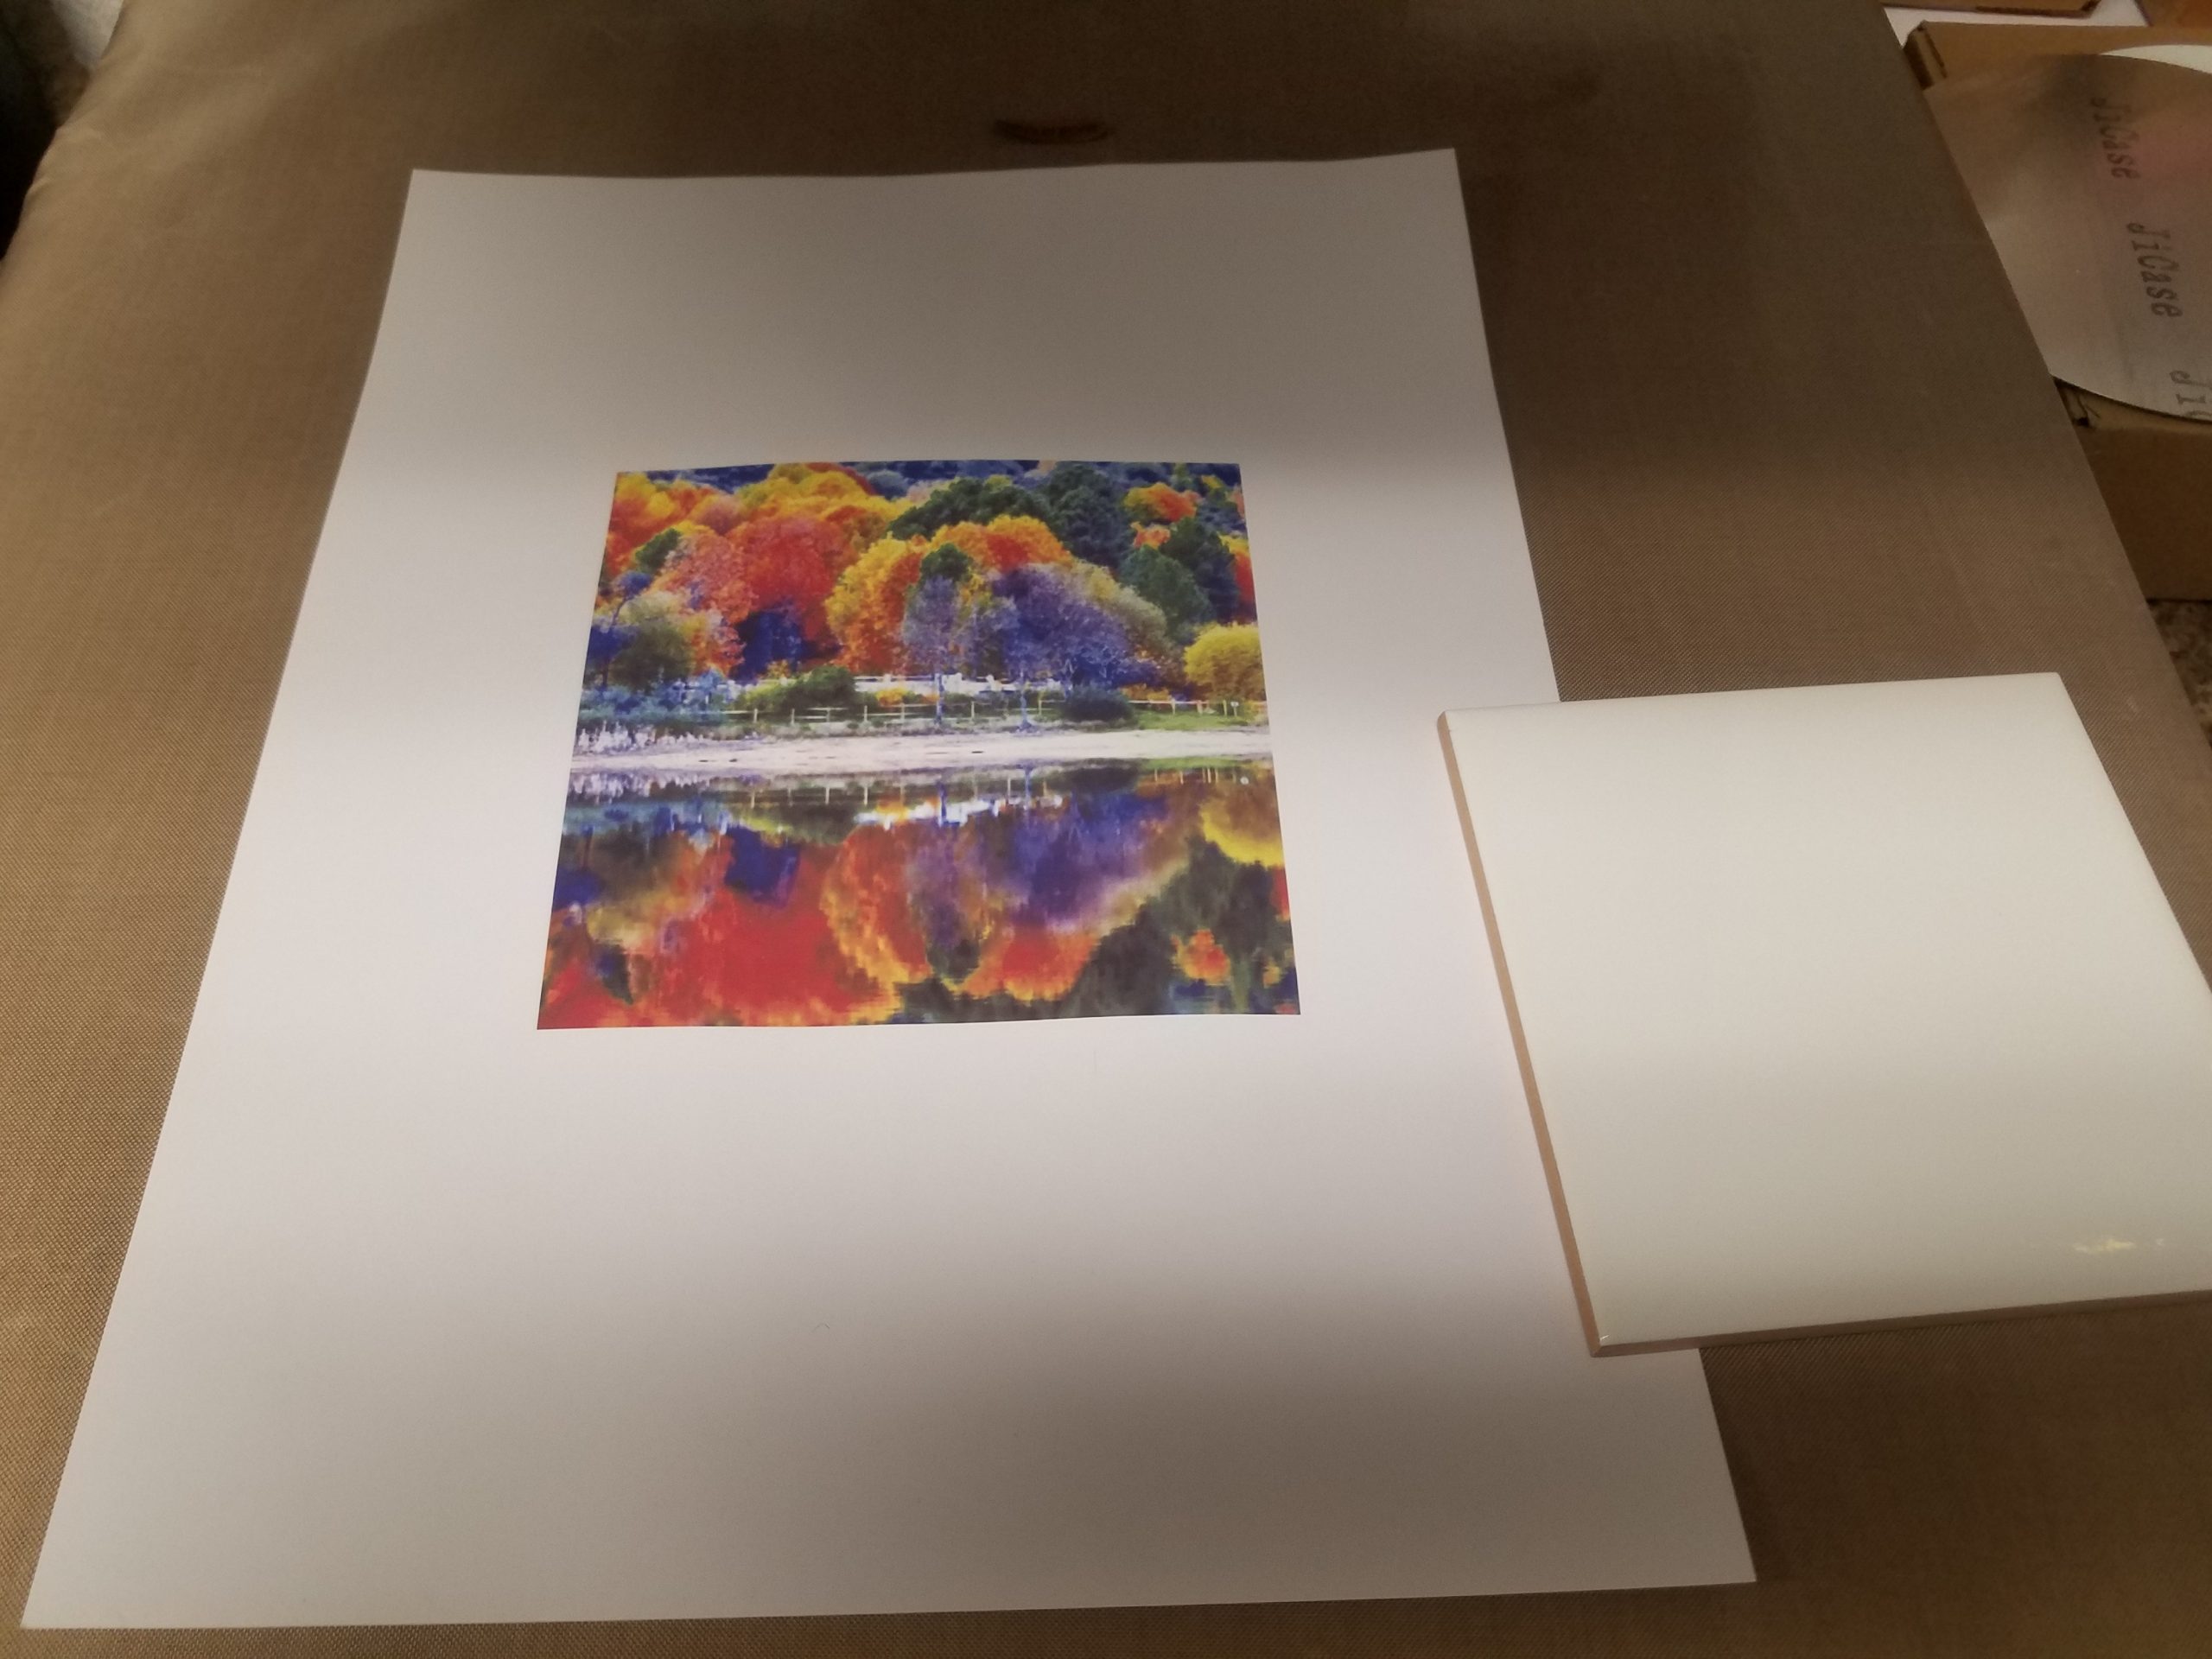
When it comes to ceramic tiles, use the same process: image face up on the press, tile face down for 400 F for 5 minutes. Yes, we can press more than one tile at a time (please note: keep sizes and the manufacturer the same); add 30 seconds to the time for each additional tile.
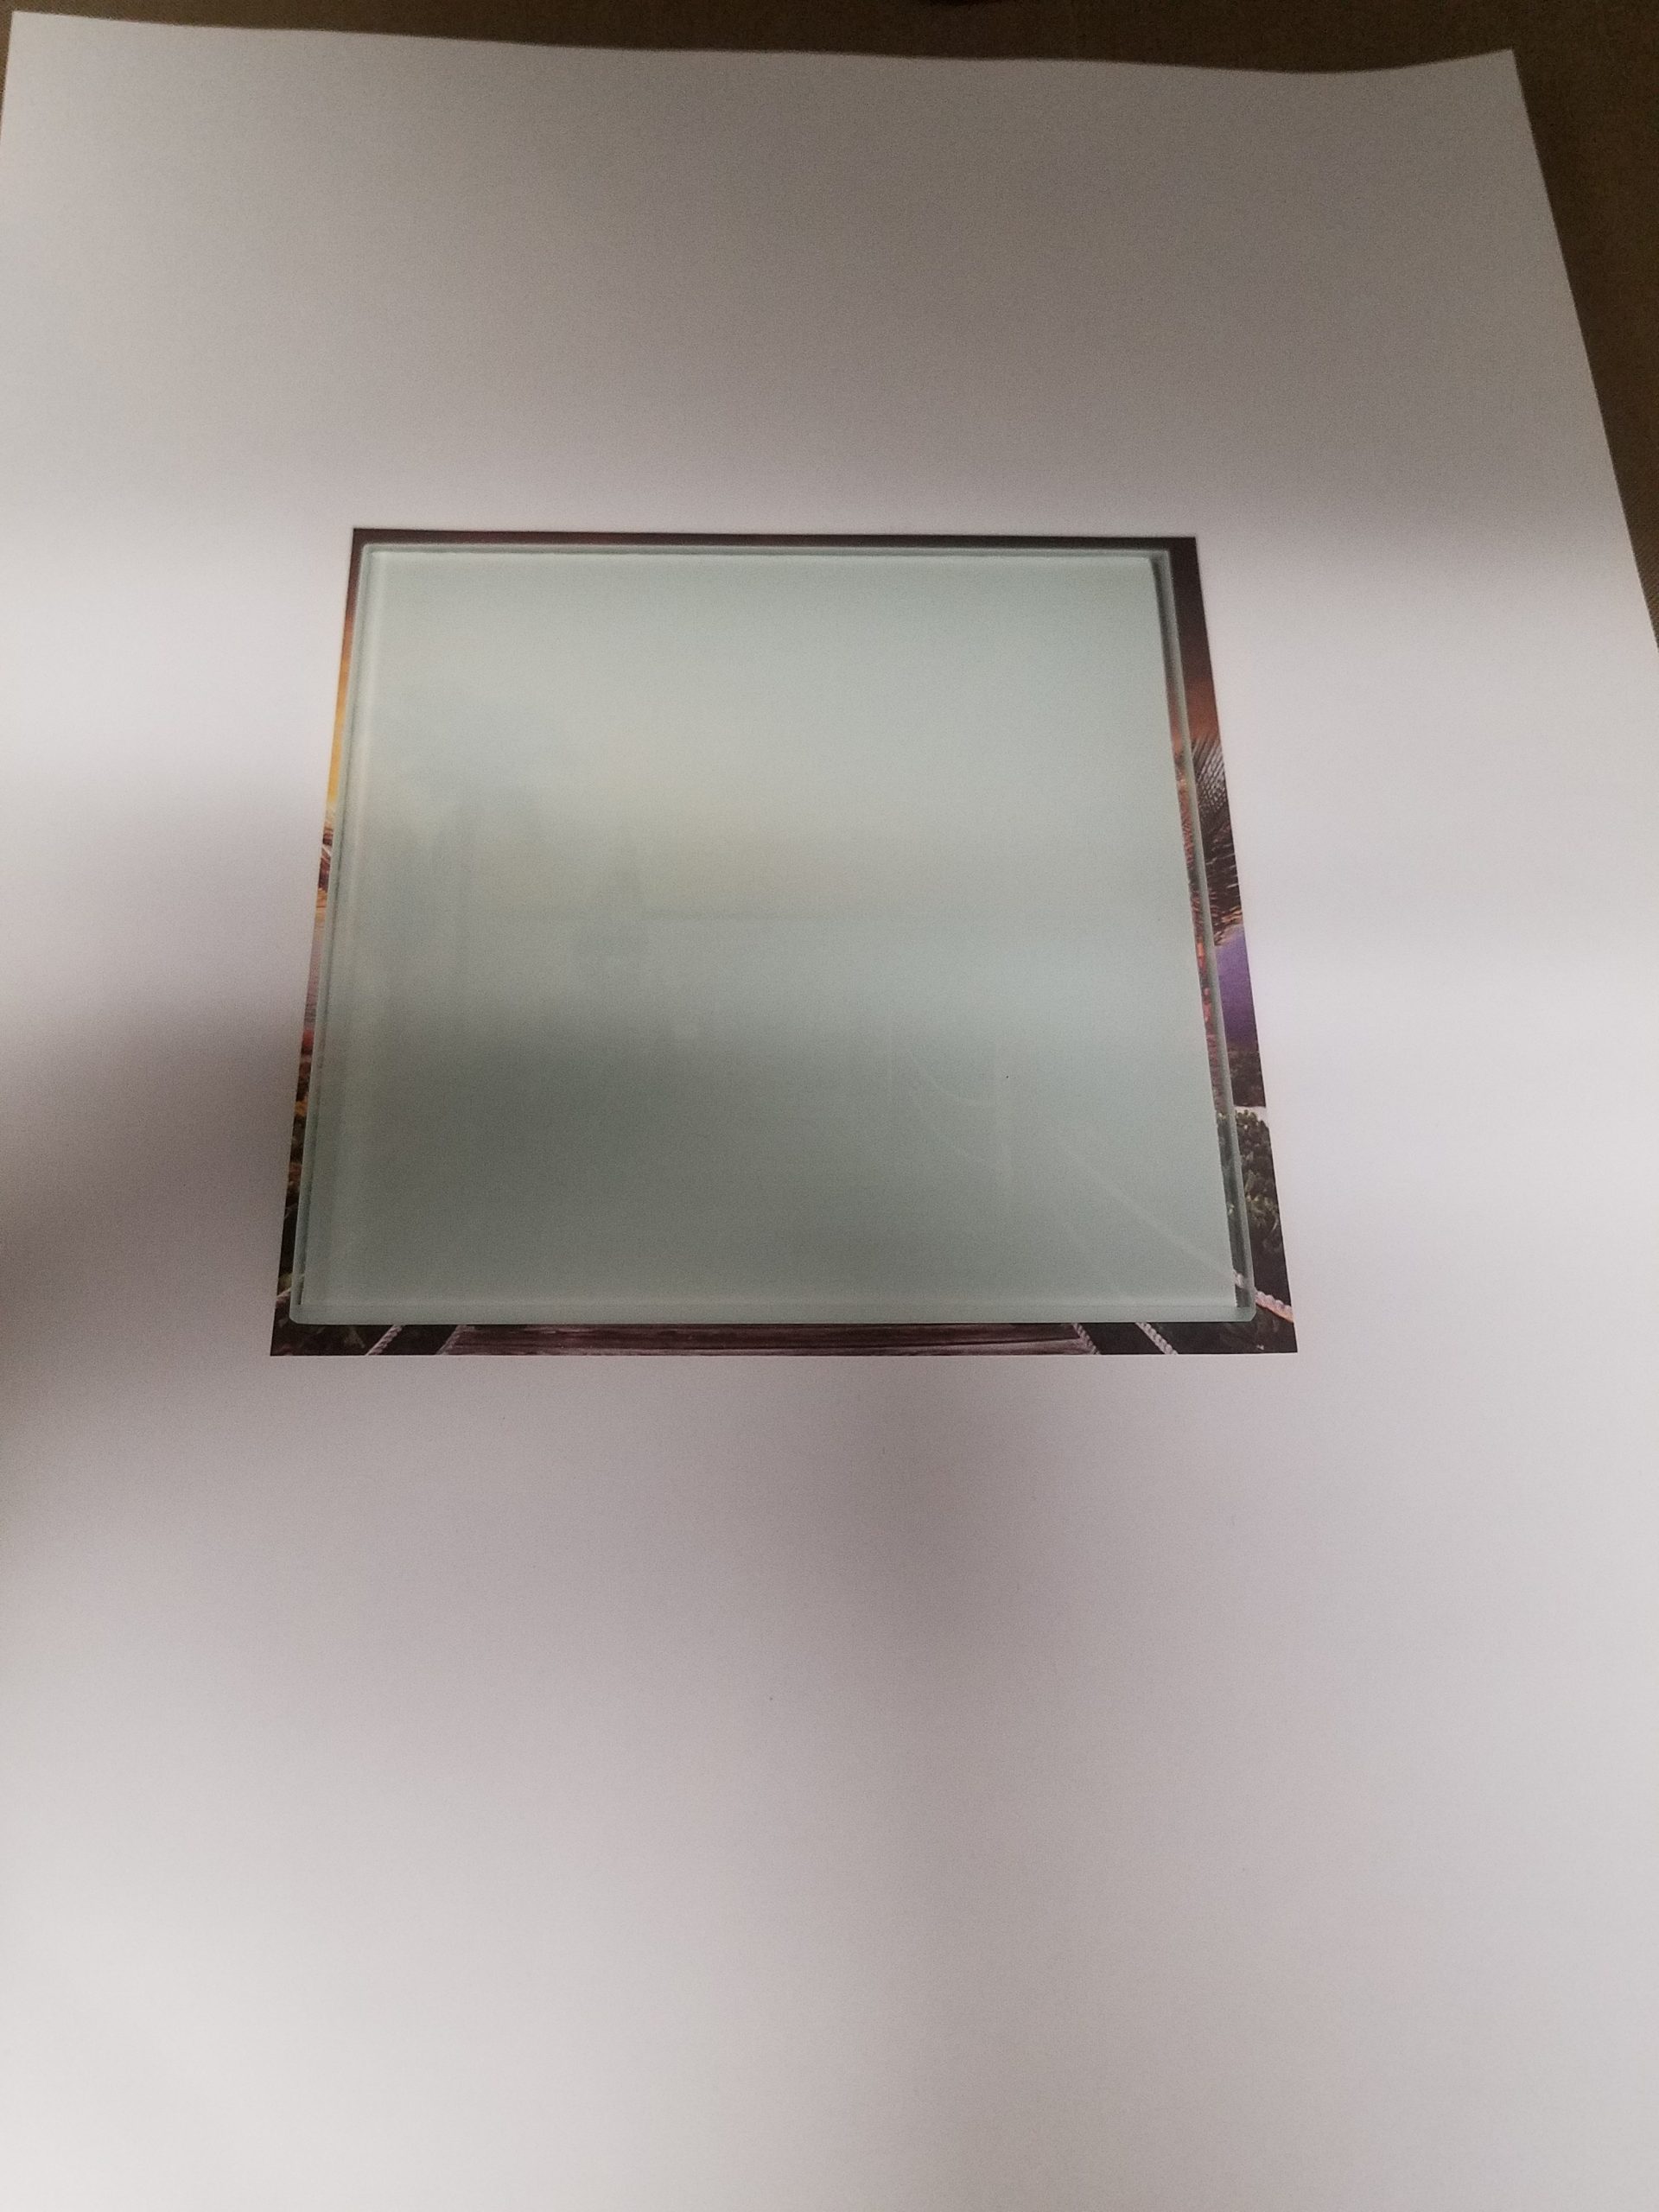
For glass frames, coasters, crystals, and cutting boards, there is a tip I’d like to share. Do not mirror image for these. The backs of these items are polymer white-coated, and we transfer to the back at 400 F for 3 to 5 minutes (heat presses vary; check with vendor for recommended time). When we make these items, we do the same as tile transfer face up on the heat press, white polymer-coated side on top, then press at the allotted time. Remember: all mentioned above items are extremely hot when complete; Ove Glove or heat gloves recommended.
Maintenance Pointers
Sublimation is a self-sufficient business in itself. You produce items almost instantly, and that is what you need to express to your clients. What makes it really sufficient is that most heat press equipment is maintenance free, excluded using white heat grease (you can get this at any automotive store – white heat grease is made for hot temperatures) and apply around your threads on your pressure control knobs for easy adjustment.
On the printer side for the desktop, the Sawgrass SG400 and 800 models are virtually the only maintenance-free sublimation printers available, as they are designed to leave on (turning on and off wastes ink in any printer); these will go into energy saver mode and do their own maintenance when needed. With Epson printers, we recommend doing a head cleaning daily to keep the lines for bulk ink systems (CISS: continuous ink sublimation system) clean.
Final Thoughts
There are many tips in the industry that you can see on many social media pages, YouTube channels, and more; however, there are no true “tricks.” The main pointer I can leave you with is to keep a journal of the times on products you use for success, keep all needed vendor support contact numbers at hand, and make a time and temperature chart to post by your heat press. Remember: Keep on sublimating.
Top 5 Takeaway Tips
- Make sure that your substrate is sublimatable.
- Check time and temperature for your substrate.
- Always have heat tape handy.
- Always have a water bucket ready.
- Check for a protective film on the item before pressing.