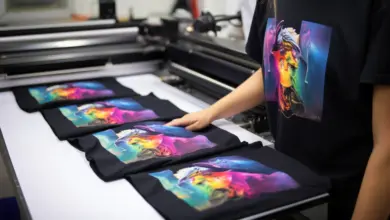
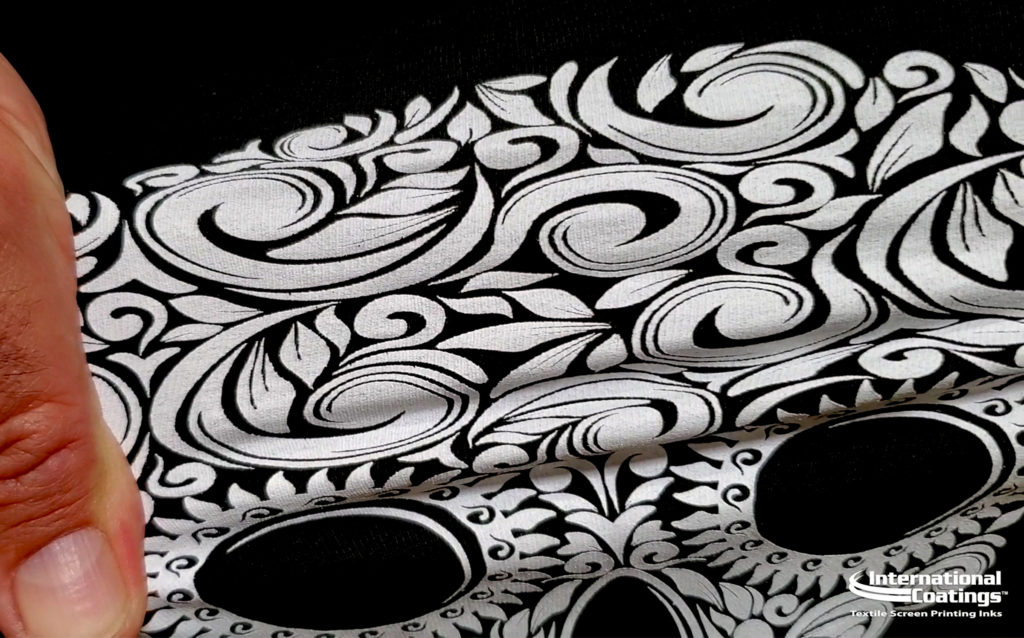
You’re a beginner at screen printing or have been printing for years, yet your white prints often have jagged or “blurry” edges. Don’t despair. Here are some tricks and tips to help you achieve a clean print — every time.
One of the complaints I hear the most is, “My white ink is not opaque enough.” Although it may be true of some inks, I find that most of the time, it’s the printing technique that is causing the lack of opacity or the jagged edges. Each piece of equipment or tool you use in your printing can make a difference in how your final print turns out.
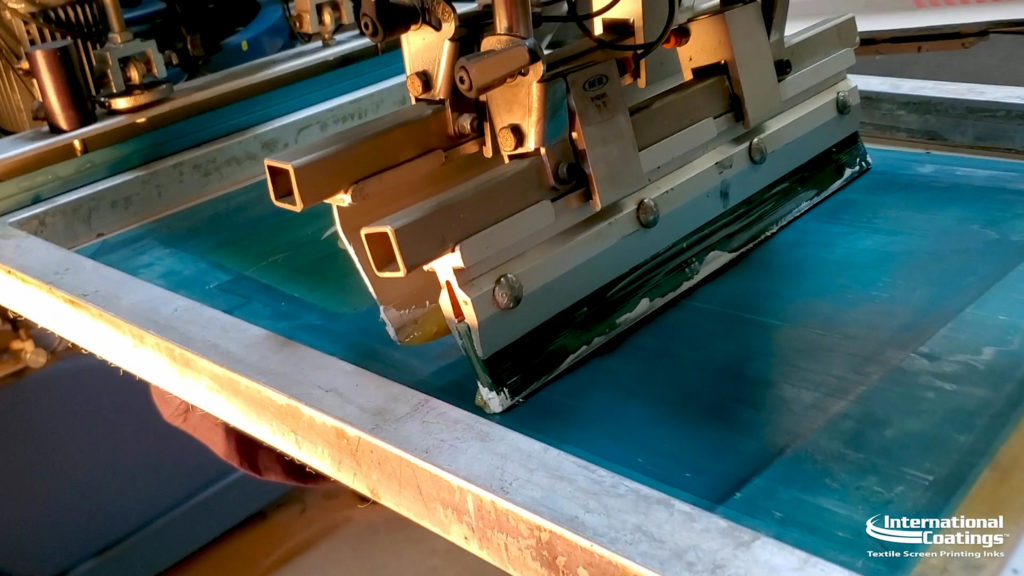
Screen and mesh
Let’s start with the mesh and screen. The tighter the mesh, the easier it is for the ink to flow through the mesh and the sharper and more defined the print. The screen should clear the platen right after the stroke. If the mesh is loose, the mesh allows too much movement during the stroke process and can cause the ink to smear. A loose screen can also cause issues with registration when using multiple screens and result in blurry or jagged edges.
Be sure to use the correct mesh size (larger for the underbase and smaller for a highlight color). Typically, I prefer a 110 mesh for the underbase white and a 160 mesh for a highlight white. Some use a 160 mesh as the base white and then a 230 mesh for the highlight white for highly detailed prints.
Emulsion coating
Next, let’s examine the emulsion. Sufficient emulsion coverage is crucial to obtaining an opaque, crisp print. Proper emulsion coverage is measured in EOM (emulsion over mesh) and should be around +/- 20%. Be sure to coat the underside (shirt side) of the screen thicker than the ink side. A thicker emulsion coating acts like a stencil wall that allows the ink to only go where it’s supposed to, like a gasket. A thinner emulsion coating may not block ink as effectively, letting ink meander into pockets caused by the mesh texture. The resulting print image may show messy edges or smearing.
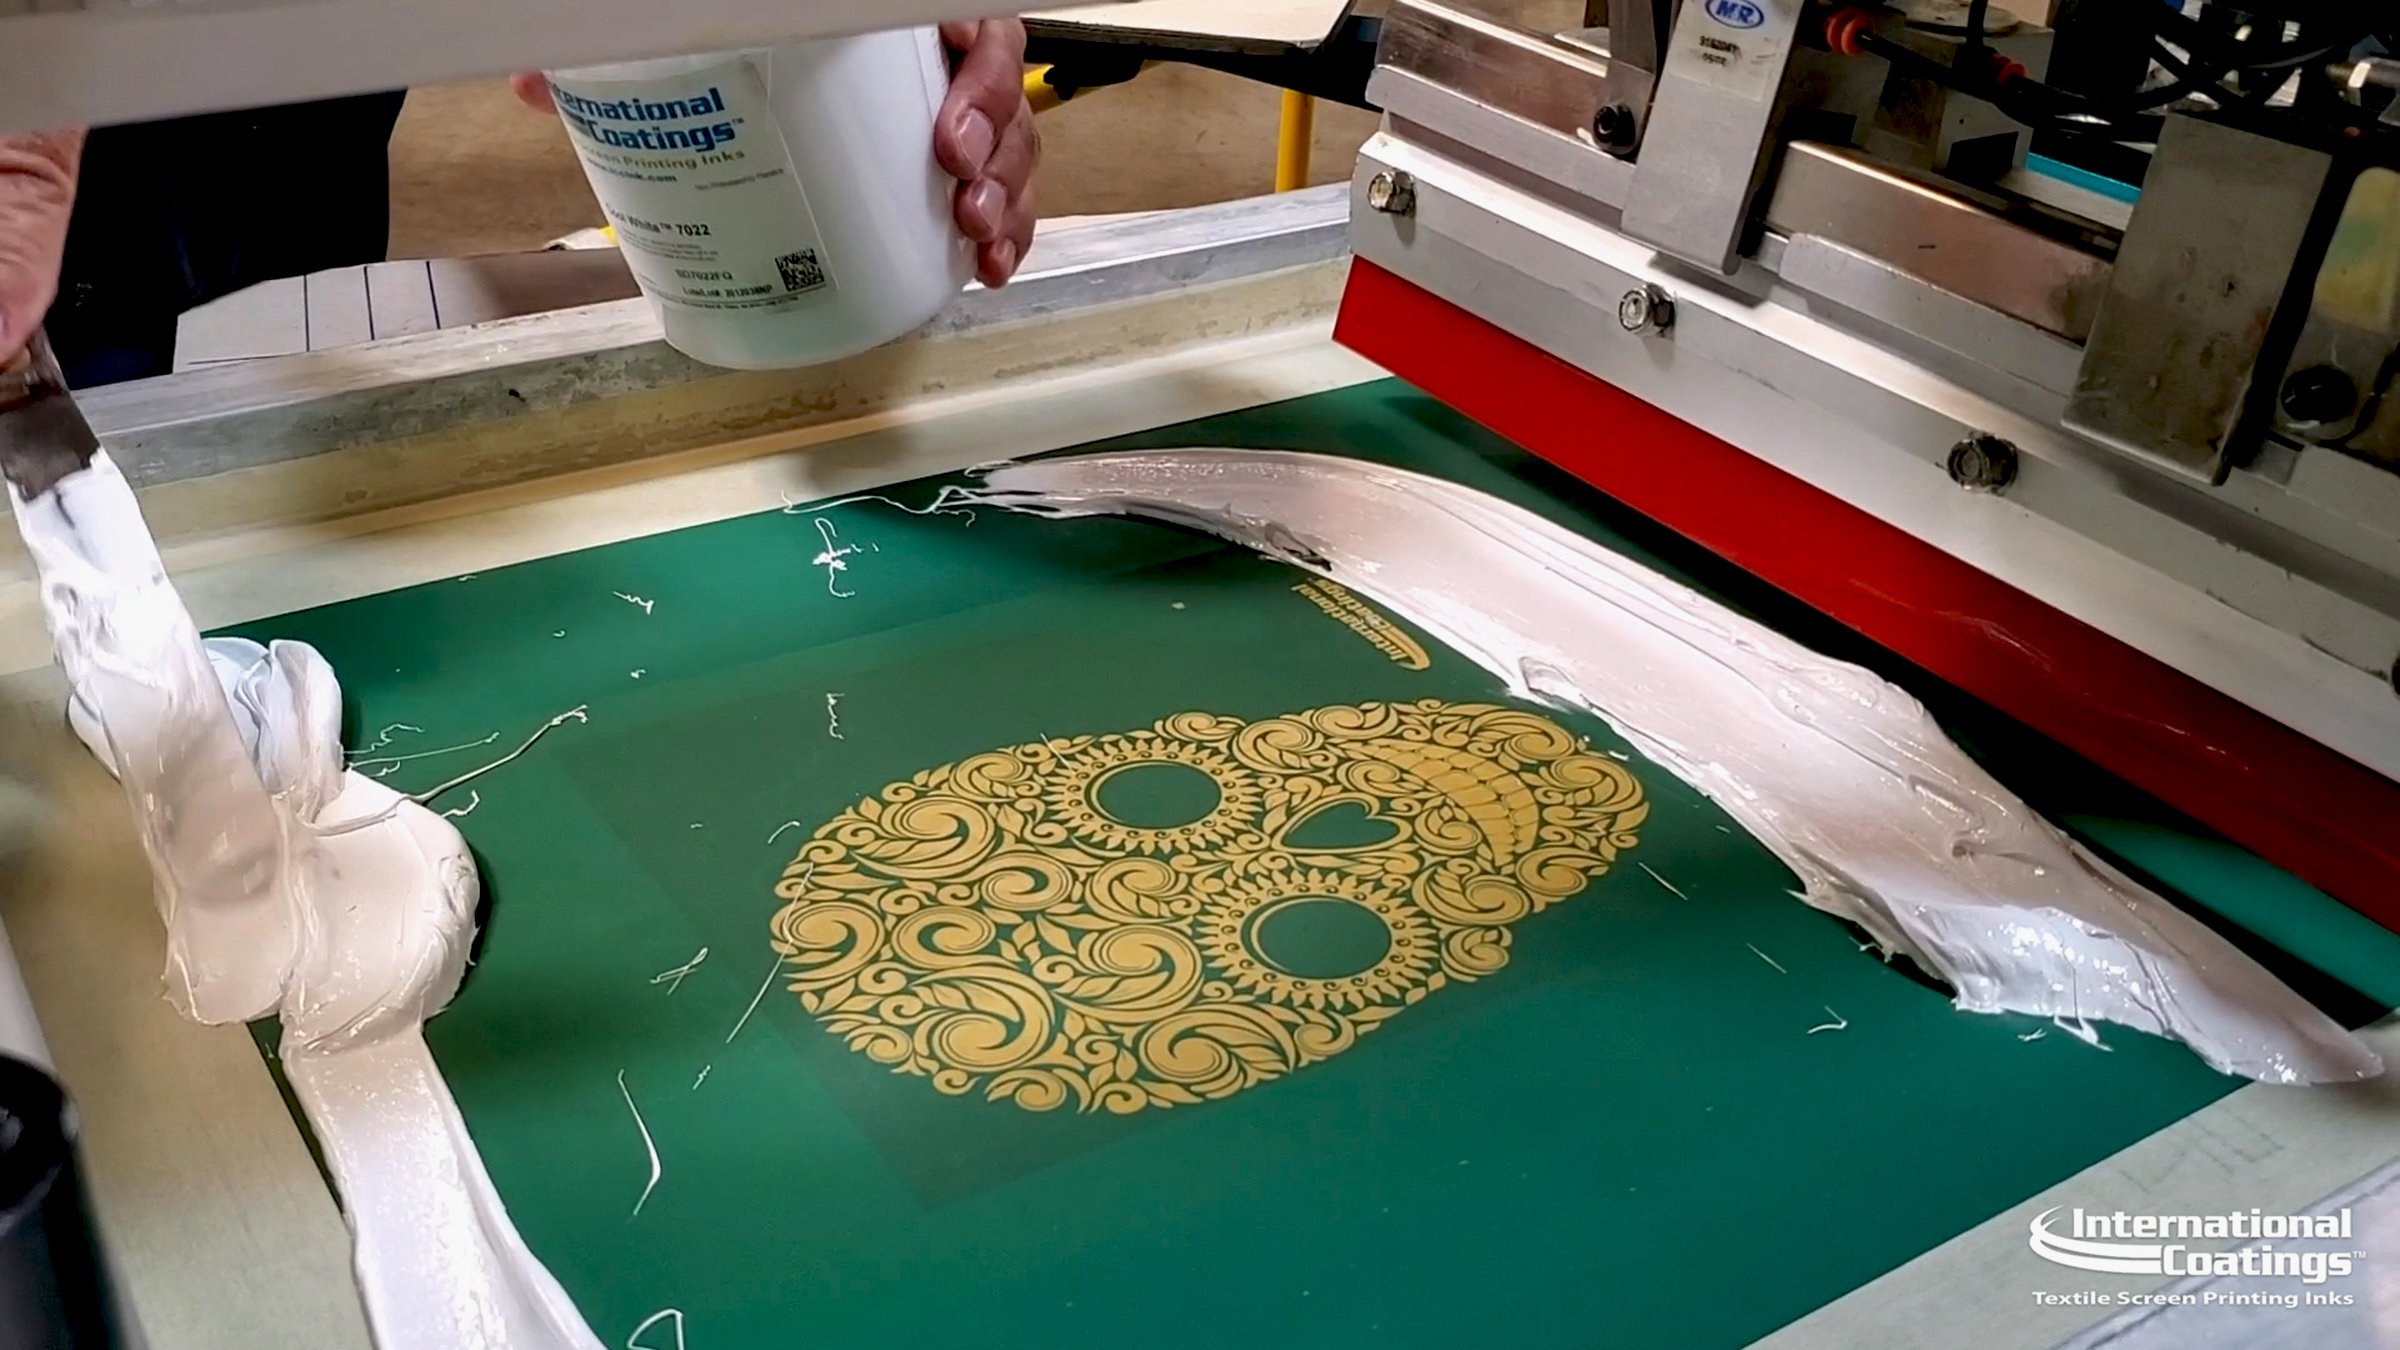
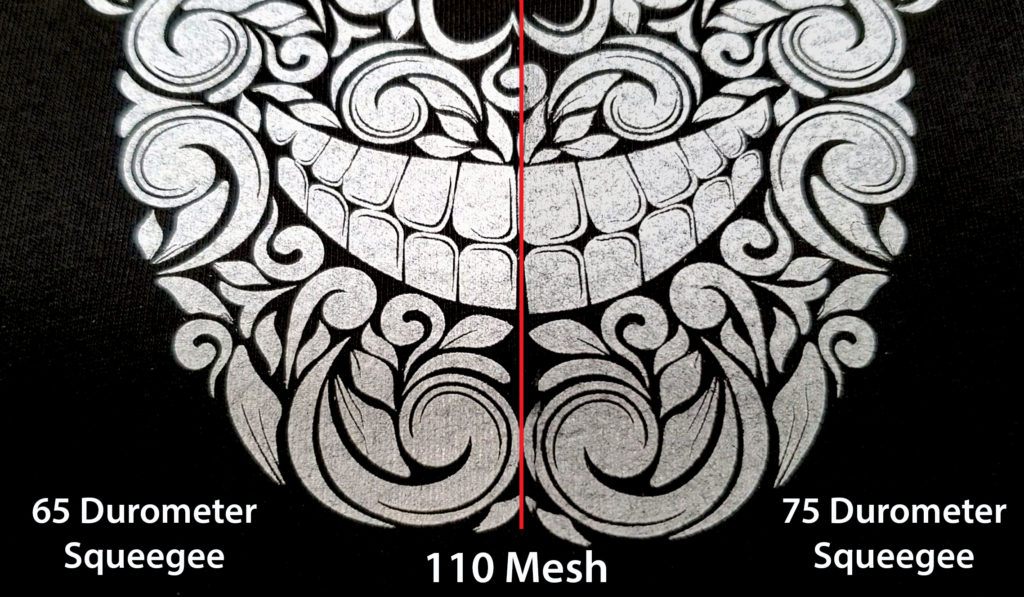
Squeegee hardness
The squeegee is an excellent tool for controlling the amount of ink deposited onto the garment — a softer squeegee deposits more ink than a harder squeegee. To deposit a good amount of ink and thus increase the opacity of the resulting print, I recommend using a 65/70 durometer (medium) squeegee for both the underbase and the highlight white print.
Dense film
Another critical aspect of achieving a crisp and clean print is the film. The artwork should appear as black as possible. When you hold the film up to a strong light, does it show through the dark, positive areas? If it does, your image may not translate well onto the screen. Be sure to start with a film that shows the design as opaque as possible. Similarly, the “clear” part of the film should be very clear and translucent instead of milky (such as vellum). This is especially crucial when working with detailed artwork.
Heated platens
After the screens are mounted and squeegees prepared, warm up the platens for about 5-10 minutes before printing. This is important as the heated platens improve the adhesion quality of the platen adhesive and can help make the ink flow better.
Mat-down/flattening screen
Another “tool” is a mat-down/flattening screen, used right after the underbase print is exposed to the flash. The mat-down screen sort of “irons” the still-hot ink and pushes down fabric fibers, creating a smooth print. To create a mat-down screen, coat a 160 mesh screen with emulsion, dry the screen and expose it to harden. Use general purpose lubricating grease in place of ink and a hard squeegee.
The trick to successfully achieve a smooth print is to flash the ink just until the ink is gelled or dry to the touch. Then, immediately “print” using the mat-down screen while the ink is still hot to smooth the print. Use extra off contact on this screen to help the mesh peel away from the image before lifting the screen. If the ink sticks too much, it may be under- or over-flashed. With the correct settings, you will notice the improved difference.
Be careful that the ink is not over-flashed or cured. Otherwise, you may end up with intercoat adhesion issues. That’s when the next layer of ink will not adhere to the cured layer below and may crack or come off in the wash.
Ink
Ink is usually the most consistent part of the equation but is blamed for 90% of the problems. Be sure to invest in quality ink. What do I mean by that? Quality ink may cost a bit more but generally contain fewer fillers. That means the ink usually performs better, is more opaque, and may leave less residue on the screen. For the printer, it may mean a better quality print, fewer strokes, less time to “fix” issues during production, and faster printing speed.
Choose the right ink for the job! This is crucial, depending on what you are printing on. Don’t use a cotton white to print poly blends or 100% polyesters. Nor should you use a poly white to print cotton shirts. Inks are specifically engineered to function for specific types of textiles. A cotton white, for example, usually does not have bleed resistance characteristics. Similarly, a poly white may cause ghosting issues when printed on cotton.
Curing process
When curing, follow the manufacturer’s suggested temperature and time parameters. There are low-cure or regular-cure inks nowadays but test with a temperature gun to make sure the entire surface of the ink reaches the desired/required curing temperature. Depending on the size of the print area or the thickness of the ink deposit, you may need to increase the dwell time in the dryer to make sure that the entire ink layer has reached the cure temperature.
Always test after curing by first doing a stretch test. Cured ink should not crack or flake when the fabric is stretched. The second test I recommend is to wash the garment 24-48 hours after curing. Properly cured ink should not come off or flake off in the wash. The 24-48 hour lapse is crucial as the ink continues to cure during this time and may come off in the wash if washed sooner than 24 hours.
Practice makes perfect. If you keep these pointers in mind and use them, you’ll master your white prints in no time! Consider that for a good paint job, most of the work is done upfront or in preparation. When done correctly, the actual painting is easy. The same goes for screen printing. When you have perfectly prepared screens, the actual printing can be fun. As the old saying goes, if you find something you love to do, you’ll never work a day in your life. I’ve had a lot of fun over the years.