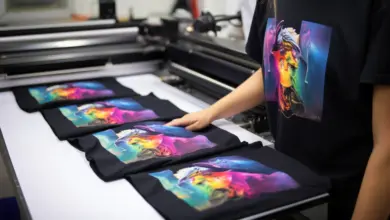
The art of creating unique heat transfer vinyl (HTV) designs is an incredibly rewarding way to make money. With a few simple tools and supplies anyone can create beautiful custom designs that will have your customers coming back for more. Whatever your specialty in the graphics market, HTV is worth a serious look as at least a nice profitable add-on you can offer your customers.
When it comes to HTV designs, the possibilities are truly endless. From intricate details to bold graphics and everything in between, you can craft eye-catching designs that will appeal to your target audience. Here are some tips on how to get started:
- Research your target audience: Think about what types of designs they might be interested in and why. Take into account their age group, interests, and style preferences when brainstorming ideas for your HTV designs. For instance, you could reach out to local small businesses and see if they would like to have t-shirts made with their company info on the back.
- Gear up: Heat transfer vinyl is perfect for printing on fabric, so look into getting a good quality heat press machine or cutter if you don’t have one already. Additionally, you’ll need to select the right type of vinyl material as well as a compatible cutting blade and software such as Adobe Illustrator or CorelDRAW Graphics Suite X5/X6/X7/X8. You’ll also need other materials, such as a weed tool or tweezers, depending on the complexity of your projects. Weeding can prove tedious. You may want to consider a light table to lay the cut vinyl on which will help you see the weeding lines better.
- Get creative: Now it’s time to start designing! Start by sketching out some ideas first before transferring them onto the computer screen for further refinement with digital tools like the ones mentioned above. Keep experimenting until you find something that resonates with your target audience – try different colors, shapes, patterns, and textures until you’re confident with the final outcome. Don’t forget to save each iteration so that you can go back and refine if needed later on, too!
- Test your design: You should always print out a small sample version first before committing to an entire sheet of HTV. This allows you to make sure everything looks good from both sides and check for any potential problems like unsatisfactory cuts.
With a little hard work, determination, and patience, anyone can create stunning HTV products that are sure stand out from competitors in their marketplace!
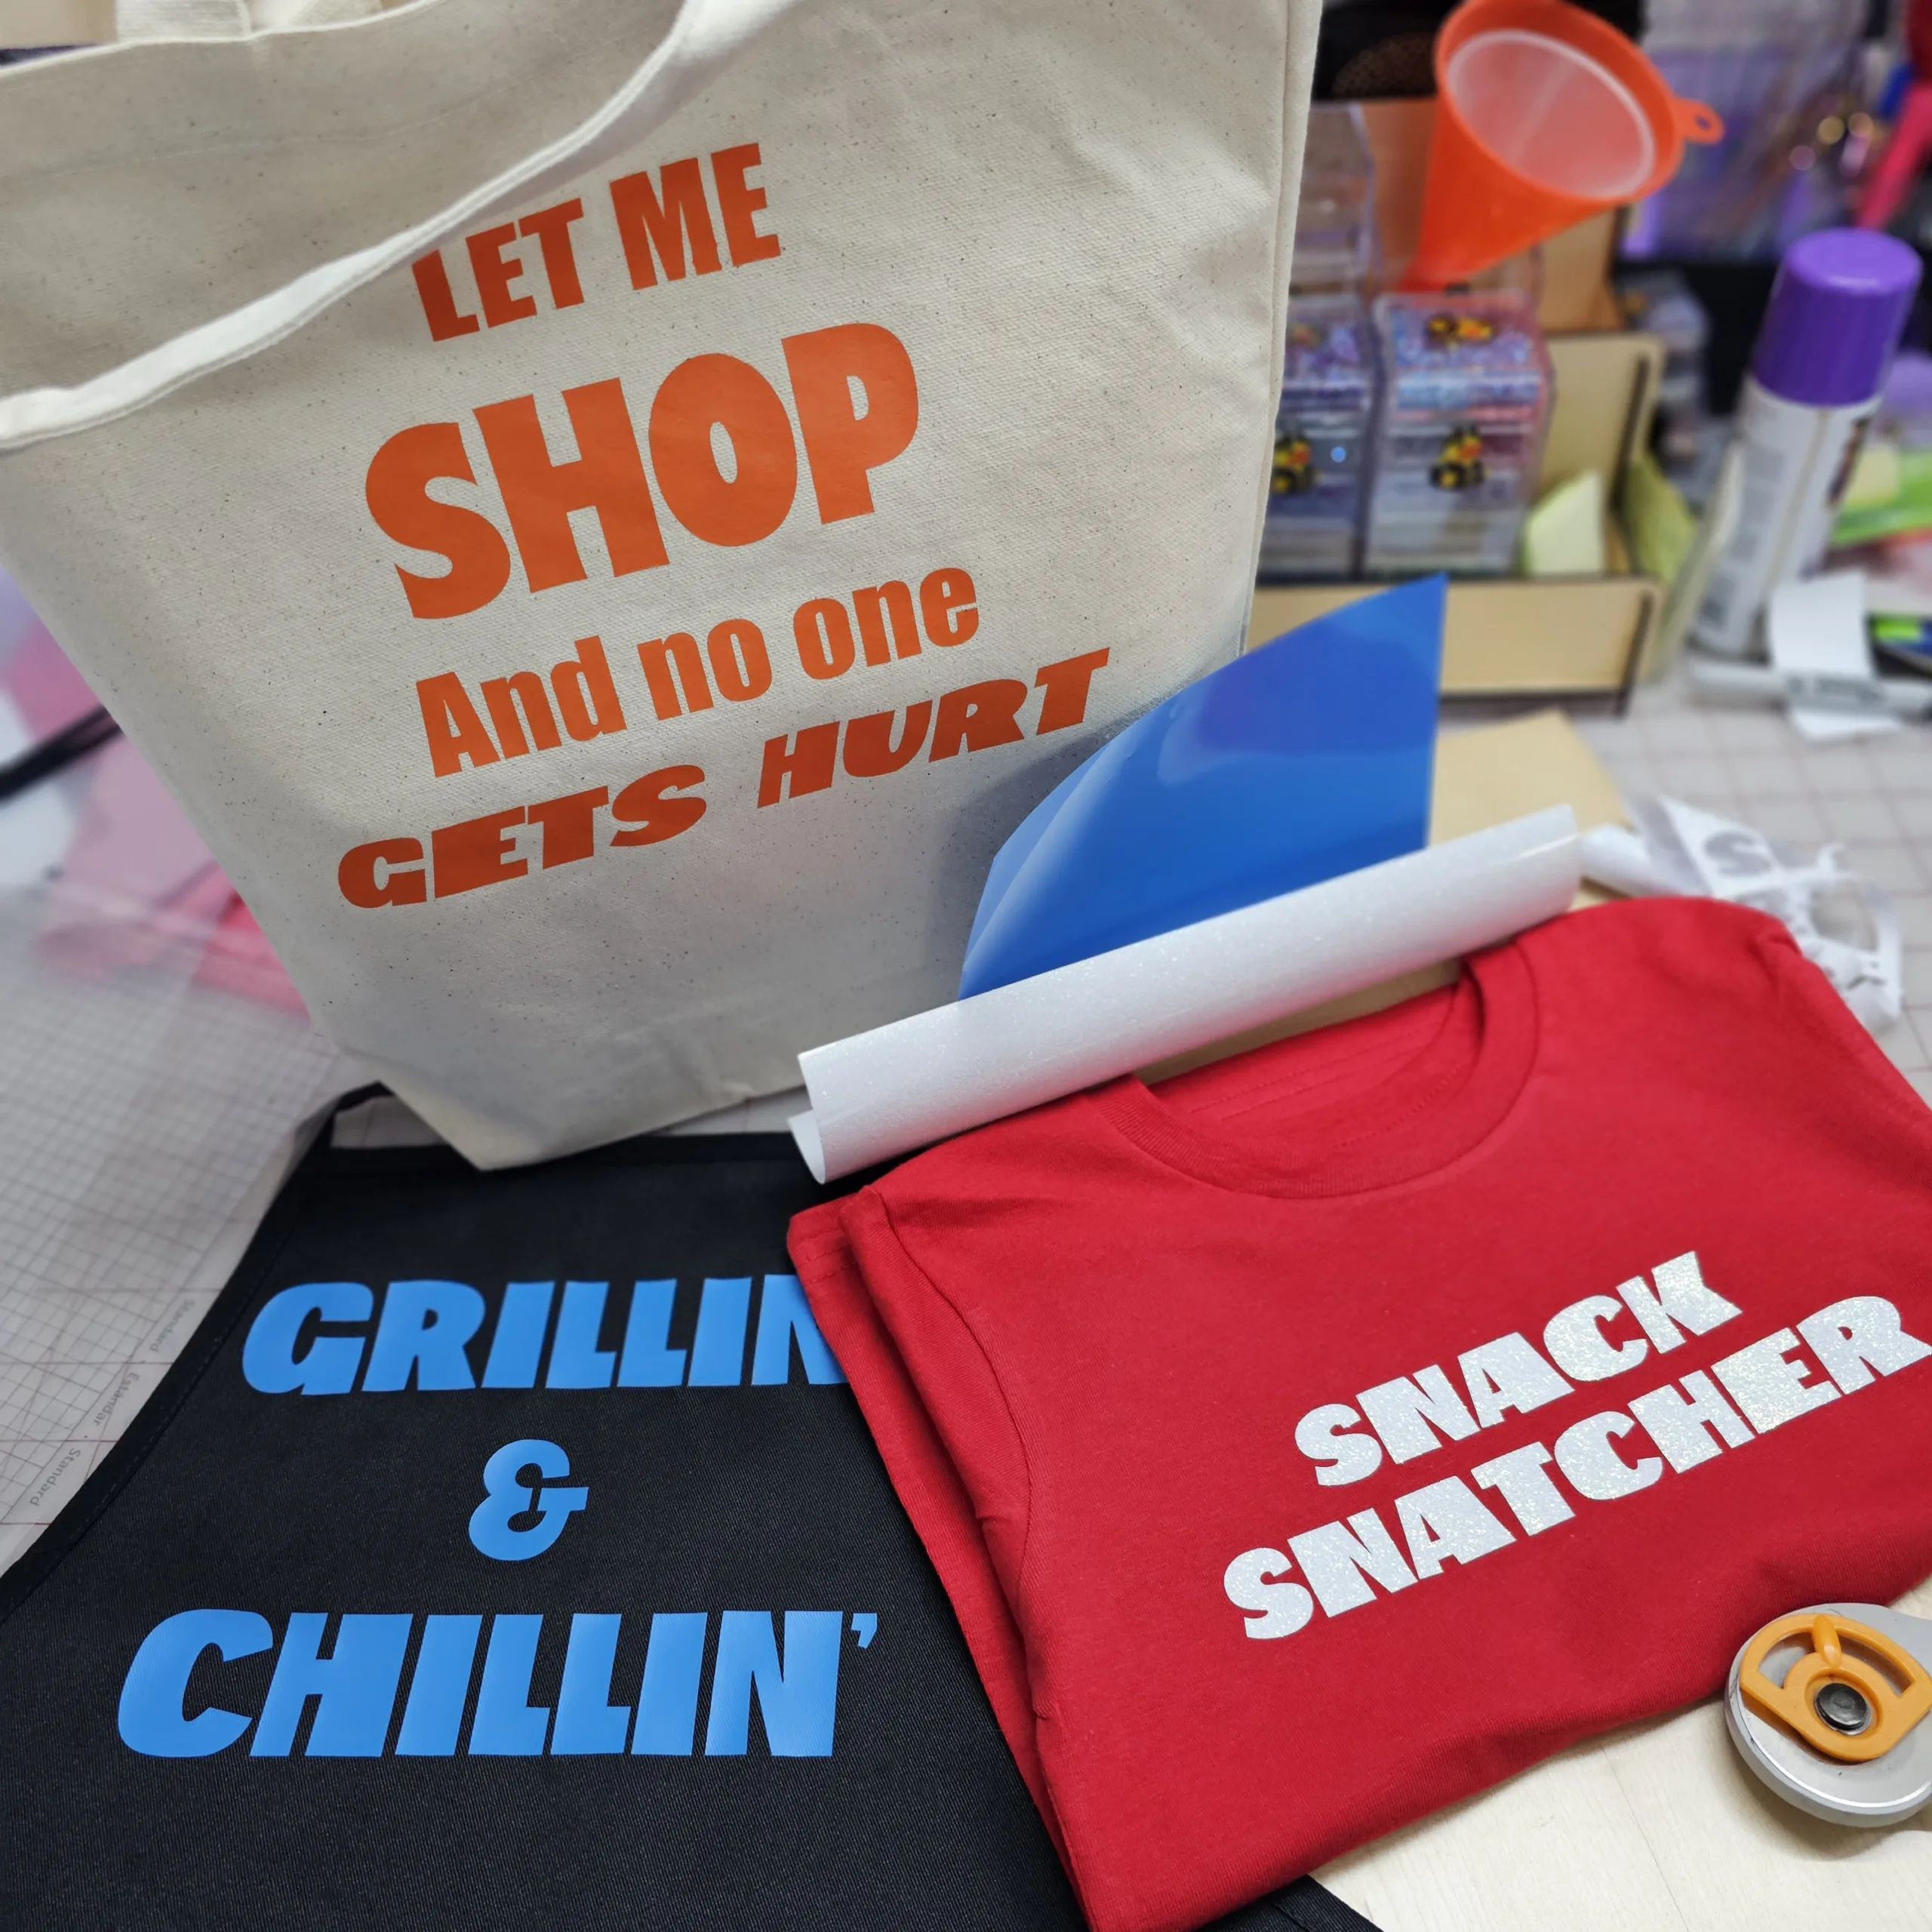
Using heat transfer vinyl for shopping, grilling, and snacking
Let’s take a look at three HTV projects that are simple to make, don’t require a large heat press, and offer a quick turnaround for maximizing profits.
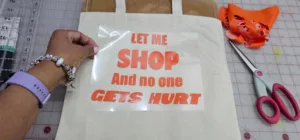
HTV tote bags are a one-size-fits-all job that can be as challenging as the design you put on it. To keep things simple, let’s find a funny yet simple design that will sell to most of your customers. Our design says: “Let me SHOP and no one gets hurt.”
We used a bold font that will weed well and look great on a tote bag. It is easier and more profitable if you keep your design one color. We chose a basic color, though you could upgrade the design and thereby charge more if you used glitter or another specialty type of HTV.
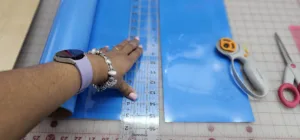
We set the size, mirror the design, then send it to the cutter. Be sure to place the vinyl shiny side down on the mat. Once the vinyl design is cut out, remove the vinyl from the mat, then weed away the excess.
A pro tip here is to pre-press the bag prior to adhering the vinyl to the bag. It removes excess undetected moisture that will lessen the life of the vinyl design on the bag. Apply the design right-side up to the pre-pressed tote bag. You may have to apply heat tape to the HTV to hold it in place.
Now you’re ready to press the vinyl design at the recommended time and temperature as recommended by the heat transfer vinyl supplier. Peel away the carrier sheet, and you now have a completed bag ready to sell!
You can easily create multiple one-color designs and allow the customer to choose the design they would prefer. After a quick press, you’ve made a customer happy!
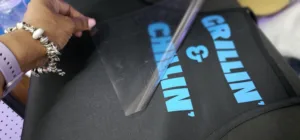
Another simple project that can be easily customized for a quick profit is an apron. Aprons are also a one-size-fits-all job. There are thousands of designs you could find that would make an easy sale. Summertime is the time for grilling, so let’s look at another simple one-color design that would work for most of your customers.
This design says Grillin’ and Chillin’, and we’ll use the same chunky font that cuts and weeds easily. Follow the exact same procedures as the tote bag, and be sure to pre-press the apron as well. In a similar fashion, you can create multiple one-color designs that your customers can choose from to create their ideal custom apron.
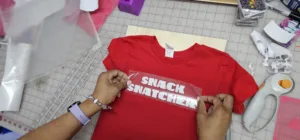
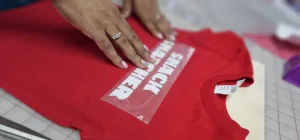
Our third HTV project is one that is pretty popular, but I add this because the profit margin is great, and it doesn’t take a lot of time or vinyl … kids’ T-shirts. The beauty of making kids’ T-shirts is that it can generate repeat customers. Kids outgrow their shirts quickly, and parents know they can come to you for custom shirts. Their shirts are small, so it doesn’t take a huge heat press to get their shirts done.
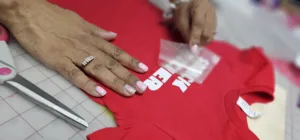
All kids love snacks, so we came up with Snack Snatcher. Chunky fonts work wonderfully for kids’ shirts. You would follow all of the exact same processes as the apron and the tote bag, and don’t forget to pre-press the shirt! There is no end of designs that would work for a kid’s shirt that would be funny for the parents as well!
Using Heat Transfer Vinyl is a straightforward process. You want to refer to the manufacturer’s directions to ensure the proper application for temperature, time, and pressure. Heat Transfer Vinyl can be used on a wide variety of materials. Delicate fabrics that cannot withstand high heat should be avoided.
Once you are comfortable with simple one-color designs, you can branch out to multiple color designs. You can source ready-made HTV designs on platforms such as Etsy or Bundle Design sites like Creative Fabrica. SVG files will be the file type that is simple to use and works great.
If the design you are considering contains more than five colors, you should consider using an alternative printing method. Screen printing, sublimation, or even direct-to-film would be more profitable with multi-layer designs.
If you want to get really creative with your heat transfer vinyl designs, there are tons of online resources available for inspiration as well as advice on how best to use the medium itself. Sites like Pinterest and Etsy offer plenty of ideas from crafters, artists, and producers who have already made their mark in the industry.
Take advantage of this wealth of knowledge in order to up your game even further! With the right tools and resources at hand, you can easily create unique HTV designs that will captivate and excite any customer base!