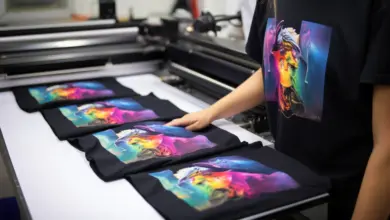
With the ability to print full-color images with fine detail, create custom layouts, and print minimal quantities to apply to various fabrics with minimal time and cost compared to other production methods, it’s no wonder why direct-to-film (DTF) transfers are taking the garment decoration industry by storm.
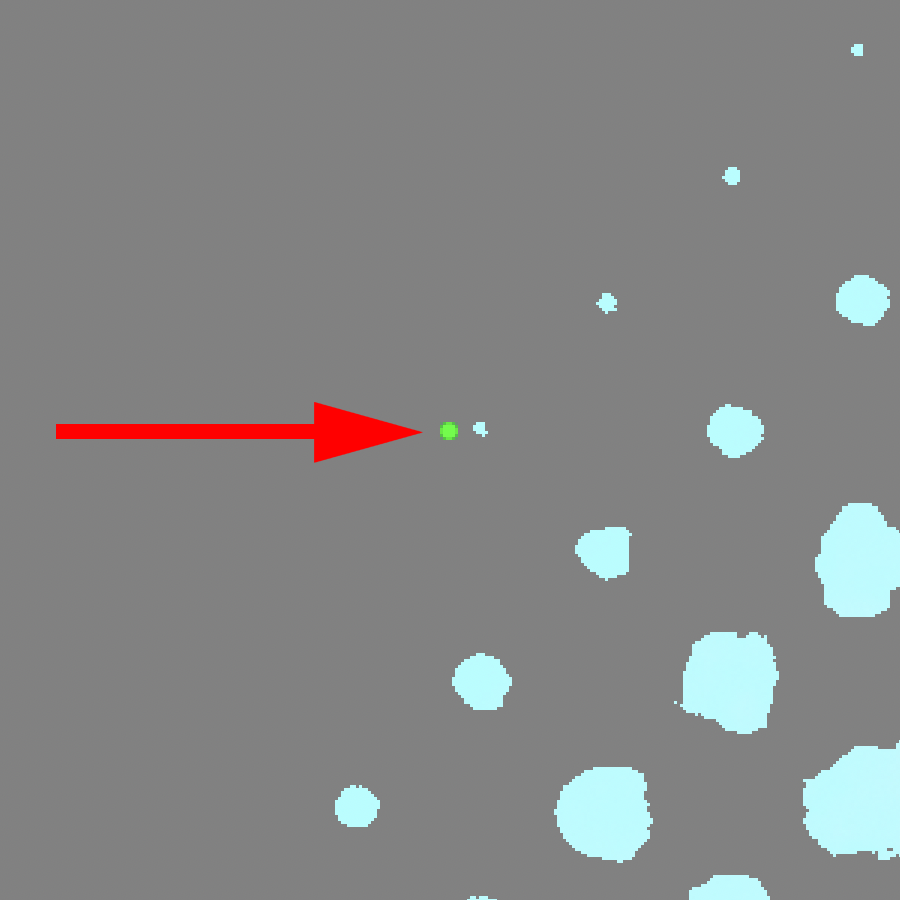
When creating your artwork, one of the things you have to watch out for is faded edges. (Fig. 1)
Faded edges aren’t a concern with direct printing methods like DTG or screen printing, where the image is printed directly onto the garment, or transfer methods that don’t require an adhesive like dye sublimation. With DTF and other transfer methods like white toner transfers, an adhesive backing needs to be applied to the back of the transfer to adhere to the garment.
When the DTF transfer is printed from the inkjet printer, the ink droplets or dots are too small and don’t have enough surface area for the adhesive powder to stick. Therefore, when the transfer is applied, those dots either will not stick or will eventually peel off, giving the image a rough or splotchy edge. Knowing this, you can plan your layout accordingly and adjust your art to make it work.
Hard-edged artwork & DTF
The most obvious answer to the problem is to create artwork that does not include faded edges. Vector artwork, which most people are familiar with, won’t have this problem. But with the ability to print full color, raster artwork will provide a much more dramatic and appealing look to your design.
If you are starting from scratch, you can create your design with hard edges using hard brushes and/or paths to make selections with definite edges to paint within.
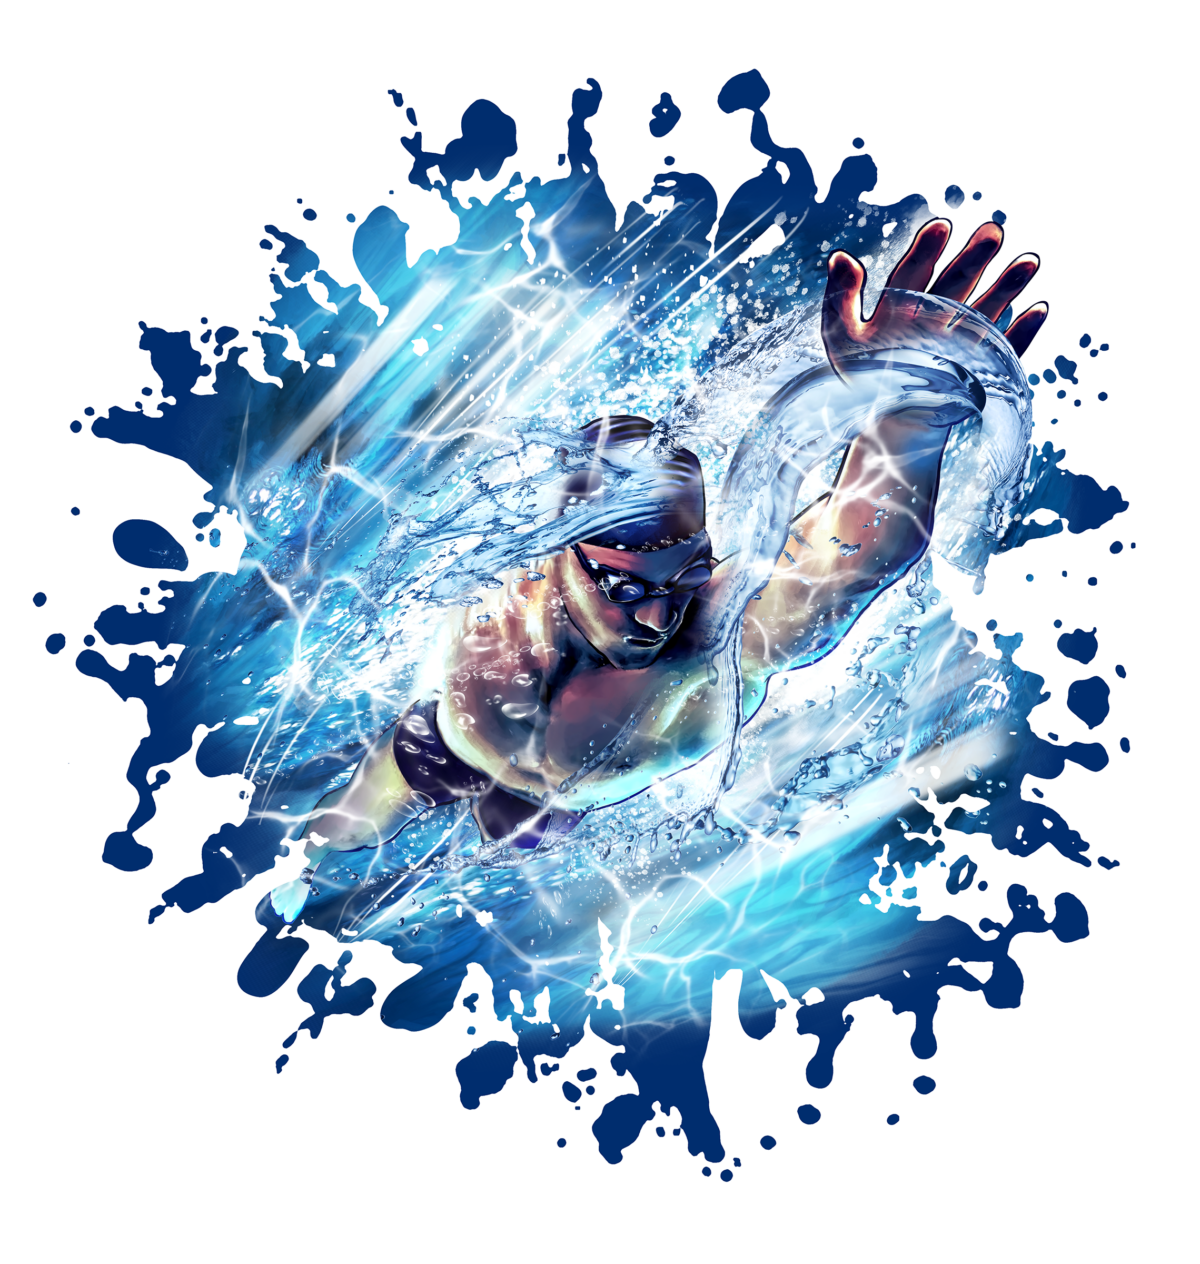
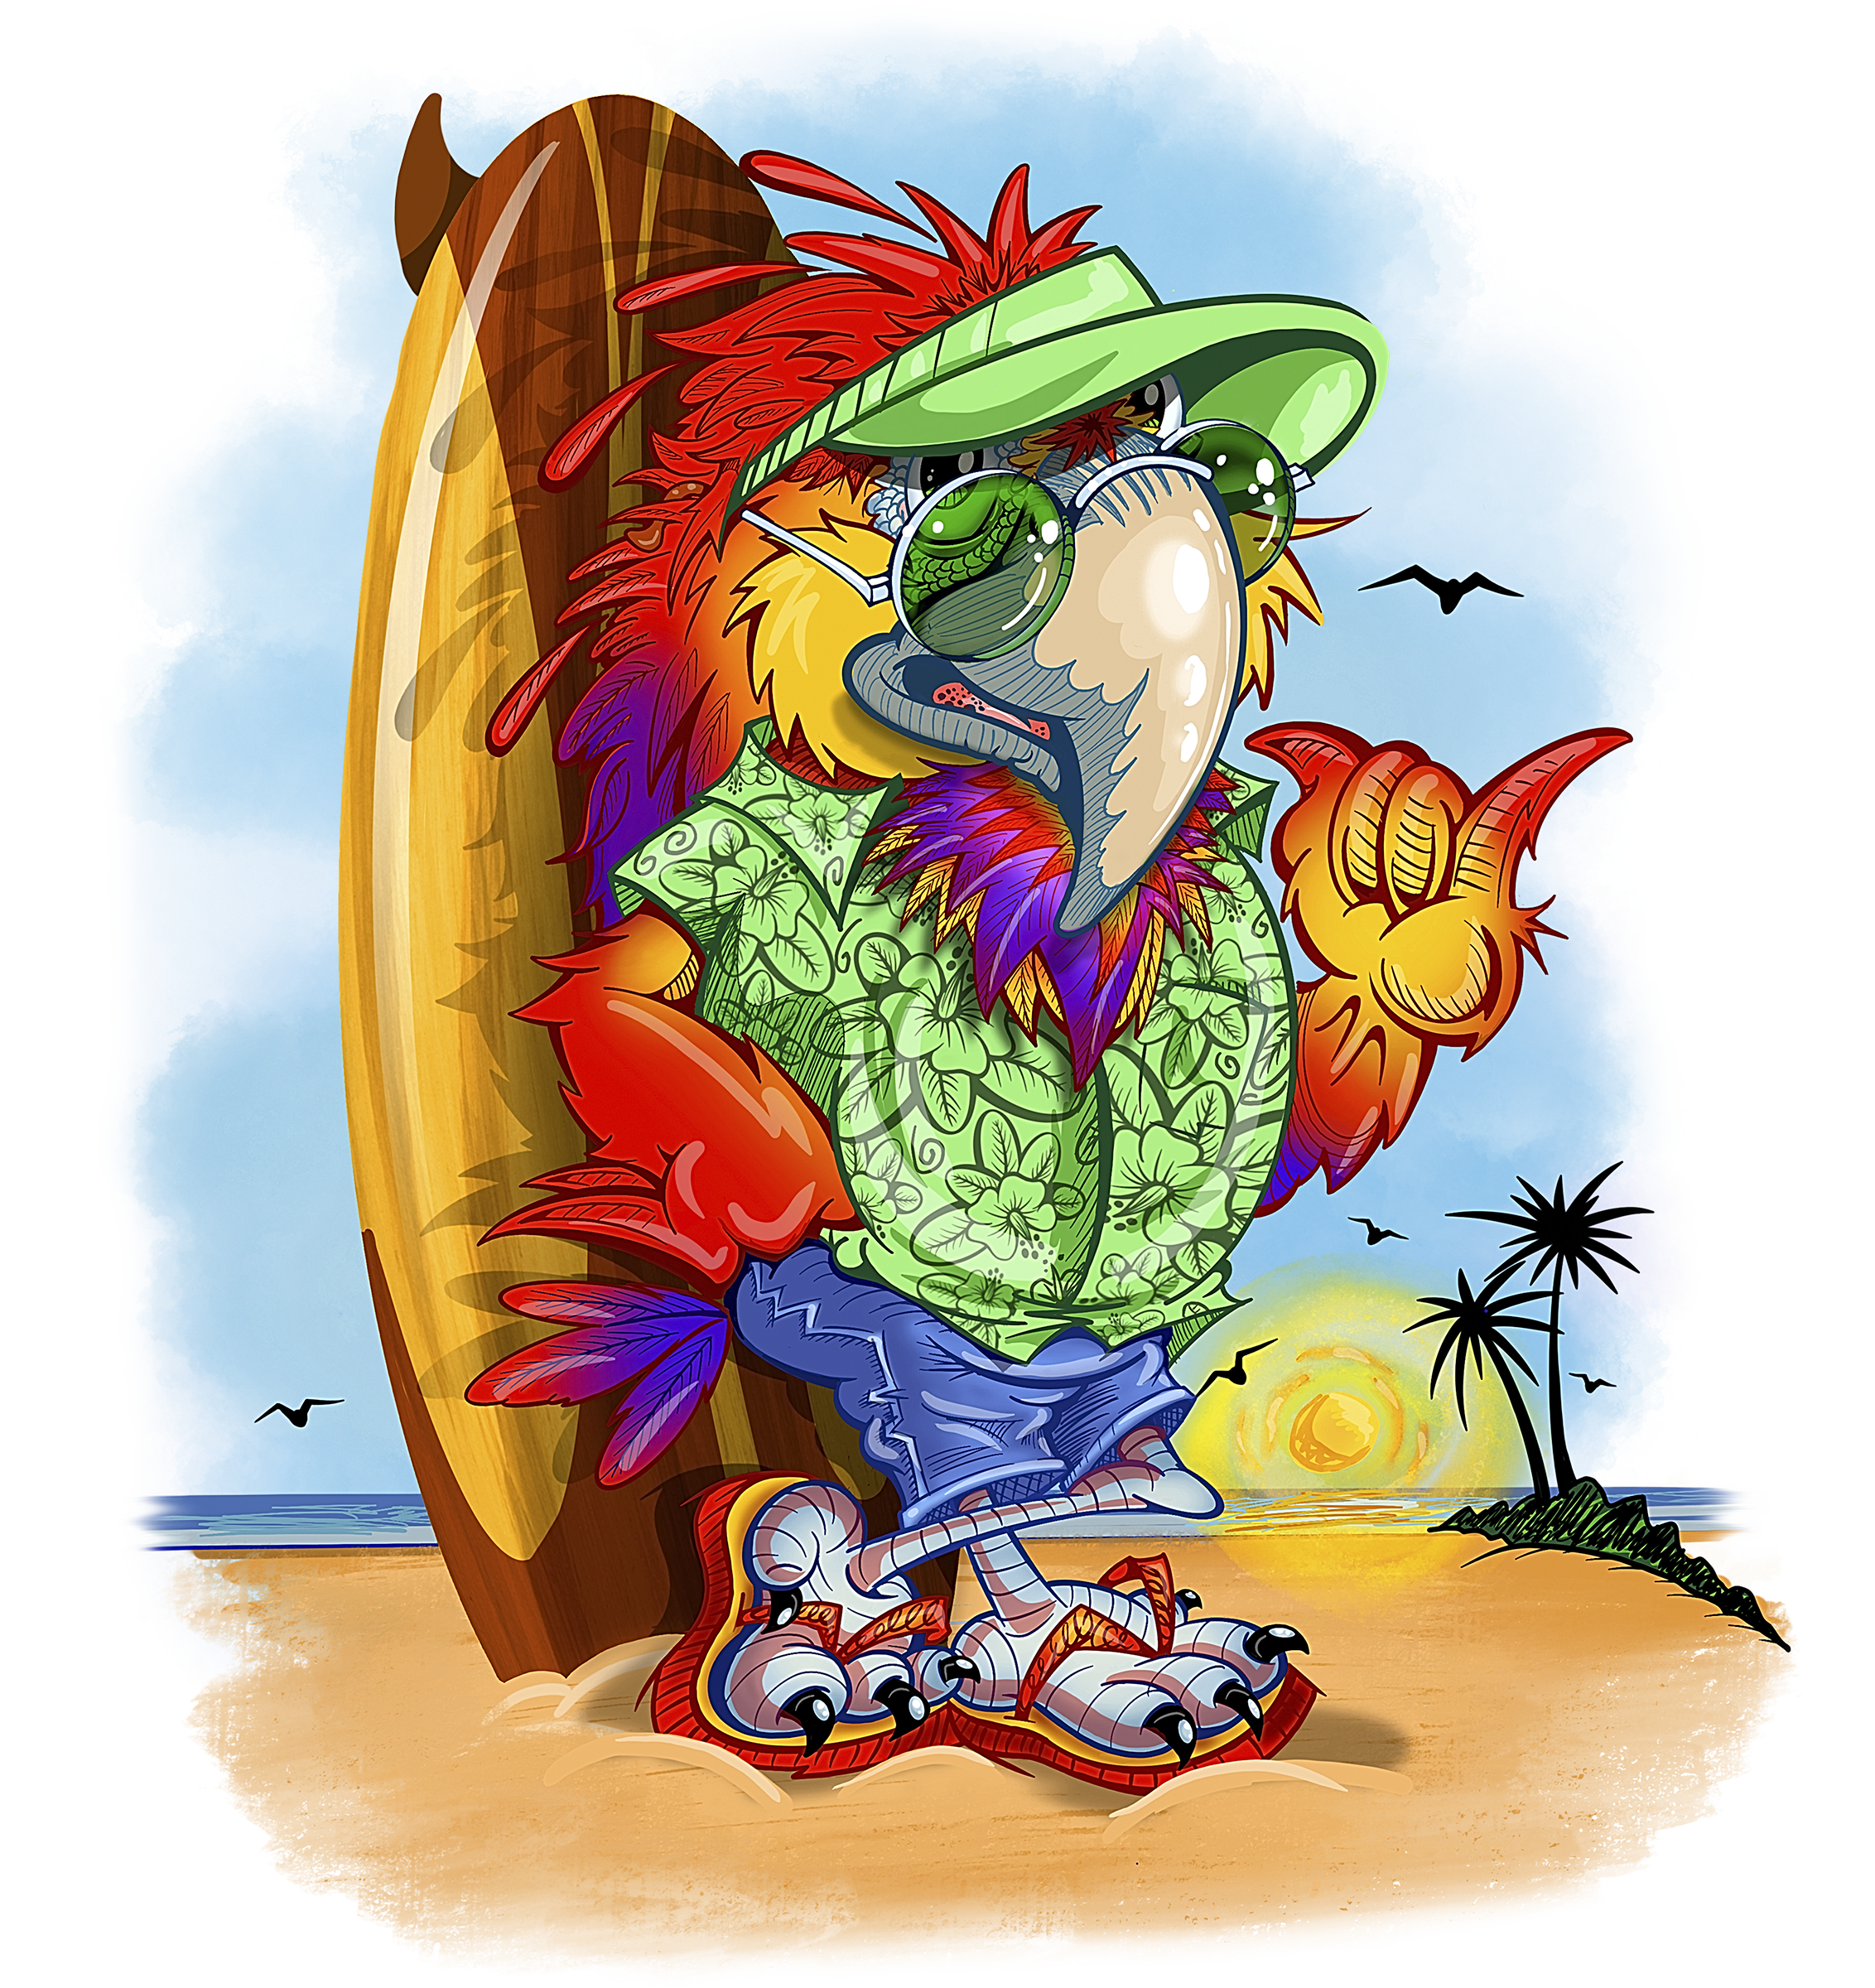
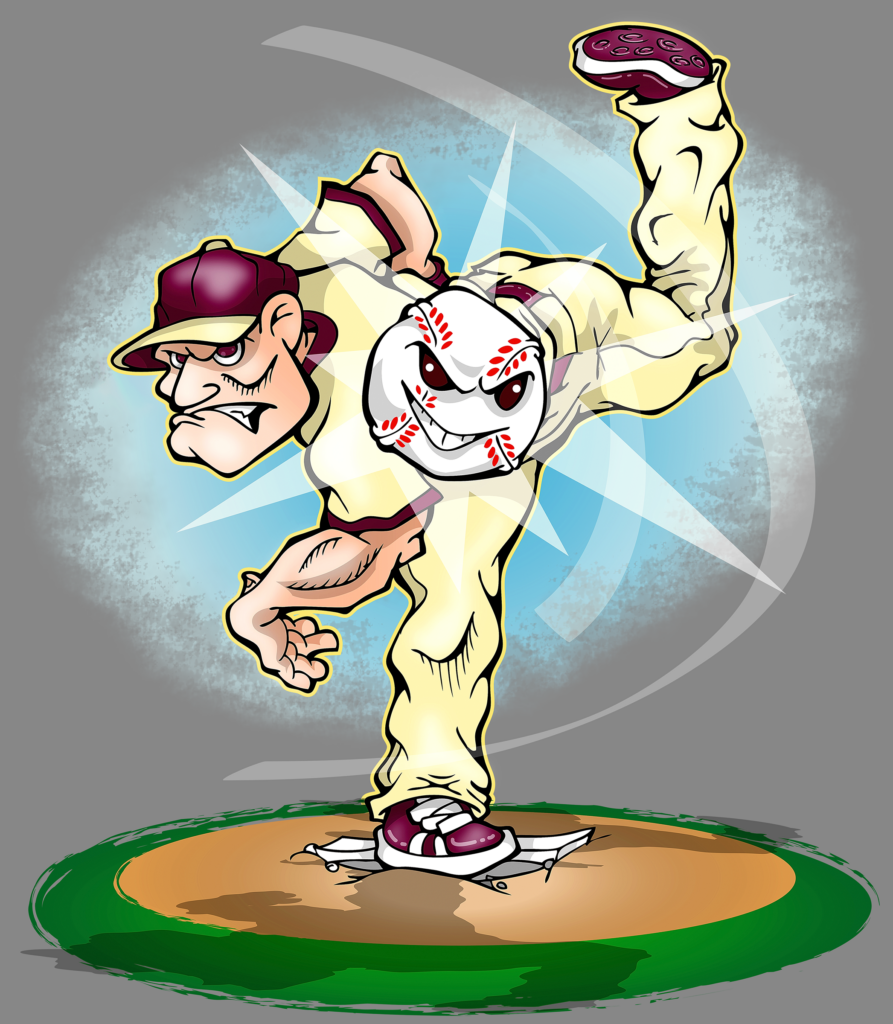
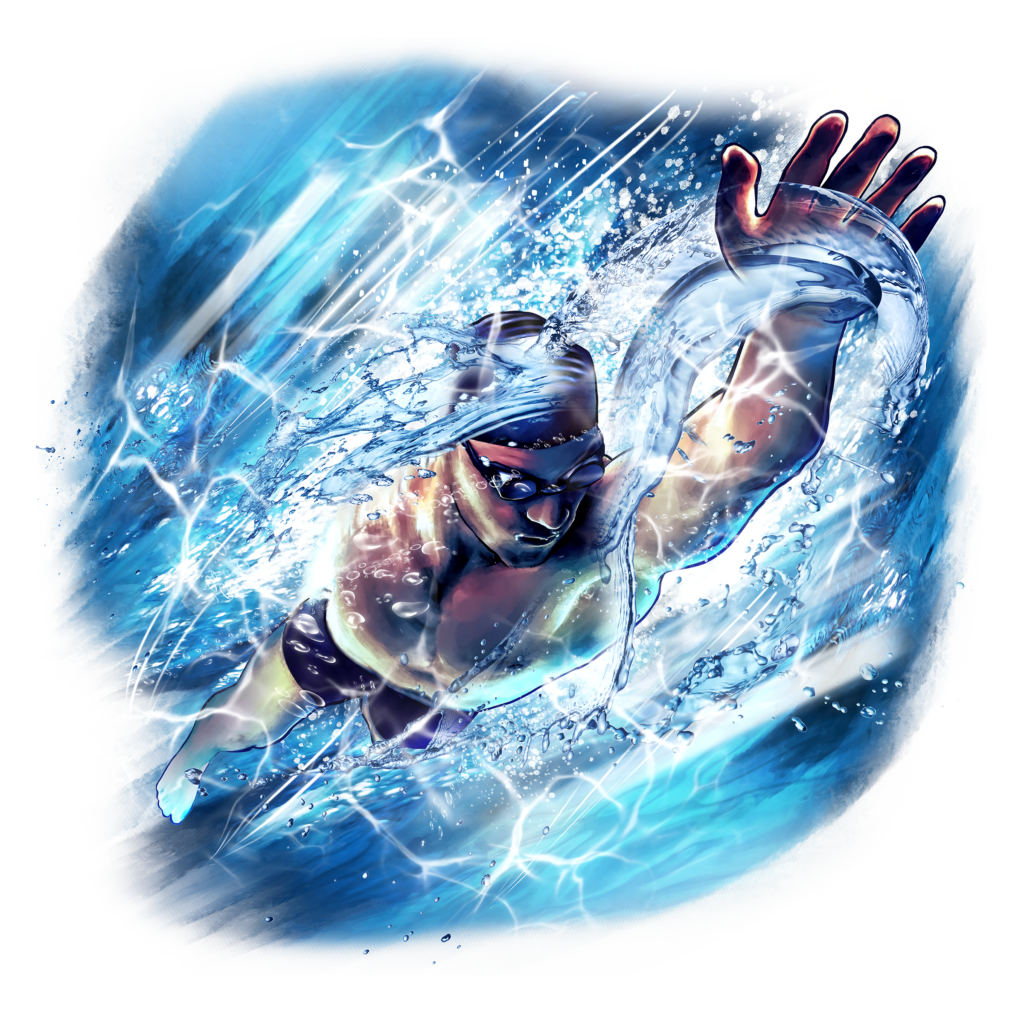
If you already have an image that you would like to use that has soft edges (Fig. 2), there are some things that you can do to manipulate the image and make it work.
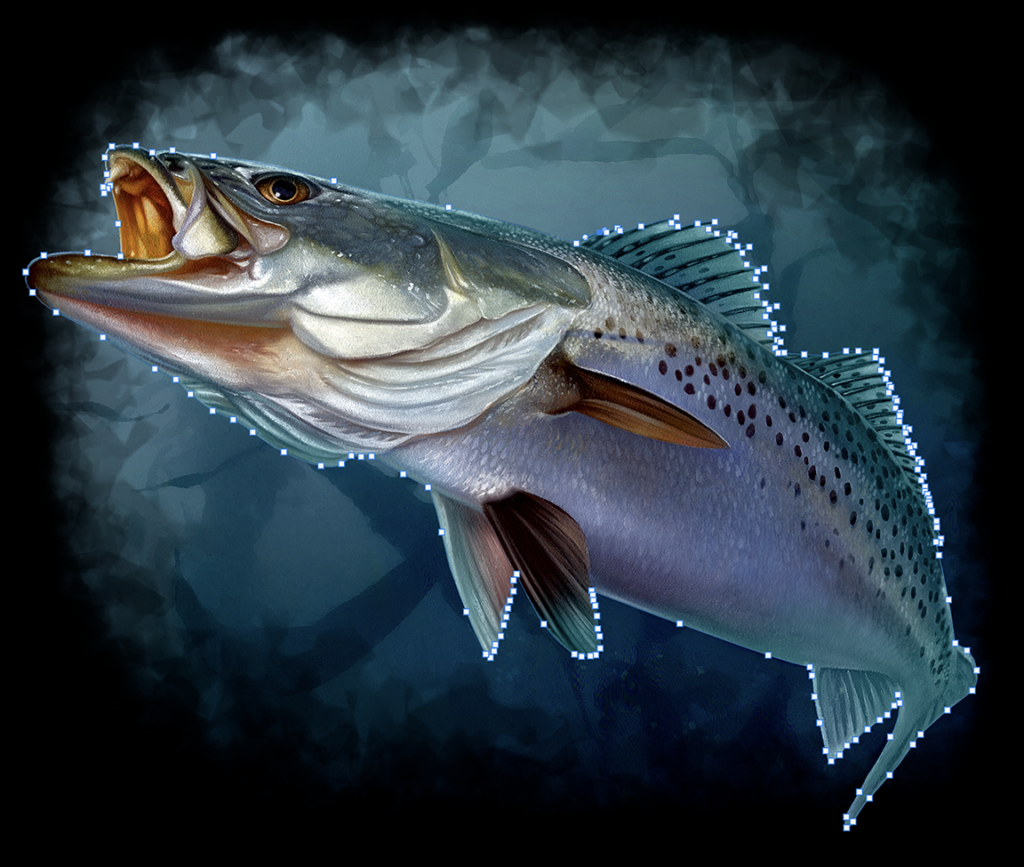
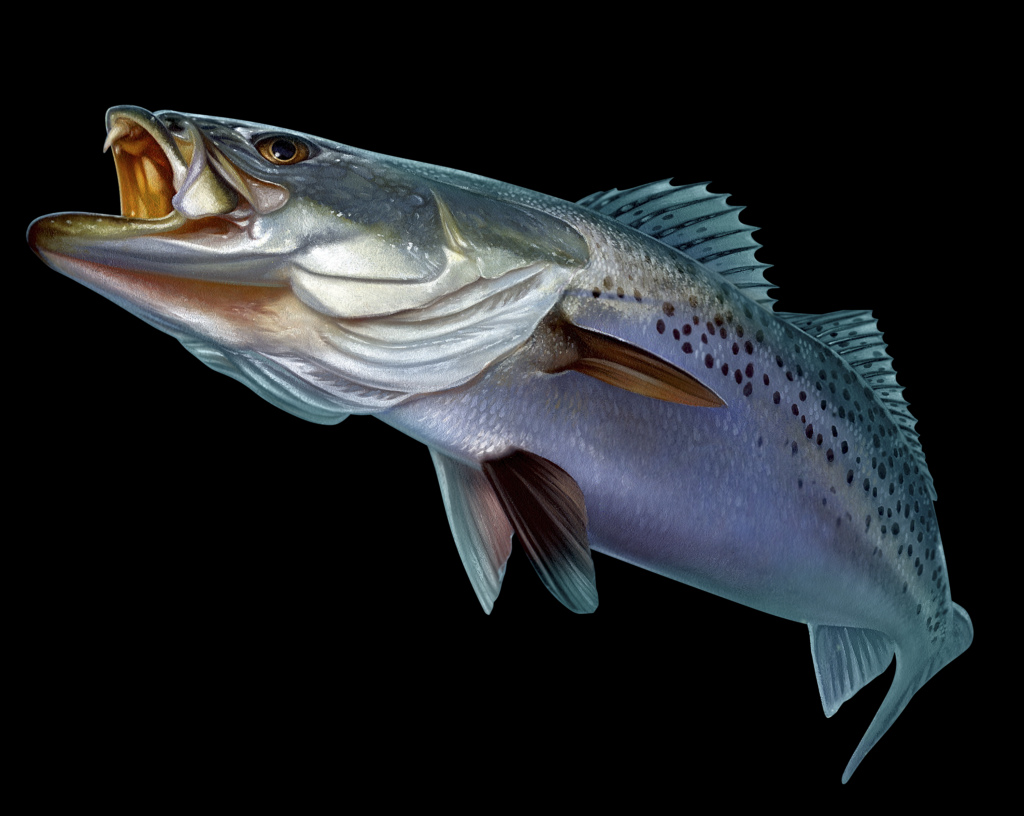
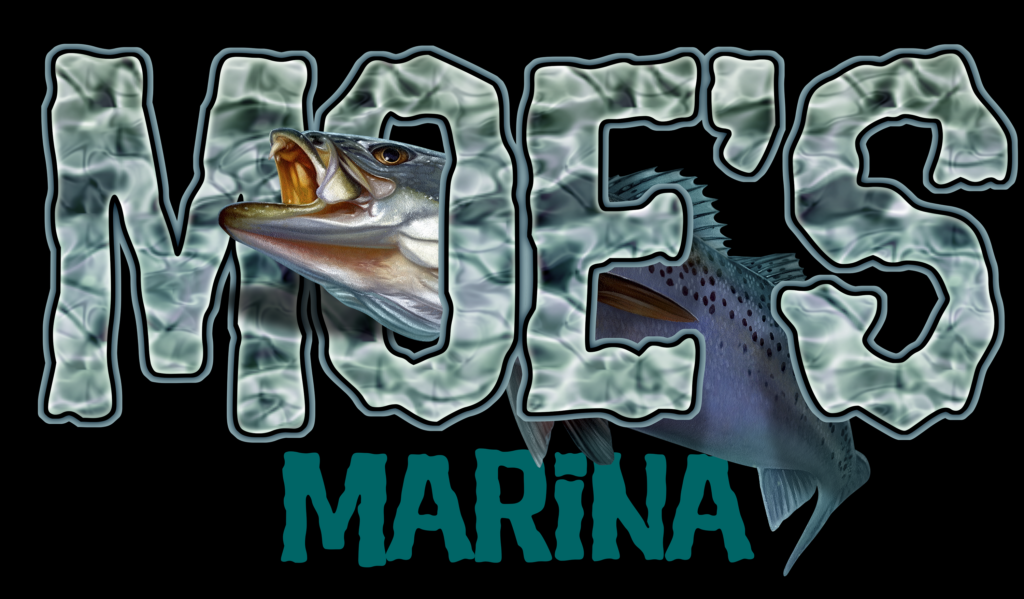
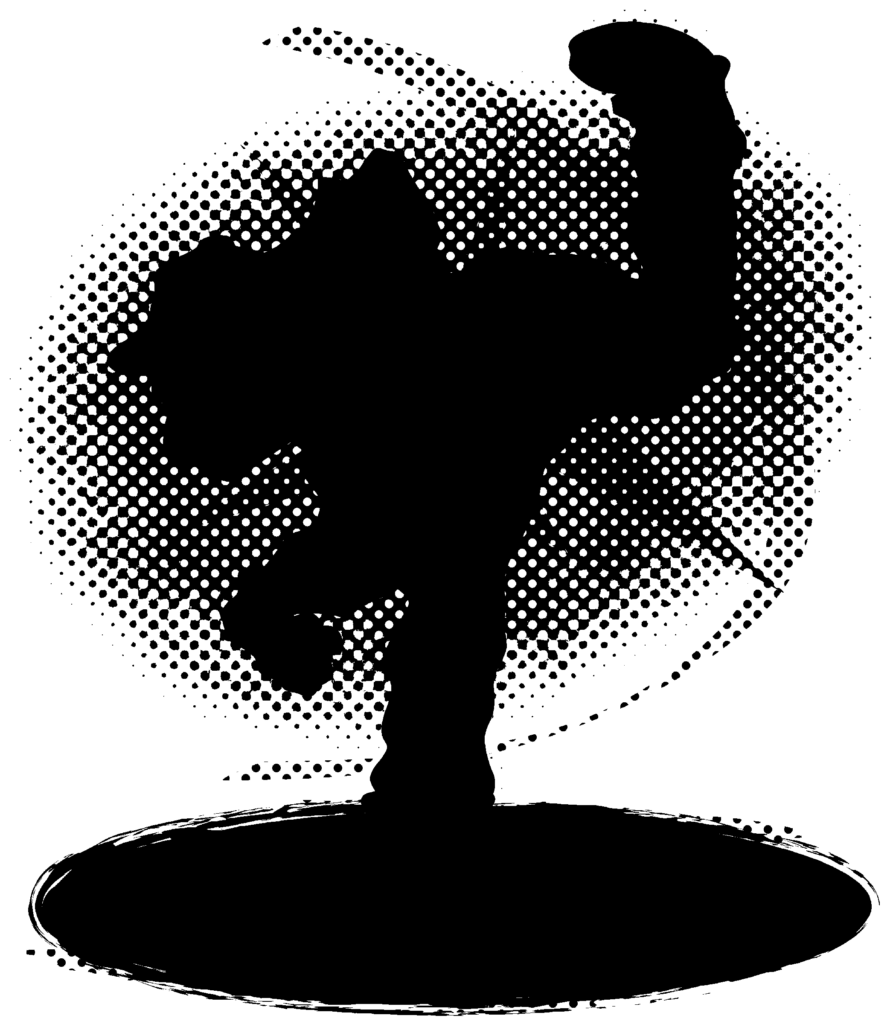
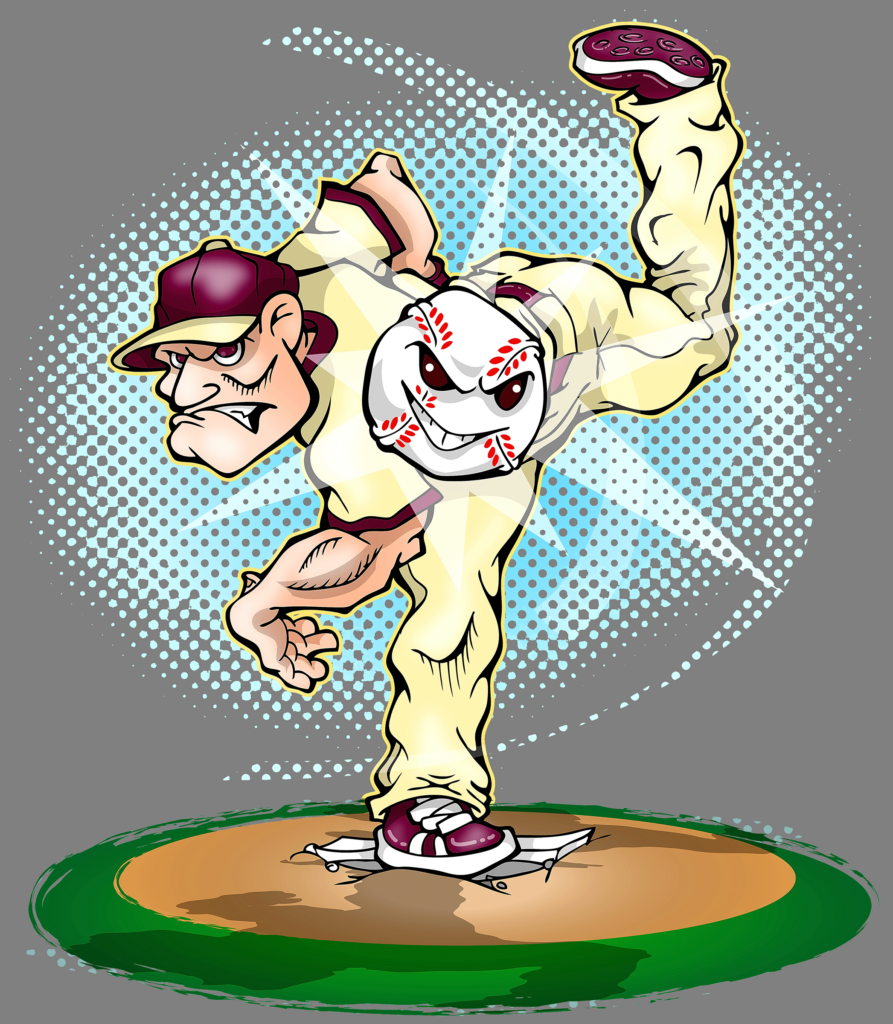
If the image has a main element you want to work with, use the Pen Tool to draw a path around it. (Fig. 3) Make a path selection, invert the selection and delete the background elements. (Fig. 4) You’re left with artwork with a hard edge that you can add type to or place in a layout you created. (Fig. 5)

Large halftone screens
What if you have an image with a soft edge, and you want to keep that edge? (Fig. 6) You may be able to apply a large halftone screen to the layout so that the faded edge will be created using dots large enough to hold the adhesive and stick to the garment. (Fig. 7)
It’s always best to check with your service provider or equipment manufacturer to see what is the smallest line thickness they recommend. While the line thickness may be restricted, DTF can still maintain a decent-sized dot, allowing large halftone screens to provide a smooth transition for faded edges. (Fig. 8)
When you apply the screen, you’ll need to either duplicate the art image multiple times before applying the screen or create a new layer under the art layer and fill the halftone selection with a solid color that works with the image. The purpose of this is to make the dots solid. If not, the dots will still be faded or transparent when you apply the screen and won’t work.
Once you apply the screen to the artwork, create a dot with a diameter of the minimum size recommended by your service provider or equipment manufacturer. Use this as your guide and go around the artwork. Any halftone dot smaller than the guide dot can be erased along with any other dots you may not want (Fig. 9). Everything left should be large enough and will be held on the garment when pressed. (Fig. 10)

When applying a large halftone screen, make sure the art is at the size you plan to print, then apply the screen. If your artwork is larger than your actual print size and you apply the screen to it, when you reduce the image to print, the dots will become smaller and may fall off the transfer or get lost on the garment.
Using hard-edge shapes
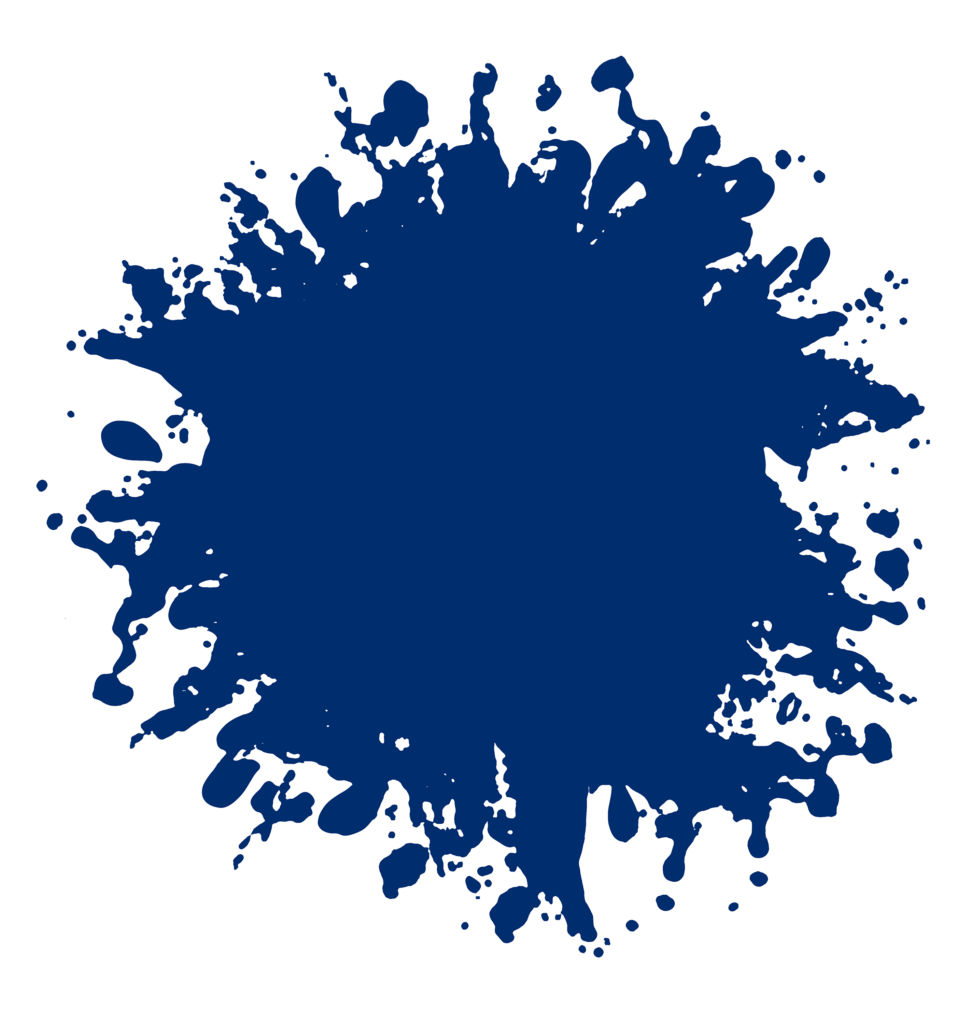
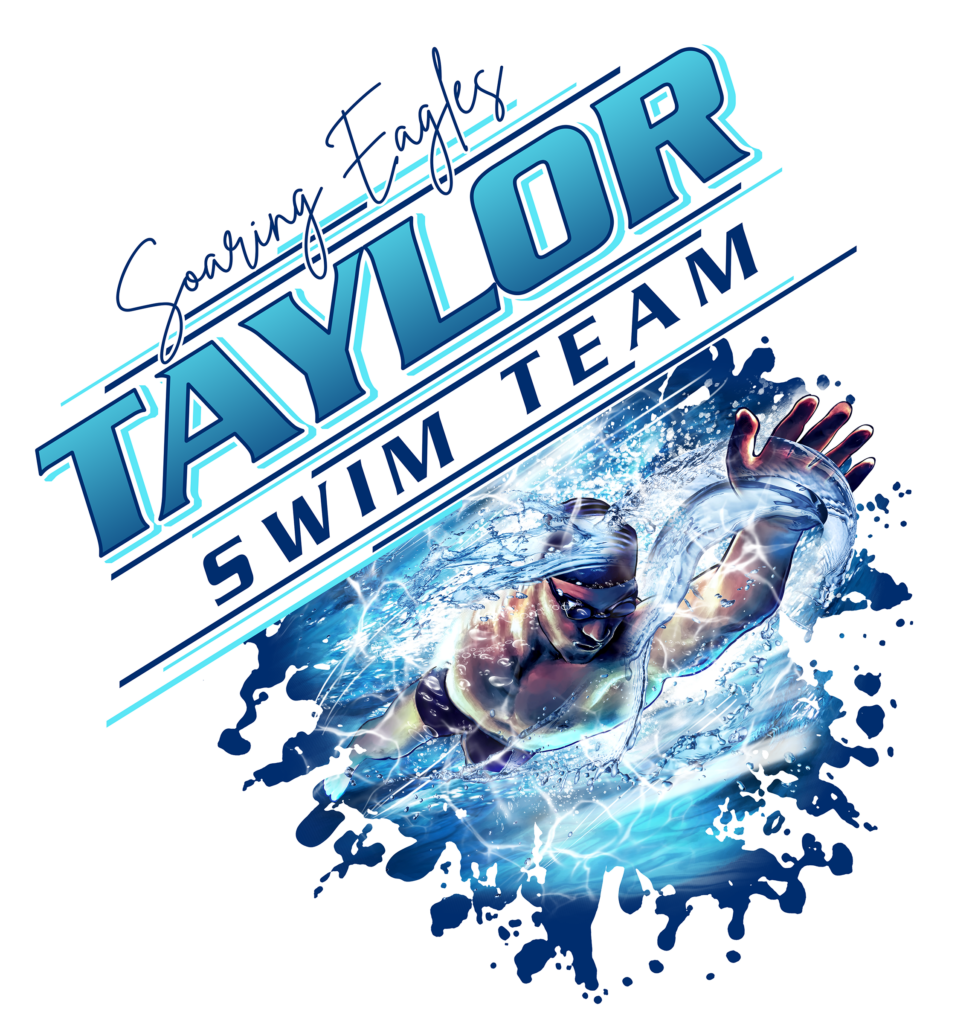
One other option you can use to incorporate artwork with faded edges into your layouts is to place the art on or into a shape with a hard edge. Sure, you can use a circle, square, or any standard shape, but it doesn’t necessarily have to be. You can use any abstract shape that is large enough for your image to fit inside (Fig. 11, 12, 13).

In this case, creating an interesting layout is more crucial. You don’t want to just create a circle and stick the image on top. When creating your layout, make sure to incorporate openings throughout. DTF transfers have a much softer hand than older types of transfers, but a layout with a giant shape in the middle of it will still feel heavy. Creating a layout with type and other graphic elements will create some negative space or openings, making the feel of the transfer more comfortable. (Fig. 14)
As the use of DTF transfers continues to grow and the technology continues to develop, newer, easier ways to make all forms of artwork work for DTF will undoubtedly become available. For now, this doesn’t mean that artwork you may already have can’t be adjusted to work for you and used in your transfer layouts.