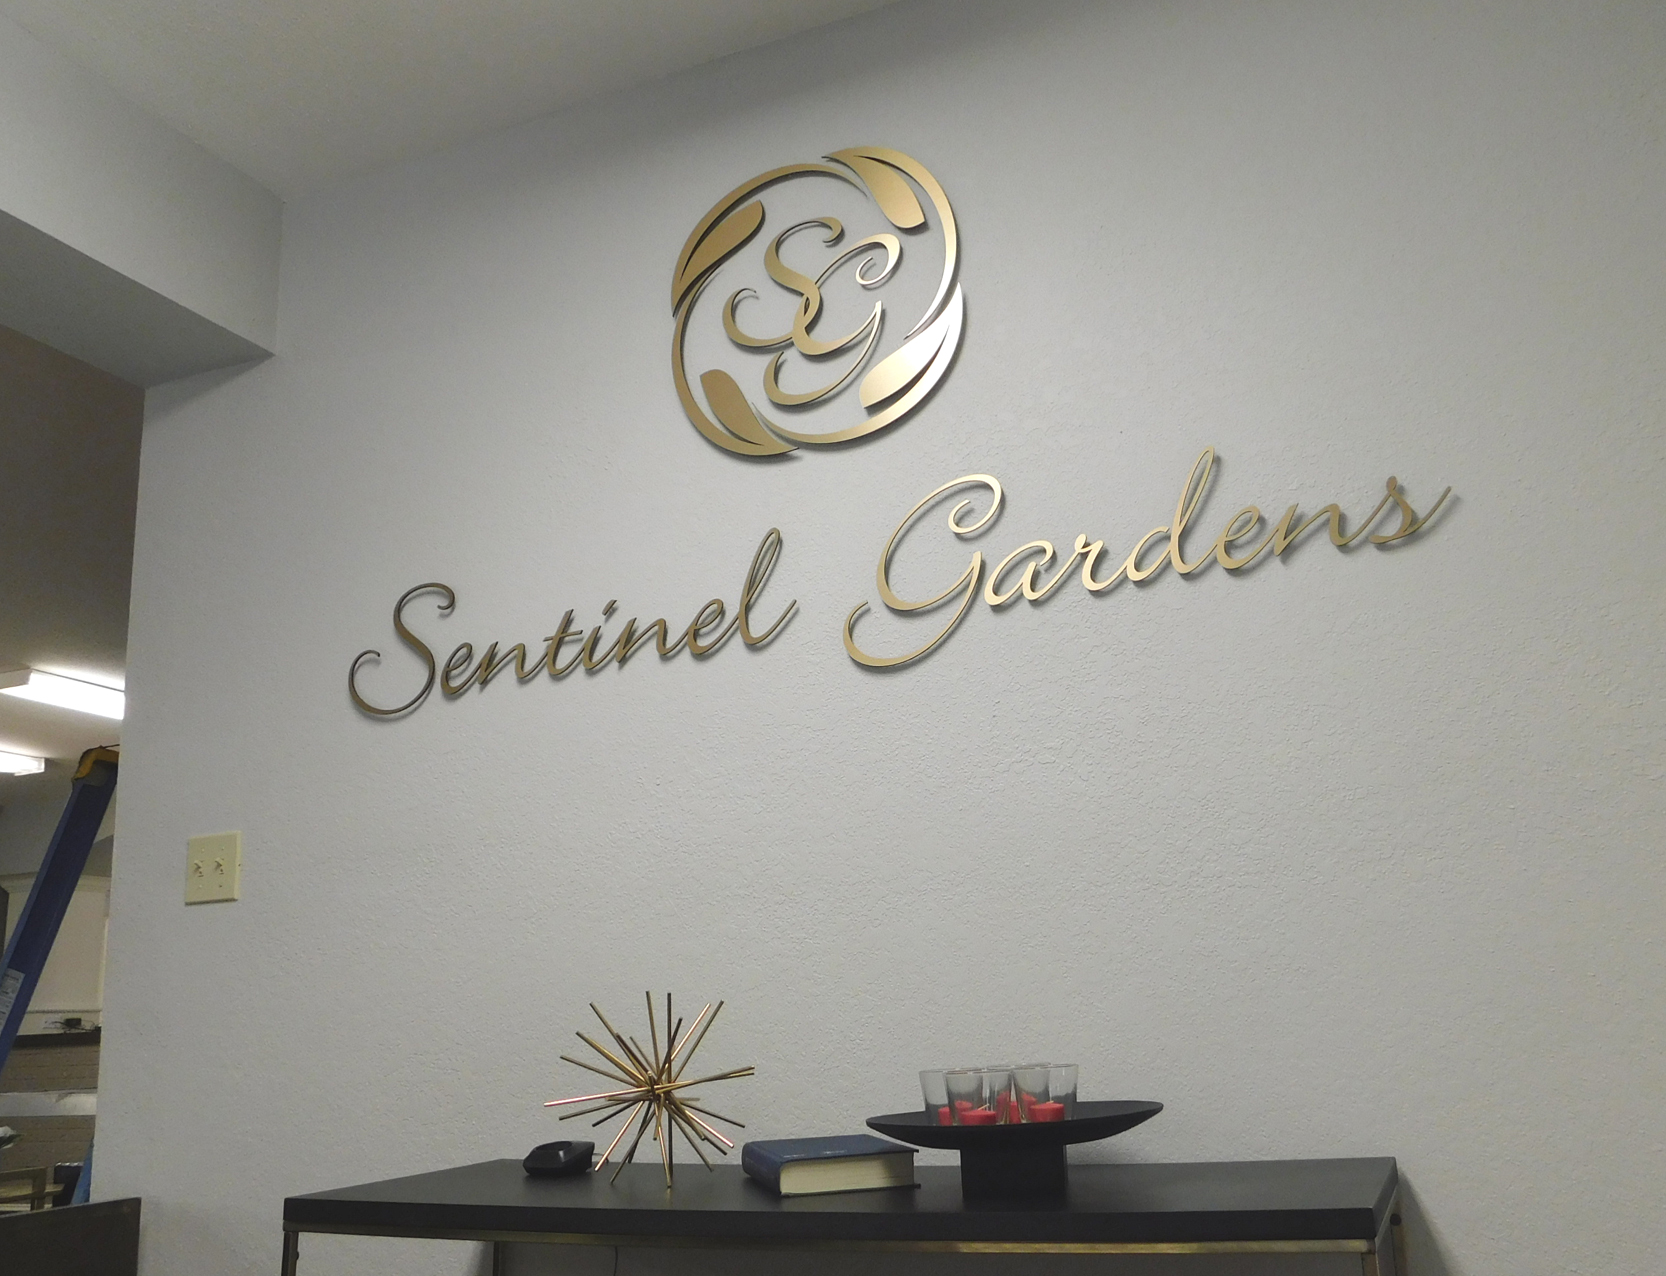
For this job, a local assisted living facility asked us to do several projects for them, mostly outdoor and indoor versions of their custom logo. Their outdoor logos were waterjet-cut aluminum and powder coated a dark green color, but their indoor logo was to be done in some type of metallic gold finish and would be a decorative element to mount on a wall behind the reception counter.
Other than color, the client did not specify what the indoor logo was to be made of, what thickness, or any other specifics at all. So, with that much latitude, I thought this would be a good project for our sign shop laser, turning basic sign shop materials into something attractive, easy to install, which could be produced quickly, efficiently and profitably.
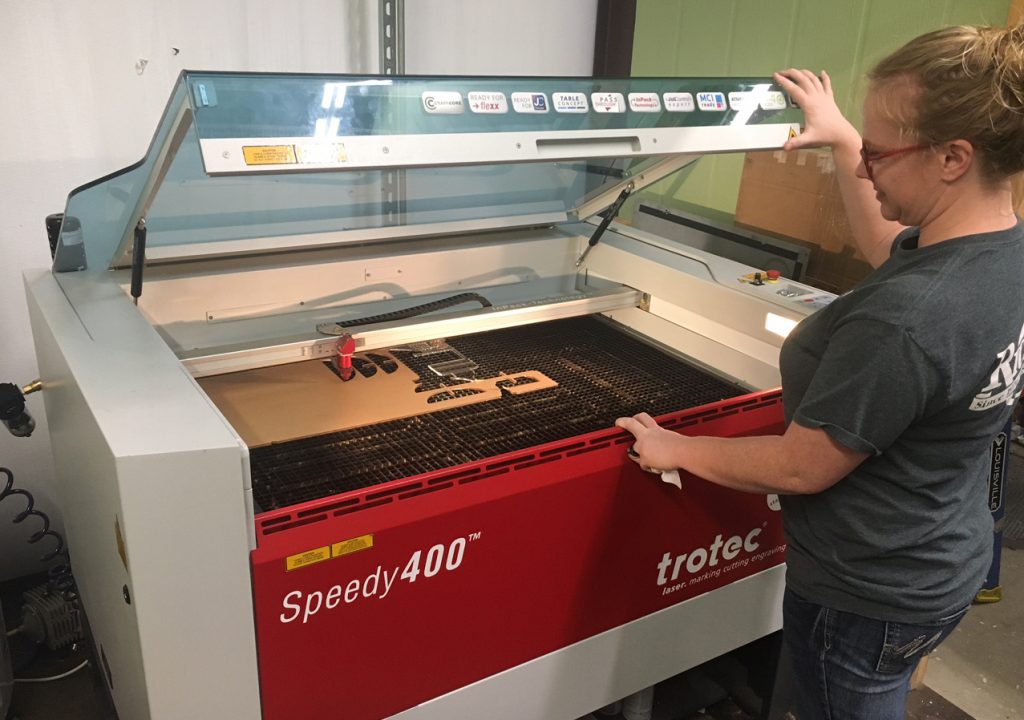
We had some black acrylic, in .187″ thickness, which a 120-watt laser like ours can easily cut. Our Trotec Speedy 400 laser will actually cut acrylic quite well in thicknesses up to ½”. But, if we wanted a nice metallic gold surface, we would be covering it with an adhesive film before cutting. However, it could not be overlaid with metallic gold vinyl since cutting through some vinyl with a CO2 laser emits deadly chlorine gas and is prohibited. It’s best to be safe.
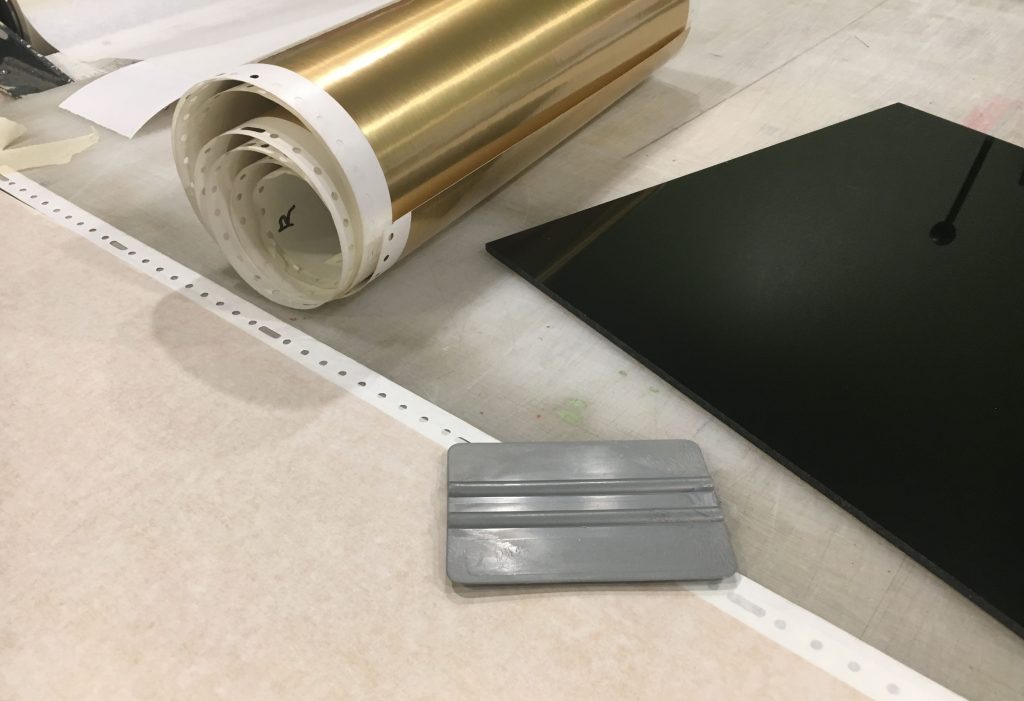
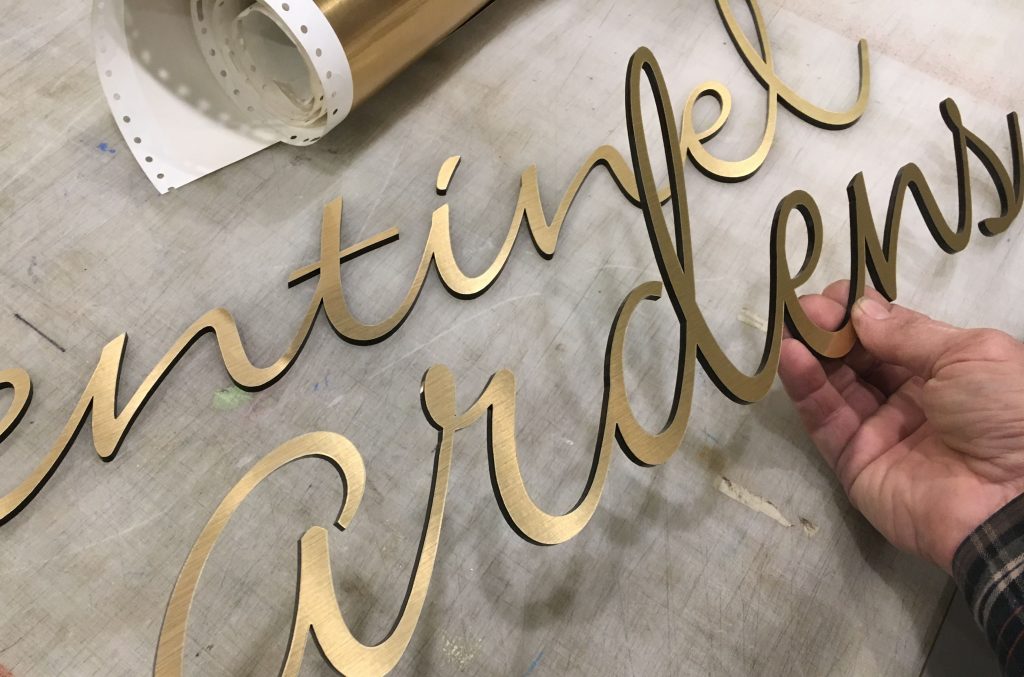
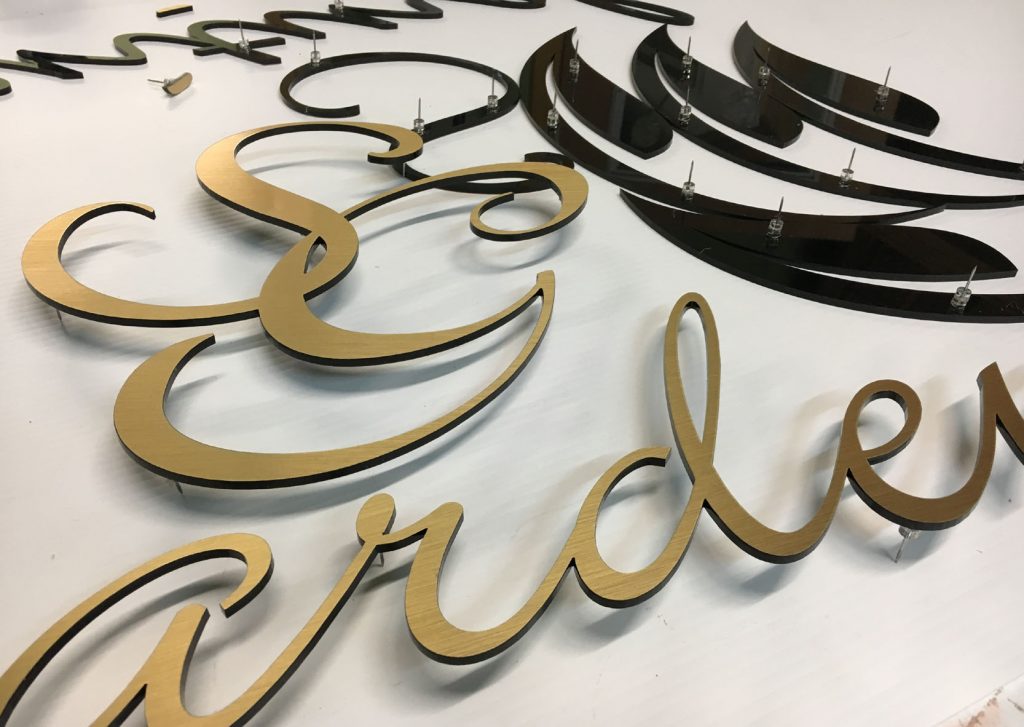
Fortunately, some of the metallic films, especially “mirror” and “brushed” finish films are not vinyl, but are made of polyester plastic instead, which, at least to my knowledge, are OK for laser cutting. The gold we settled on was pretty convincing and had a brushed gold finish that would catch the light more than a glossy or mirror gold version.
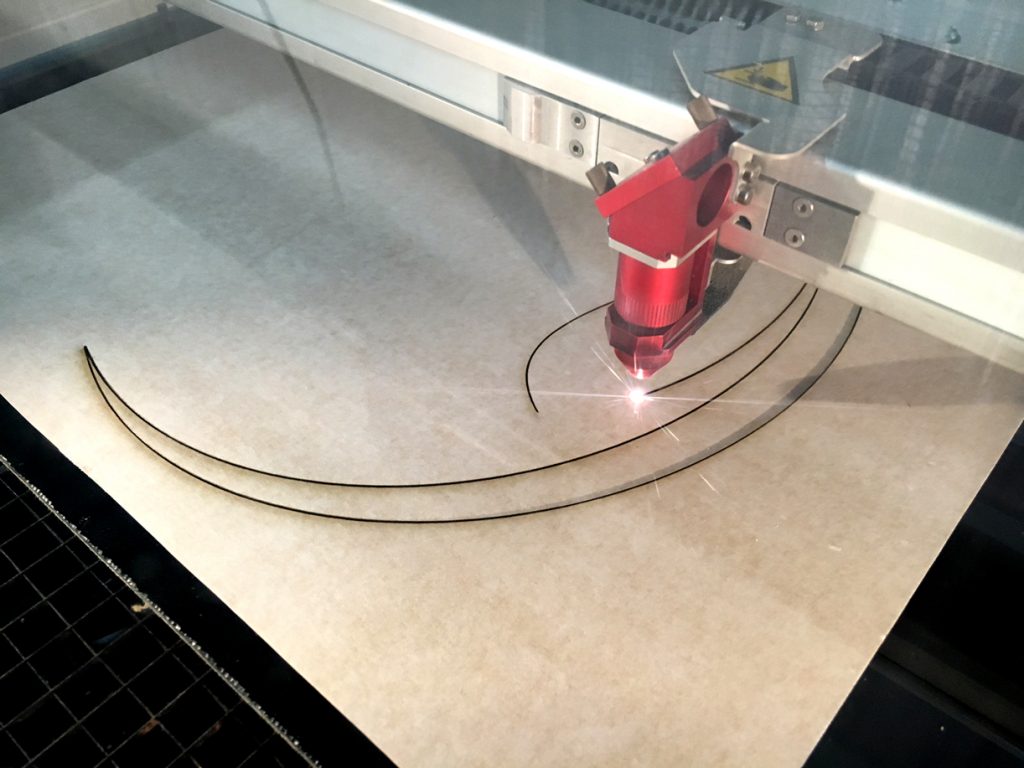
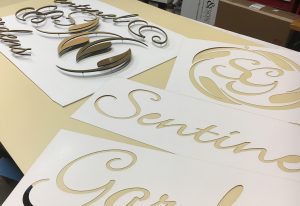
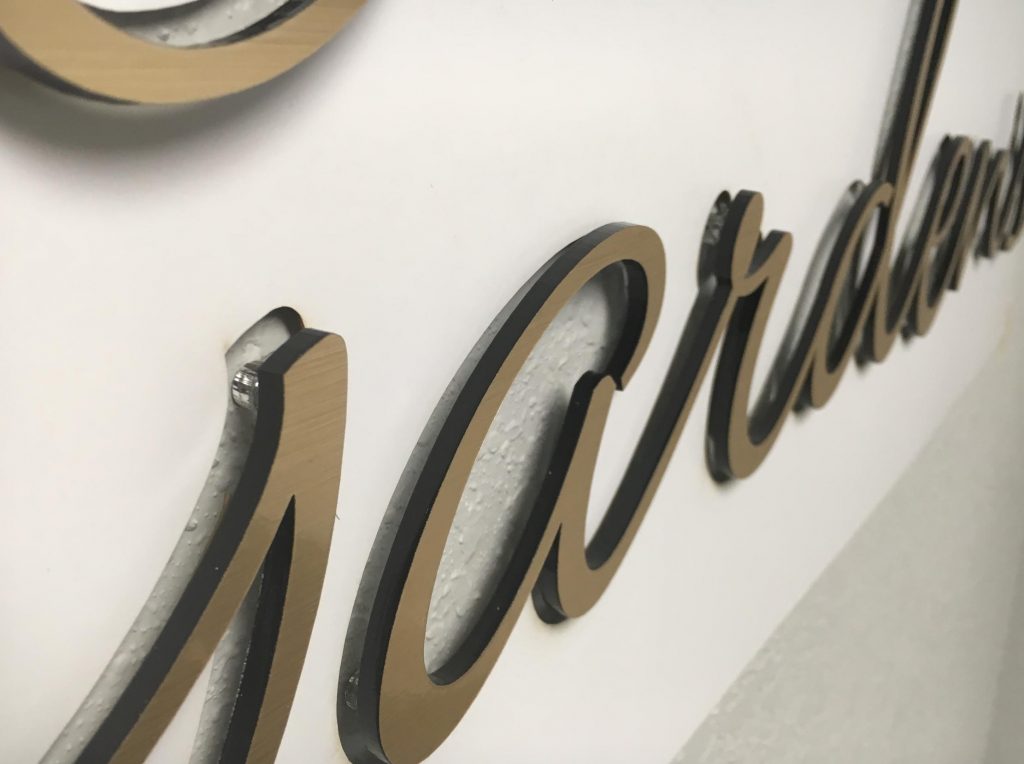
So, the first step of this job was to cover enough black acrylic with a brushed gold metallic film, hopefully with no flaws or dust imperfections, which metallic films show mercilessly. Once covered, the actual cutting on the laser only took a few minutes, and left the edges a lovely polished black, only enhancing the metallic gold surface color.
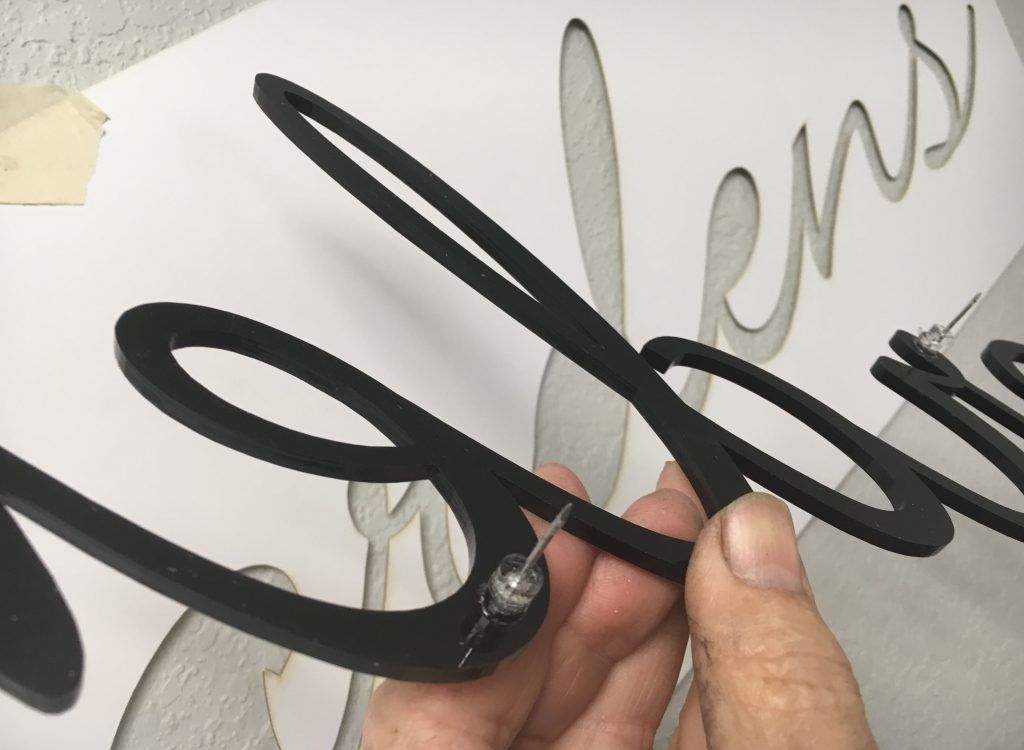
We had some 3/16″ clear acrylic, and using it we cut some small round spacers, half of them with holes and half without. Because our lettering was a script font, and the lines were fairly thin, our clear spacers or mounting hardware did need to be quite small to be hidden behind the strokes of each letter and the thinner elements of the logo. Our clear acrylic circles or spacers were only about ¼” in diameter.
Small paneling nails were selected as our sharpened studs for mounting the parts of this logo to the wall, so in half the clear acrylic “dots,” a hole was cut (also on the laser) that a small nail could just fit through. The most tedious part, though it was really not difficult to do, was countersinking one side of the clear “dots” holes, so the head of a nail would fit down flush into the surface of the spacer.


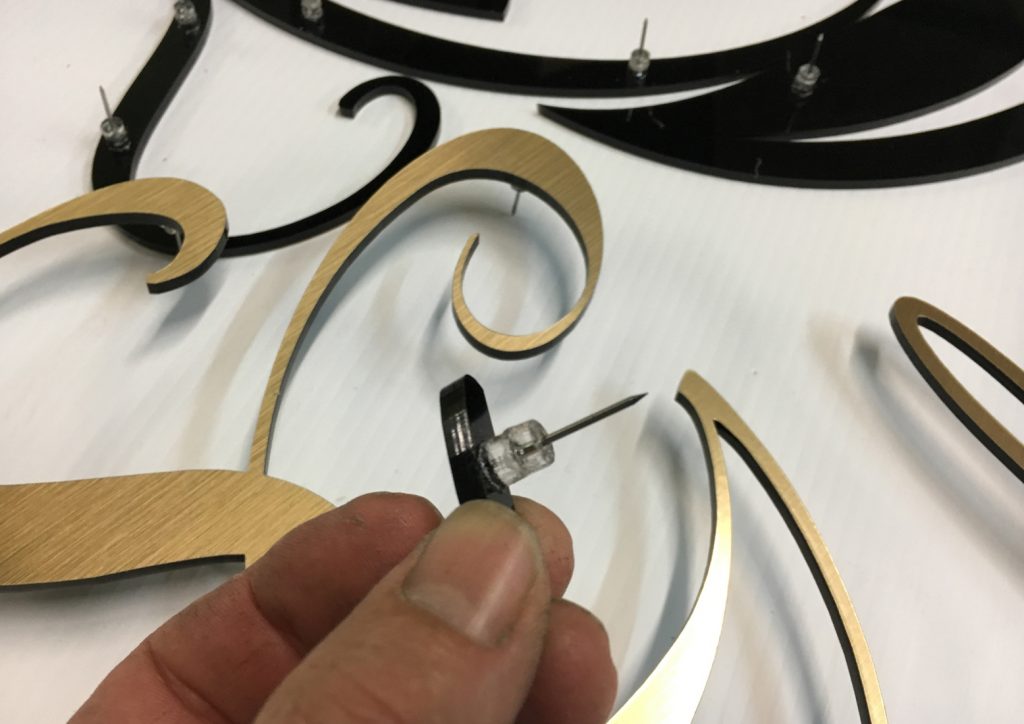
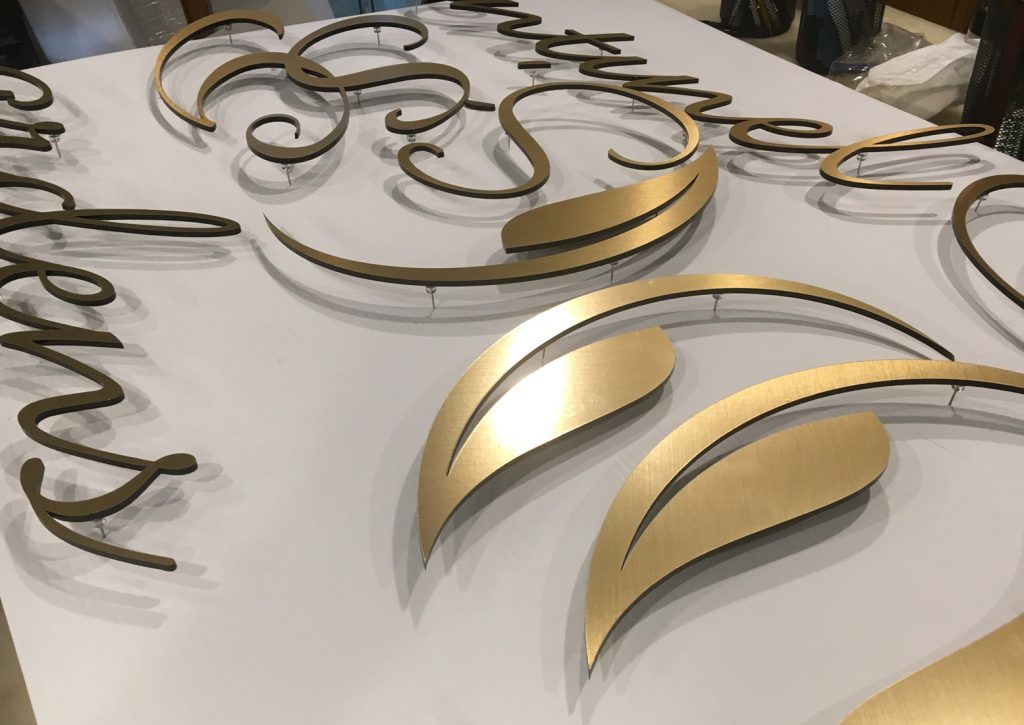
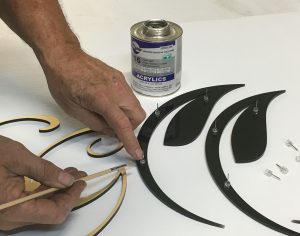
Once a nail was in place in its slight recess, a “dot” with no hole was glued on top of the one holding the nail to finish making our individual “spacer/stud holder.” Making an inventory of these parts took 30 to 45 minutes, and then they were glued to the backs of our acrylic logo parts and letters using standard acrylic glue.
With the logo parts laser made and the mounting hardware as well, then the laser was given a final task of cutting our installation patterns from light poster board stock. This step took just a few minutes but produced a perfect pattern to show exactly how to mount each piece out at the job site.
The install itself was embarrassingly easy. The poster board patterns were taped in place and double-checked for correct positioning. Then each logo element or letter segment was merely pushed in place into a sheetrock wall. The small paneling nail “studs” embedded into the drywall quite well but weren’t long enough to have to penetrate the studs in the wall very much if at all.
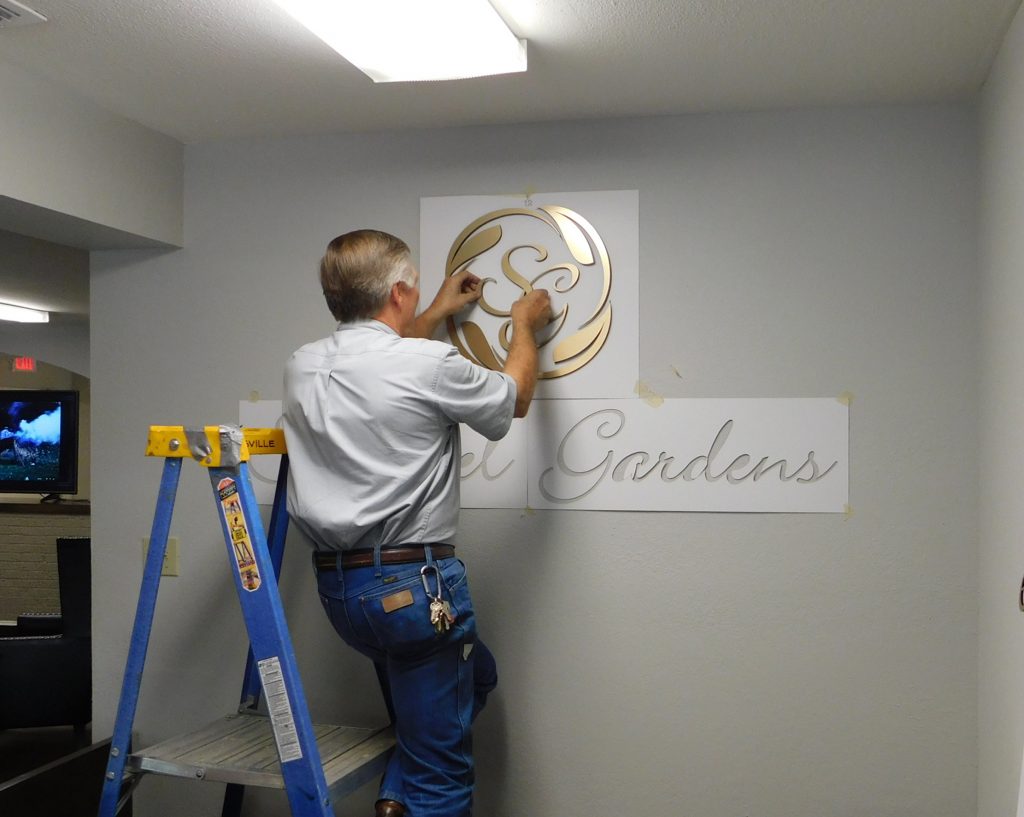
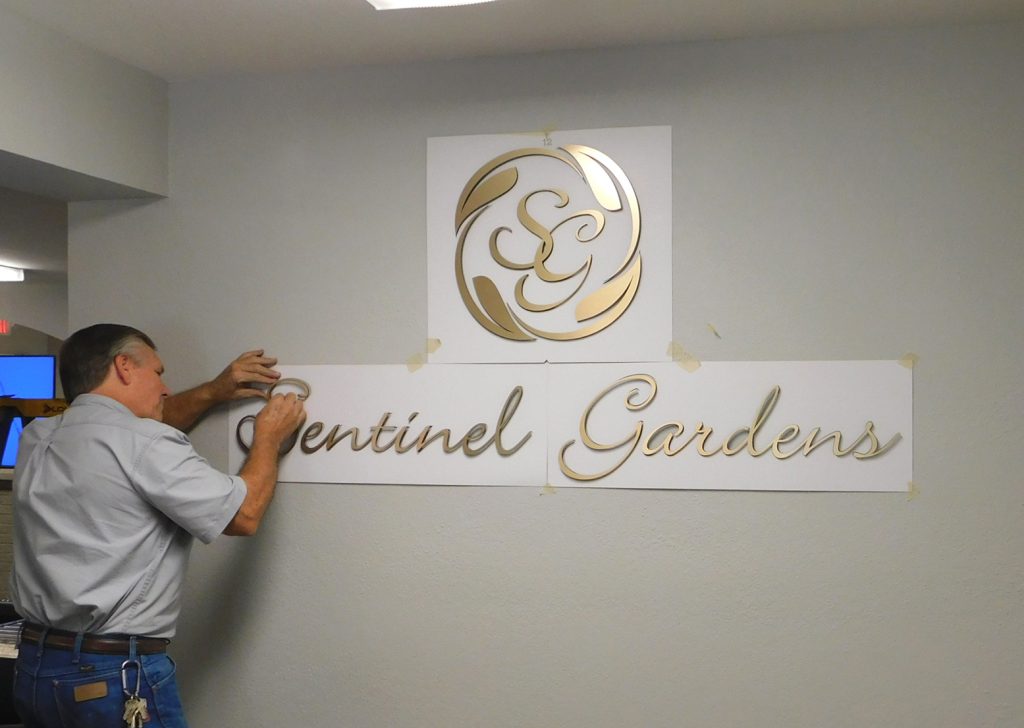
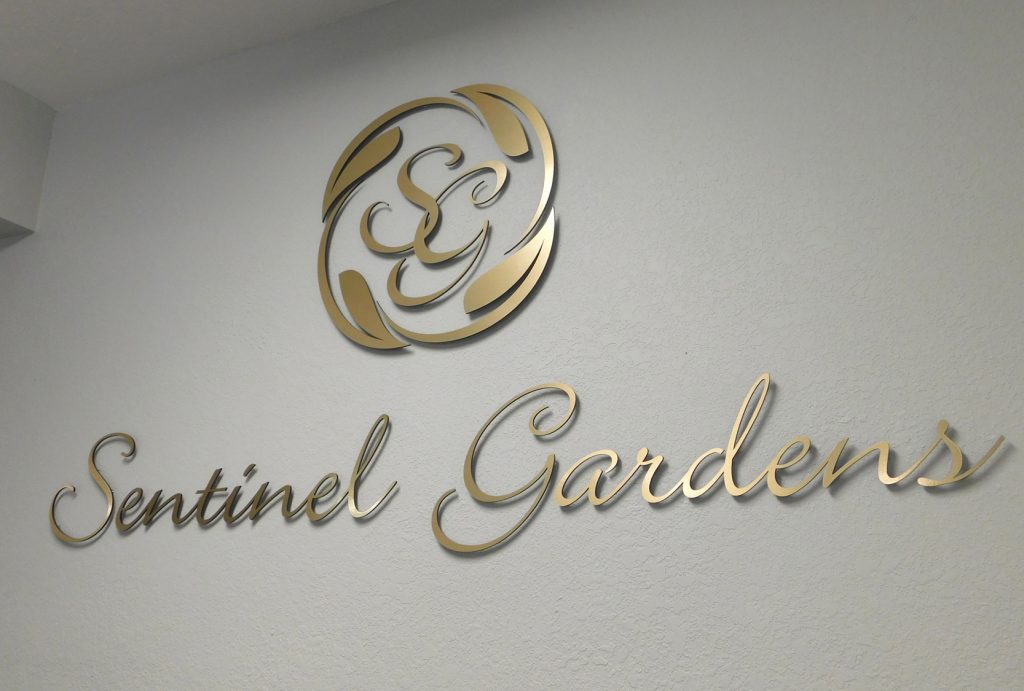
Commercial sheetrock is always 5/8″ thick, so we had that much depth to play with. Fortunately, our little wall piercing studs didn’t hit any hidden nails or screws, which would have been a problem requiring cutting off the offending “nail/stud.” The whole installation took about 30 minutes, not counting drive time.
Jobs like this are fun and simple to produce using a laser and are quick and efficient (i.e. “profitable”) since there is little prep work, no painting or powder coating. Also, the work can be done totally in-house, so no waiting for subcontractors or having to pay one. The final result was a very happy customer, who had left the details up to us, which meant using our shop’s laser as a CNC cutting machine, which in some materials, especially acrylics, it does quite well.