“Trash in, trash out.” I have heard that multiple times during my career as a graphic designer. A little harsh, but unfortunately, true.
Your customer sends you artwork and wants you to put it on a product. You open it up, and it’s blurry and pixelated. If you put it on a product as is, you might as well just throw it in the trash. There goes your customer, your product, your time, and your money!
If you are new to the industry, it might be a little daunting to figure out what you need to ask for regarding art files and which software you should use to elevate whatever is provided.
Vector vs. raster images
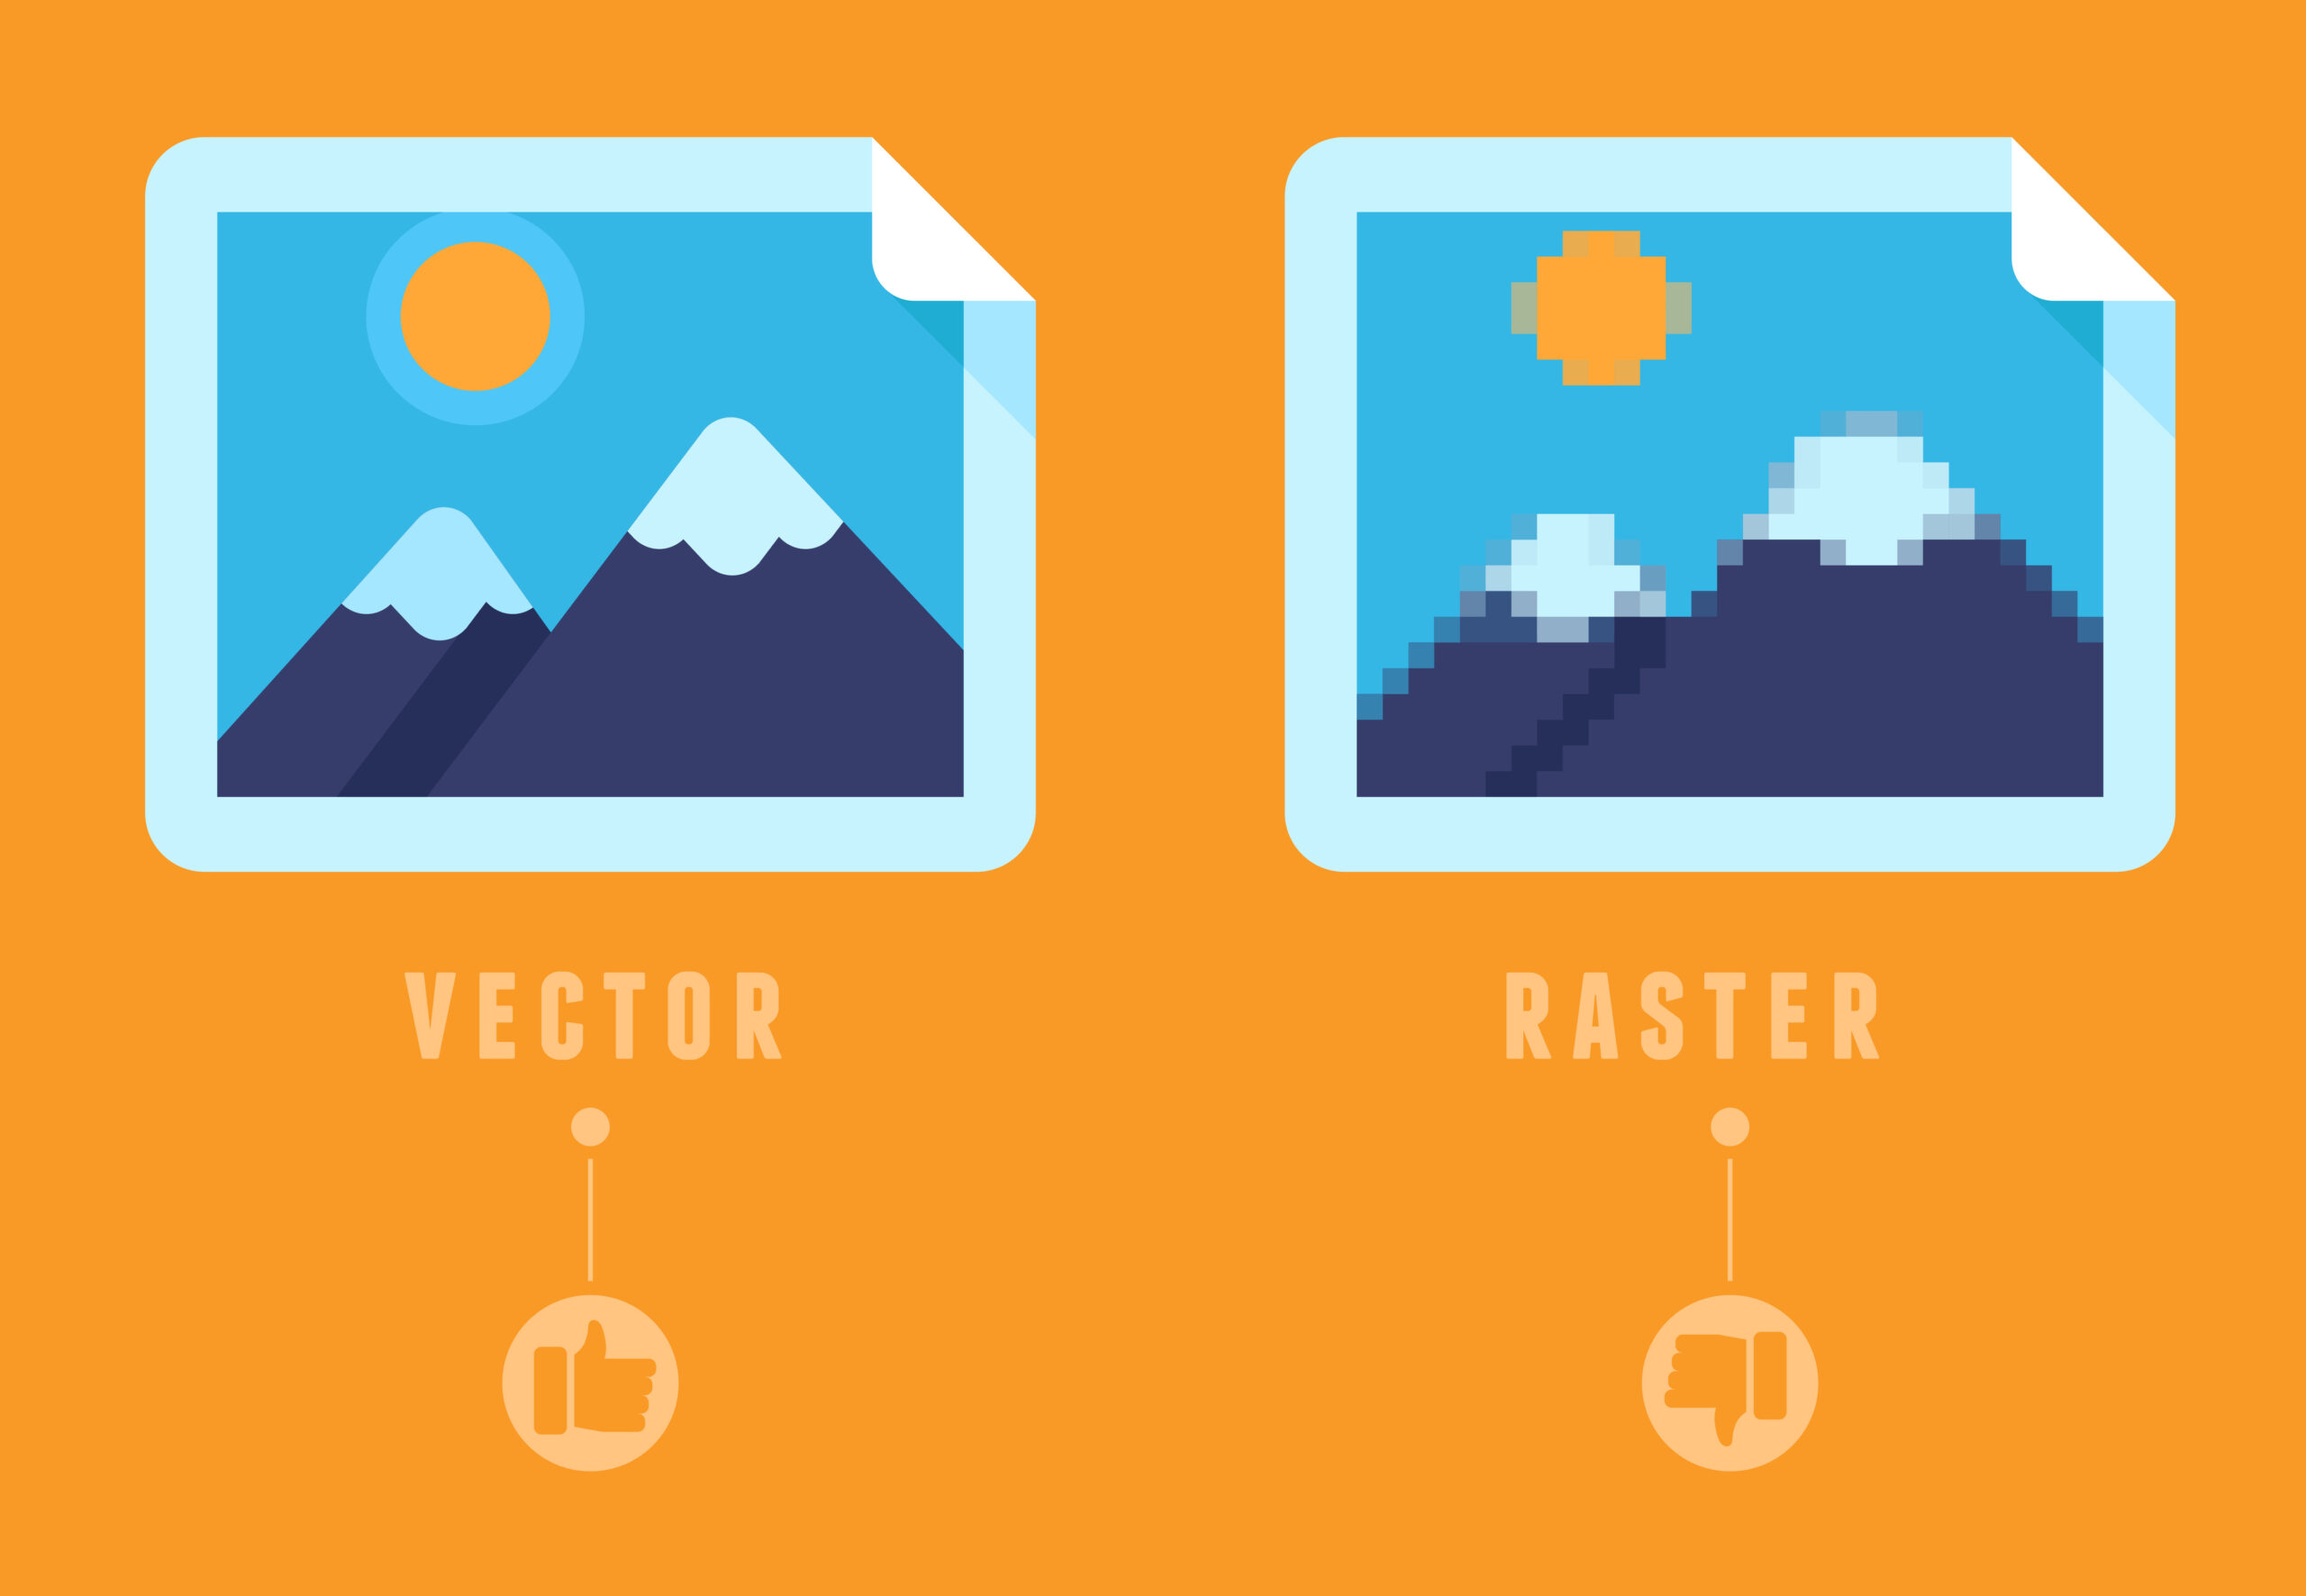
To understand which software to use, you need to understand the difference between vector and raster images.
Raster
A raster bitmap image is made up of tiny squares of color information which we call pixels or dots. The more dots you have per inch (DPI), the higher the resolution of your image. If you have a 1″ X 1″ square image at 300 DPI, that’s 300 individual squares of color. For most printing purposes, you want your resolution to be at least 300 DPI.
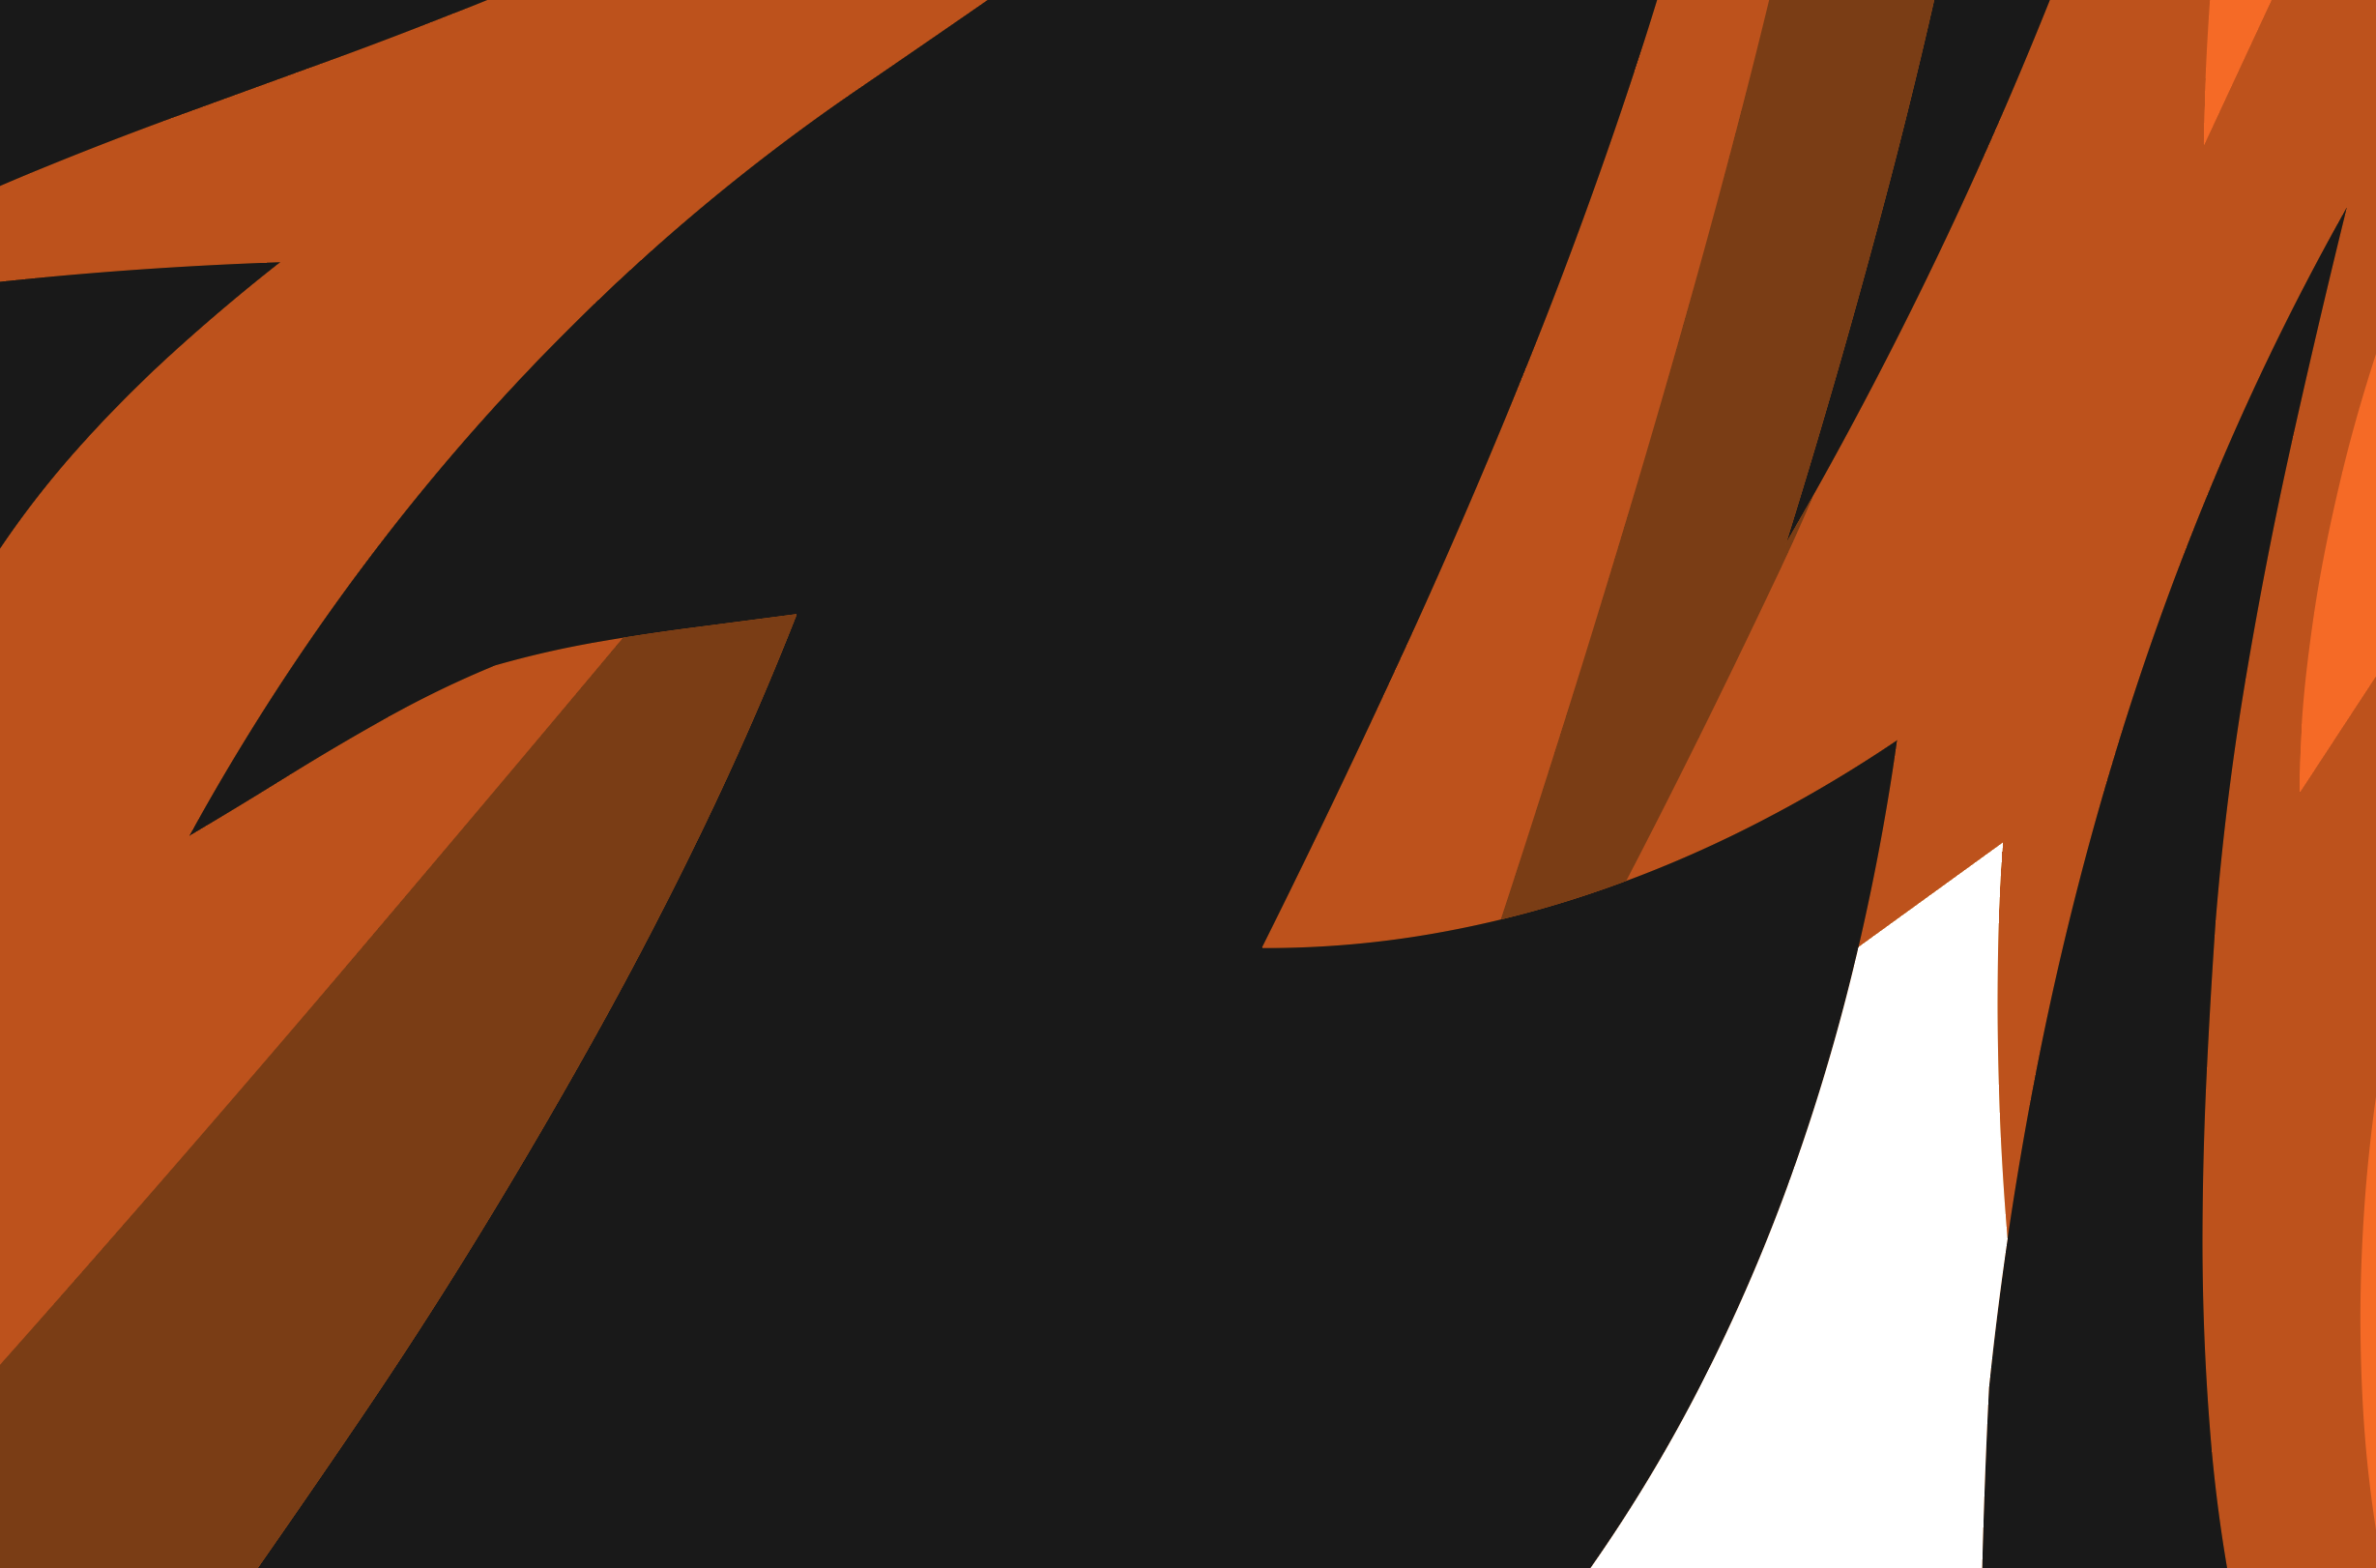
Photos are good examples of raster images (Fig. 1). If we enlarge a raster image, we lose resolution. It becomes pixelated and blurry (Fig. 2). Common software for raster bitmap images is Photoshop and Corel Photo-Paint.


Vector
Raster images are great for holding lots of color information but not good for graphics that would have to be scaled up too many sizes, such as a logo would require. This is why most logos are generally created in vector software. CorelDRAW and Adobe Illustrator are the most common vector-based software.
So why do we want logos in vector? Vector images use mathematics to create shapes with lines, points, and curves. Vector images are infinitely scalable. No matter how large or small you size it, the lines and fills will always stay crisp with no image loss.
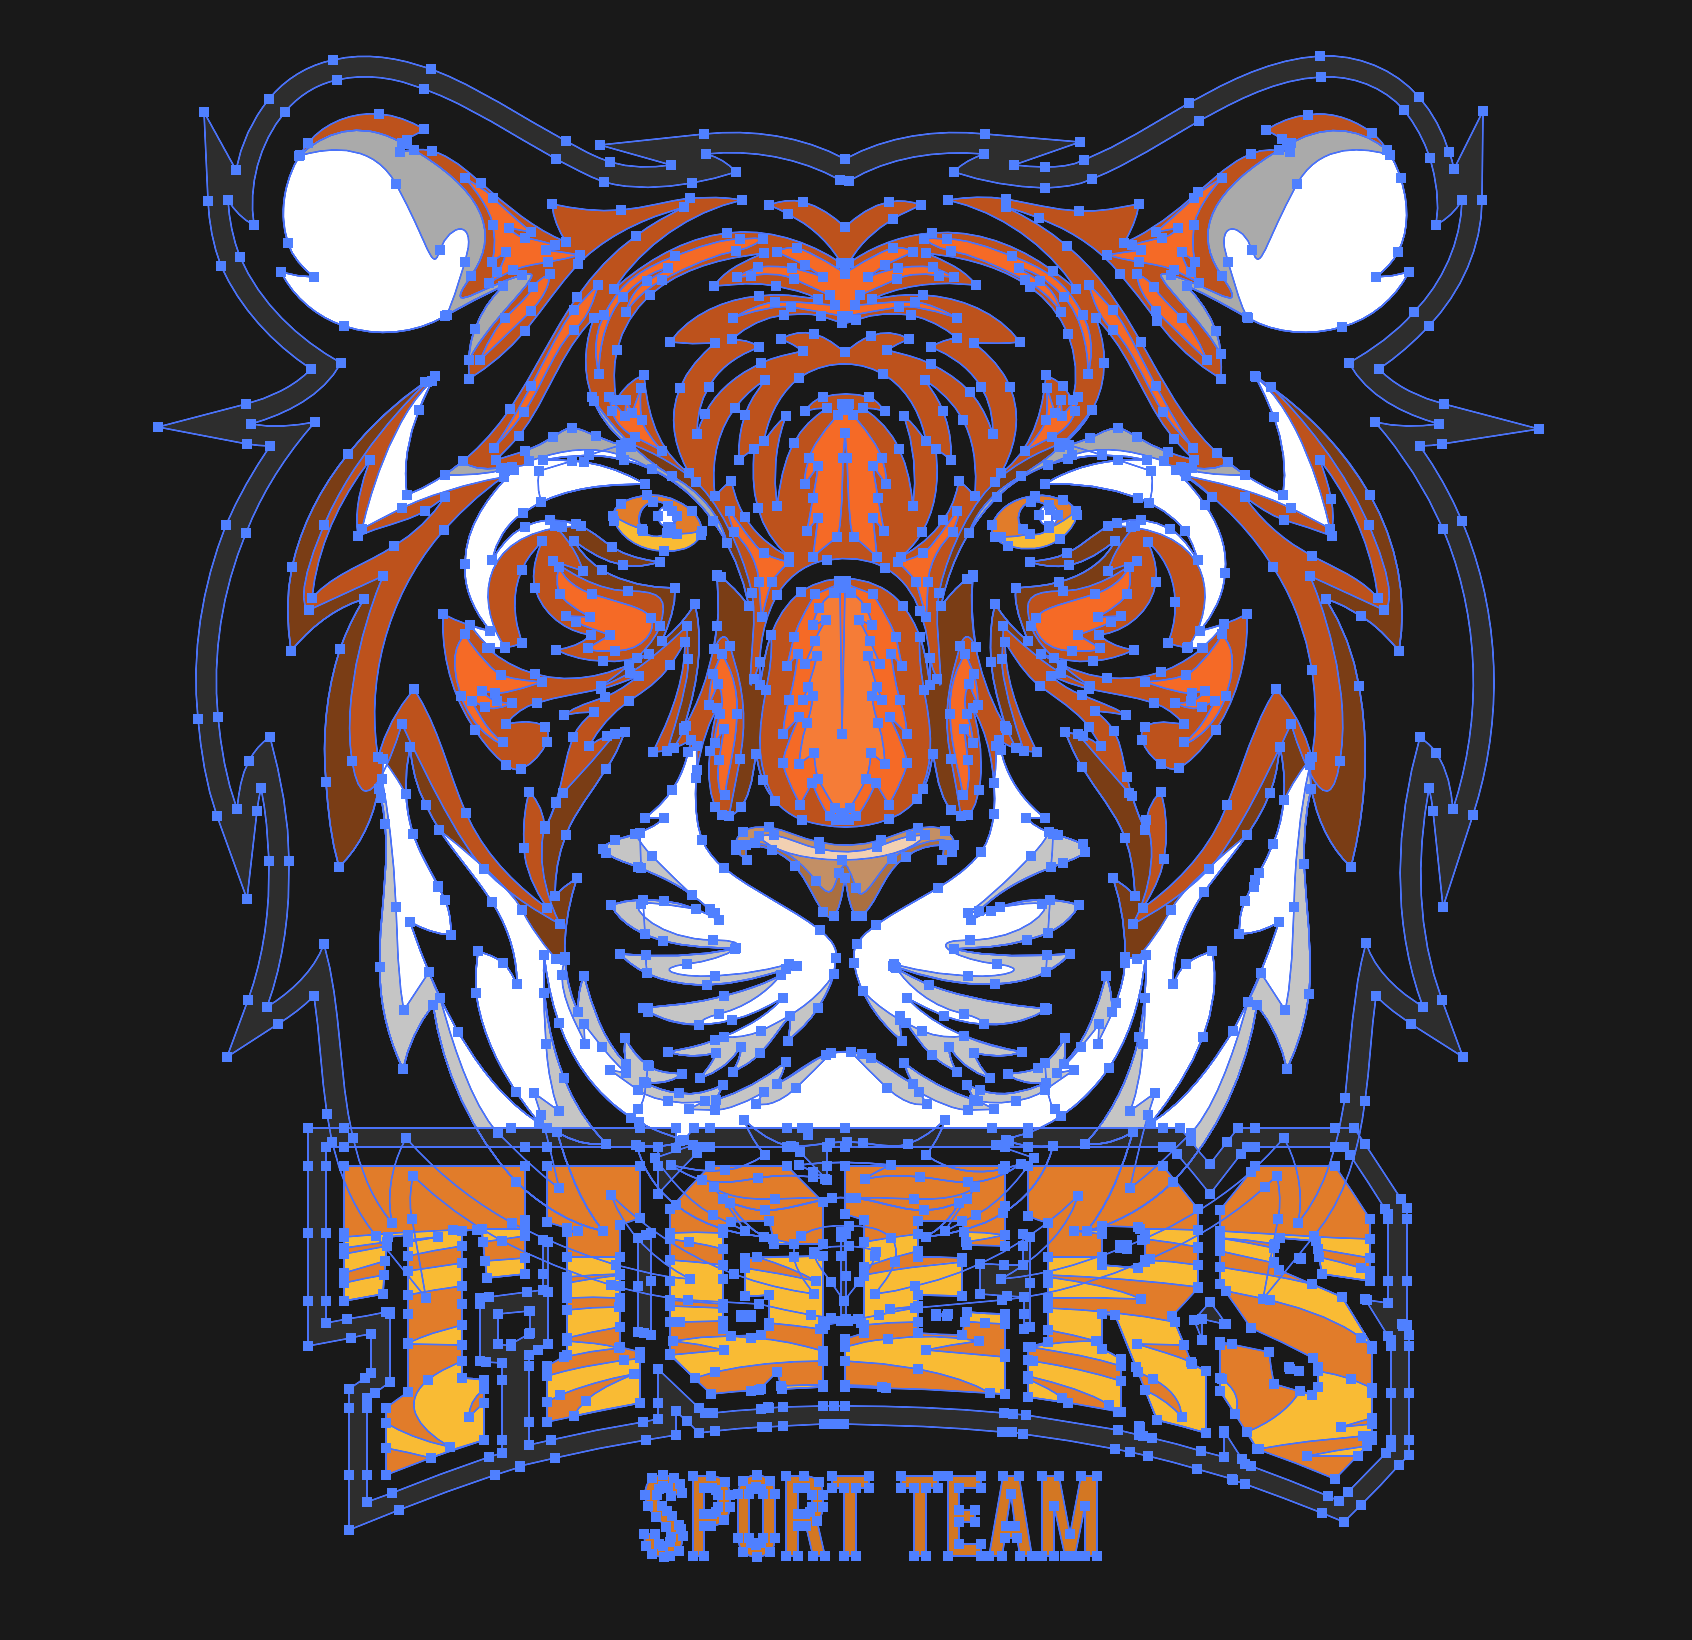
Here is an example of a vector image opened in Adobe Illustrator (Fig. 3). Once selected, you can see the points, lines, and curves (Fig. 4). Zoomed in, you can see we do not lose any of the crisp lines (Fig. 5).
How to convert an image
CorelDRAW
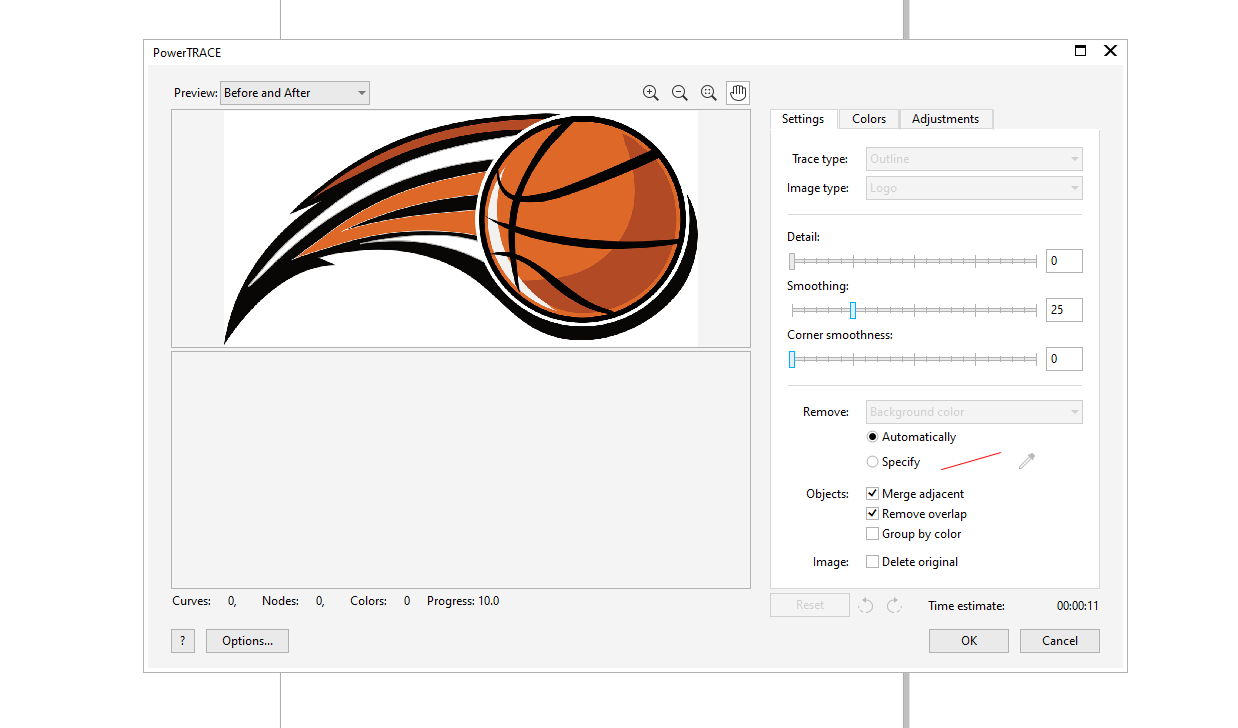
Let’s say someone sent you a logo, and it was a raster image. Before you attempt to recreate it, try converting the raster image into a vector graphic. In CorelDRAW, there is a feature called PowerTRACE.
- Open a new document and import your bitmap. With it still selected, click Bitmaps in your property bar. Go down to “Outline Trace” and choose “Logo” (Fig. 6).

Fig. 6 (Image courtesy JDS) - The PowerTRACE window will appear. You can use the smoothing and detail sliders at the top of the “Options” tab to find the best-traced version (Fig. 7). These settings will differ with each graphic. When you have the trace how you like it, click on “OK.”
Fig. 7 (Image courtesy JDS) - Then you return to your main artboard. If you move the vector image, you will notice that by default, Corel has left a copy of the original bitmap behind the trace vector. Just move your vector image and select the original bitmap and delete it (Fig. 8).
Fig. 8 (Images courtesy JDS) - If your background of the logo is white, PowerTRACE will detect it and delete it. If there is remnant white within the logo you can click on “Remove Color From Entire Image.”


Adobe Illustrator
If you have Adobe Illustrator, it’s a fairly similar process to Corel’s PowerTRACE.
- Open your raster image in a new document. Make sure that it is still selected and go to the property bar at the top and go to “Object” > “Image Trace” > “Make” (Fig. 9).
Fig. 9 (Image courtesy JDS) - The Image Trace panel has many options for you to choose from, whether it’s a preset or how many colors you would like in the final result (Fig. 10).
Fig. 10 (Image courtesy JDS) - You can then select “Expand” (Fig. 11) and then “Ungroup.” After ungrouping, you can select the background and any other objects you wish to delete.
Fig. 11 (Image courtesy JDS)


Up until 2021, CorelDRAW was only compatible with PCs. Now compatible with Macs, both Corel and Adobe software are available to all, with different subscription options. No matter which software you use, they both have great options to help you transform trash into treasure.