 For this example, we used the following:
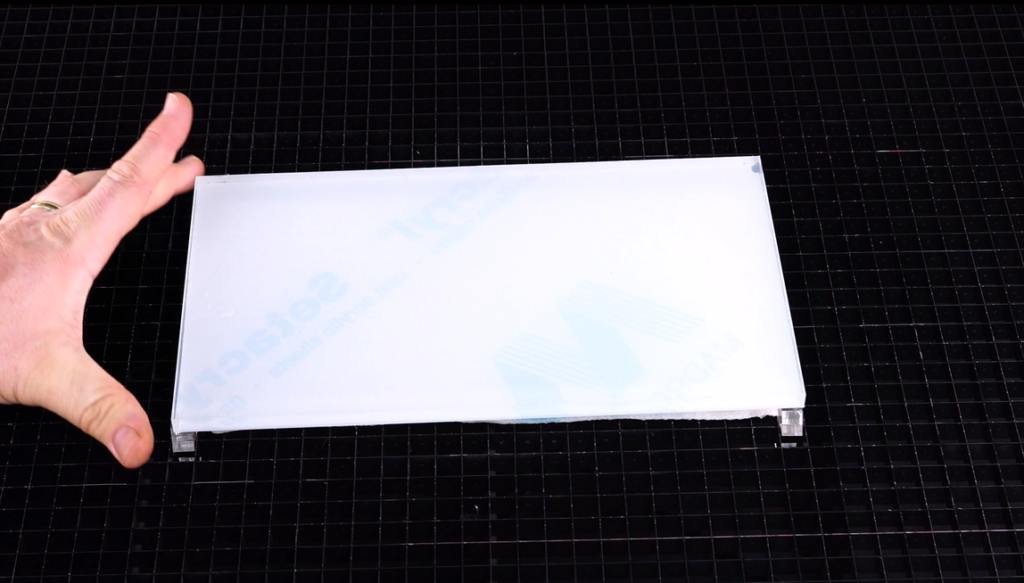
- 3/8” (10 mm) thick clear cast acrylic
- 3M 467 double-sided adhesive tape
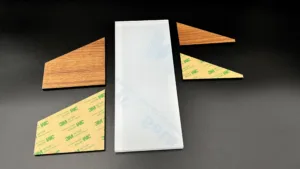
- 3/16” (5 mm) solid walnut wood
- Box cutter or tool to cut tape
- Sheet of paper towel
- 4 Pin table blocks
- Latex (or similar material) gloves
- 2 soft cloths
Cutting the walnut wood
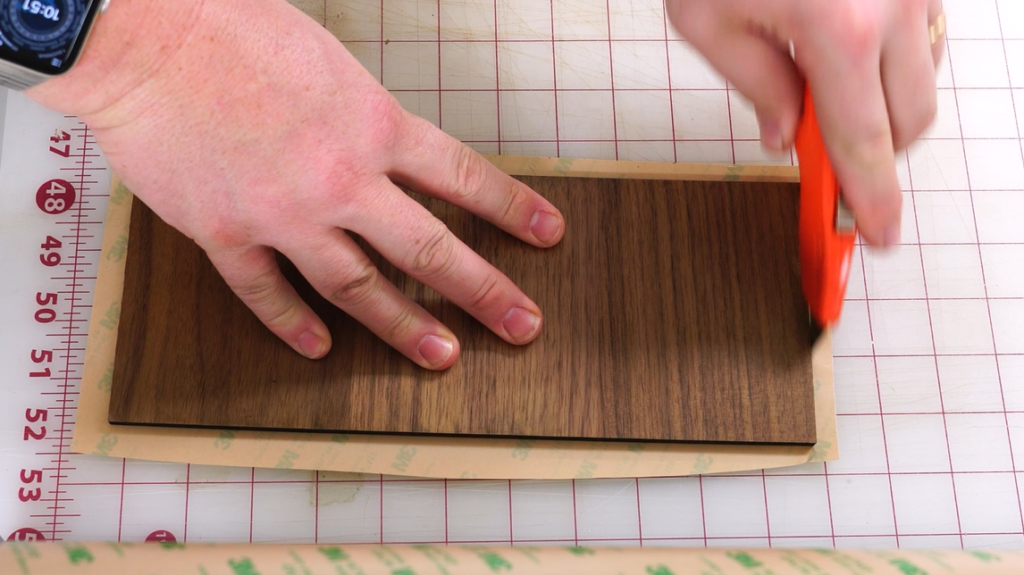
- Start by adding double-sided adhesive tape to one side of the walnut wood. Squeegee it down and trim off any excess tape.
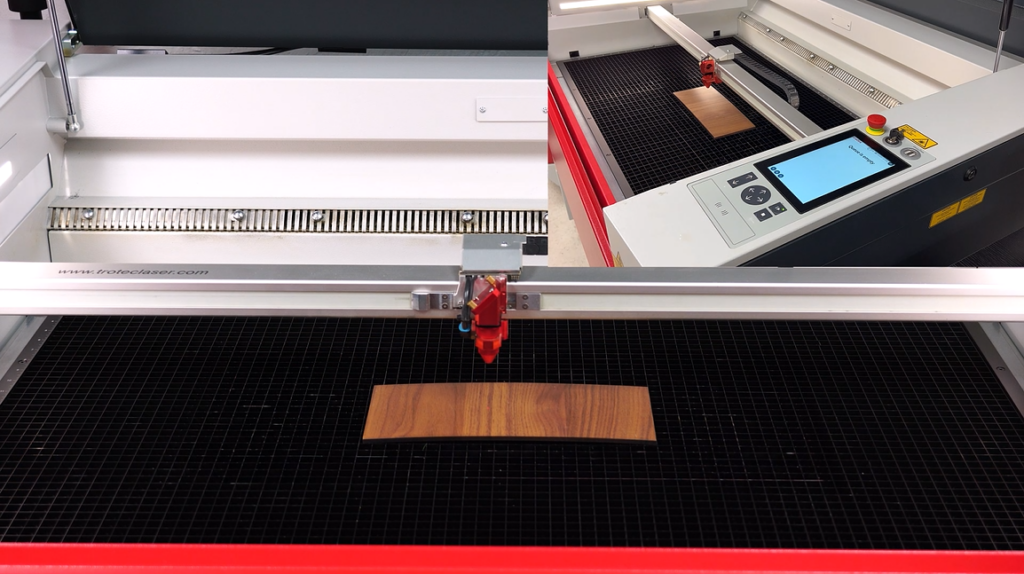
- Place the sheet into the laser with the adhesive face down onto the laser cutting grid. Focus on the surface of the wood using the sonar autofocus or with your manual focus tool. Close the laser lid.
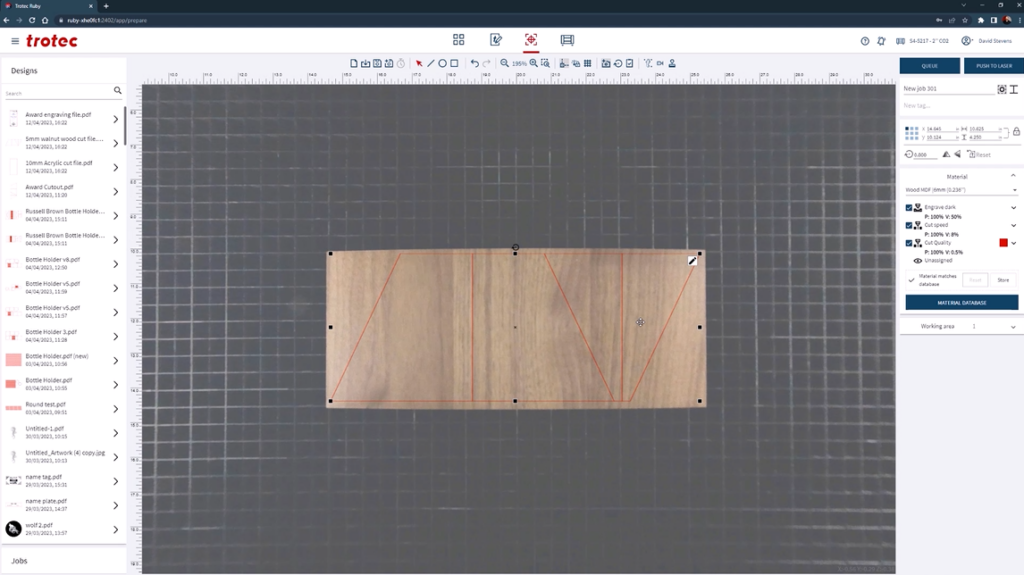
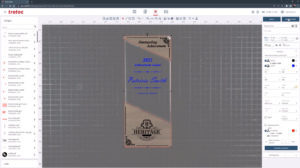
- Open Ruby or your preferred laser software and import the walnut cut file. Select and move the 5-millimeter walnut cut file into the Prepare screen. Position and scale your graphic how you want it to appear on the object manually or using the Vision Design & Position camera.
- Select the correct material parameters in your laser software and send the file to the laser for processing.
- Once the laser has finished processing, remove the pieces from the laser and set them aside.
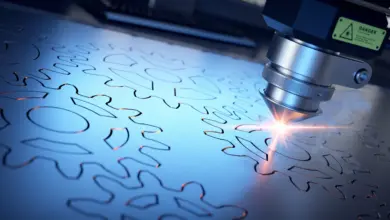
Cutting the acrylic
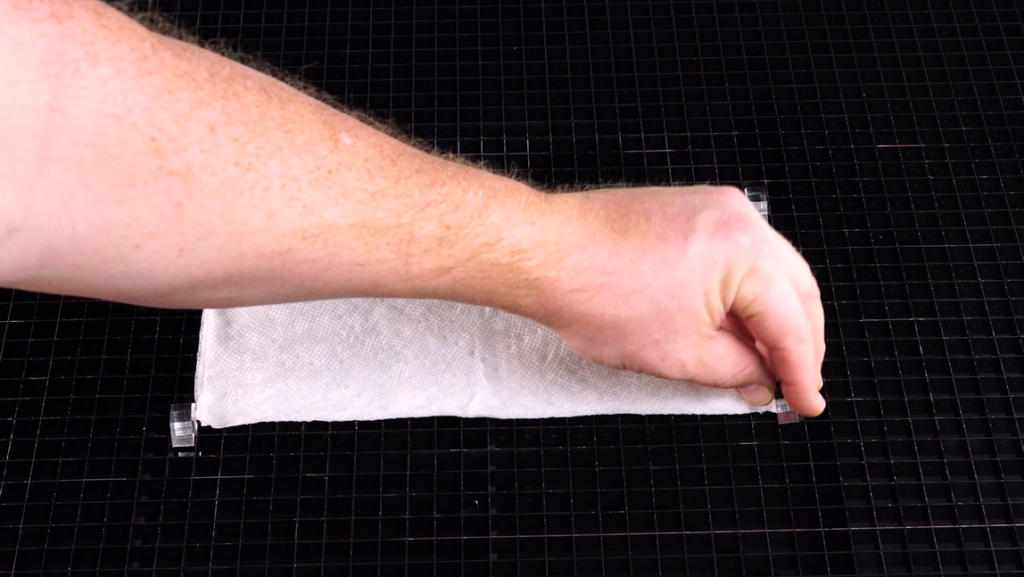
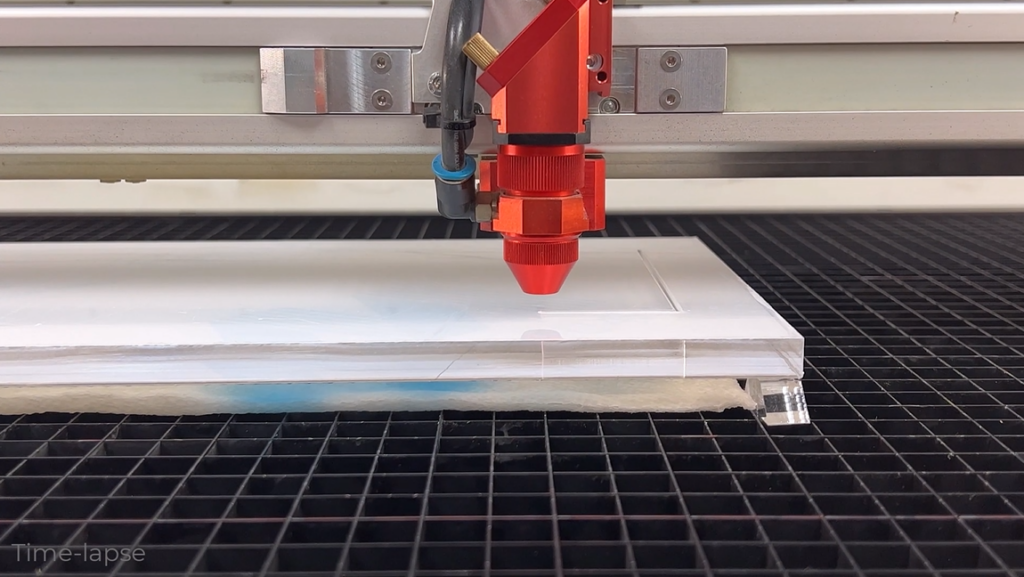
- Place a piece of wet paper towel down onto the laser cutting grid. The wet paper towel will prevent the acrylic from flaring during processing.
- Place four pin table blocks onto the cutting grid near the outer corners of the wet paper towel. The pins eliminate the chance for reflection tick marks from showing on the acrylic by elevating it above the metal cutting grid.
- Place the acrylic over the wet paper towels, onto the acrylic pins, and focus the laser onto the acrylic surface. Close the laser lid.
- Open the Ruby software and import the acrylic cut file. Select and move the 10-millimeter acrylic cut file into the Ruby Prepare screen. Position and scale your graphic how you want it to appear on the object using the Vision Design & Position camera. Rotate as needed.
- Select the acrylic TroGlass Clear 10-millimeter setting in the materials database and push to the laser for processing.
- Once the laser has finished processing, remove the excess acrylic from the laser.

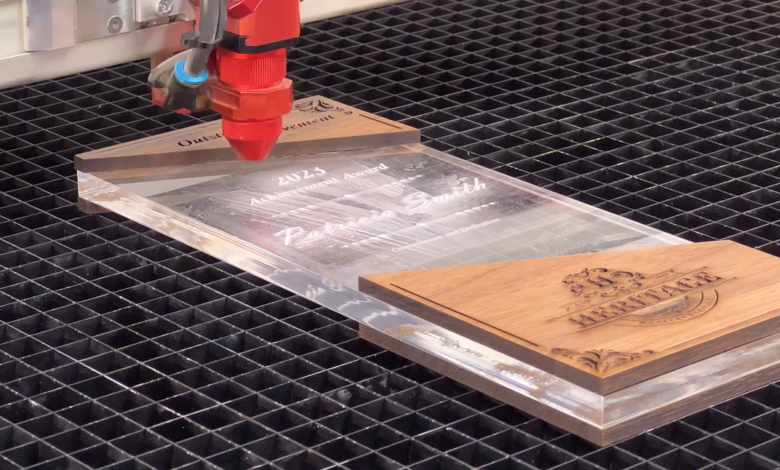
Assembly and customized engraving
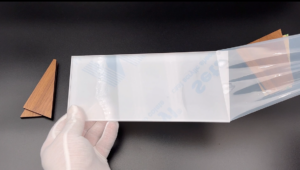
- Remove the protective film from the acrylic.
- Tip: Use gloves to avoid fingerprints.
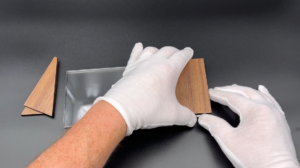
- Peel off the double-sided adhesive from the back of the walnut wood. Adhere the wood to the acrylic. Repeat this step for all the pieces of the wood and be sure to line them up properly with the acrylic edges. Once finished, the award should be able to stand upright independently.
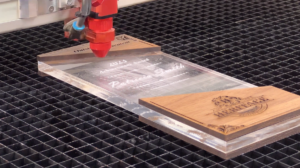
- Place the award onto the laser and focus onto the wood surface with the sonar autofocus or manual focus tool. Close the laser lid.
- Create a custom parameter for this award using the preset parameters for walnut wood and acrylic. Combine them together using two colors: black for walnut wood and blue for acrylic.
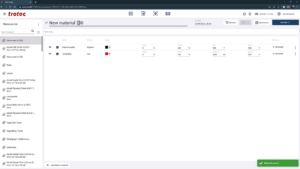
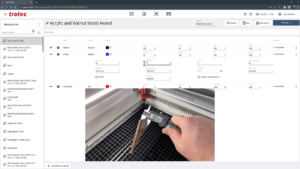
- Open the Ruby software. Click Menu and then Materials. Select Add a New Material. Name it “Acrylic and Walnut Wood Award.” Delete the default black color.
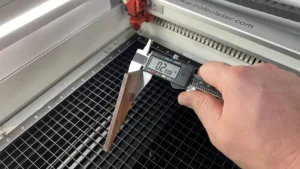
- Next, click Add Effect to Material and name the effect Acrylic. Select the blue color and 50% power and 100% speed. We used these settings for our Speedy 400 120W laser. Open the advanced drop-down menu and select the Z offset. This number will account for the height difference in the file. Measuring the walnut wood will provide this number, but since we need the laser to focus into the material, it will need to be negative. For this example, it will be negative 0.2 inches. Save this parameter.
- Add another effect and name it walnut. Select the black on the walnut setting and use your settings from testing or by reviewing the standard database setting for walnut. Select 100% power and 40% speed for a deep engraving.
- Select and move the file into the Ruby Prepare screen. Position and scale your graphic how you want it to appear on the object using the Vision Design & Position camera or use the red dot laser pointer.
- Select the newly created award parameter from the material database and confirm that the blue color has the correct offset. Push the file to the laser and begin processing.
- The laser will begin with the first color on the materials list, black, and engrave the parameters set for that color. As soon as that processing is complete, the blue color is next, and the laser will automatically change focus, compensating for the wood thickness, and focusing onto the acrylic surface. The laser will now engrave the cast acrylic, turning it bright white, using the blue power parameter entered earlier.
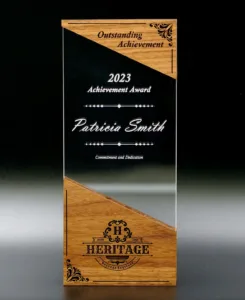
- Once processing has completed, open the laser and clean the surface of the wood with a lightly moistened cloth. Use a dry cloth to remove the residue from the acrylic. Remove the application from the laser, and now your beautiful laser-cut award is ready to be shown off!

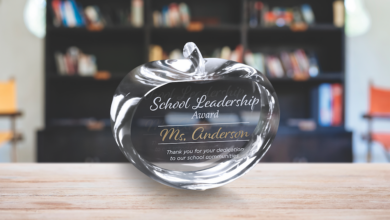
There you have it, an eye-catching, custom-made award perfect for any occasion!