Fixing Bad Customer-Supplied Artwork
How to create a quality image-even when your source art isn't up to snuff


If we’re not starting from scratch on logo design or typesetting, then gathering quality artwork from the customer is an important part of the process. Often the customer will have a photo or logo that they want to include, so we go through the process of getting a digital version.
While we do get plenty of quality artwork, many times we’ll receive artwork that’s just not up to snuff. Often the customer simply copied and pasted an image from their website, or they’ll slide a business card over to us and want that on their vehicle. Low-resolution raster files that are optimized for quick loading onto a website won’t work blown up on the side of a vehicle.
Education
At this point, we have to educate the customer on what type of artwork will and will not work for their project. If it’s “business card artwork” or a small photo they want us to scan in and blow up, we address the issues they can expect.
We keep a magnifying glass at the front counter and we use it to show the customer the “noise” that is embedded in the photo or print. It’s typically visible as tiny dots that when blown up to size to fit the side of a vehicle, those dots will be magnified.
In the same way, if we receive a low-resolution art file there will be visible pixelization and noise that detracts from the quality of the image. The easiest way to educate the customer is to show them what the image would look like at full size.
To do this, pull the image up in Photoshop and size the photo to what you roughly estimate it will be on the side of the vehicle. Then right-click on the image, using the magnifying tool, and click “Actual Pixels.” This will show the customer the pixelization they could expect to see if we use the low-res art they supplied.
Options
We start out by reviewing options with the customer. Of course, the first avenue we explore is if the artwork can be acquired at a higher resolution. Often franchises or larger companies will have access to an artwork portal and we’ll go over file types and preferred sizing and the customer will follow up.
If it’s a photograph that the customer really wants to include, and they can’t get higher resolution artwork, then we’ll suggest using the image at a smaller size. Perhaps on the door or just on the rear of the vehicle so that it’s included, the customer is happy, but the image doesn’t detract from the overall advertisement.
We did a full wrap for a local plant nursery and they didn’t have any photos that were high enough resolution, but they did want to use images from their own nursery. In this case the customer paid for us to go out and take high-resolution photos that the customer could choose from for use on their wrap. It was a cost-effective way for the customer to include high-resolution images of their own product.
Stock artwork
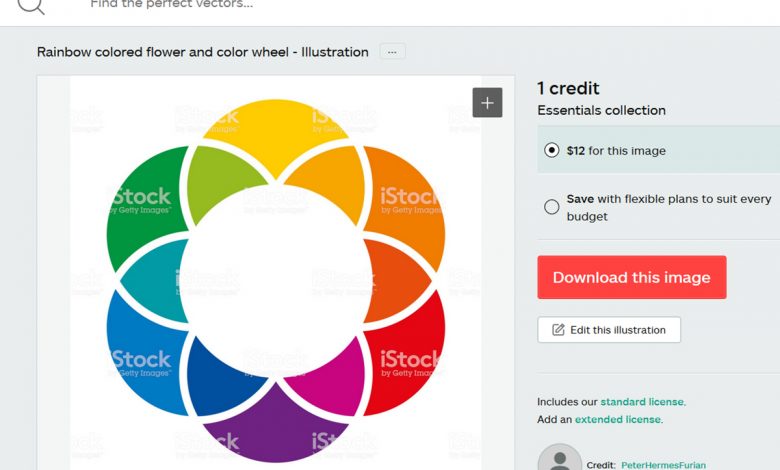
Another option is to look for an image that is similar to what the customer is wanting but is already optimized for use at a large size. Photo sites like shutterstock.com, istockphoto.com and 123rf.com offer a huge assortment of subjects in different sizes at reasonable prices. Be sure to read through the licensing policies before using an image.
An important thing to point out is the time spent searching for artwork. Typically, we suggest that the customer searches through these sites and note the images that they like. We can download thumbnails of the images they like and can work them into the proofing process to see what works best. Once the customer finalizes their decision either they can download the image and provide it to us or we can download it for them and we’ll add the image cost to their invoice.
The other option is for the customer to pay us by the hour to search through sites and gather images for them to choose from. If the customer is not tech savvy, simply wants guidance, or doesn’t have the time then they may hire us to do this. It’s important that you don’t give away your time doing these searches as it can be very time consuming; especially with an indecisive customer.
Recreation
When we’re dealing with a logo that is too low resolution to use then we look at ways to recreate it. If it’s line art that could only be provided as a low-res raster file, then vectorizing the artwork and cleaning up the lines using tools built into our vector-based program is often the best solution. In FlexiSign Pro the tool we use is found under Image > Vectorize > Enhance Curves or Enhance Corners.
If the artwork is already black and white, or with enough contrast in the colors, then we’ll import the file into FlexiSign Pro and vectorize it to give us the line art we want. If there isn’t enough contrast between colors, which means that when you vectorize the artwork some of the image will disappear, then you need to create more contrast before vectorizing. For example, if you have an object that is in yellow on a white field, and you simply import and vectorize it, that yellow will disappear.
By taking the same image into Photoshop and converting it to black and white, under Image > Adjustments, you can then adjust the individual colors giving them a darker saturation. Resave the new black and white option and import it into your vector program to vectorize.
If the image has layers or multiple touching pieces where you can’t simply adjust the colors and vectorize, then we’ll create the same contrast in multiple pieces. One option is to copy the image to multiple layers then adjust the colors to isolate different pieces on separate layers. You can also click on specific pieces of the image with the Quick Selection Tool and change the color to black on a separate layer.
Once you have the image separated out into layers you can save each layer separately and import the layers into your raster program. If you maintain the sizing in Photoshop, then each layer you import will be the same size. If they are imported over one another then the artwork will also match up once vectorized.
After we’ve converted the image to line art then we need to clean up the lines, curves and corners. The image will be made up of a series of points. You may already have the Path Edit tools open on your toolbar but if not, go to Tools > Toolbar > and click on Path Edit. This will open a bar of tools that you can use to straighten points, sharpen corners and adjust arcs.
Text
If the raster artwork is made up of fonts or modified fonts, then we start from the beginning by tracking down the fonts used. There are a number of font recognition software options on the market. The one we use is called Find My Font. You simply pull in the raster image, click on letters, type in what the letter is and then it will search fonts you already have installed, as well as online fonts. Similar fonts will be displayed, and you can click through them to find the closest match.
Effects
The first step in recreating artwork is to get good clean lines to build on. If the logo is simply a clean, vector-based logo then once you’ve cleaned up the lines, you’ll just need to color match to any provided print art or Pantone colors the customer has requested.
If the image or text is supposed to have special effects like a bevel, glow effect, drop shadow, metallic look, etc., then additional work will need to be done. Some of these effects can be added in your vector software but often you’ll need to export the vector image and import it into Photoshop.
Anytime we’re recreating someone’s artwork, and we’re turning it back into a raster image, we’ll import it at a pretty high resolution. This is taking that clean up you did and bringing it in so that the effects can be built back into the image but at a much higher resolution that can be used for large scale projects like vehicle wraps.
Design fee
We estimate the time it will take to clean-up and recreate the logo up front. We explain to the customer that this design fee is for us to set up their logo for use in-house on wraps, signs, banners, business cards and any other items we produce. If the customer wants to purchase the artwork for use in other areas, we do offer to save it to a thumb drive in multiple formats for their own use, but at an additional cost.