Try This: Sandcarve Stone for Recognition
Learn how to sandcarve stone using the dry-processing photoresist method.
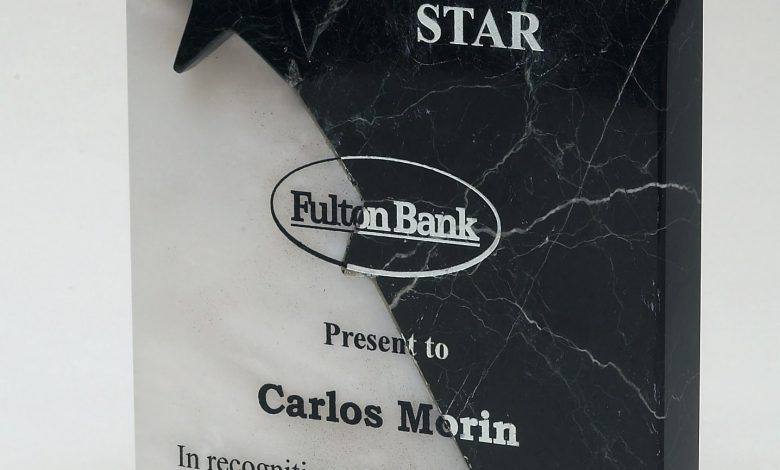

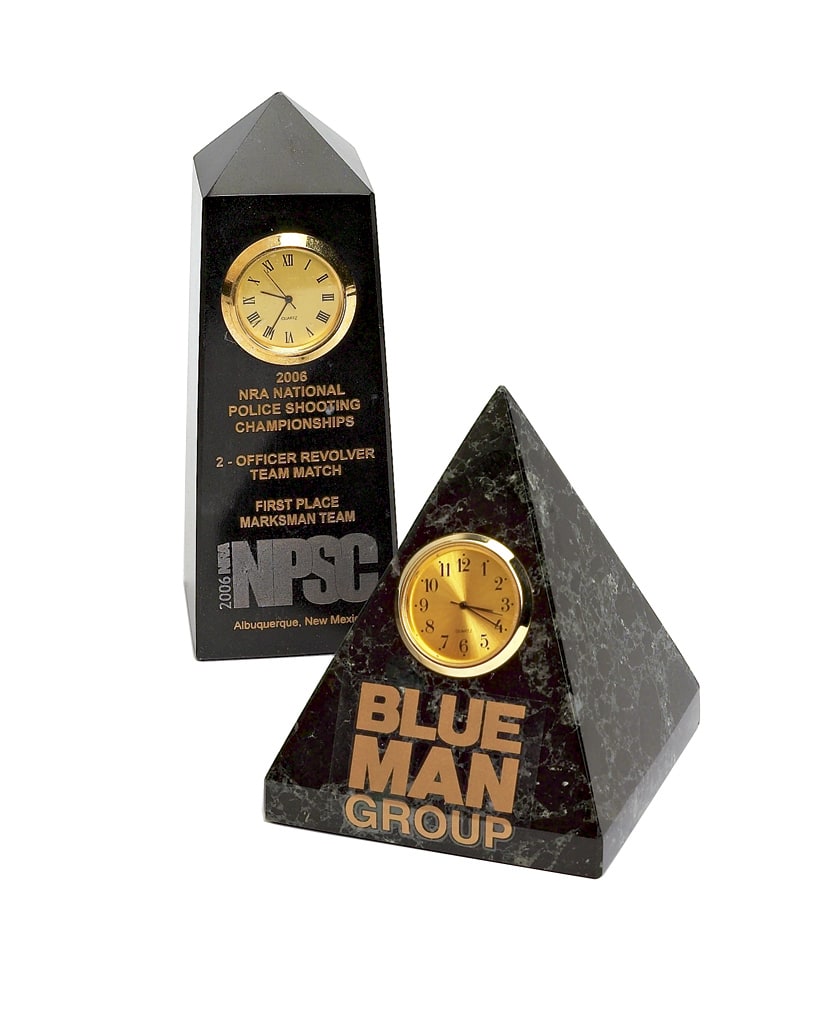


Glass, crystal, and metal are some of the more common materials you’ll see in the awards and personalization industry; however, stone is a great, solid alternative in commemorating others for their achievements. Read further to learn how to sandcarve stone using the dry-processing photoresist method.
Equipment/supplies needed:
- Sandblasting cabinet
- Air compressor
- 4-mil photoresist dry-processing film -we used RapidMask for this project (or 5-mil thick washout film can be used as an alternative)
- Dust collector for cabinet (if not already built-in)
- Silicon carbide abrasive media (150# for optimal results)
- Stone substrate – preferably a polished piece of stone
- Masking tape
- Squeegee
- Brush-on adhesive (optional)
Note: 5-mil washout photoresist film is commonly known to be used for stone etching; however, this guideline can show you how to use the dry-processing film on various types of stone, whether it be marble, granite, gold, or simple rocks you find in your backyard.
Step One: Set Up the Artwork

(All images courtesy IKONICS Imaging)
To effectively create first-class artwork, use S3 Simple Sandcarving Software or another graphic design software such as CorelDRAW or Adobe Illustrator.
Keep in mind: RapidMask dry-processing film requires photo-negative artwork.
Step Two: Print Your Artwork
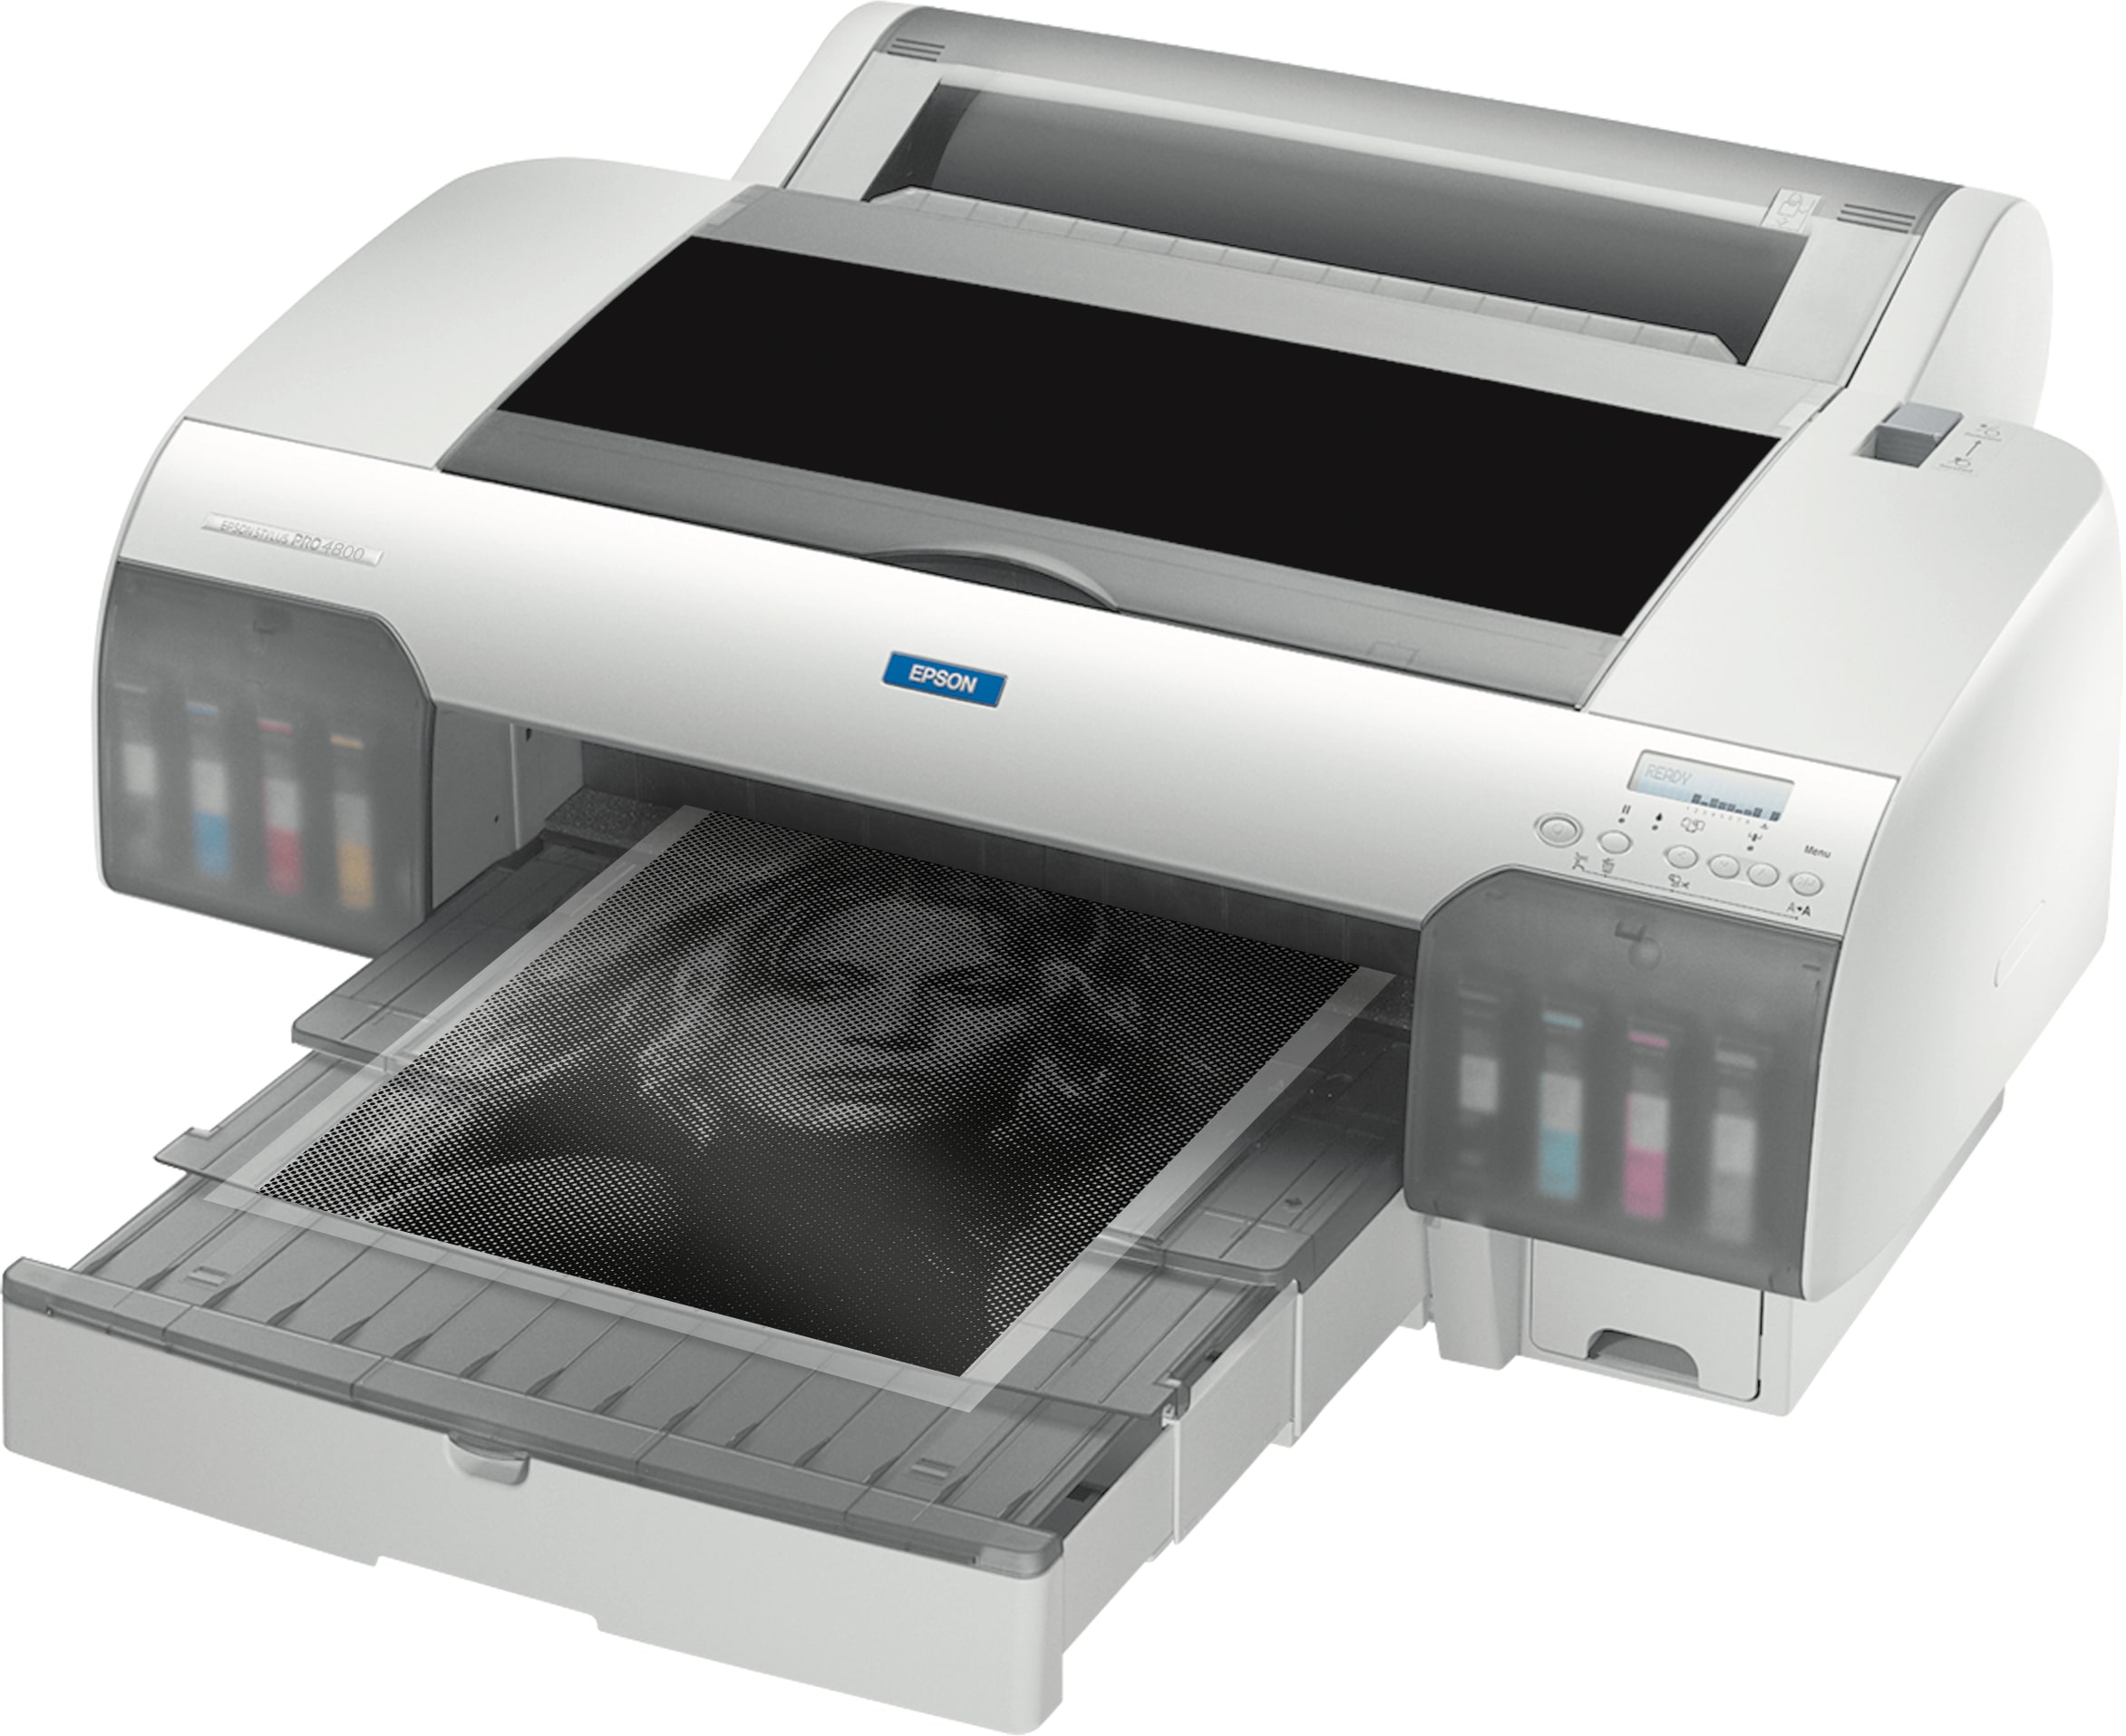
Next, print your artwork on inkjet printer film. It is recommended to use a higher quality inkjet printer, but any kind will work. Make sure artwork prints out on the coated side of the inkjet film while using the darkest, most dense print setting.
Step Three: Expose the Artwork
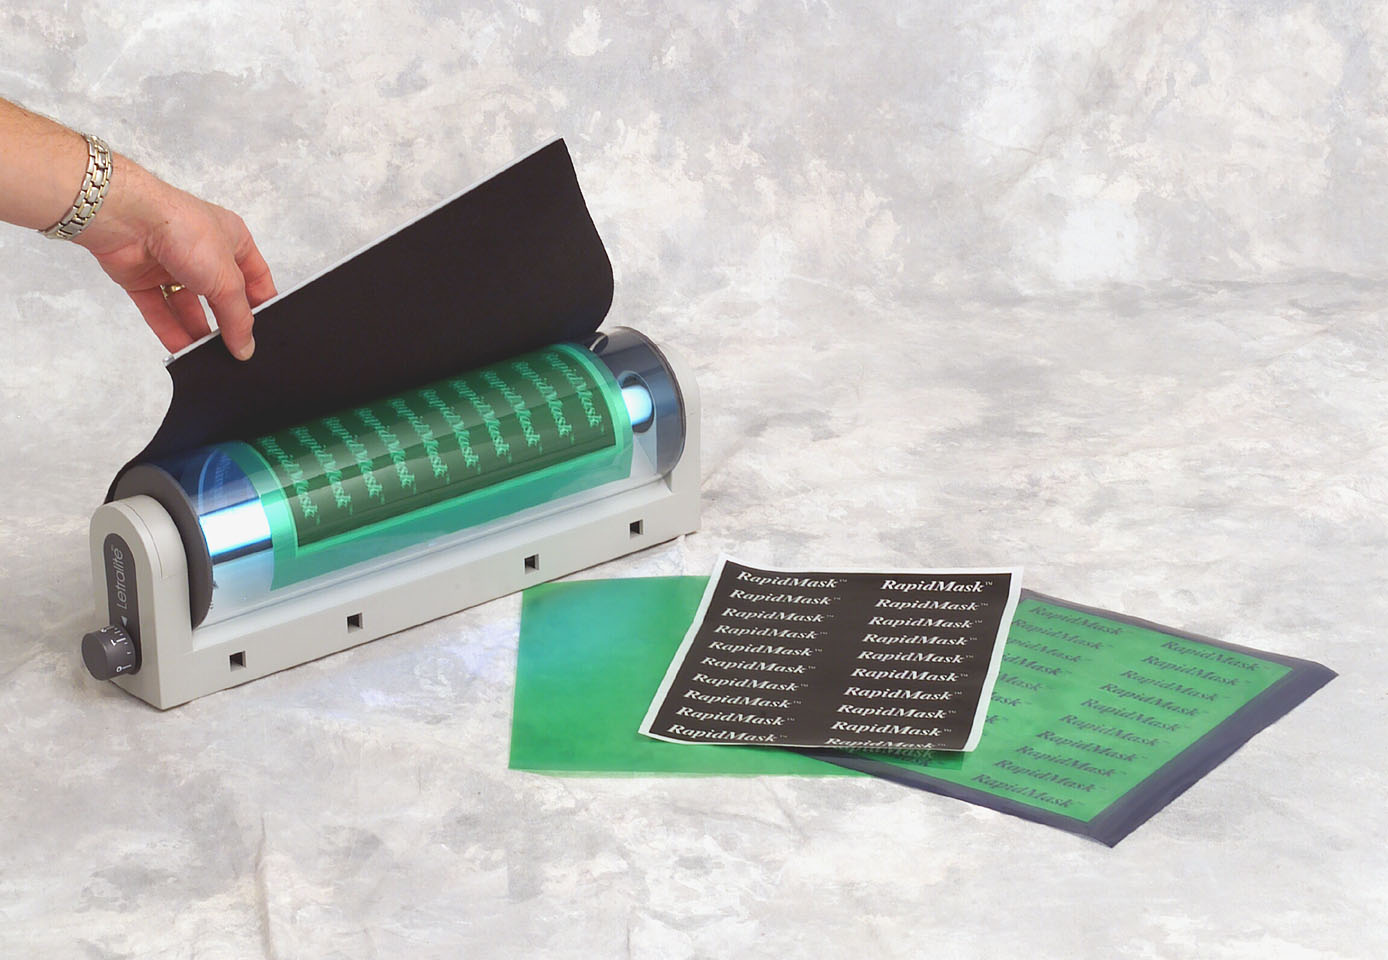
Now you can expose your artwork to the photoresist film by using an exposure unit, such as a Letralite or even a bigger unit if available. Insert both sheets in the exposure unit and expose for approximately two to two and a half minutes.
Step Four: Ensure Adhesion of the Film
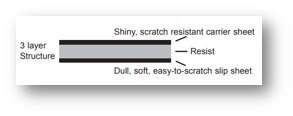
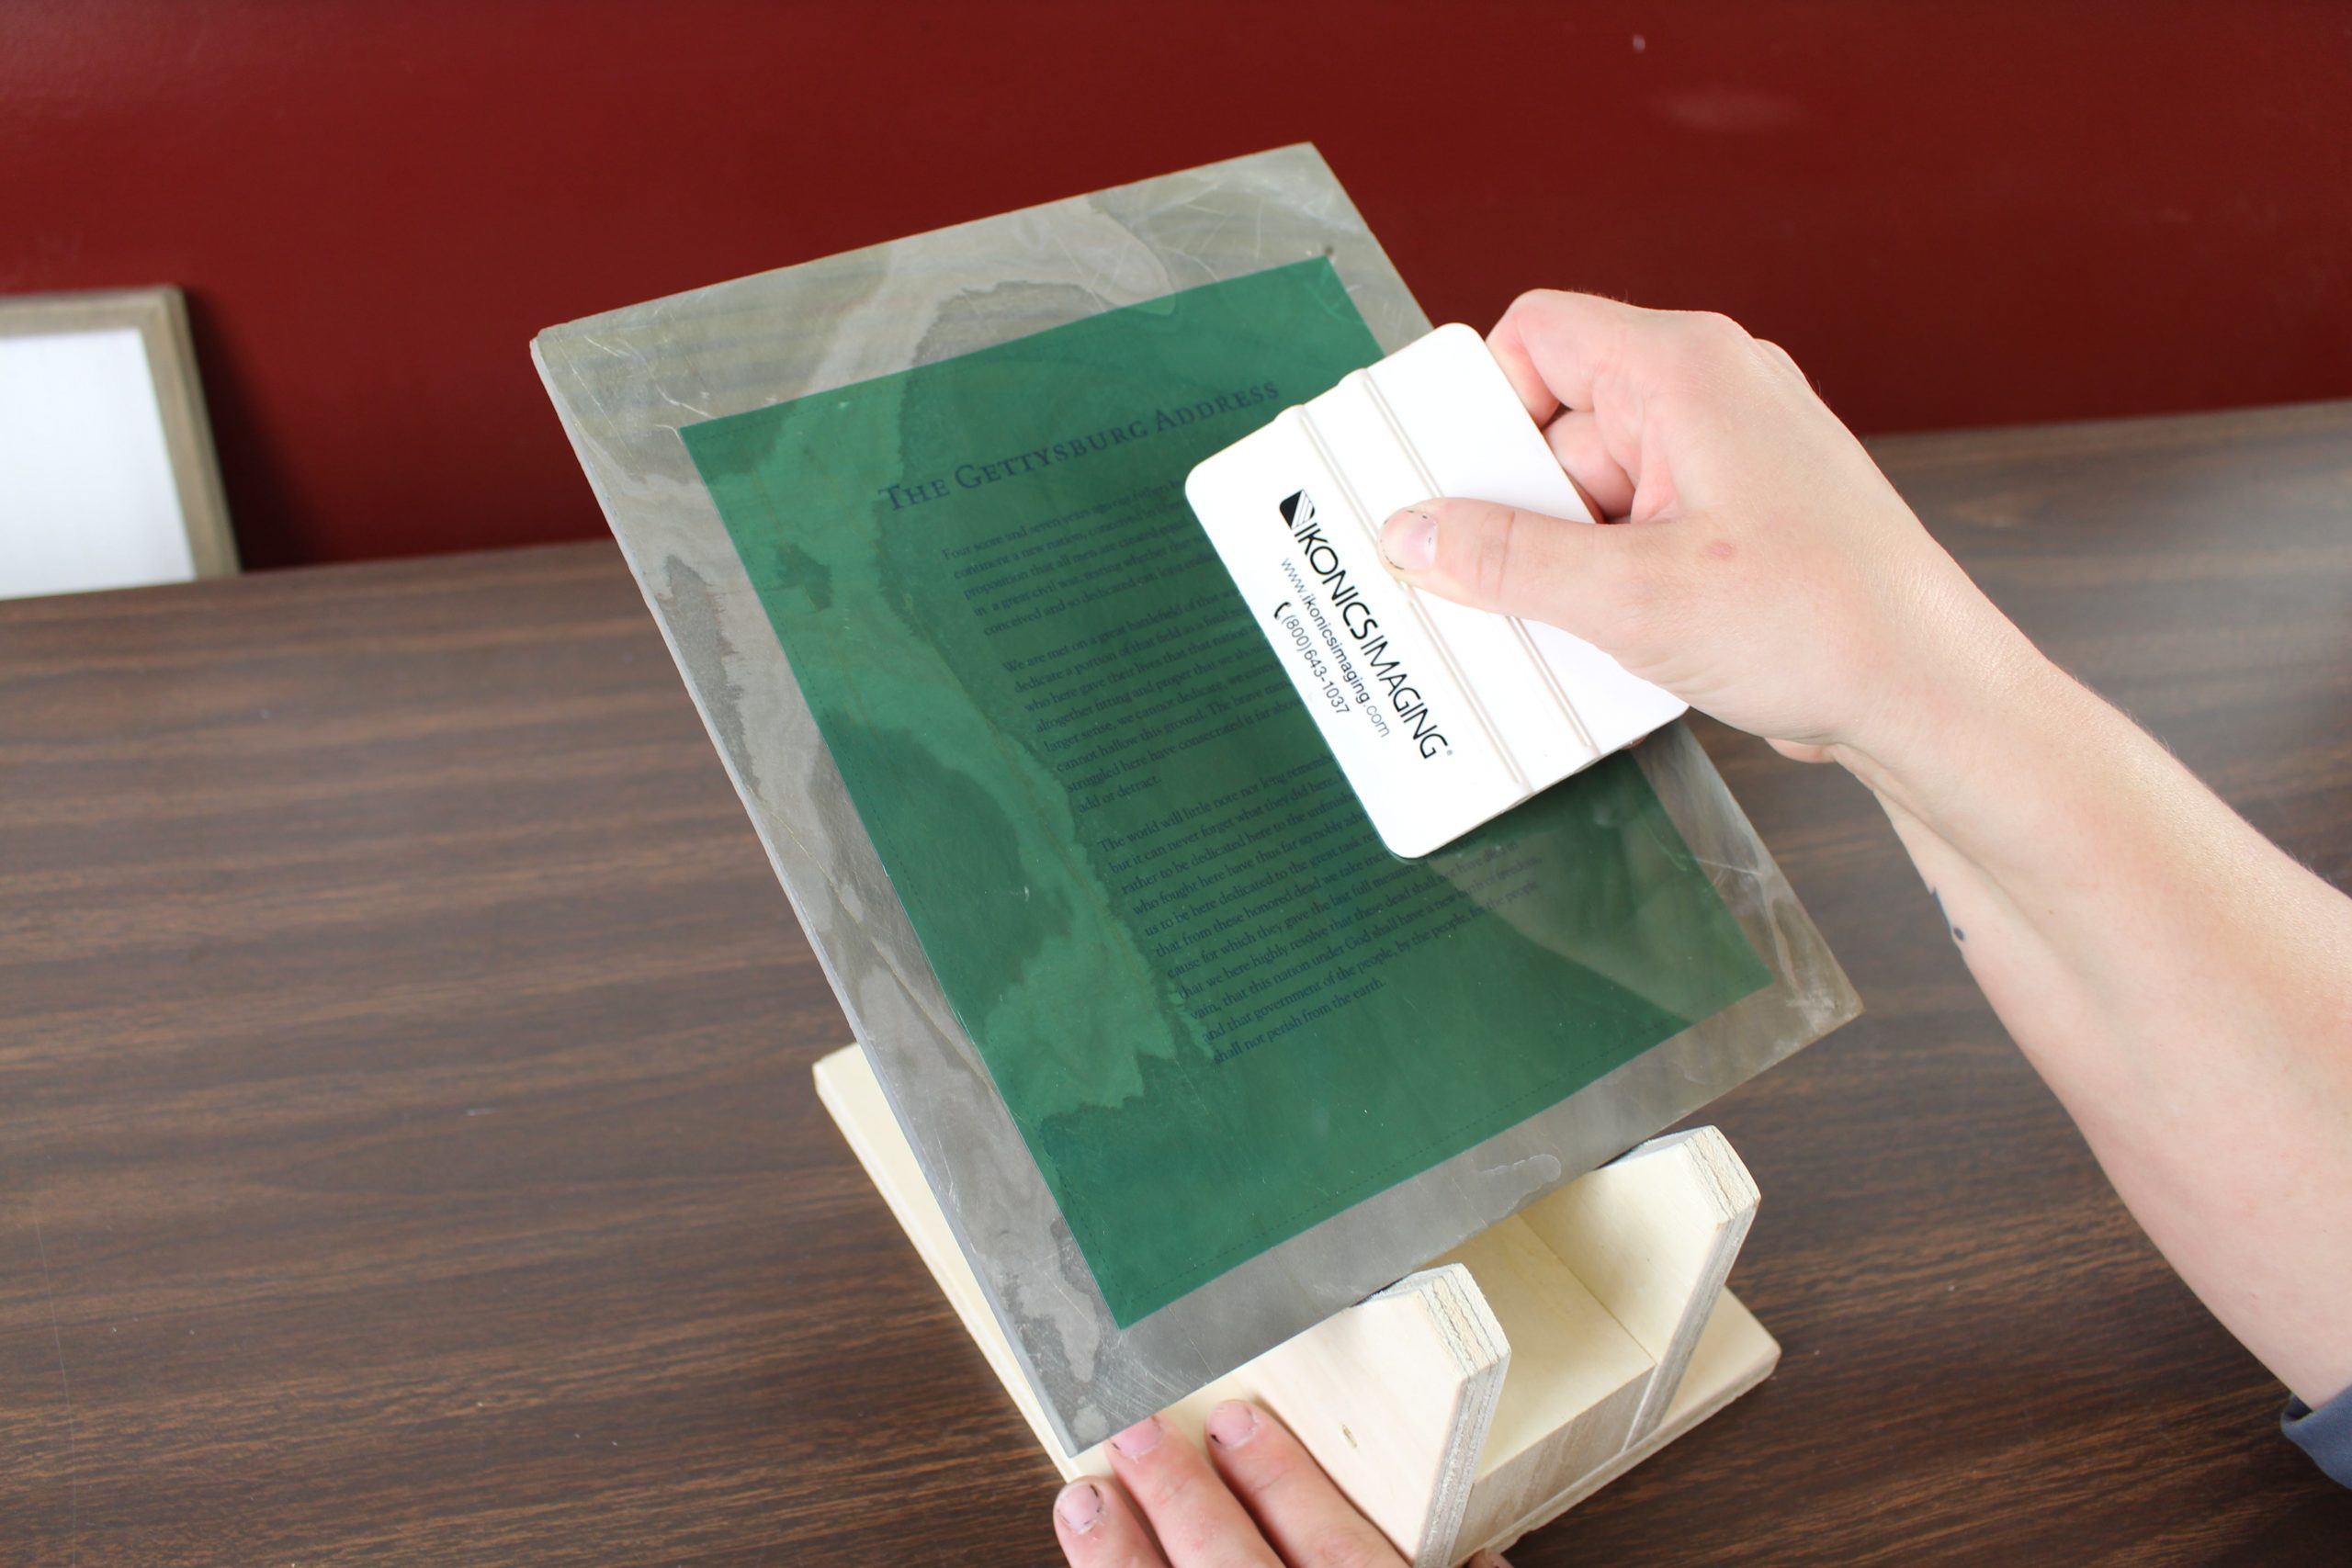
Once film is exposed, you will immediately see the image on the film. Peel off slip sheet and apply dry film prior to firmly swiping a squeegee across the mask. Then remove the carrier sheet. (Optional: a wire wheel can be used to eliminate air bubbles and ensure adhesion.)
Step Five: Sandcarve Your Stone
Tape down the outer sides of the applied mask to prevent any overspray of abrasive. Set your sandcarving pressurized cabinet to 30-40 psi and insert your substrate into the cabinet. Holding your nozzle at a 90-degree angle from your substrate, 4-6″ away, begin blasting slowly until you reach your desired depth. When finished, remove your mask and clean your substrate with water or glass cleaner. Color-filling your newly blasted product is always an option.
Bonus tips:
- Slower nozzle speed blasts faster on any substrate.
- Polished marble is the most ideal and best-looking finished product for stone recognition. You can find a large variety of blank stone awards among various sources.