Pretreatment: The Answer for Most UV Adhesion Problems
There are several potential issues decorators may face when printing with UV inks, whether screen printing or digital printing. Let’s say you have a printer in good working condition, the proper UV or LED bulbs, and are using a quality ink. This article focuses on problems that the print operator can solve, so we need to put aside possible issues related to equipment, UV bulbs, and aftermarket inks. Ensure your printing surface is ready for printing to get the best print image, durability, scratch residence, water resistance, and even the ability to hold up to a dishwasher.
Pretreat to a Get a Good Printing Surface
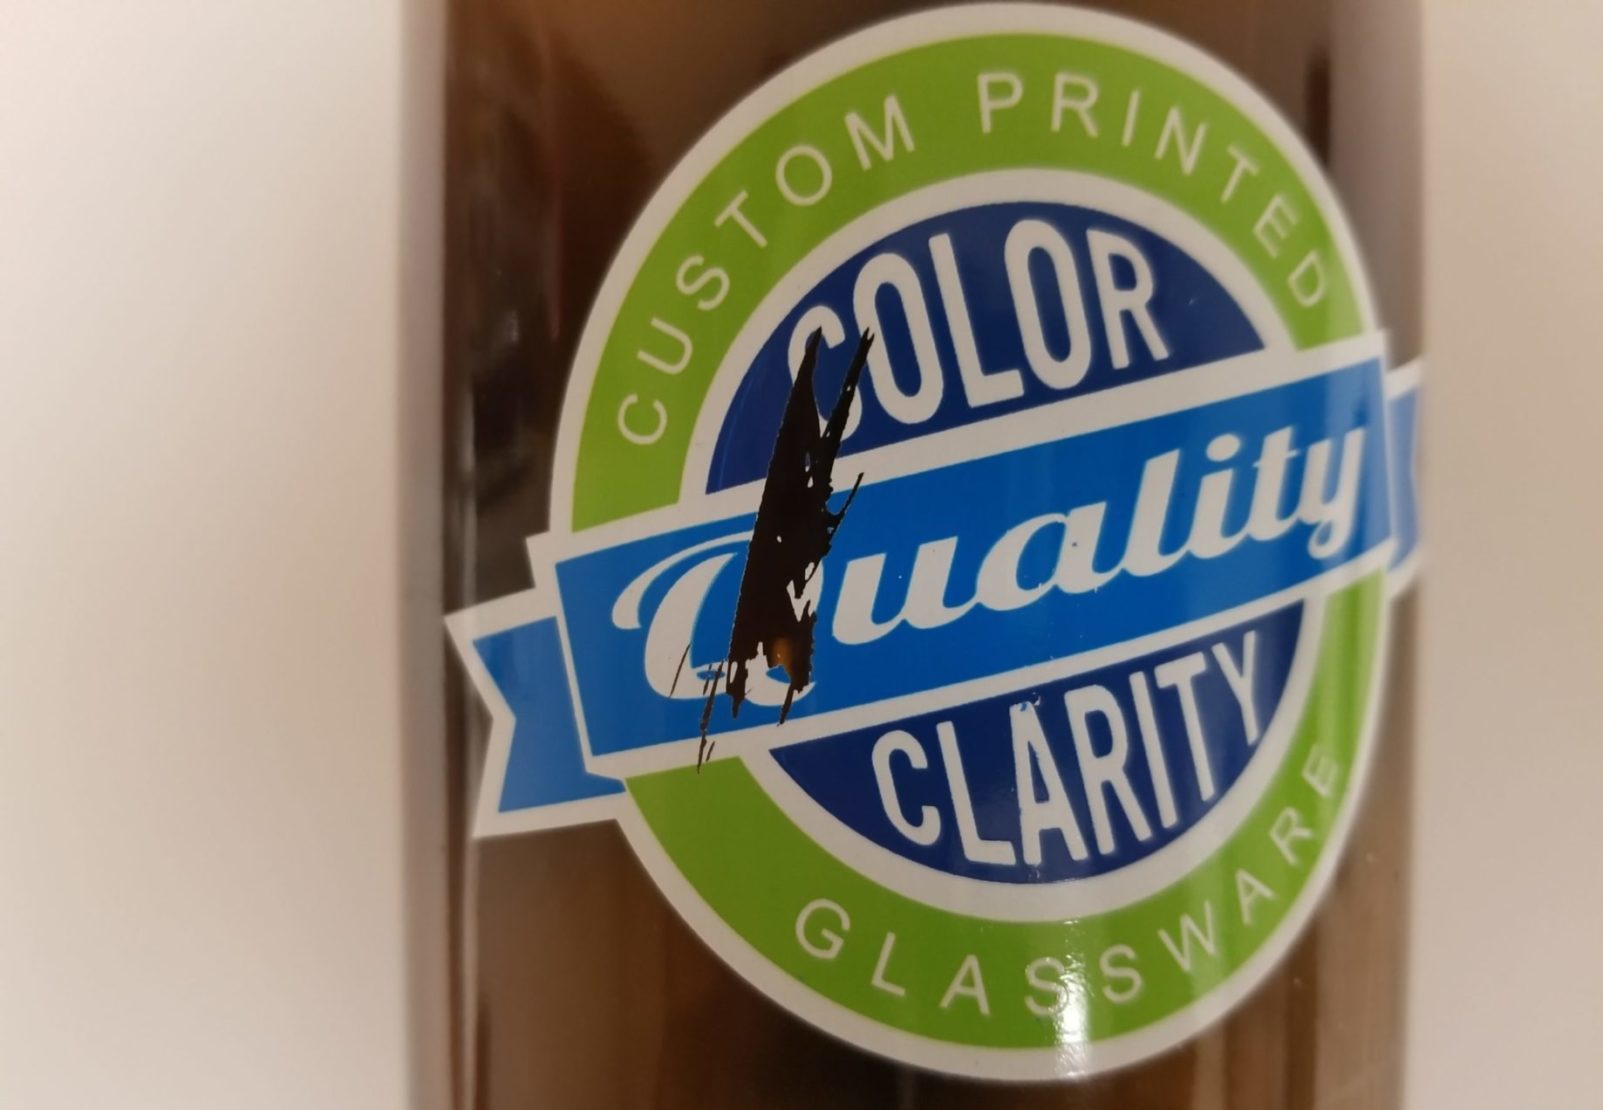
The Problems: The ink bubbles or has pinhole gaps; the ink is easily scratched; there is no water resistance, or the ink comes off when containers are washed.
The Culprits: The surface of the printed material needs preparation, or the ink needs an adhesion promoter.
The Solutions: Pretreat the print surface to remove contamination and improve adhesion and/or add an adhesion promoter to improve the bonding of inks to the surface.
Let’s look at these two solutions separately.
The Print Surface
It is pretty easy to recognize dirty glass, dusty acrylics, or greasy metal and clean the surface. But sometimes there is contamination that can’t be easily seen; moisture, static, surface oxidization, even exposure to contaminants in the air can lead to adhesion problems.
Step 1: Clean the surface
This can be as simple as wiping the surface with paper towels, although this may not remove all the contamination, and it can leave behind lint. A better option is using lint-free towels or clean cloth rags with isopropyl alcohol. High-percentage alcohol works best because it also removes moisture from the surface.
Step 2: Test the surface
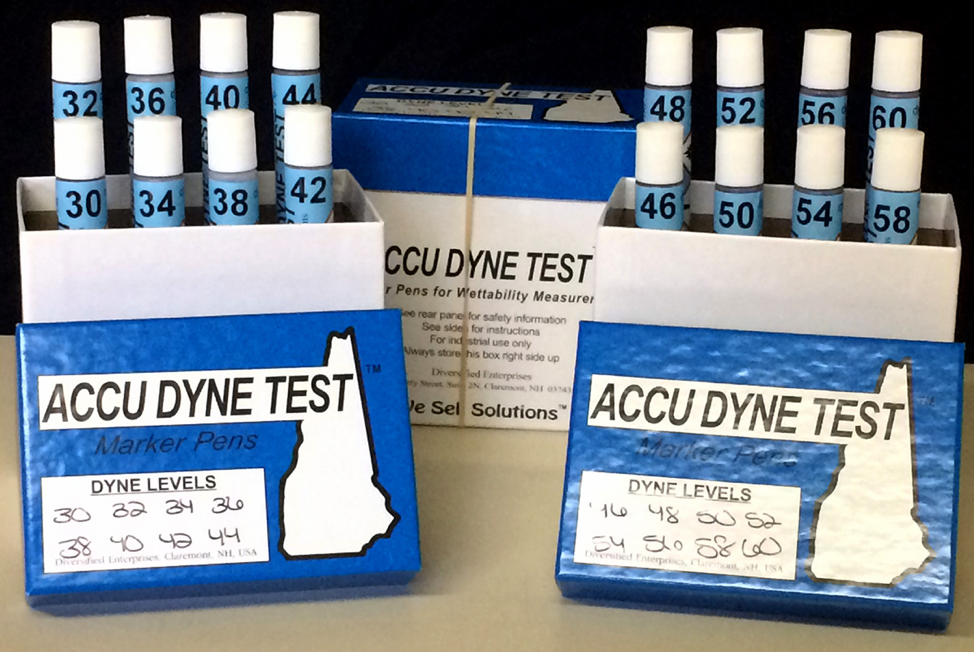
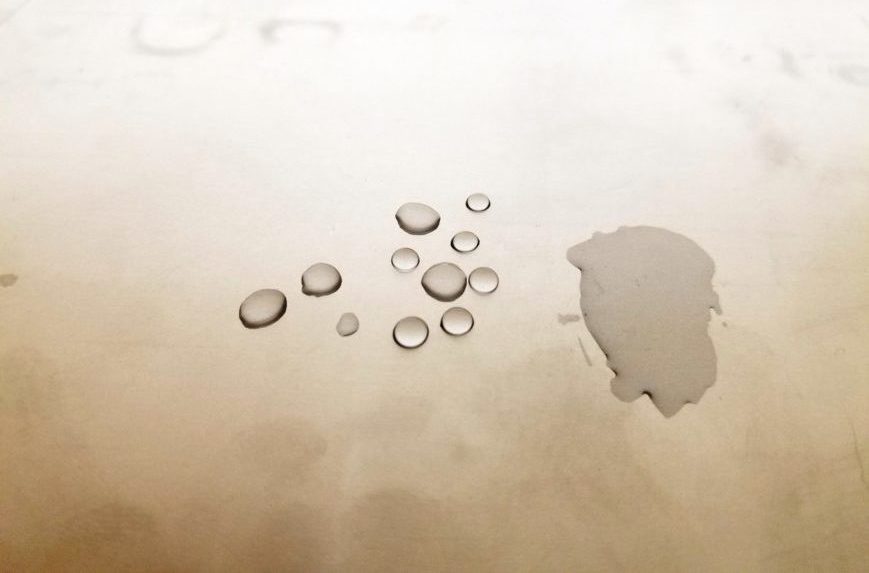
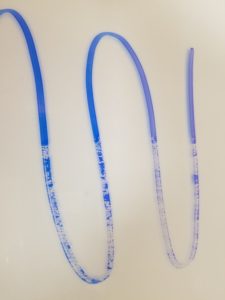
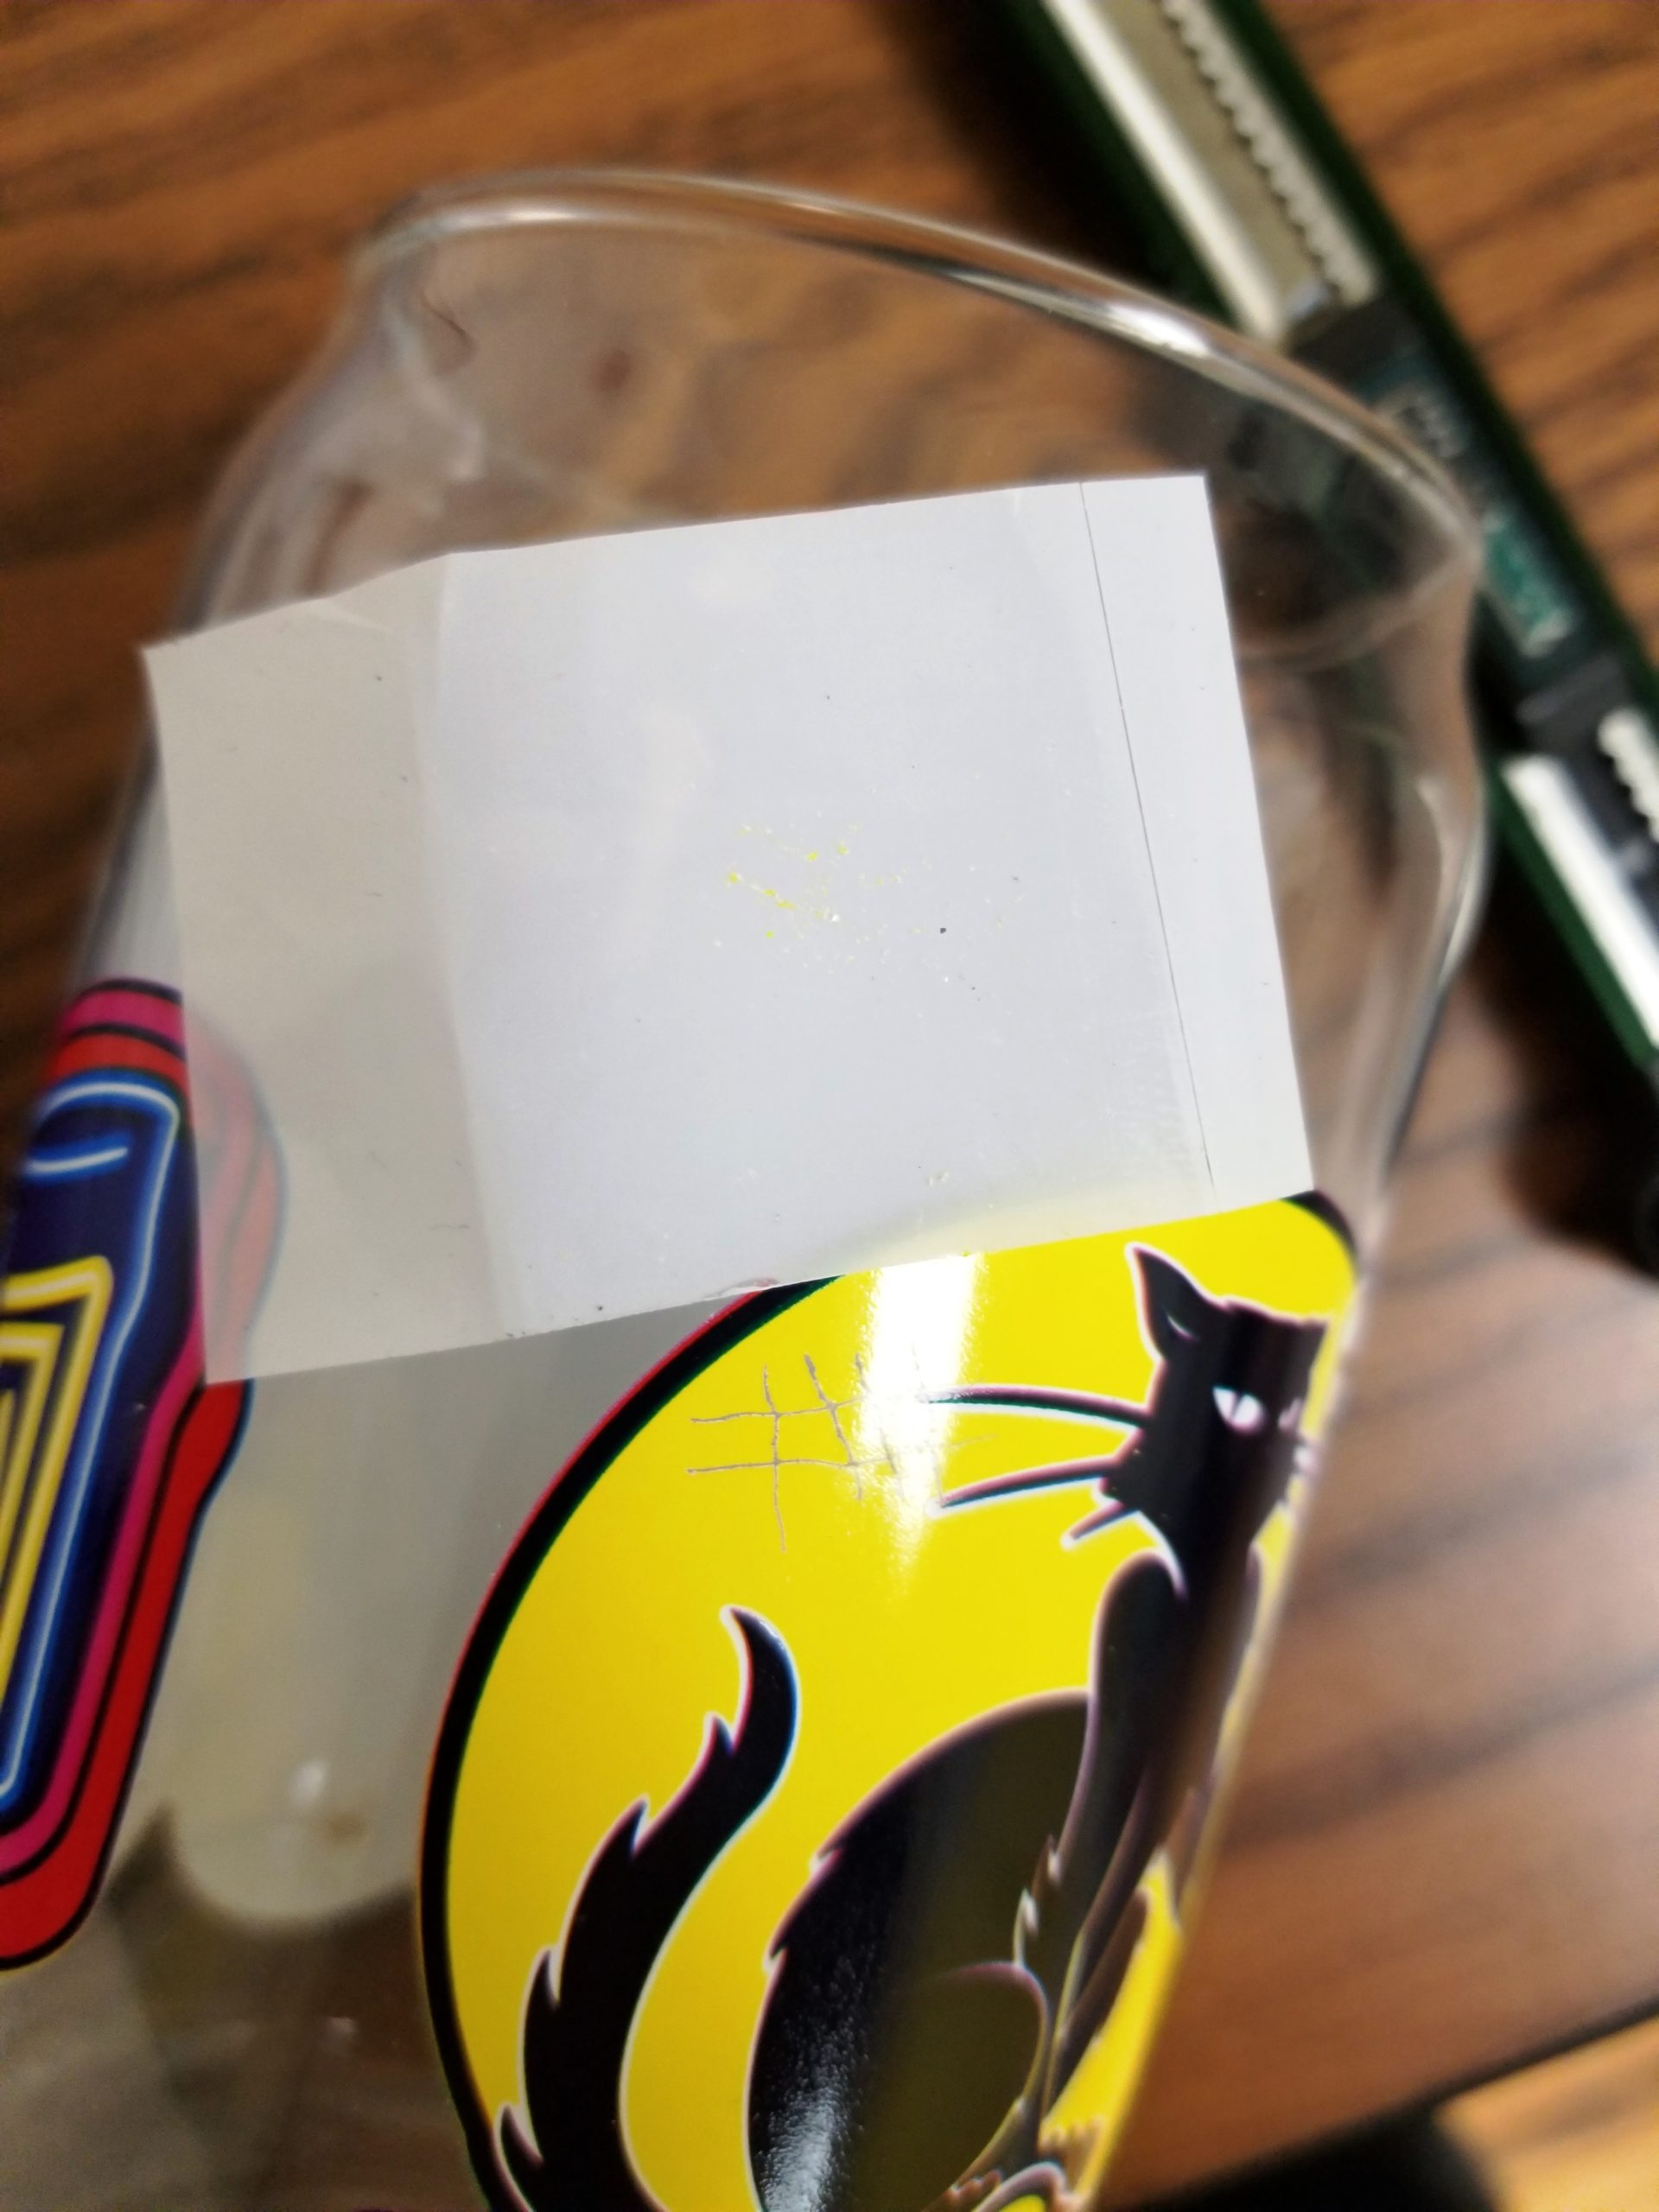
Printing on most surfaces requires good surface energy; this allows the ink to lay flat on the surface, avoiding pinhole gaps, bubbles, and other adhesion problems. Frequently, good surface energy is referred to as “wetting.” This can be checked using water or Dyne test pens. When using Dyne pens, for a good printing surface, we want to see a minimum of 40.
Step 3: Pass/Fail
When you test with the Dyne pen, you want to see the ink lay flat, a continuous unbroken line — this is a pass. When the ink has gaps or bunches up, this is a fail, and you need to use another method to pretreat the surface.
Step 4: Print or back to the drawing board
If you have a good printable surface, go ahead and print. We may need to test for adhesion, but that will be discussed later.
If the surface is clean, there are many materials that shouldn’t require any additional pretreatments, such as PVC, acrylics, Di-Bond, some plastics, untreated wood, cardboard, etc. Learning different materials requires some experience. For example, many promotional products that are purchased to customize with UV printing don’t list the type of plastic, so these need to be tested. As you gain experience, you will be able to identify many plastics by looking at them and will know if they need additional pretreatment.
If you still have poor wettability, there are additional pretreatment processes to try and improve the surface.
Step 5: Other pretreatments
There are a number of options available depending on the material.
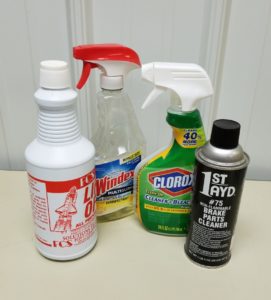
- Cleaning Products – sometimes 409 or Clorox cleaners are enough to clean the surface and give good wetting, but be ready with stronger cleaning agents. Automotive brake cleaners work well on some metals, but be careful that they won’t damage the surface.
-

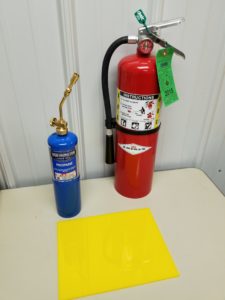
Many plastics and some glass respond well using a butane torch that can be purchased at your local hardware store. Always keep a fire extinguisher nearby when working with open flame. Sometimes 409 or Clorox cleaners are enough to clean the surface and give good wetting, but be ready with stronger cleaning agents. Flame Treatment – many plastics and some glass respond well using a butane torch that can be purchased at your local hardware store. Glass can get very hot and plastic burns, but if you go over the surface fairly quickly, you can avoid excessive heat. Even thin films can be flame treated. Be careful: you are using an open flame, so clear the area of flammable materials, never leave a lit torch unattended, and have a fire extinguisher nearby.
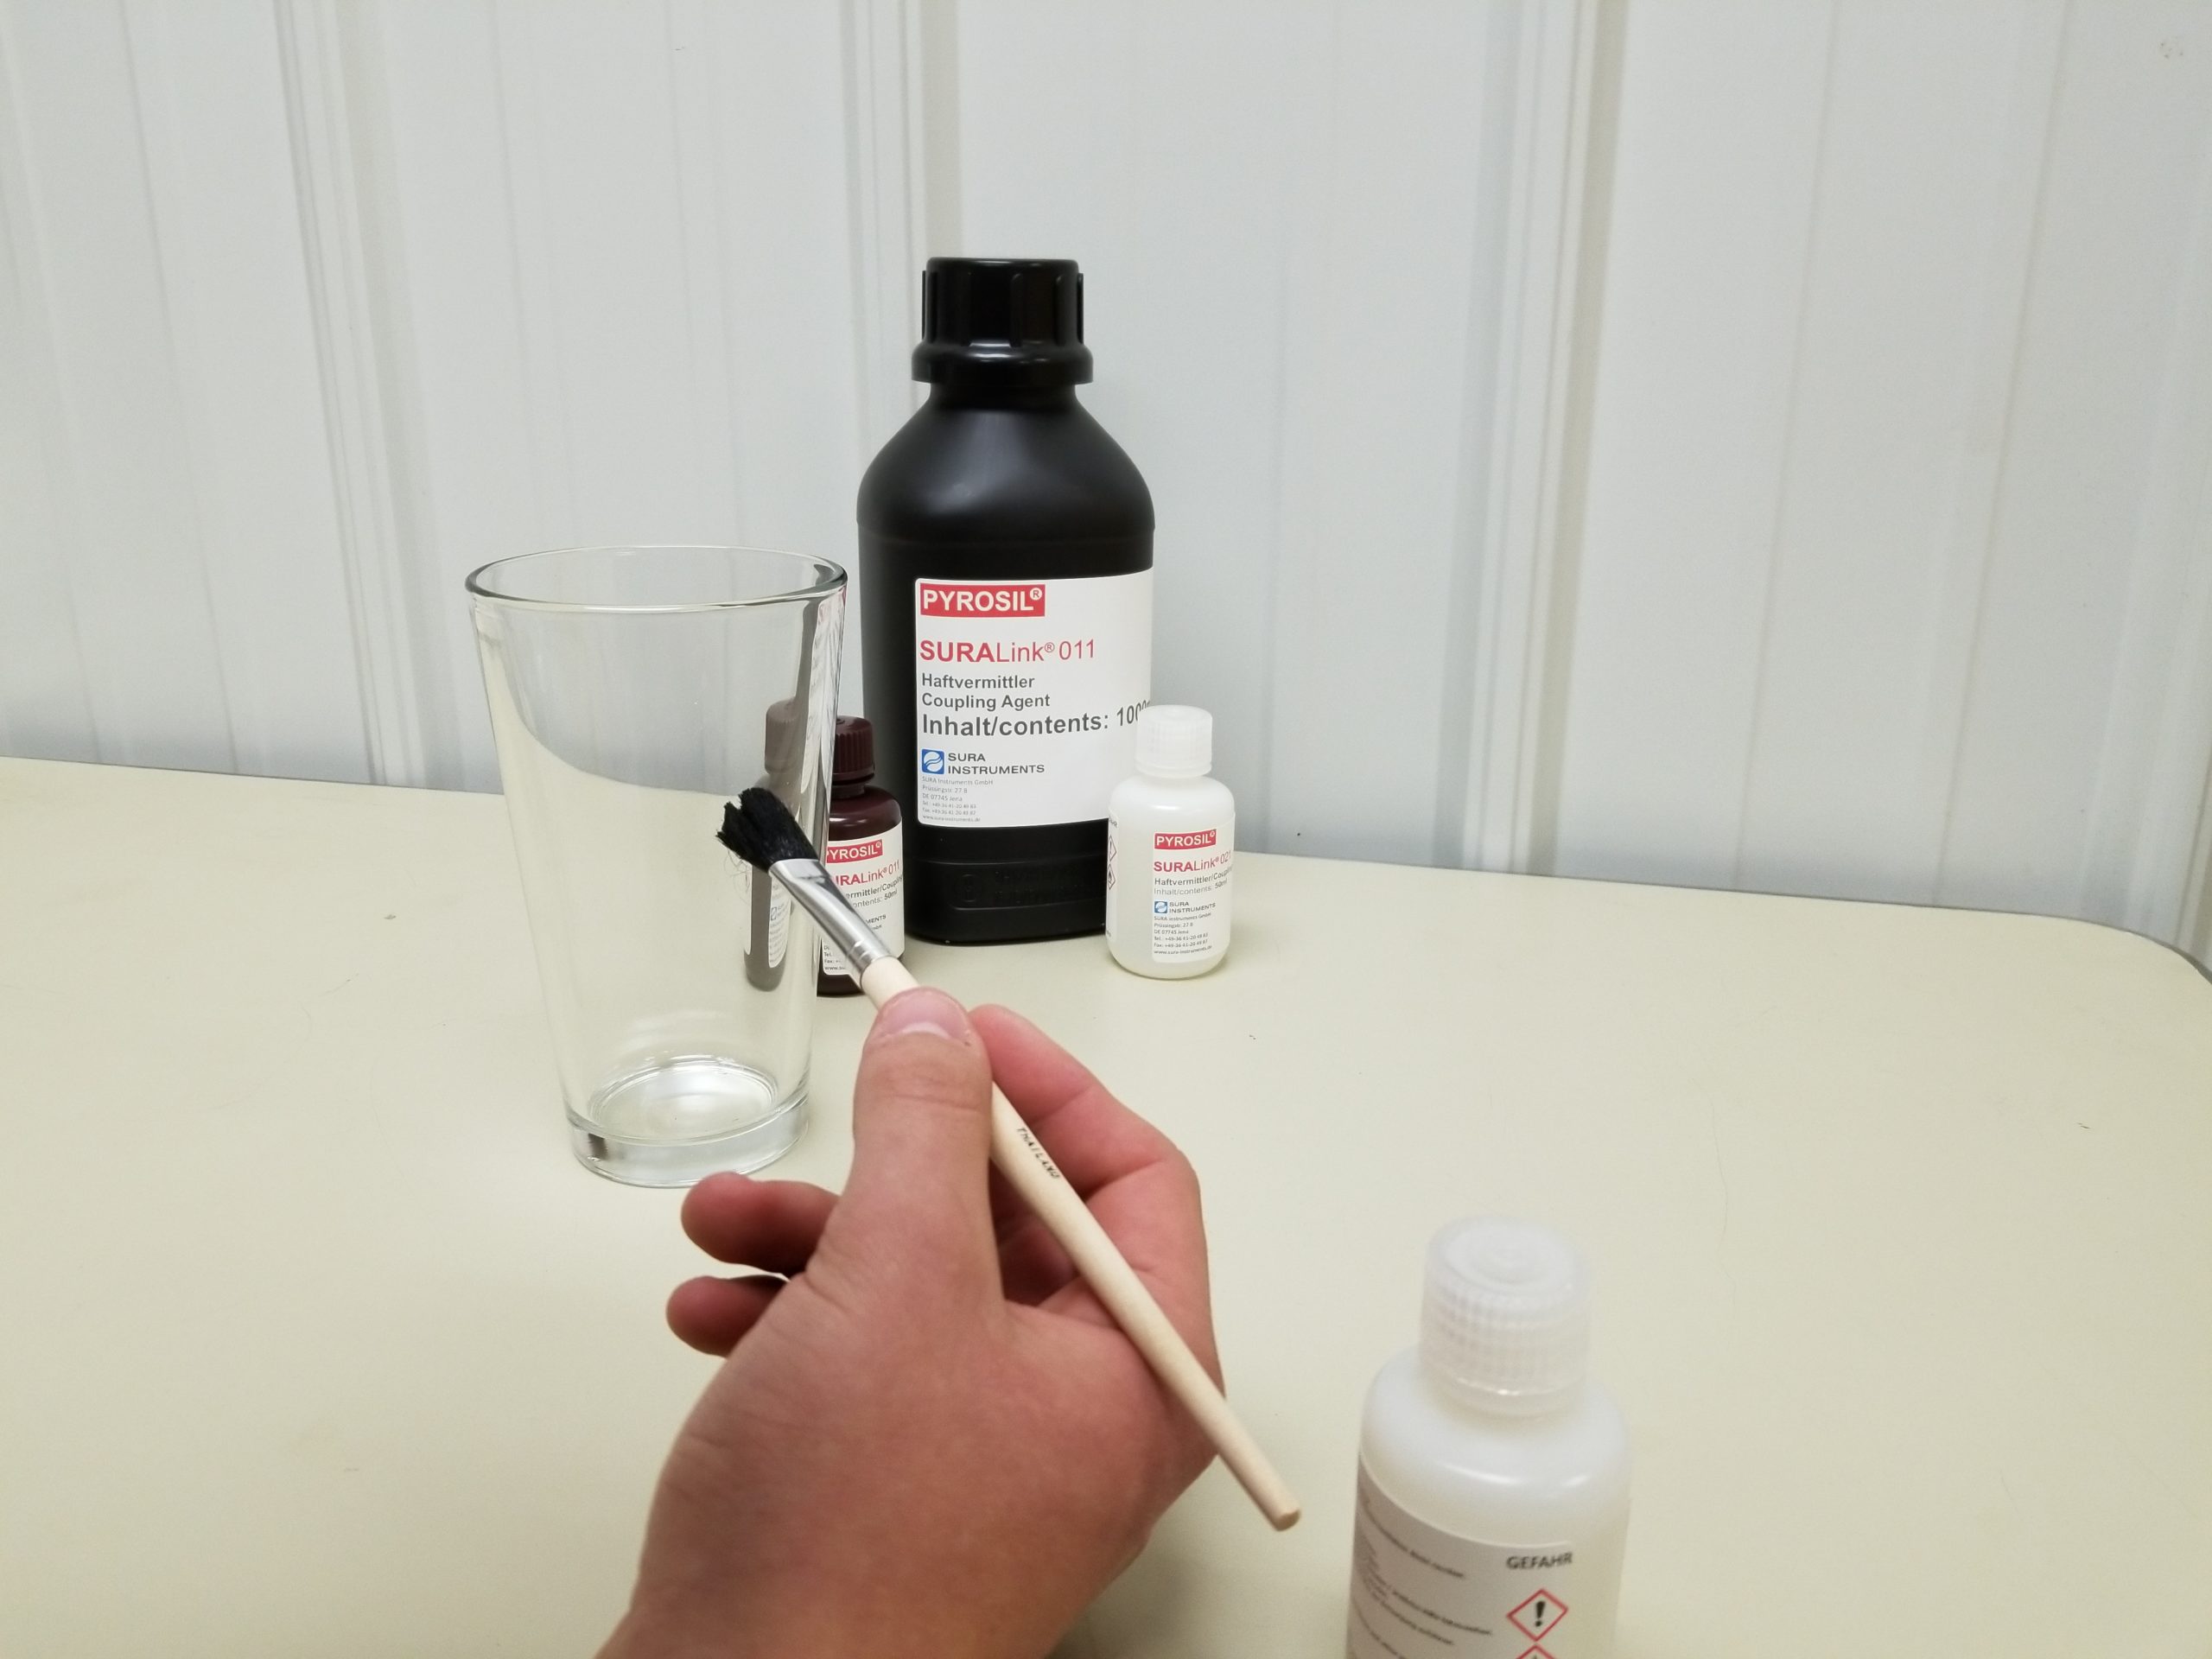
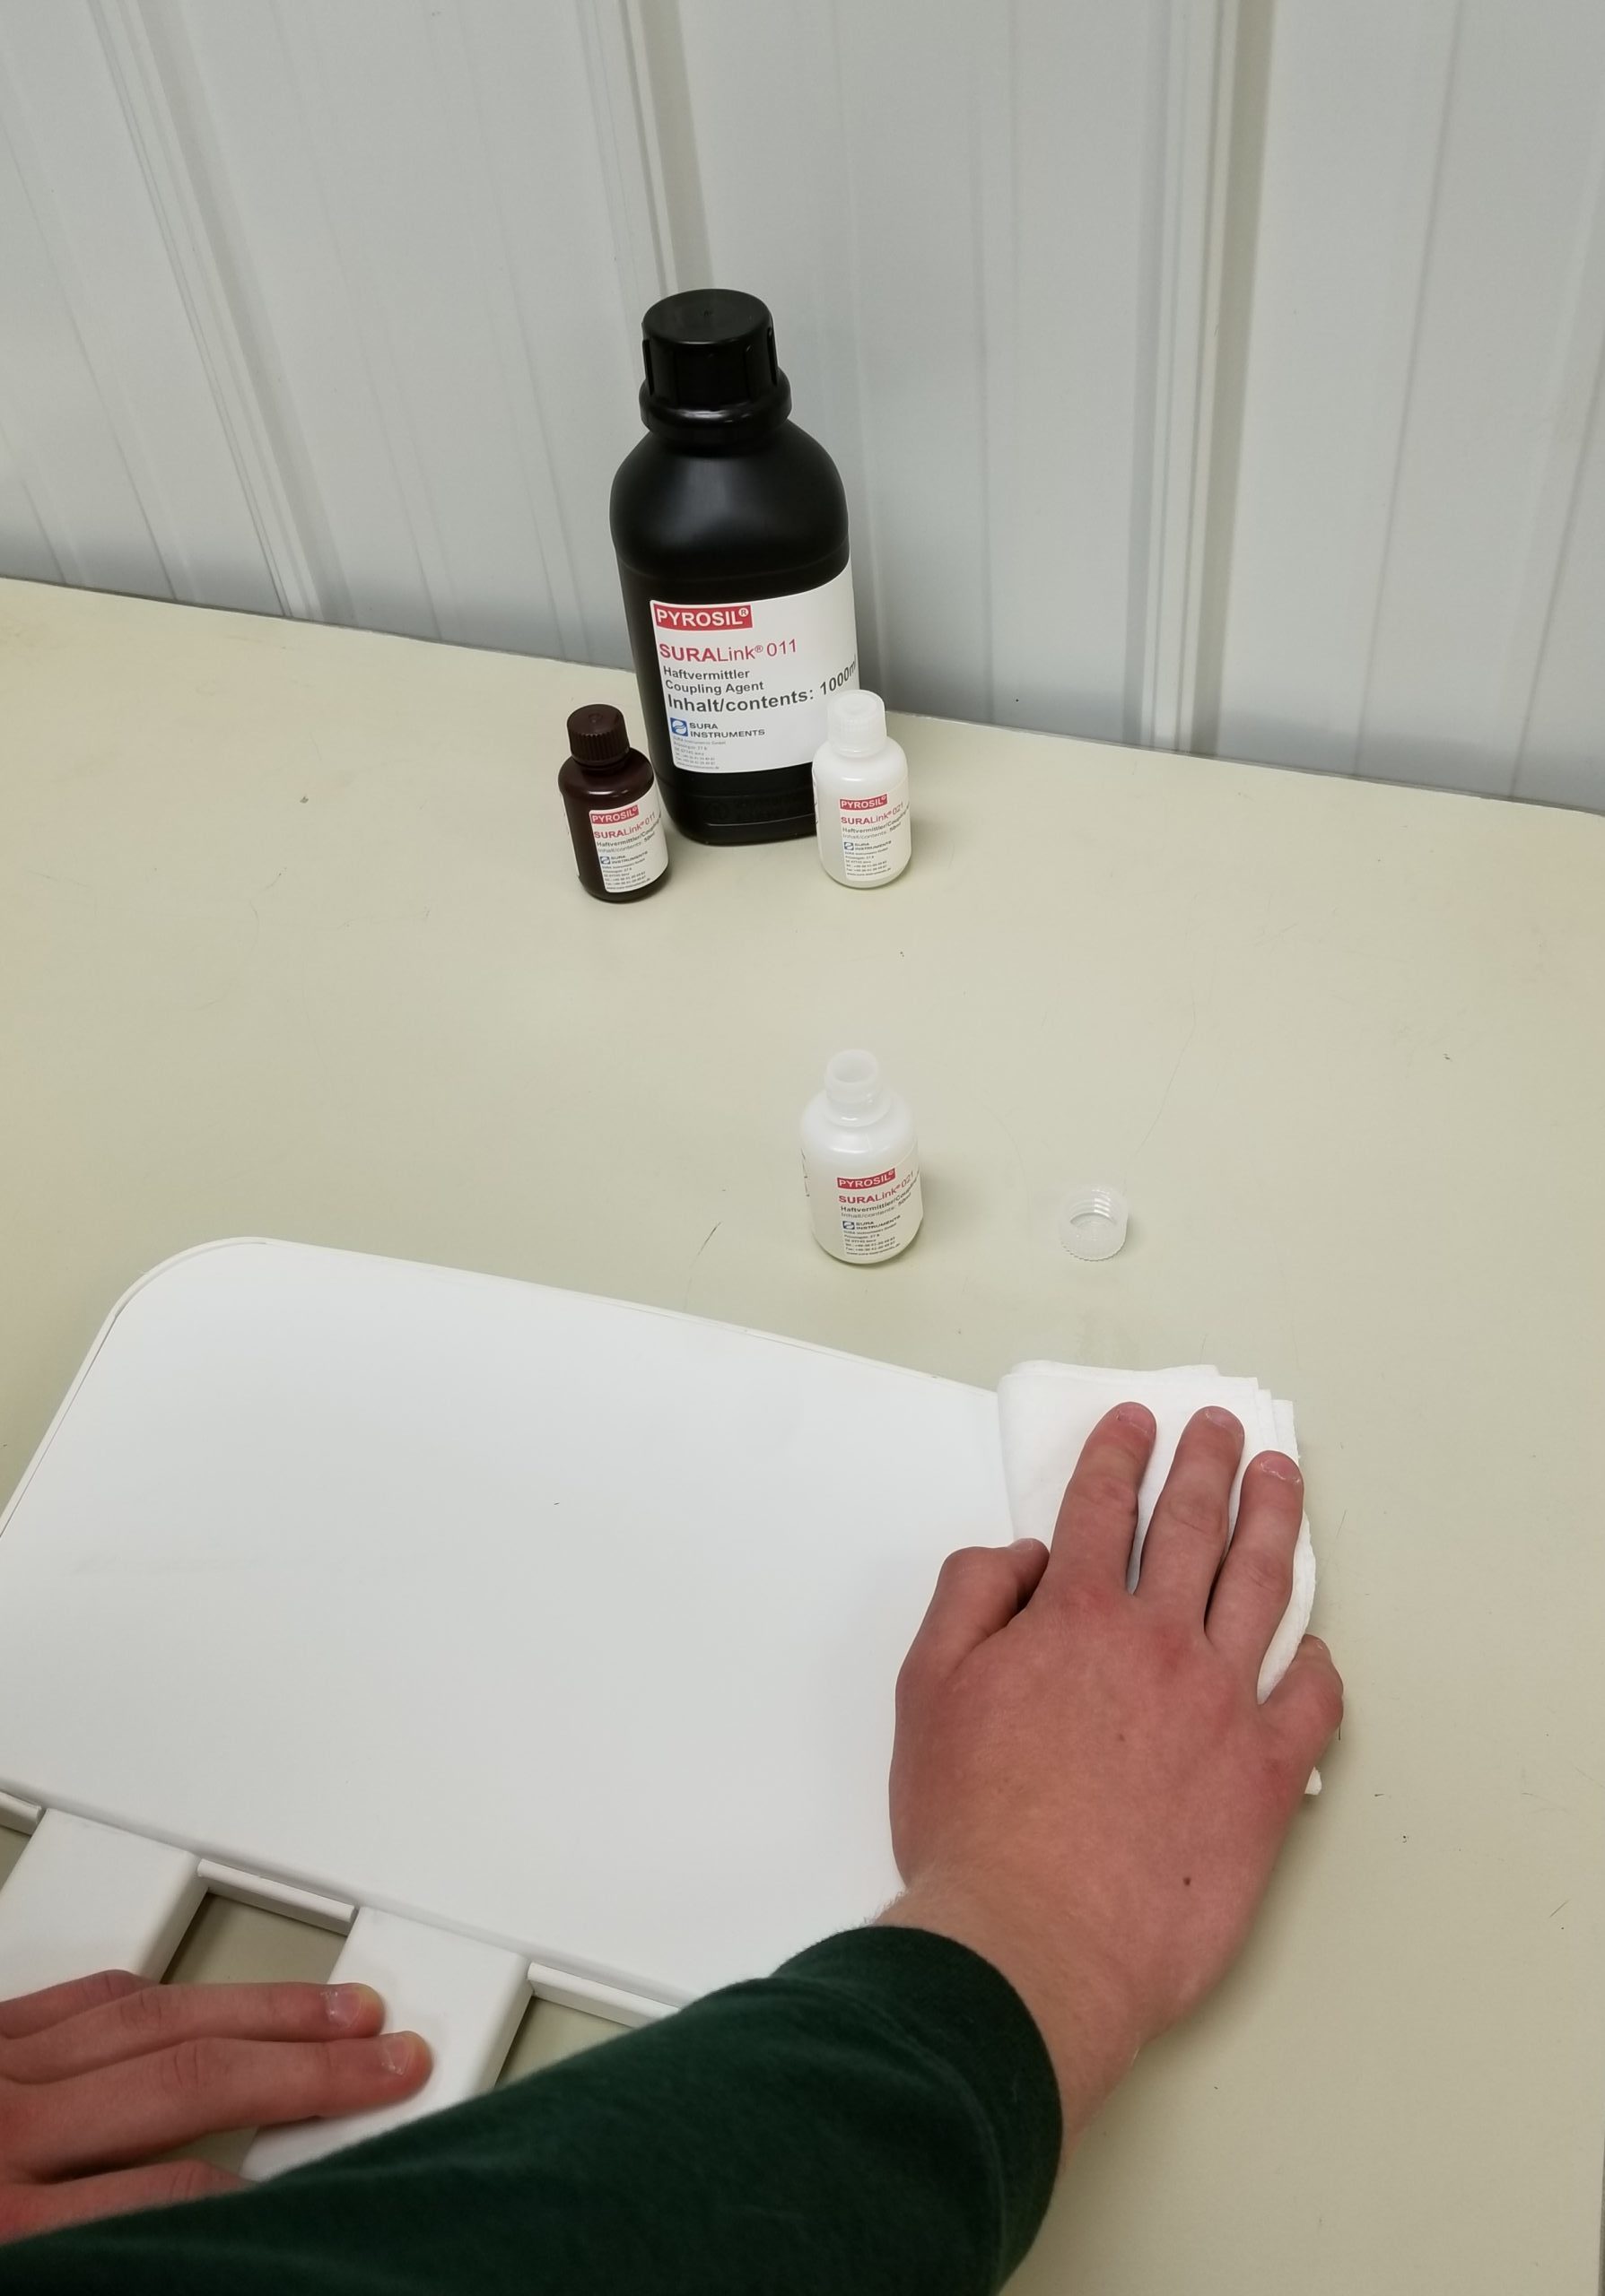
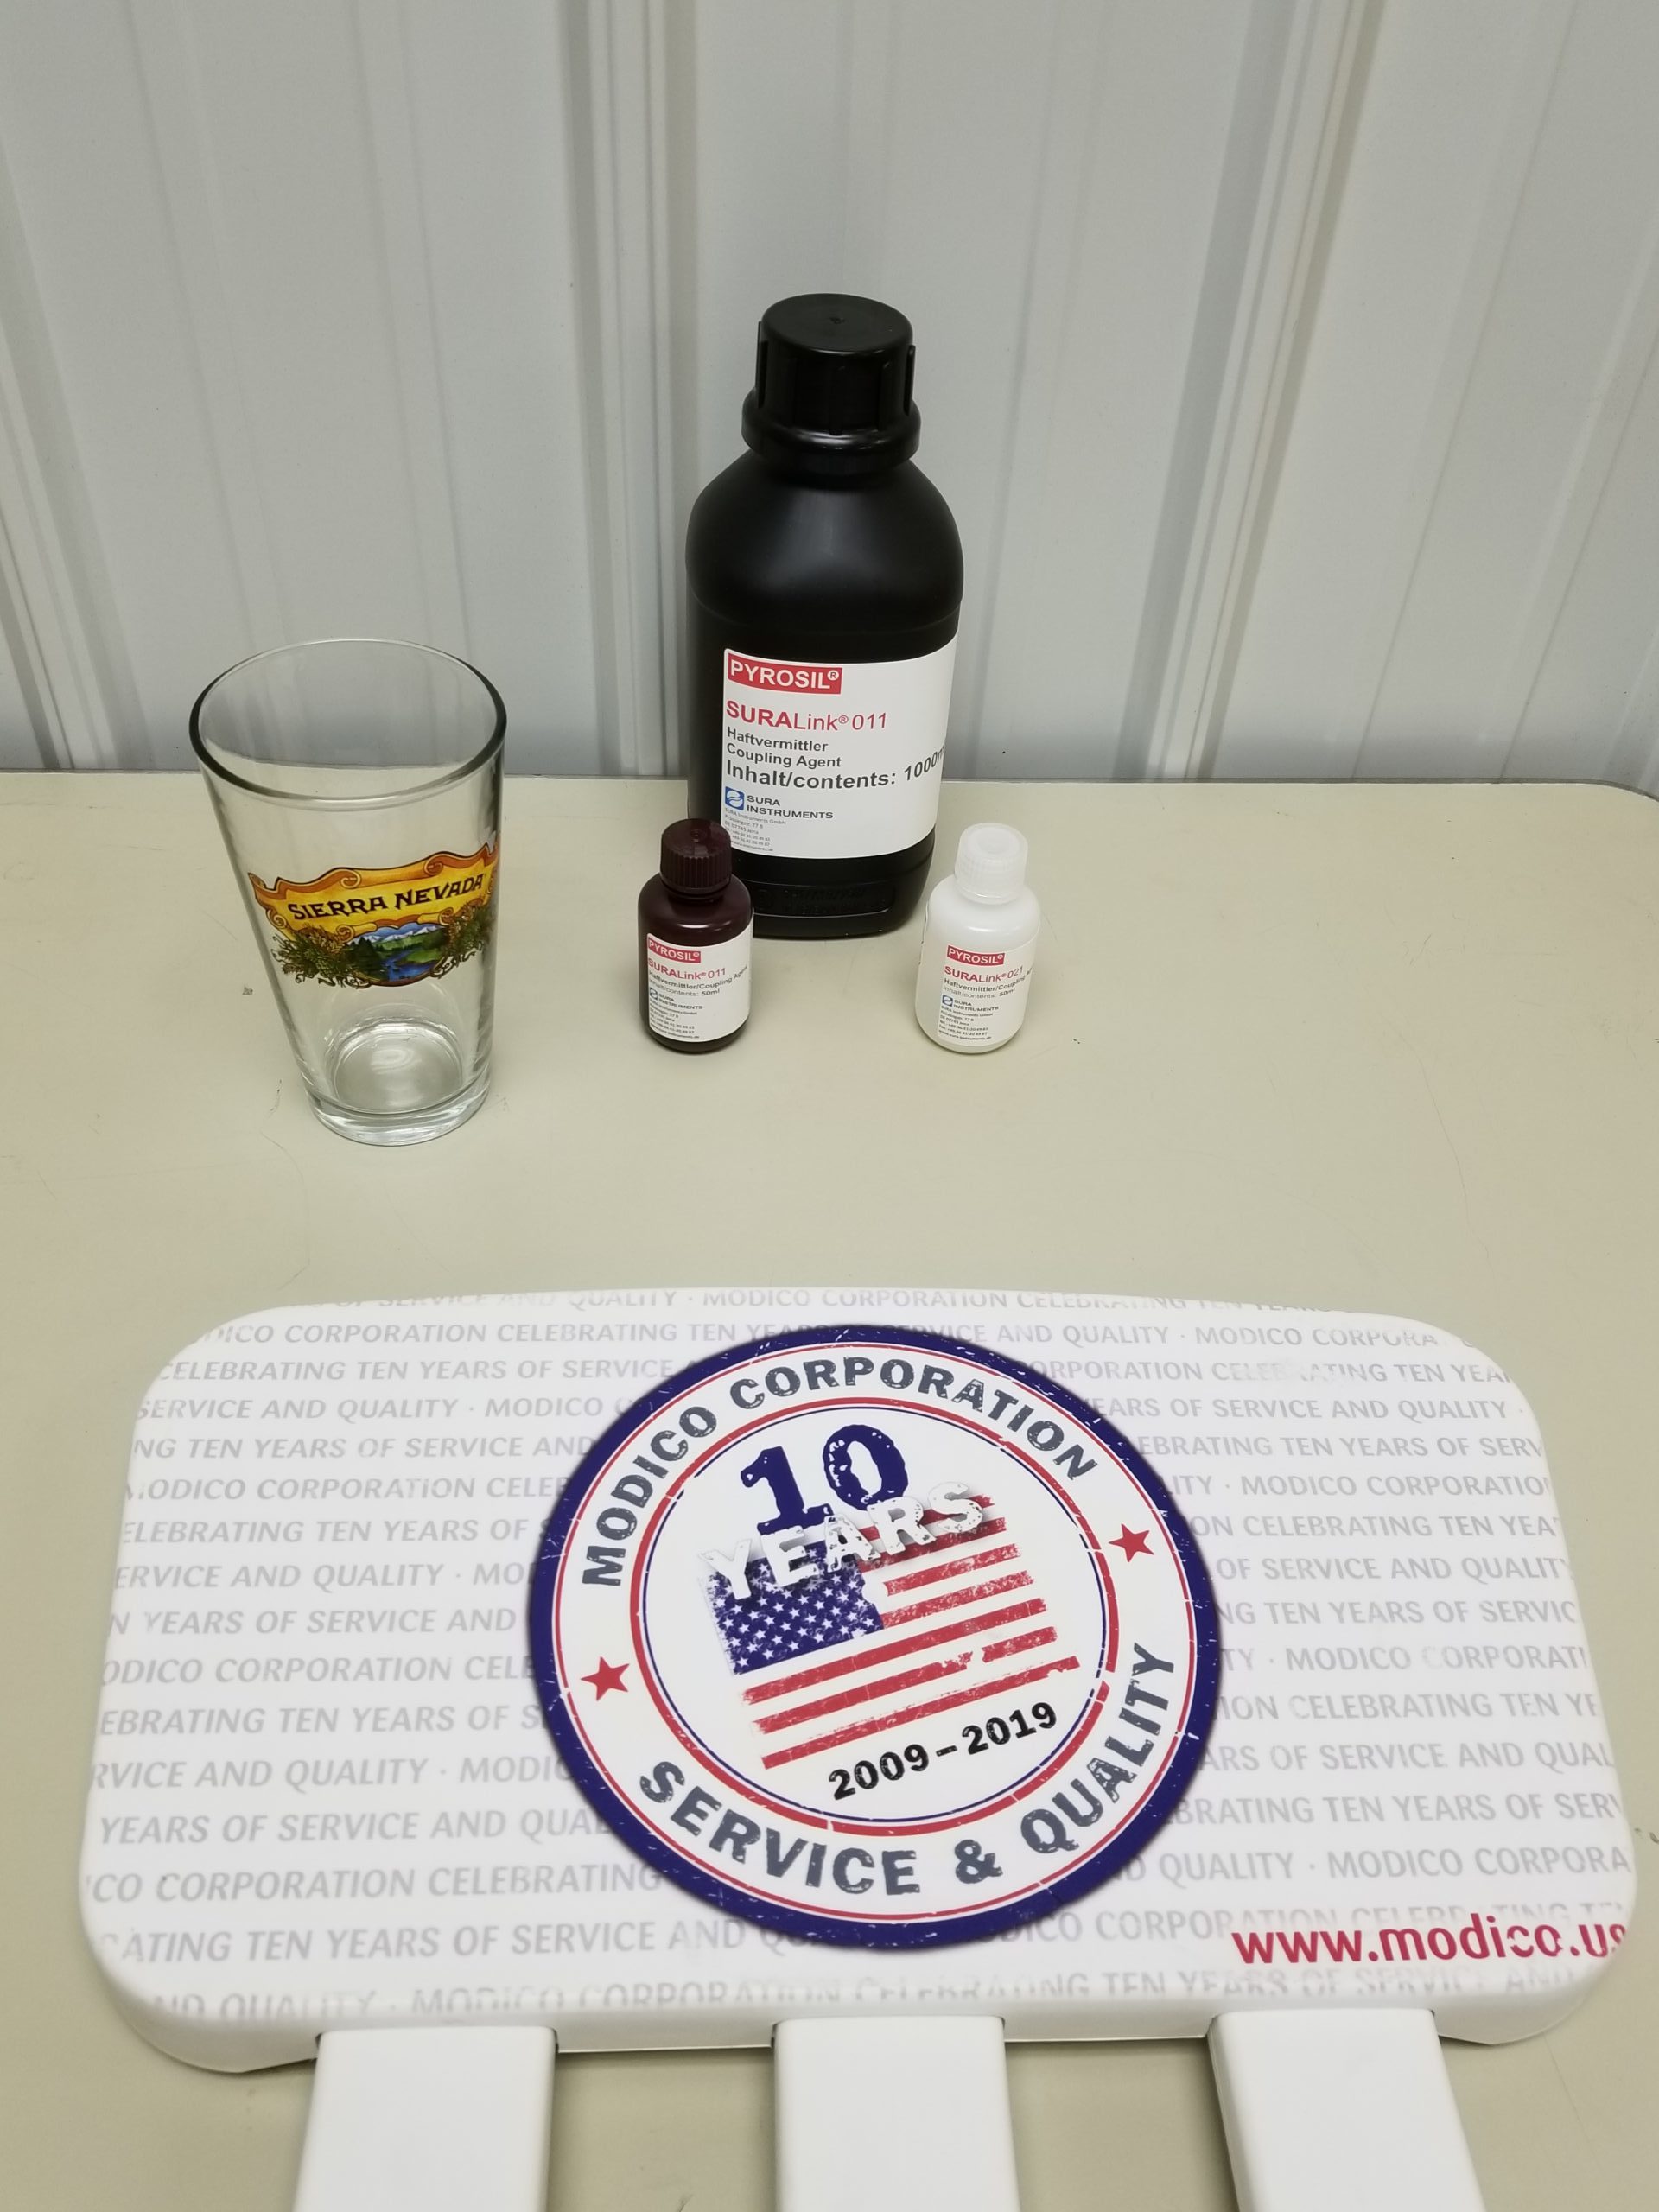
- Pyrosil is another form of flame treatment, although this is a proprietary technology that is used for a variety of pretreatment processes.
Pyrosil changes the surface by applying an invisible layer of SiO2 (silicon dioxide) onto the surface. The technology is recommended by Xerox, RUCO, Marabu, Norcote, Nazdar, Sun Chemical, and many other ink manufacturers.
Pyrosil uses special butane cartridges infused with chemistry to create this new layer of SiO2. There are a number of burner systems available for Pyrosil, from small handheld torches, tabletop units for larger areas, or production and ever-automated flame systems.

Instead of Dyne pens, water can be used to test wetting when using Pyrosil. Water had a Dyne level of 72, so if water flattens out, it’s about the best printing surface possible.
Pyrosil also creates high surface energy; this allows inks better chemical bonding. This means that Pyrosil can increase scratch resistance, durability, adhesion under wet conditions, and even make UV-printed surfaces dishwasher safe.
Adhesion Promotion: Making Ink Stay Stuck
- The Problem: The ink scratches off or comes off easily when wet or won’t withstand dishwashing.
- The Culprits: Digital inks do not contain hardeners, and the formulations may have weak chemical bonding.
- The Solution: Use an adhesion promoter.
I am frequently asked if the surface is properly pretreated, why do I have ink adhesion problems? The most common issue comes down to the jet-able requirements of digital inks.
To ensure digital inks can be sprayed through the tiny nozzles in a print head, they must have a high viscosity. This means that they have not been able to integrate or add adhesion promoters or primers in the ink. Otherwise, it would clog the print head. The inability to add a hardening agent to digital inks is what makes them less adhesive.
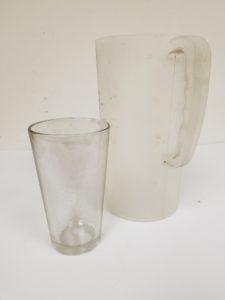
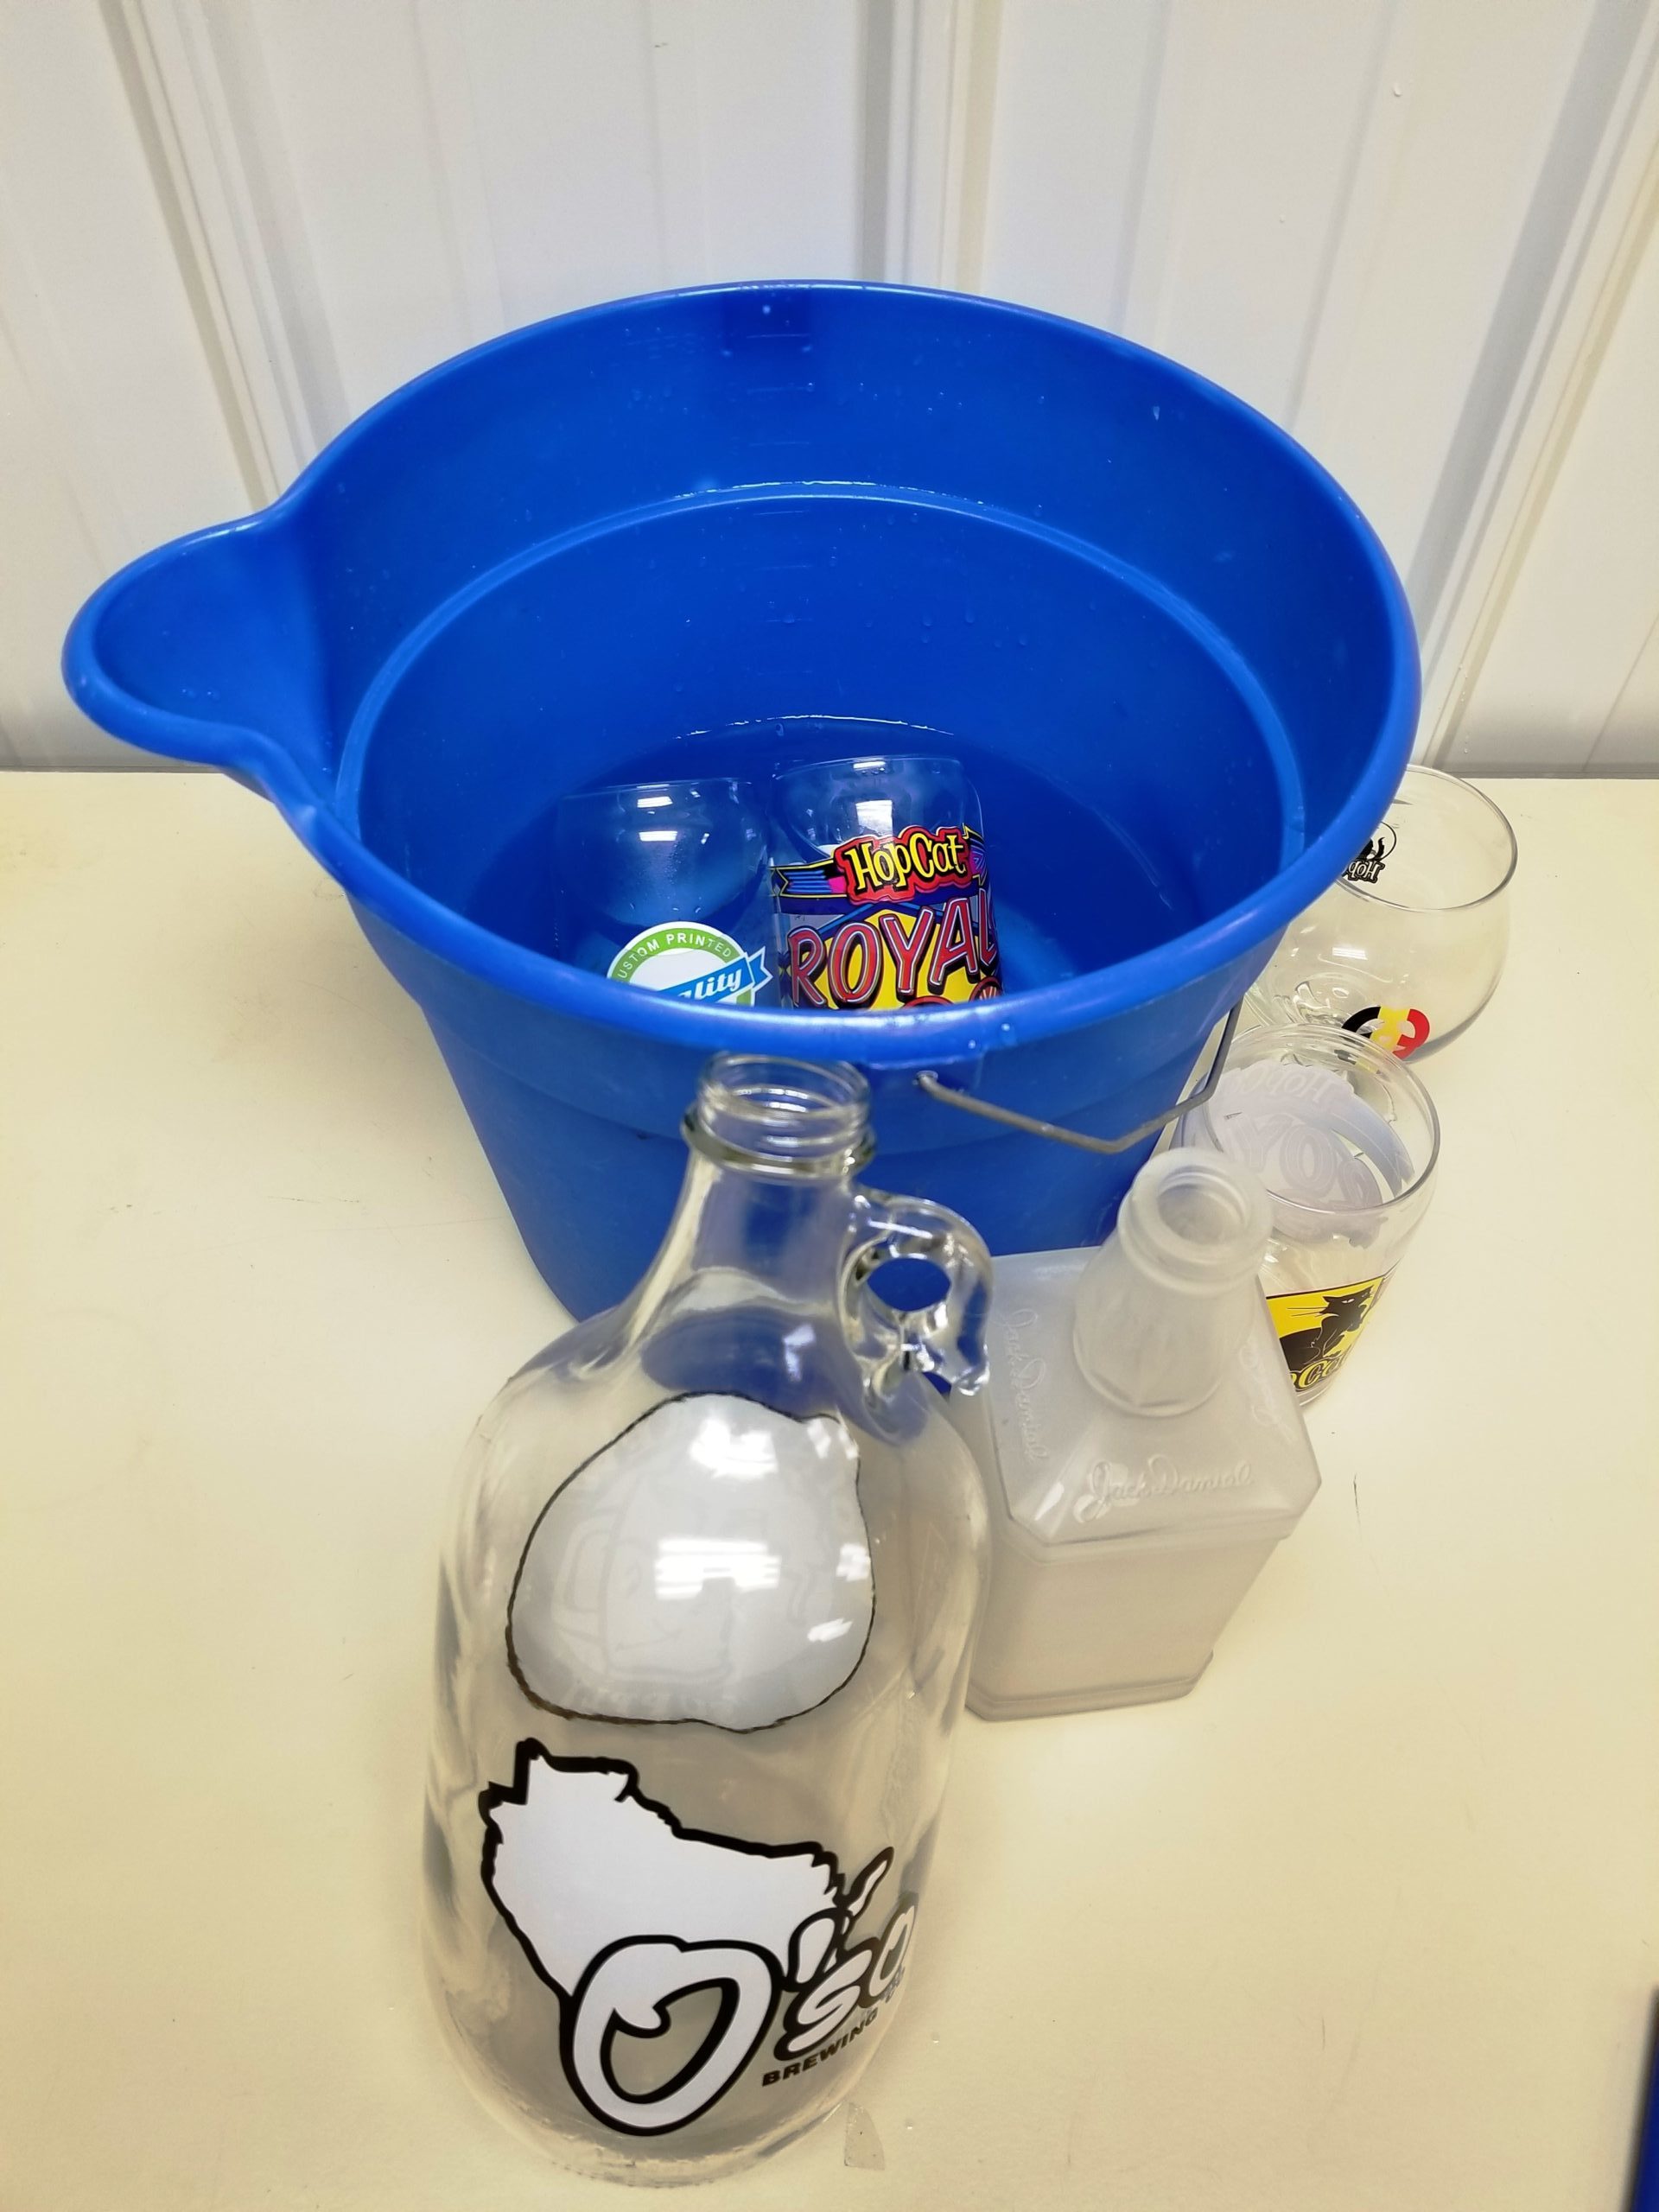
When do you need to use an adhesion promoter? To get to the answer, we must first ask ourselves, what are our expectations for adhesion? If you are printing on a candle, there may be very low expectations for adhesion because it is so easy to scratch and damage the surface. However, if you are printing on pint glasses that someone wants to use in their home or a restaurant, they are going to have to stand up to friction from stacking and a lot of dishwashing.
This leads us to how to test the adhesion of UV inks. The type of testing you do depends on what the printed item will be used for, but these are the most common types of tests:
- Scratch Tests – run a fingernail or a sharp object across the print surface.
- Cross-Hatch/Scoring Tests – use a razor or an adhesion test kit to cut a pattern into the ink and using tape to see how much ink can be removed from the surface.
- Water Tests – submerge items into the water and then testing for reduced adhesion.
Types of failures:
- Ink is easily wiped off the surface
- Ink does not pass the water test
- Ink is easily scratched

So, the answer to, “When do I need to use an adhesion promoter?” is: as soon as the ink adhesion does not meet your standards.
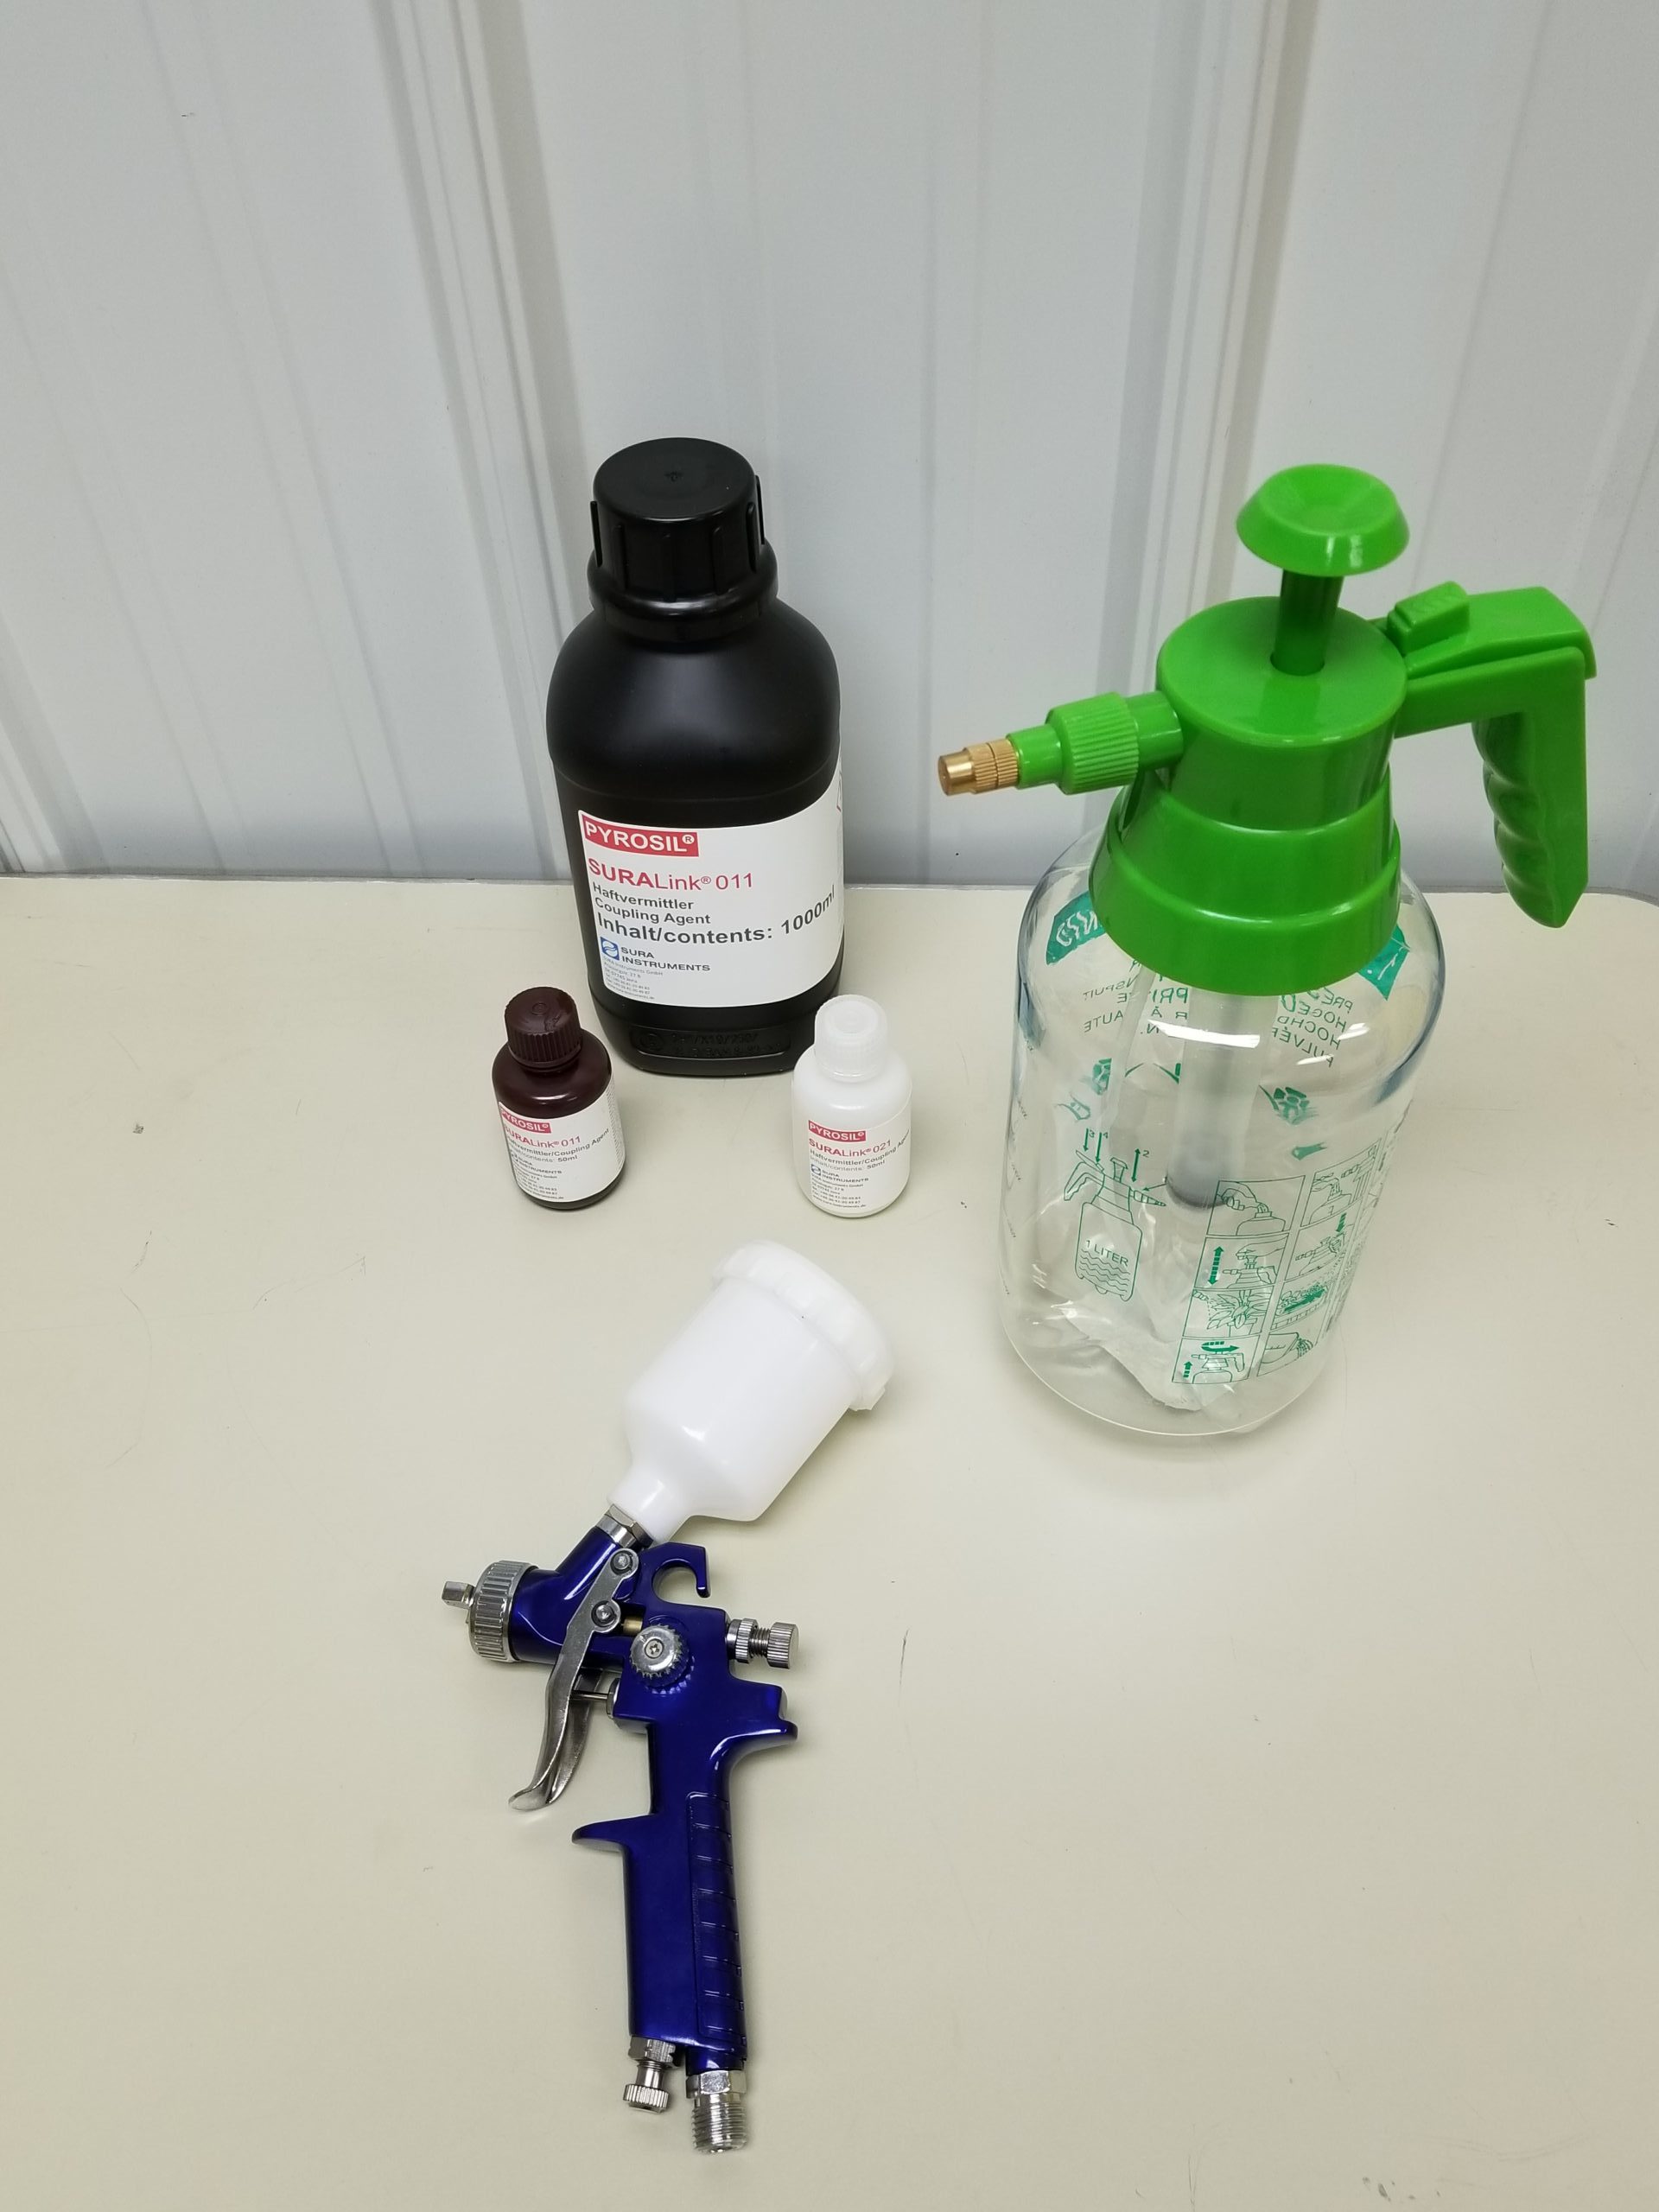
There are a number of companies that offer adhesion promoters. We have had excellent results with Marabu, INX, and Modico Corp. products. In addition, SURA Instruments also offers adhesion promoters specifically formulated for digital inks called SuraLink. Utilizing Pyrosil along with the SuraLink primers has passed 250+ dishwashing tests in a number of independent tests. Consult your manufacturer for information on all the available options.
Note: Generally, UV screen printing does not require additional adhesion promoters because there is a hardener agent mixed into the ink just prior to the printing process. This increases adhesion and works well. Occasionally, we do run into situations where UV screen printers need exceedingly high adhesion and then we recommend an adhesion promoter.
Currently, there are only a few adhesion promoters available that can be jetted through a print head, so the most common application methods are brush, wipe-on, and sprayers (either pump or low-pressure, high-volume sprayer). All application methods work well — it is normally a decision based on volume.
Unfortunately, there is no bulletproof process that guarantees perfect results for UV printing. However, the processes discussed in this article have been proven and are being successfully used by thousands of printers and decorators. There are new technologies and improvements to inks and adhesion promoters happening all the time, and quality continues to get better. I am sure it is only a matter of time before a UV ink is developed that requires no pretreatment, sticks to everything, never chips, peels, or cracks, and never fades.