When creating artwork in Photoshop, whether it’s working with illustrations or photos, if you erase or delete areas or make adjustments directly to objects, it can destroy the original. However, there are ways to prevent this and keep the original intact, so you always have it handy should you need it in the future to reuse or make changes.
Option #1: Duplicate It
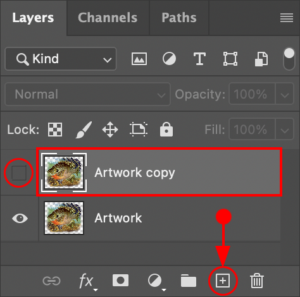
This is probably the most obvious and most old-school way of doing things, but it still works. Whether you duplicate the original layer and turn it off so that it’s hidden (Fig. 1) or do a “Save As” and save a new separate file, you’ll always have a copy of the original.
Option #2: Smart Objects
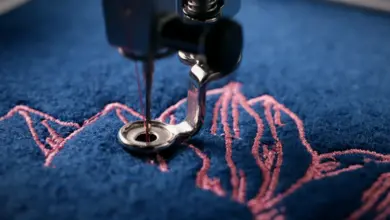
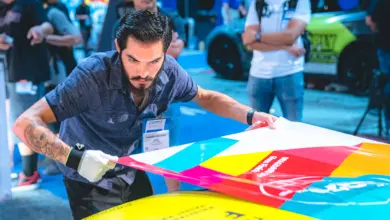
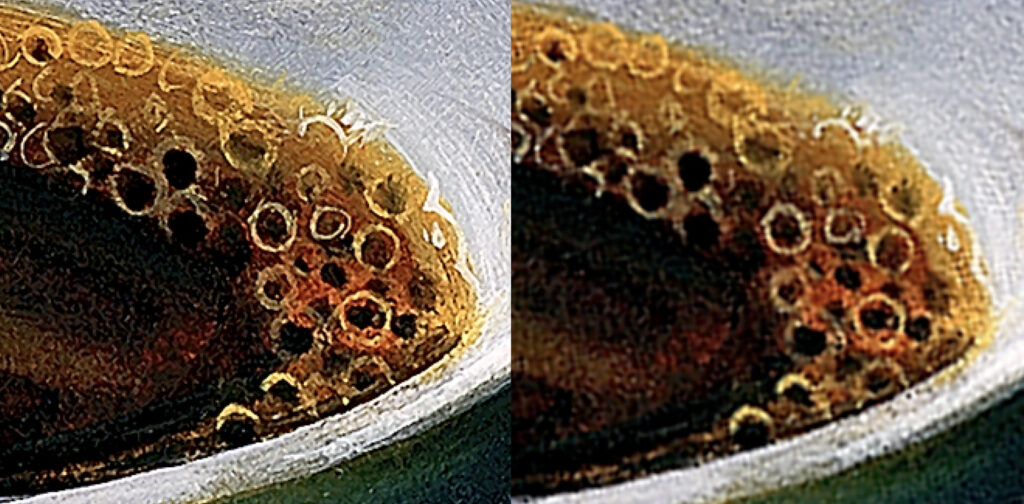
Even if you’re not deleting areas or making color adjustments, simply performing transformations like scaling and rotating can cause the quality of an image to deteriorate (Fig. 2, 3).
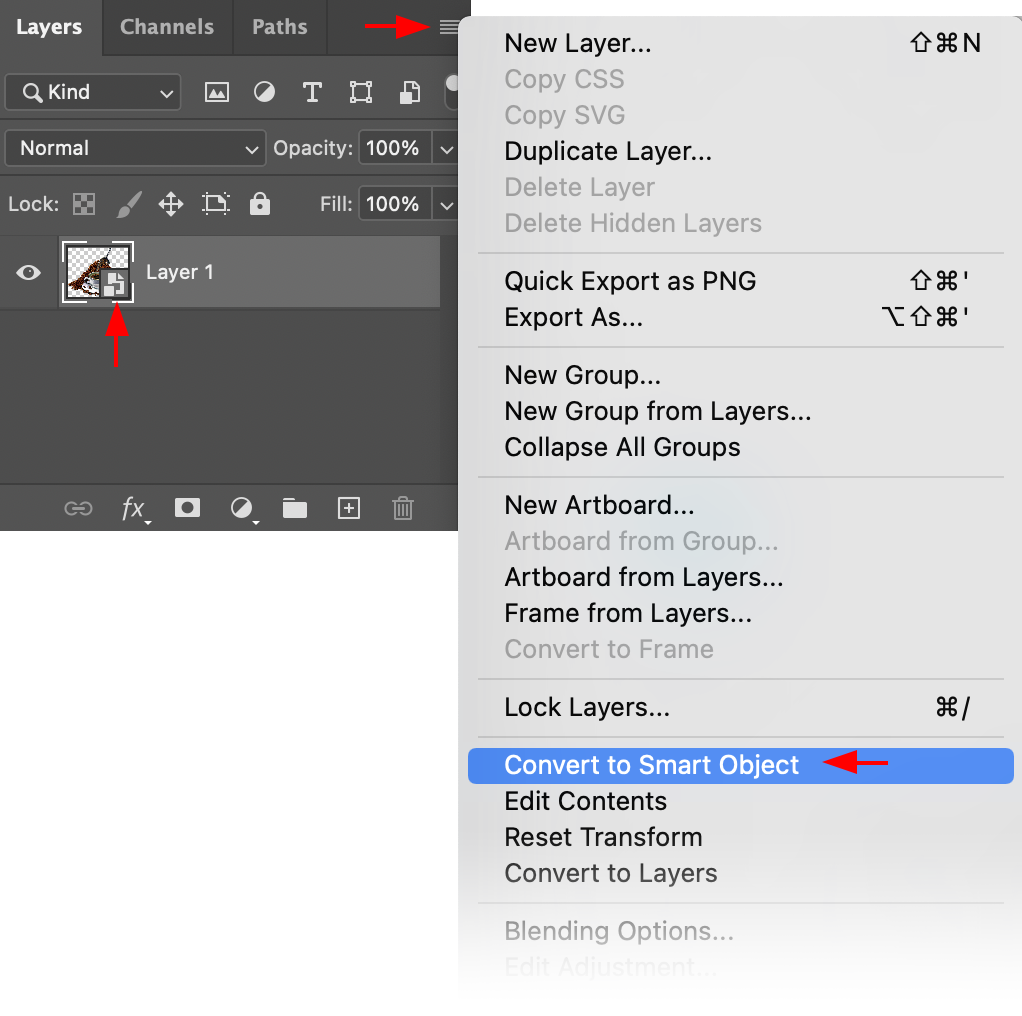
To prevent this, turn the object into a Smart Object by clicking on the drop-down icon in the upper right corner of the Layers Panel. Choose Convert to Smart Object. When you do, a small icon will appear in the thumbnail preview of the layer (Fig. 4). Now, as you transform the object, it will retain its original quality.
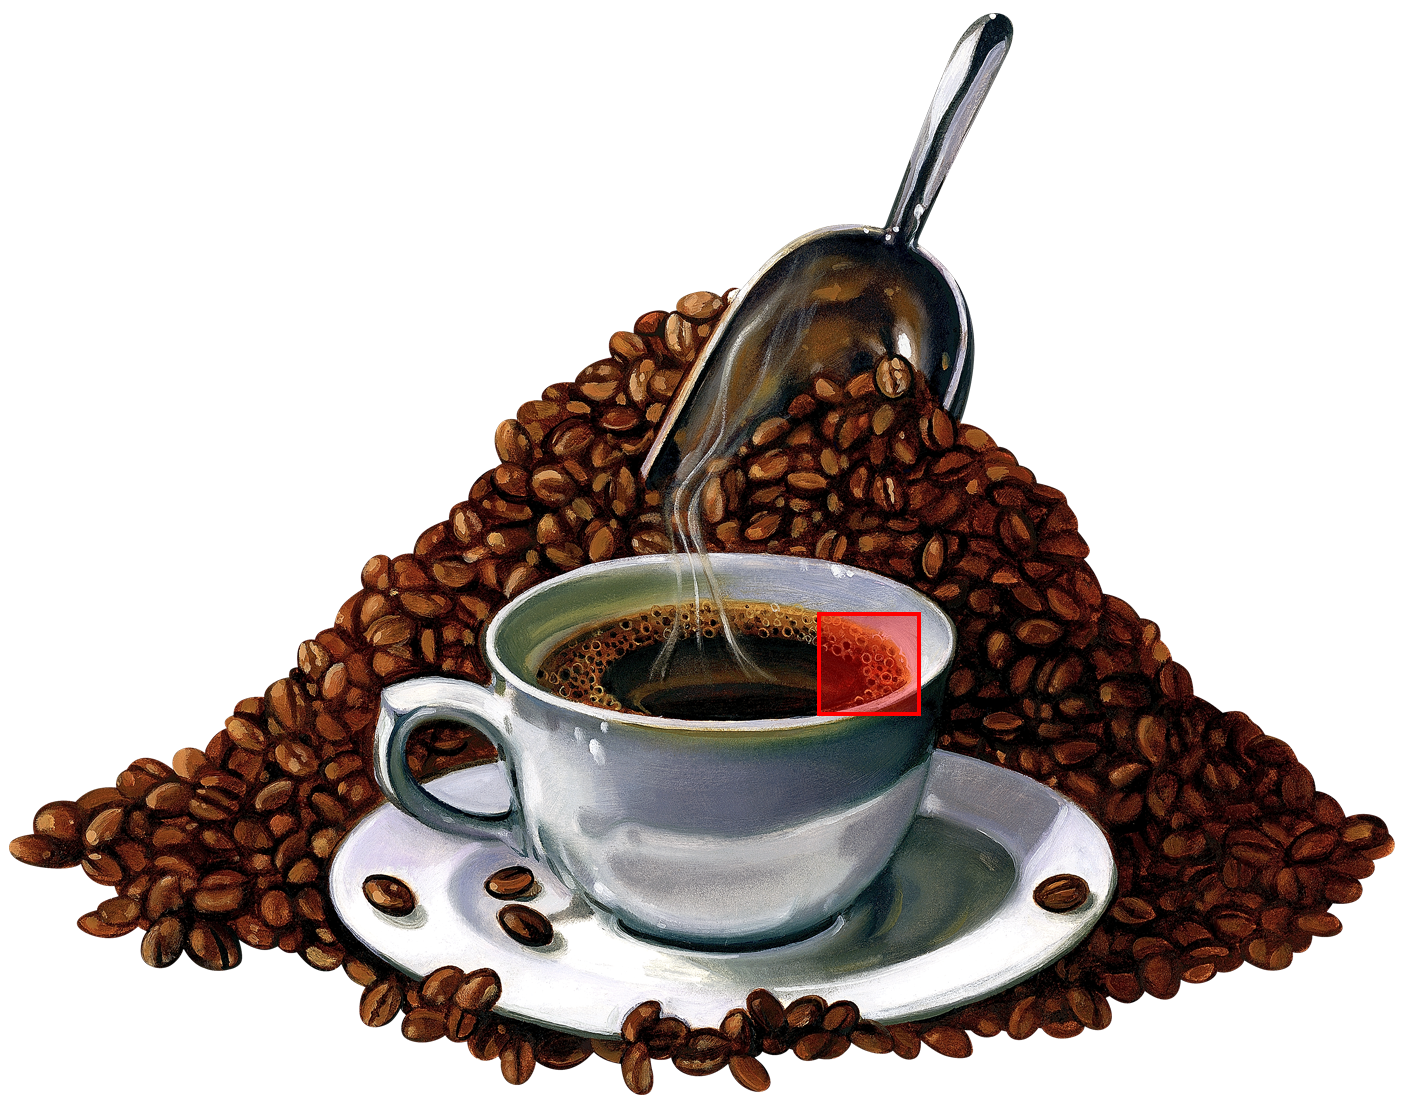
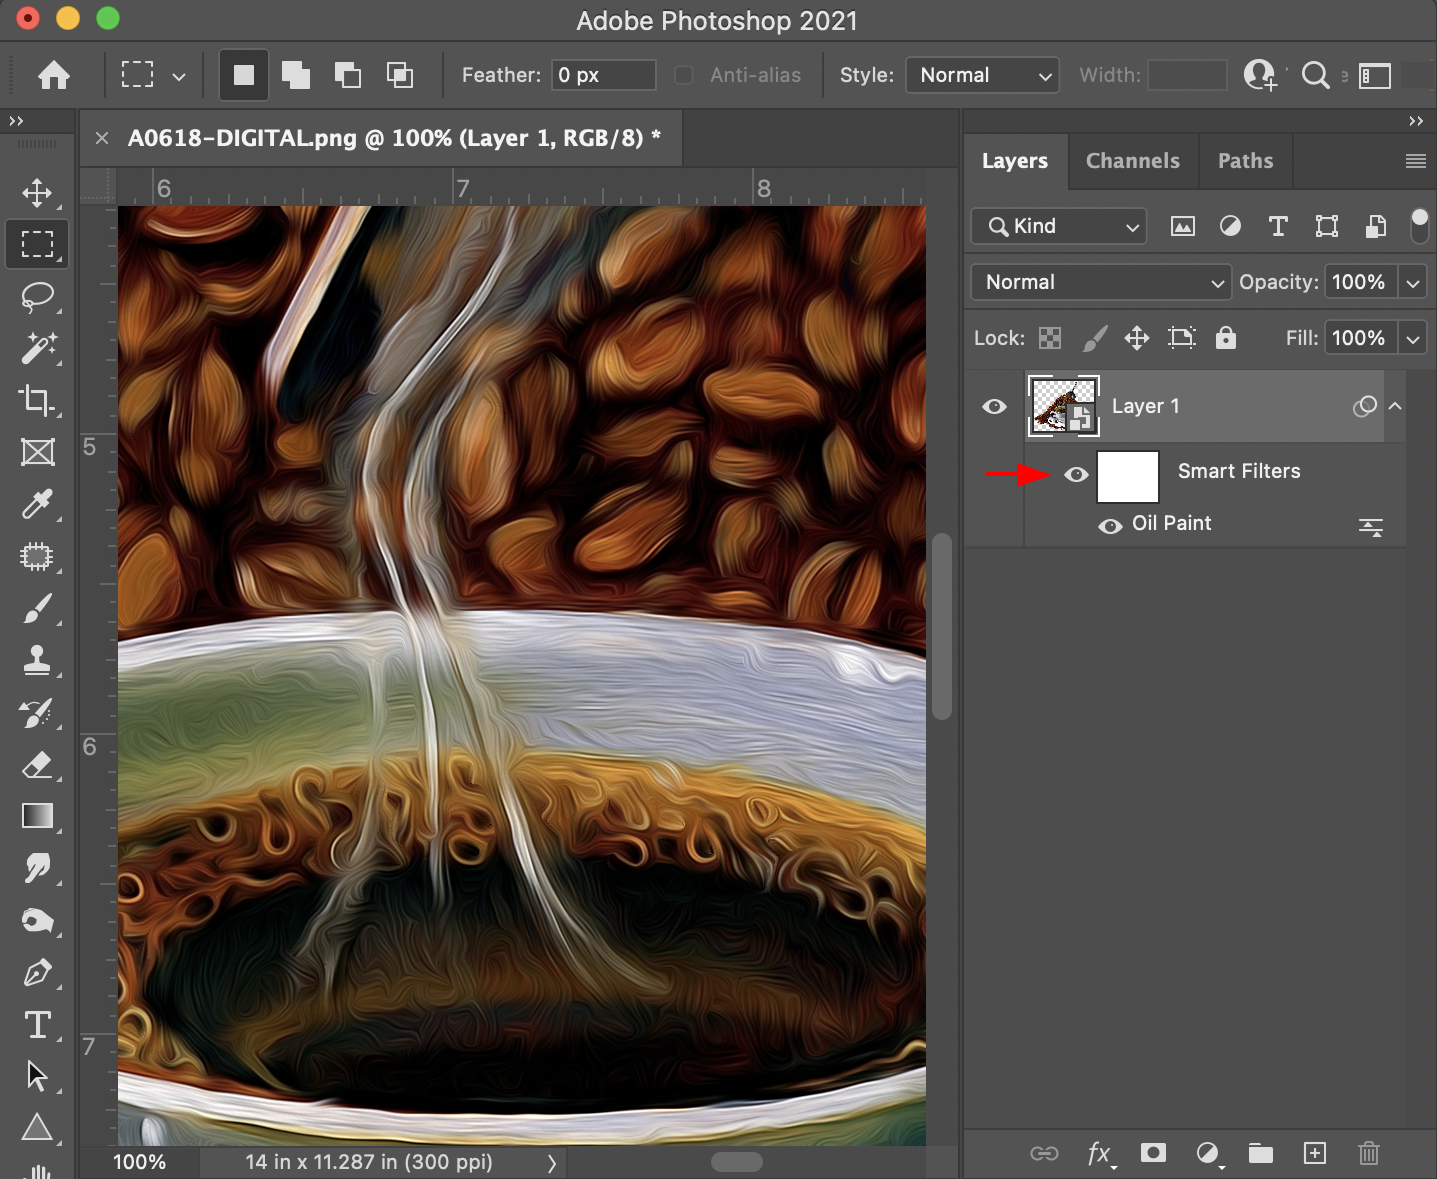
When using Smart Objects, if you apply filters from the Filter Menu to your image, they will be applied as Smart Filters on a separate layer that’s joined to the Smart Object layer. You’ll be able to turn the layer on and off to see the image with and without the filter applied (Fig. 5, 6), and you can even double click on the Smart Filter layer to open the specific filter window again and make further adjustments from where you last left it.

If you apply a filter to an object that isn’t saved as a Smart Object, not only is the filter applied directly to the image so that it can no longer go back to its original state, but you can’t open the filter window and pick up with an adjustment where you left it.
So, if you take something too far, the only way to go back is to hopefully have enough undos to get you back to the original. If not, hopefully, you have a copy of the original or can revert to before you applied the filter. Otherwise, you’re out of luck.
Option #3: Adjustment Layers
When making adjustments like changing a color or adjusting contrast with levels or curves, there are two ways to do it.
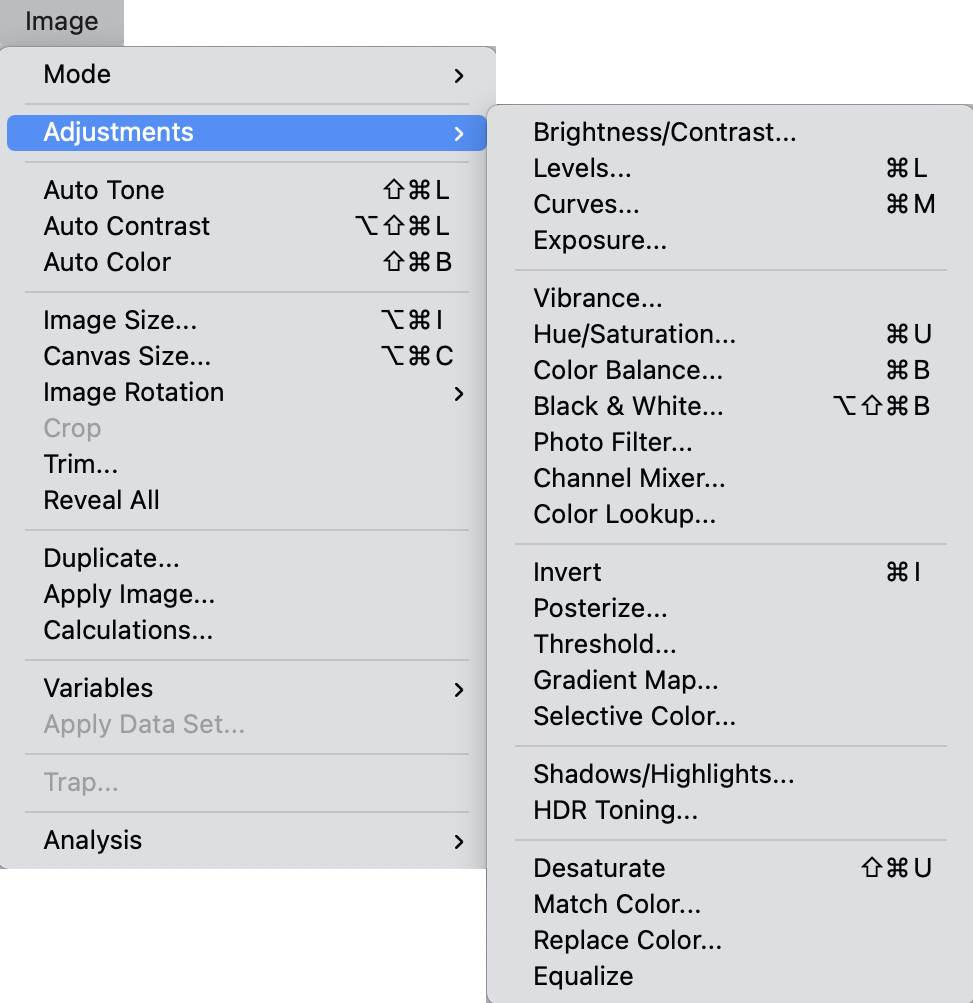
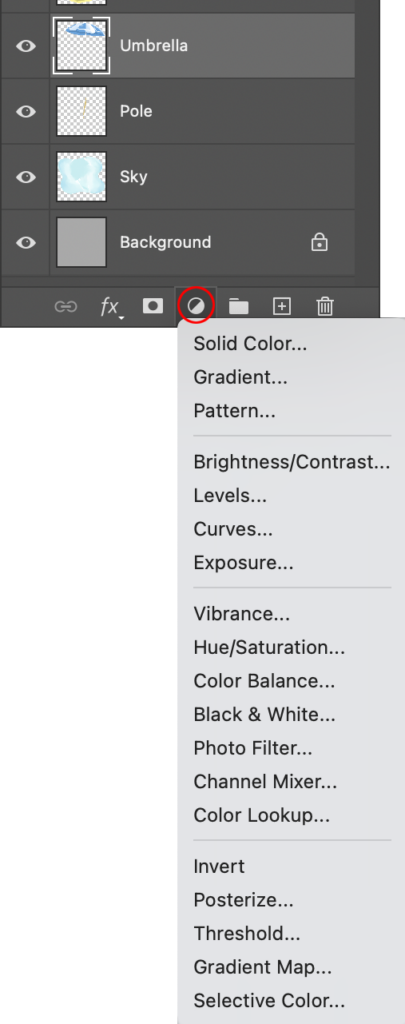
One way is to go to Adjustments under the Image Menu (Fig. 7). The other is to click on the Adjustment Layer icon at the bottom of the Layer Panel (Fig. 8). If you use the Adjustment Layer icon to apply the adjustment, a separate layer will appear, and the adjustment will be applied to all the layers below it.
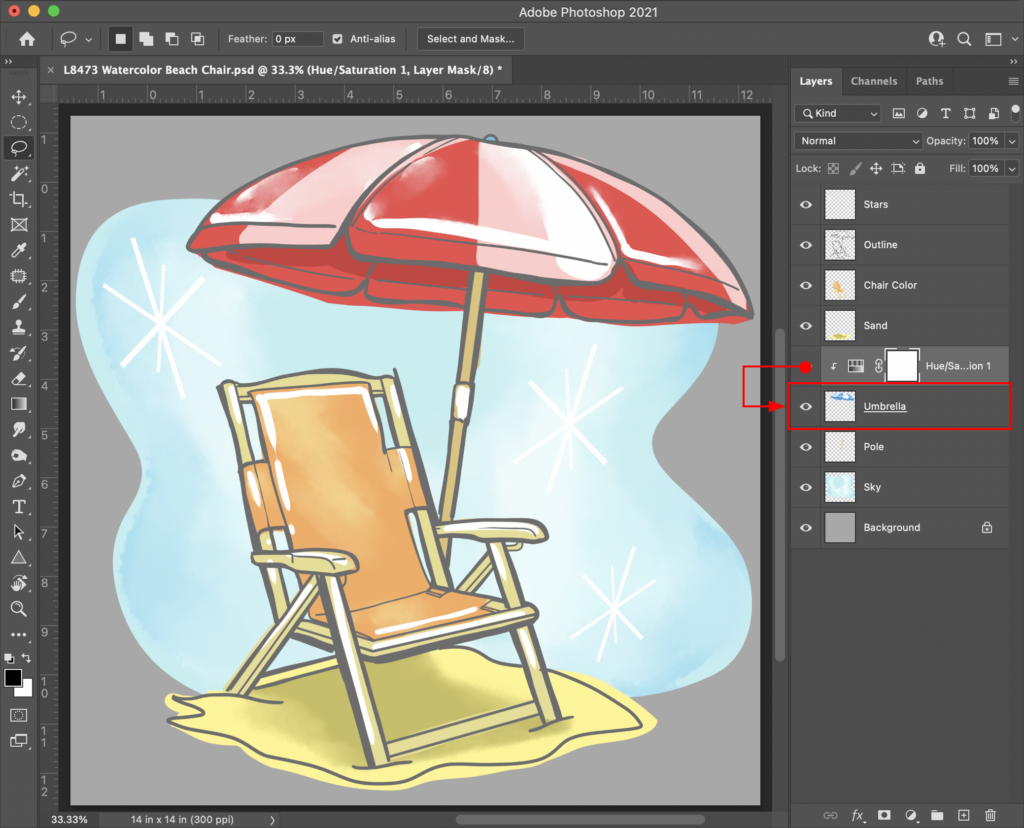
To apply the adjustment to a single layer, you can clip it to the layer by placing the adjustment layer directly above the object layer and holding down the Option/Alt Key, and clicking between the two layers (Fig. 9). You can turn it on and off or delete it, and the original art layer will remain. Whereas if you use the adjustments under the Layer Menu, they are applied directly to the art layer that is selected, just like filters that aren’t applied to smart objects.
Option #4: Layer Masks
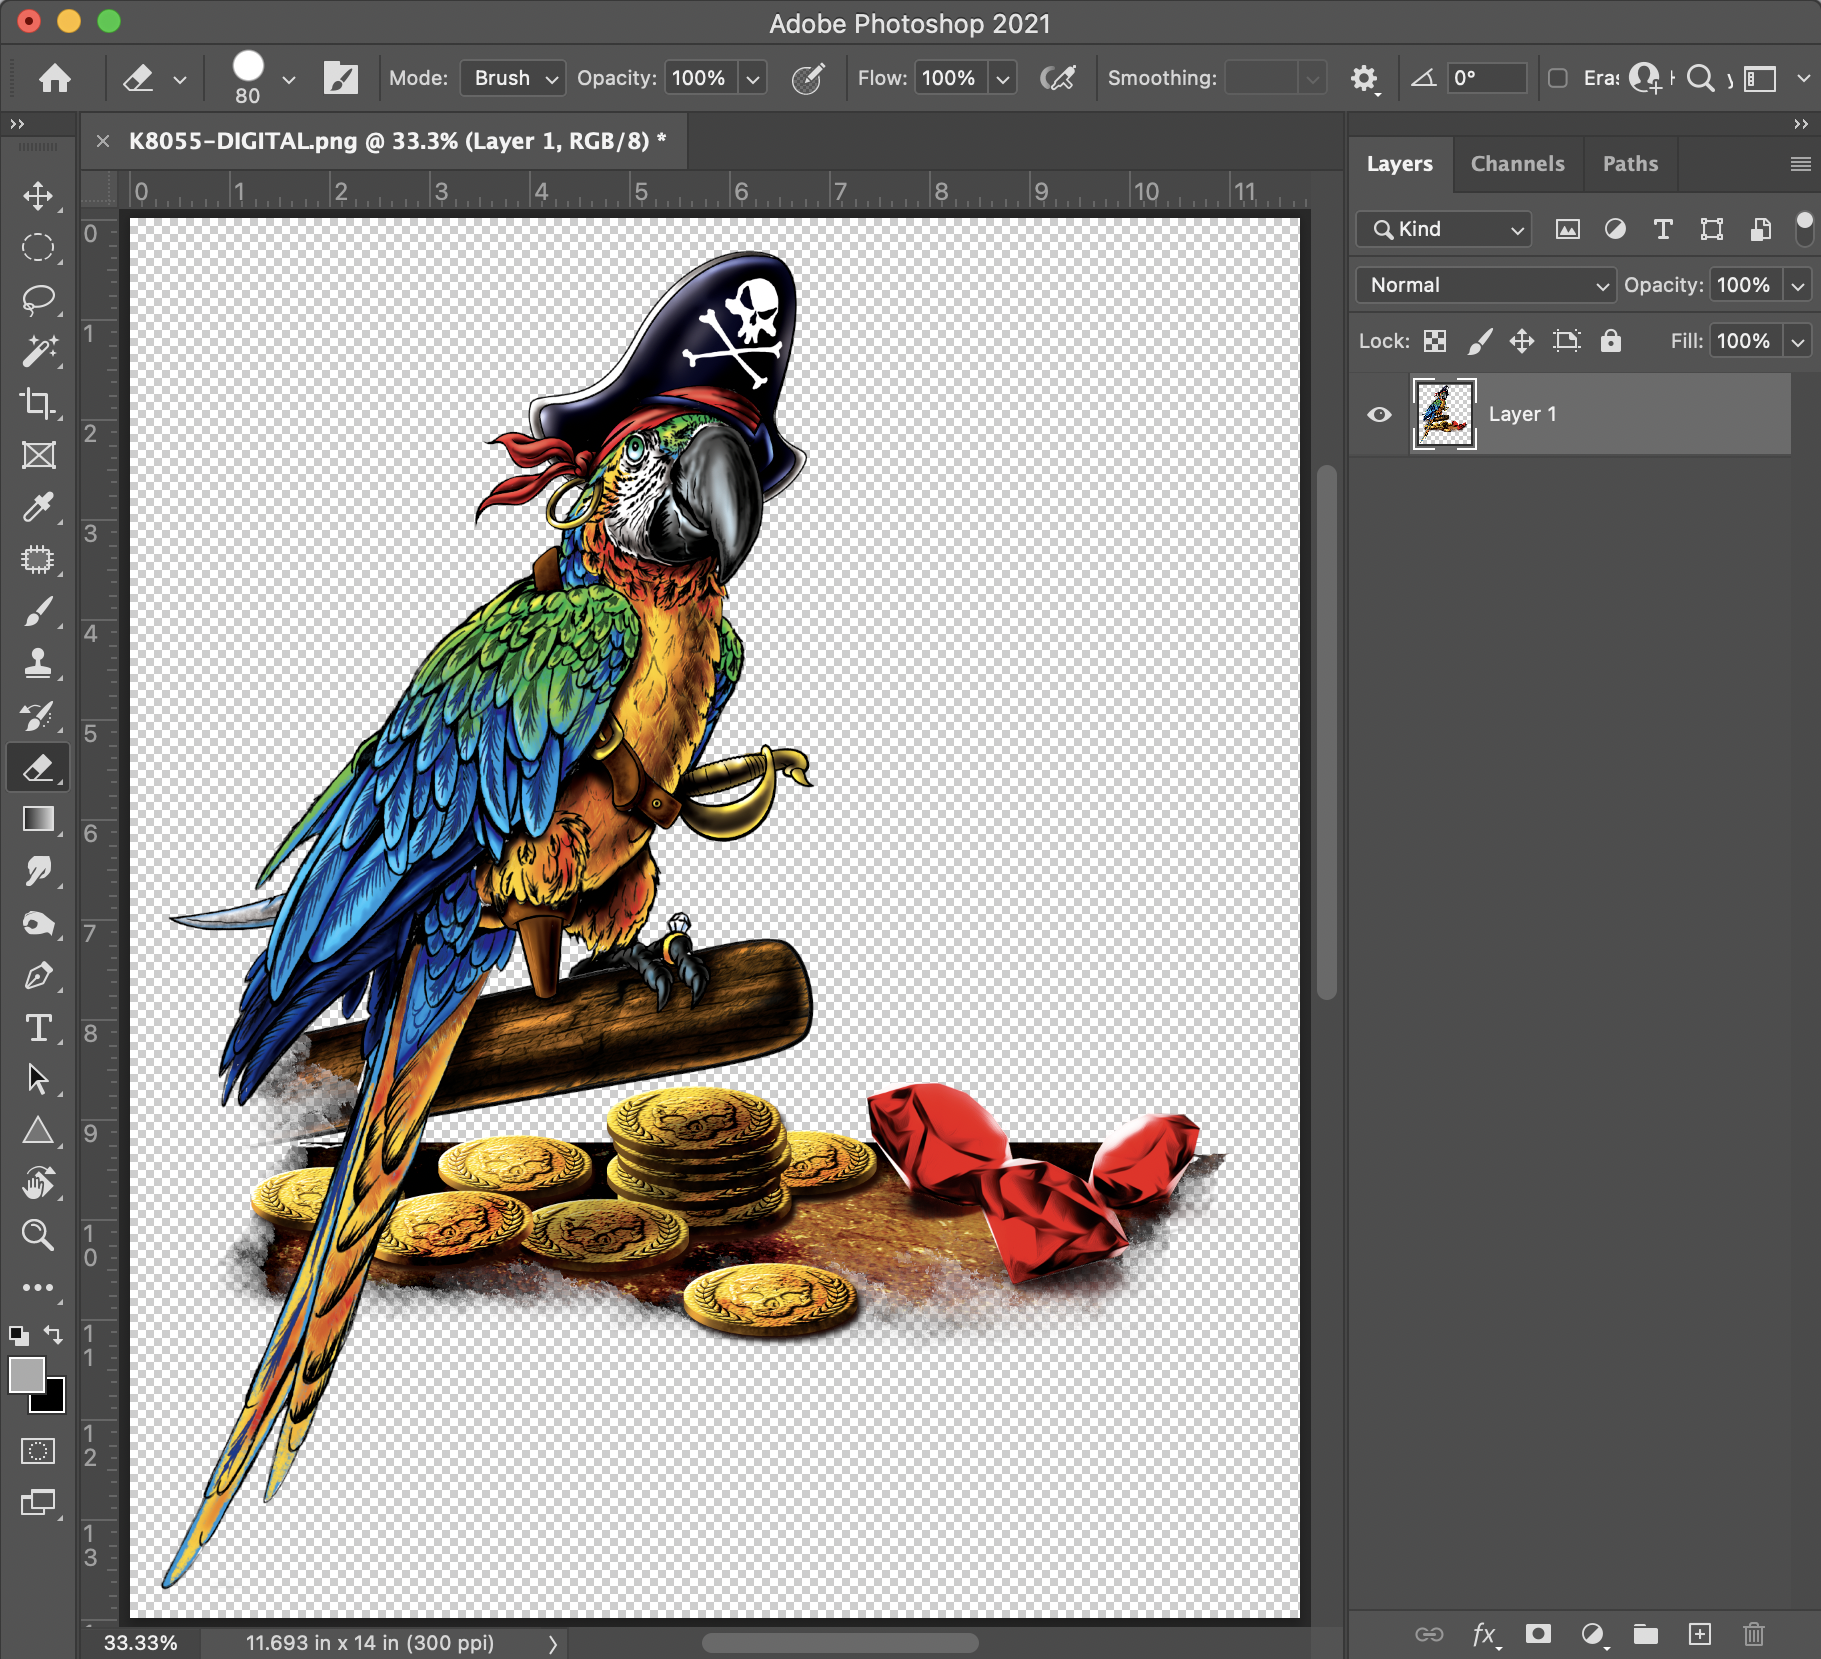
To get rid of areas, the first thing you might think of is to erase or use a selection tool to grab the particular area and delete it. But once it’s done, it’s done. There’s no getting that information back unless you happened to save a duplicate, have enough undos to get back to the original, or can revert to before you deleted the information.
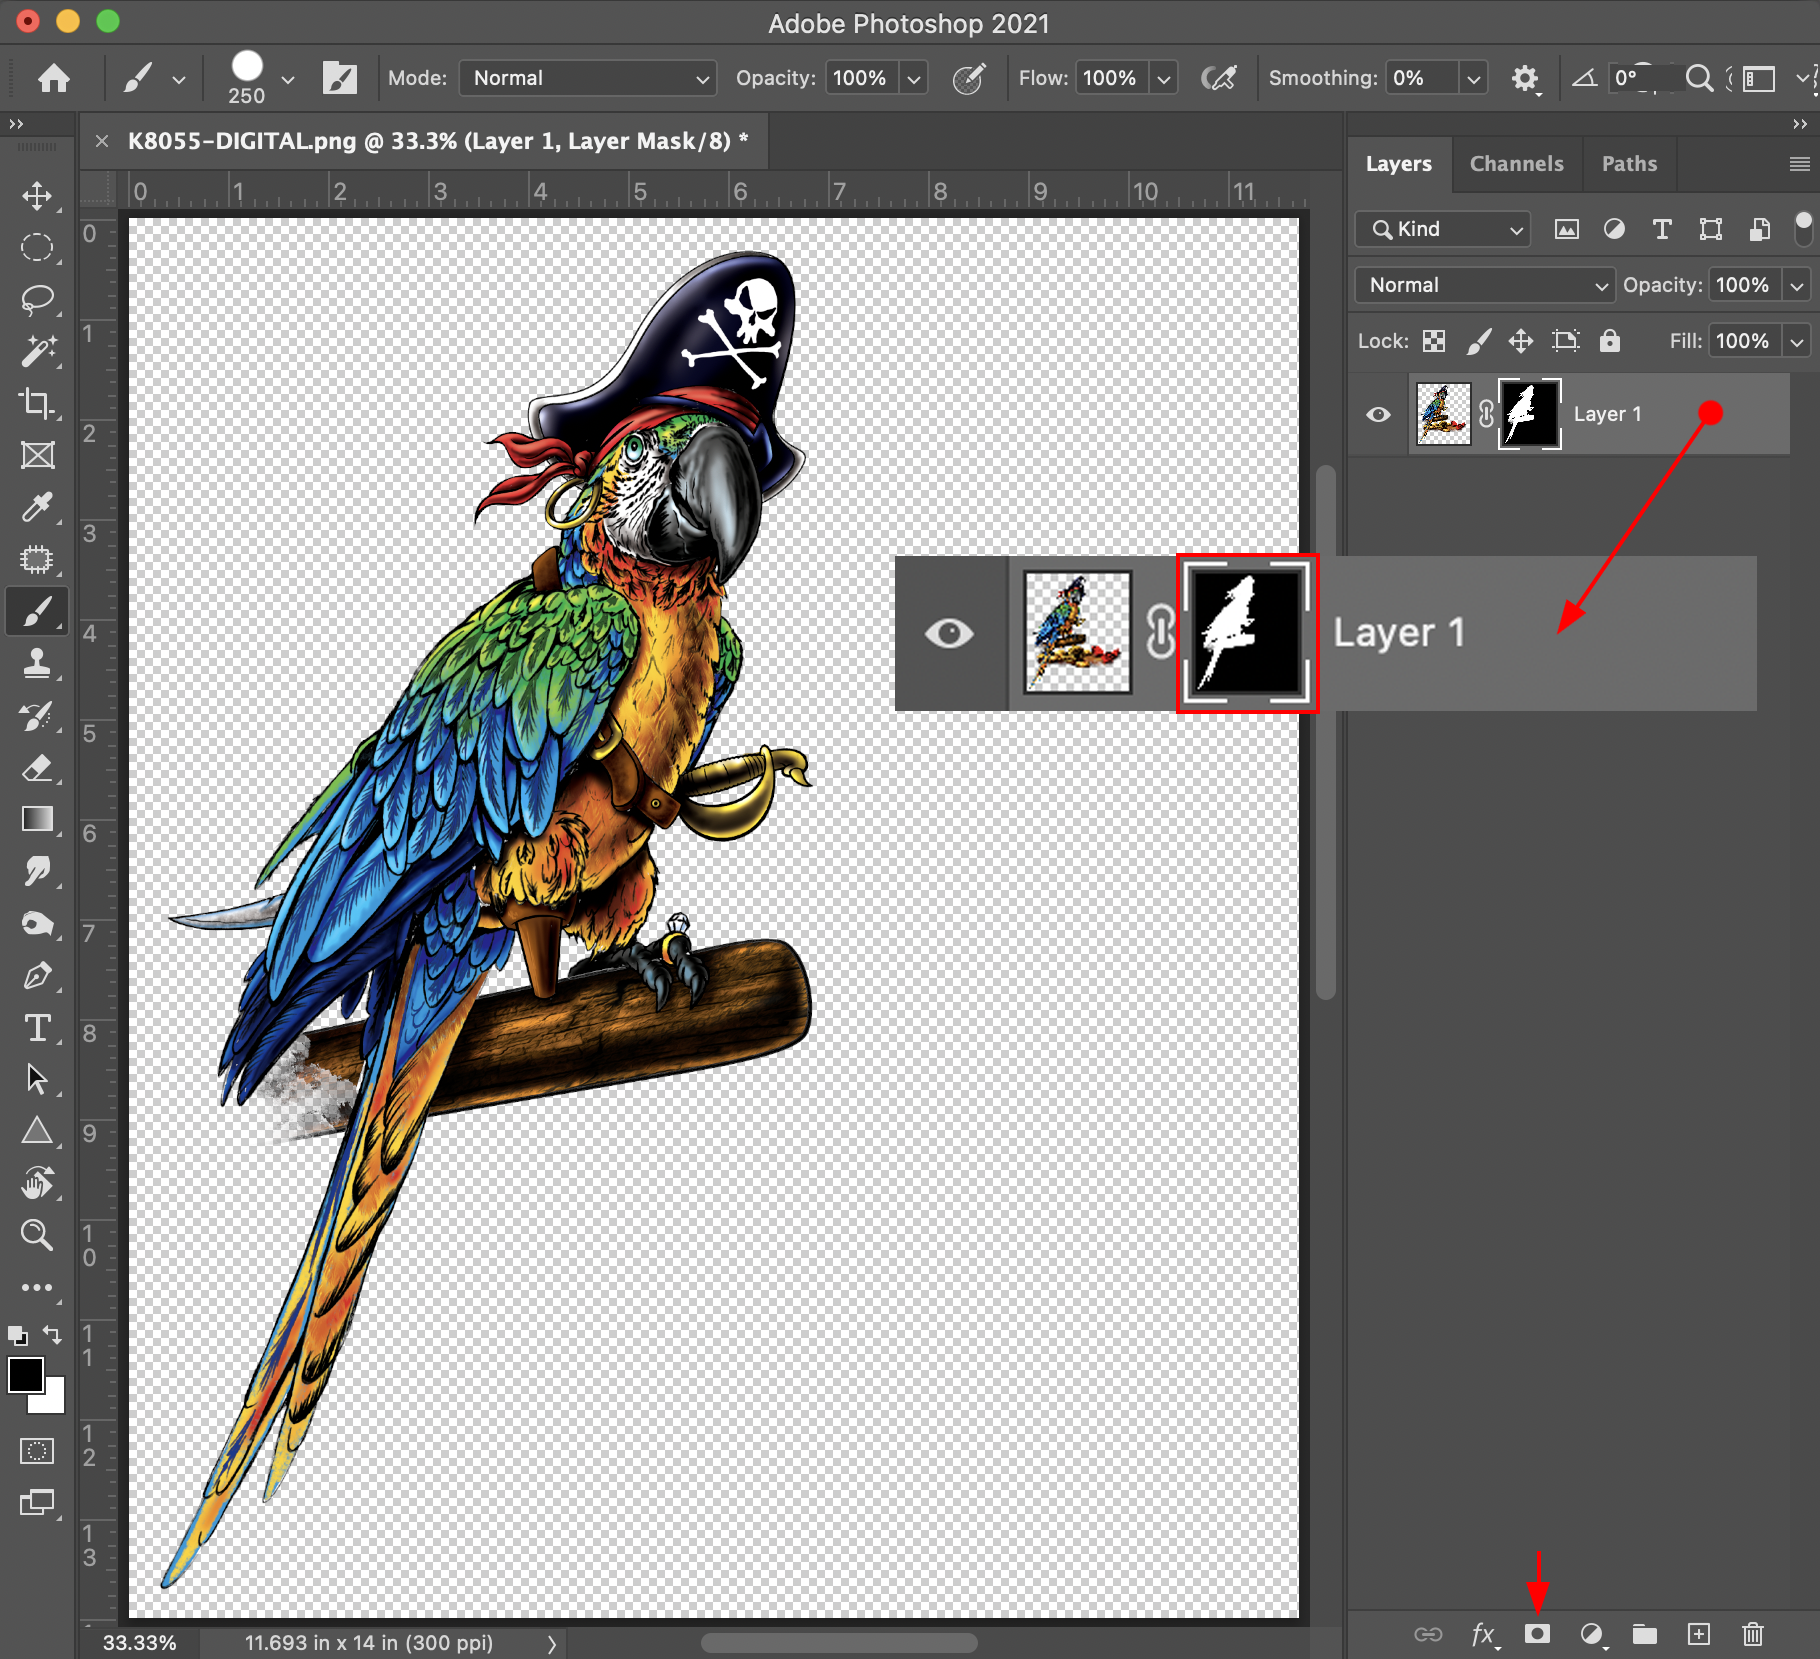
Instead, you can select the layer you want to work with and click on the Layer Mask icon at the bottom of the Layer Panel. A second thumbnail preview will appear. This is the masked area (Fig. 10, 11). Click on this preview and use the brush to paint in black, or use selection tools to select areas and fill with black to hide areas you don’t want to see.
By applying black and white to the mask, you can continue to hide and reveal areas of the image until you get what you want. If you decide you want the whole image back, just click on the thumbnail of the mask area and drag it to the trash can icon at the bottom of the Layer Panel. The full image will be revealed again.
Combining these tricks is a great way to create your layouts but not lose or destroy your original art. It allows you to make adjustments on the fly without needing to revert or undo and start over. Begin incorporating these techniques, and you’ll find your workflow will become more efficient and quicker.