Color change wraps are great on so many levels, especially at the beginning of the job. No printer, designer, or laminator is needed. You just have to pull the roll of film out of the box and get to wrapping. That said, don’t be fooled at how easy it is to start the color change install. There are some fundamental things to consider during and after the install that can make a big difference in profits and happy clients.
Directional films
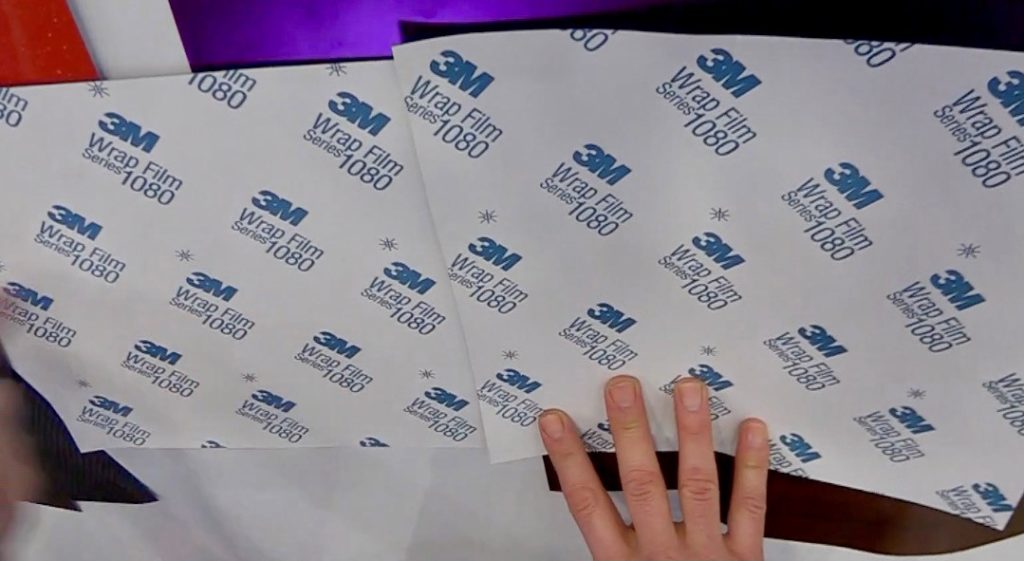
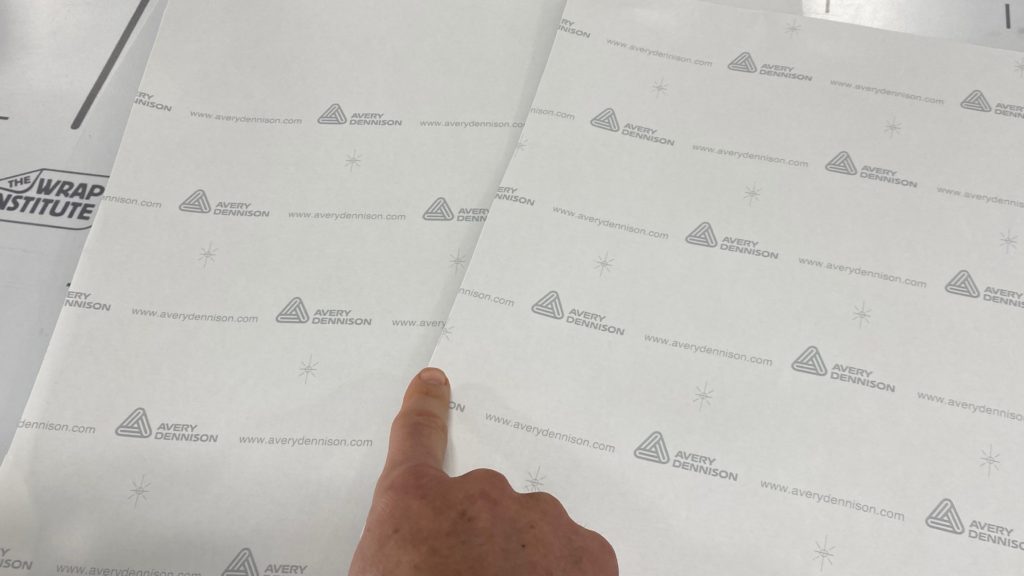
The first thing to consider is that most of the color change films in a swatch book are directional. This means that each panel needs to go in the same direction. Otherwise, each section can look darker or lighter. Unfortunately, this can lead to low quality and frustrating reinstalls.
Yet, avoiding any issues with directional films is actually quite simple. The first is knowing which color change films are directional. In general, directional finishes are satin, pearlescent, metallics, and, of course, textured. The finishes that are not directional are gloss, matte, and chrome.
Note: ORACAL is the only manufacturer where all color change films are not directional.
Building good habits
Second, it’s simply about building good habits. To ensure the panels go on in the same direction, the installer simply has to double-check the logo on the liner before taking it off. If the logo is in the same direction as the panel you just installed, you’ve got a green light to install. This step only takes a few seconds to do, so it’s all about building good habits.
Adhesive lines and sanding
Another thing to consider when wrapping with color change film is learning how to avoid adhesive lines and sanding. This can really lower quality, make for frustrating installs, and can be hard to avoid. At The Wrap Institute, we have videos on how to avoid this with specific techniques. Two in particular that I personally developed are called The Palm and Feeding The Mouth. If you check these videos out, adhesive lines and sanding will be a nonissue which can be a big game-changer.
Aftercare options
The last thing to consider is aftercare options. A great way to keep the color change wrap looking good for years is to apply a ceramic coating on top. This helps keep the good stuff in the color change film that the manufacturer put in and makes it easier for a client to clean.
Most ceramic coatings will change the color of the wrap film, often making it darker. This can potentially lead to an unhappy client who was expecting a specific color and shade. To sidestep this, make a test with a sample piece of the color change film before the installation, and show it to the client. This way, they know what to expect, and you can explain the benefits of the ceramic coating to ensure an easy upsell.
Note: Gtechniq Halo is the only ceramic coating The Wrap Institute has tested so far that doesn’t change the original color change film.
Of course, there are many other tips and tricks for color change installs, but starting with these basics can avoid most issues and keep color change installs and finishing just as easy as they are to begin.