Try This: UV-LED Printing Inside a Cavity
In this tutorial, Michael Perrelli of Direct Color Systems highlights how to achieve an imprint in hard-to-print places.

The product or material you want to print on may not always be flat; it could have unique geometry or the required imprint area may be down inside of a cavity. Don’t get nervous – it may still be possible to decorate it with a UV-LED printer, but printer operators may have to adjust the print settings to do so.
On most UV-LED printer models, standard print modes are designed to use a mix of small, medium, and large ink drops. This maximizes coverage while maintaining accurate color profiles. When the small ink droplets fire and fall too far (in our example, the recommended printing height is 0.040″ above the surface), the smaller drops can break apart and lead to a blurred print.
By adjusting the print settings, the micro piezo print head will only fire medium and large dots, thus allowing the ink to fall farther and still maintain a quality print. What is a micro piezo print head technology? It is defined as print heads that eject droplets of ink via mechanical pressure. This mechanical pressure is created when piezoelectric elements in the print heads contract in response to an applied voltage. This allows for the precise control of the volume of ink contained in each ink droplet. In some cases, this allows users the ability to print from just over 0.080″ above the surface.
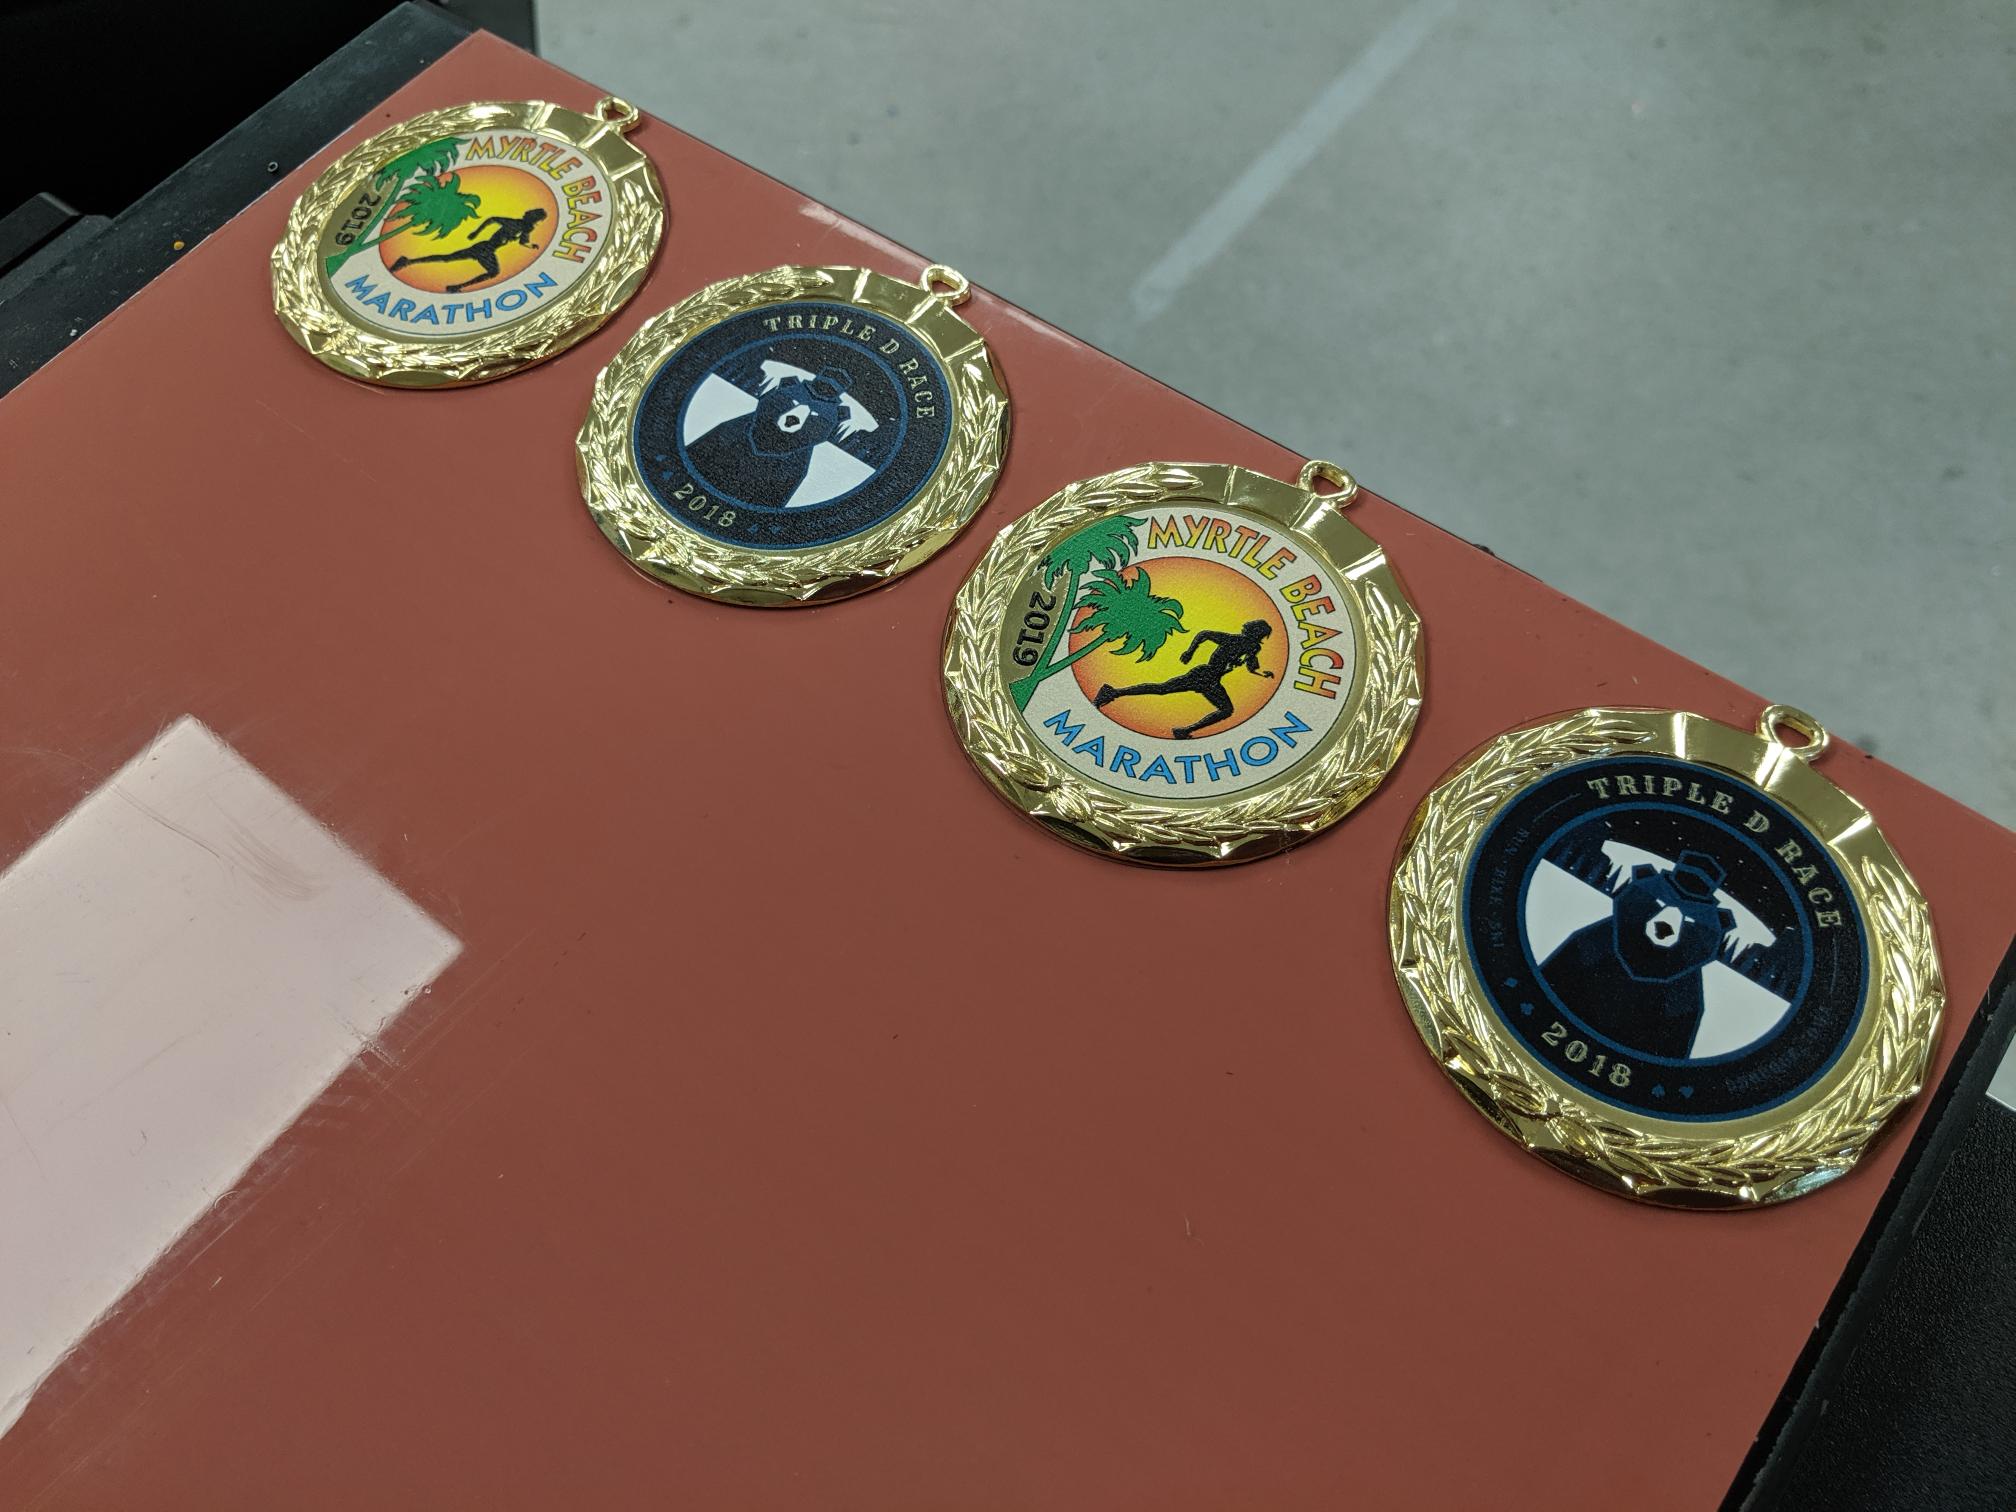
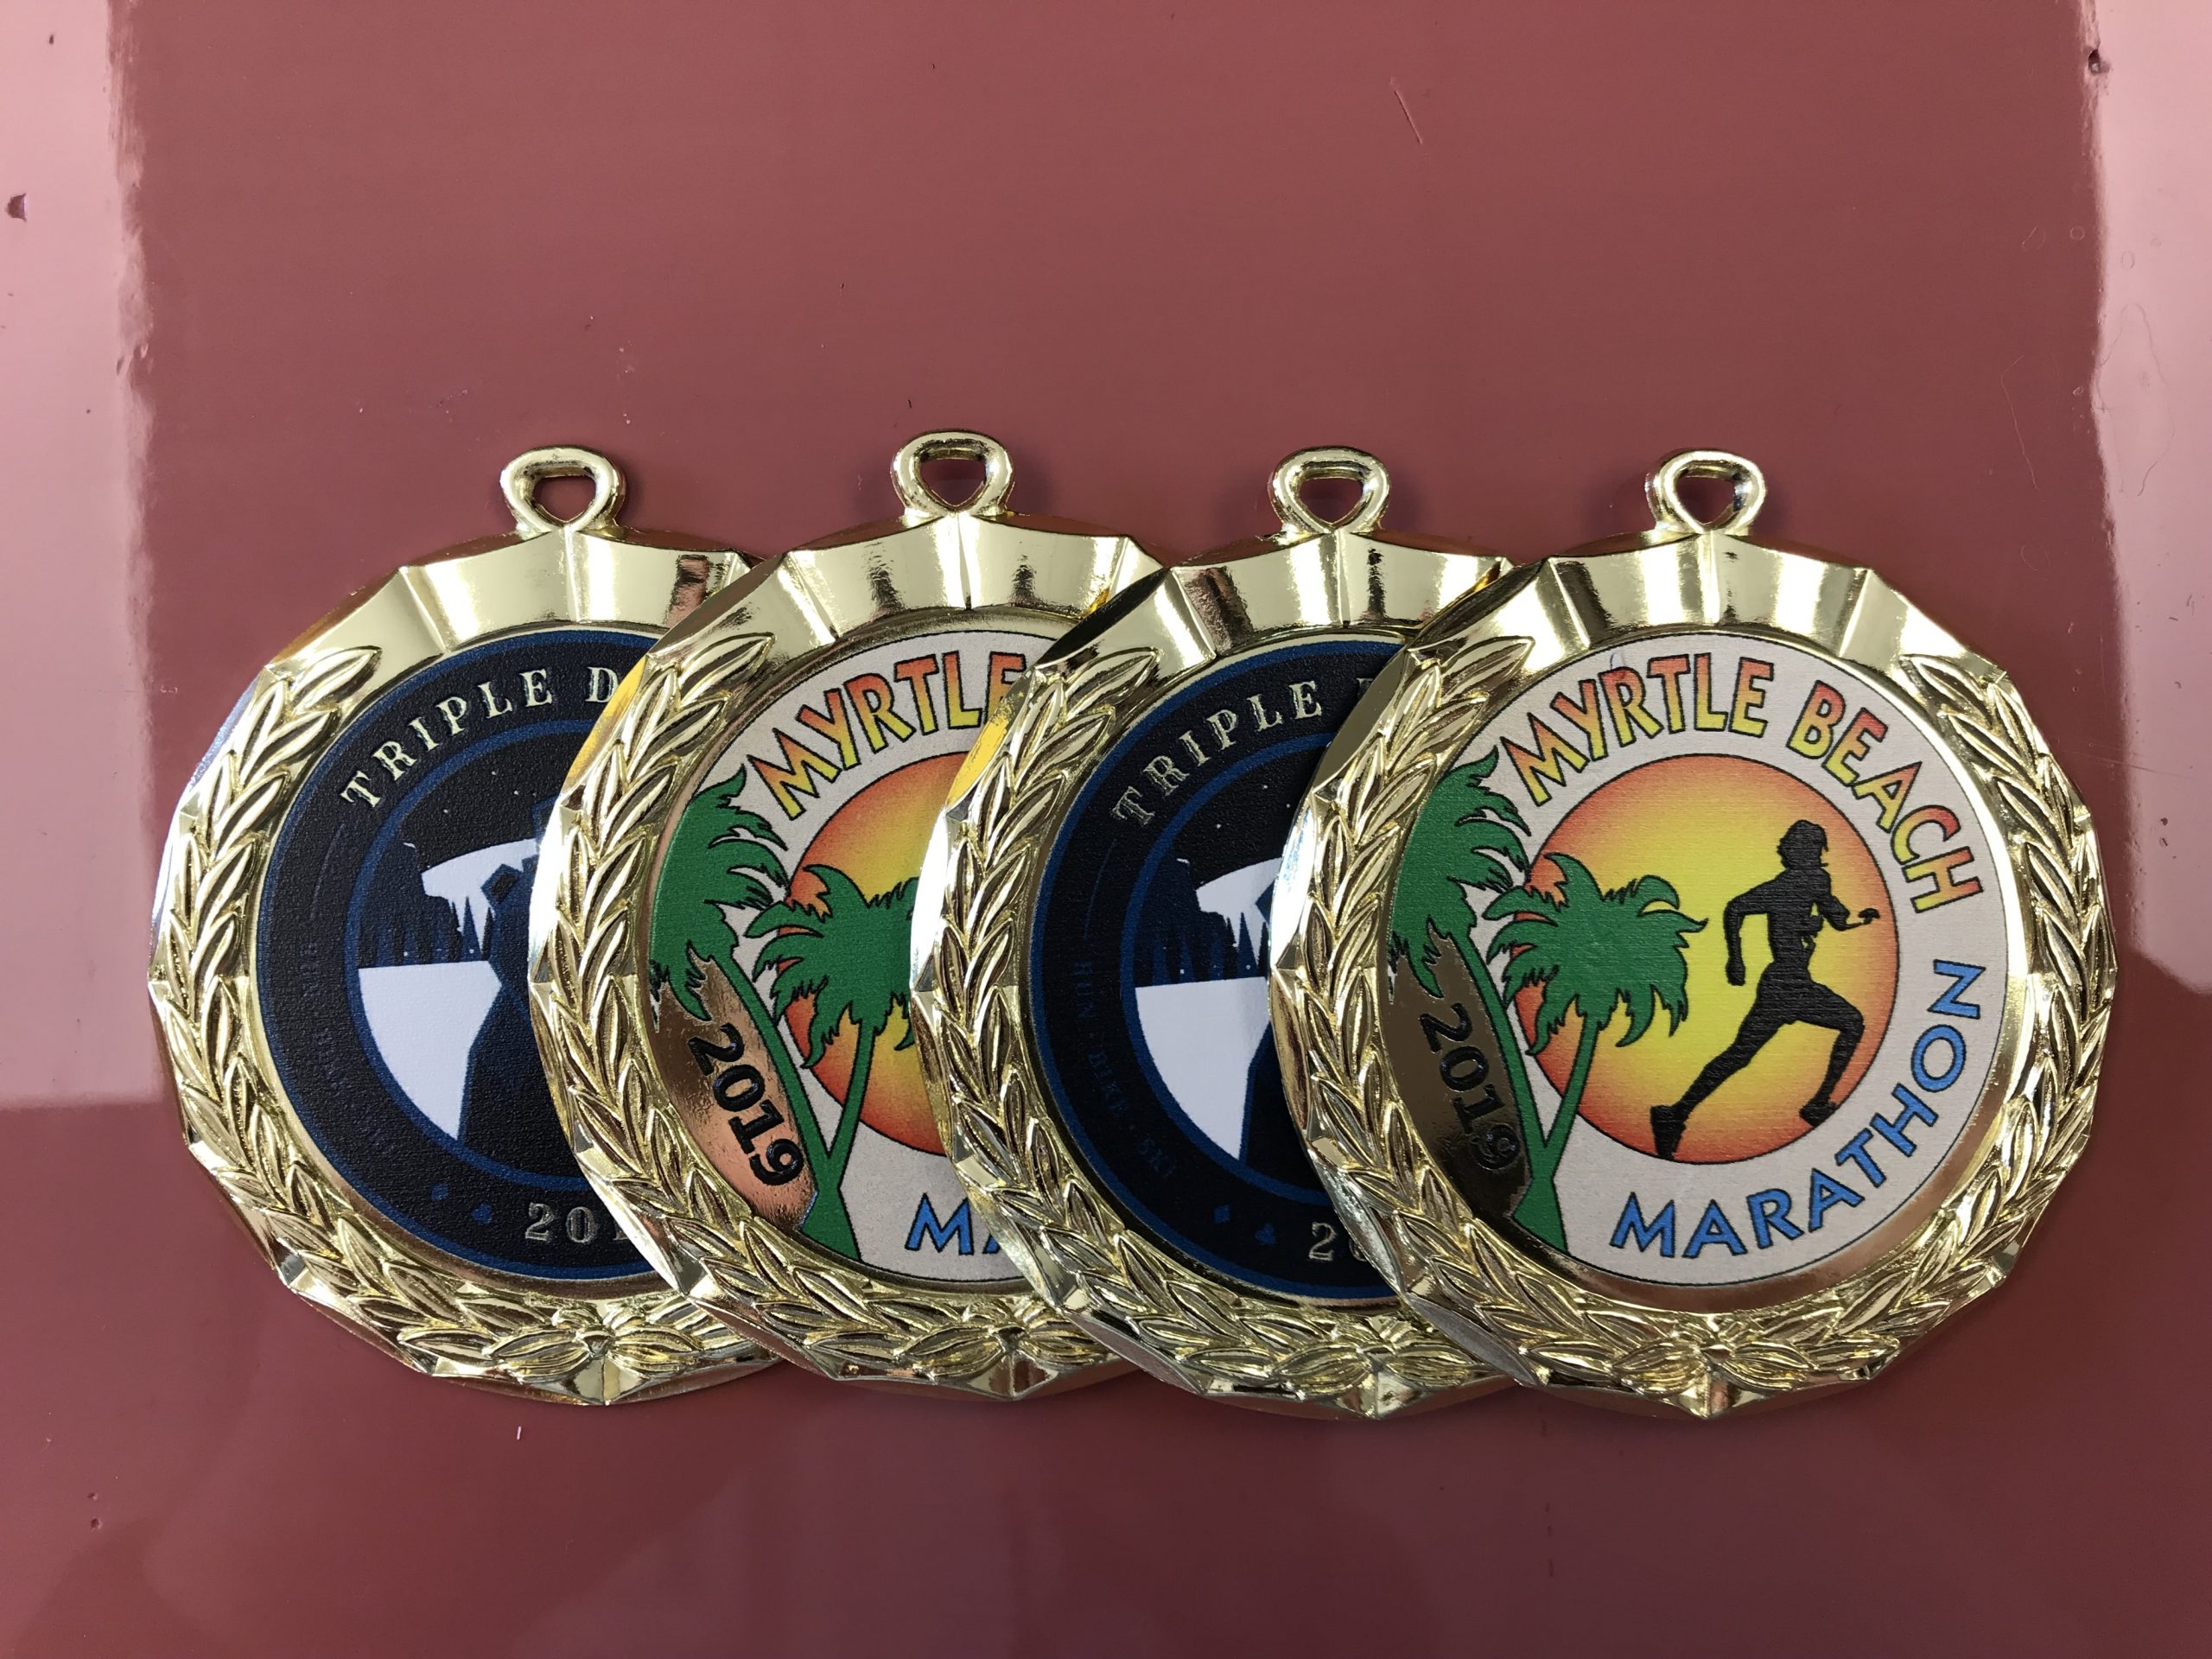
In this example, we use gold medallions from an industry supplier. These medals have a decorative lip around the outer edge that requires the adjustment of print settings to achieve a quality print in the center.
Step One: Create Your Art File
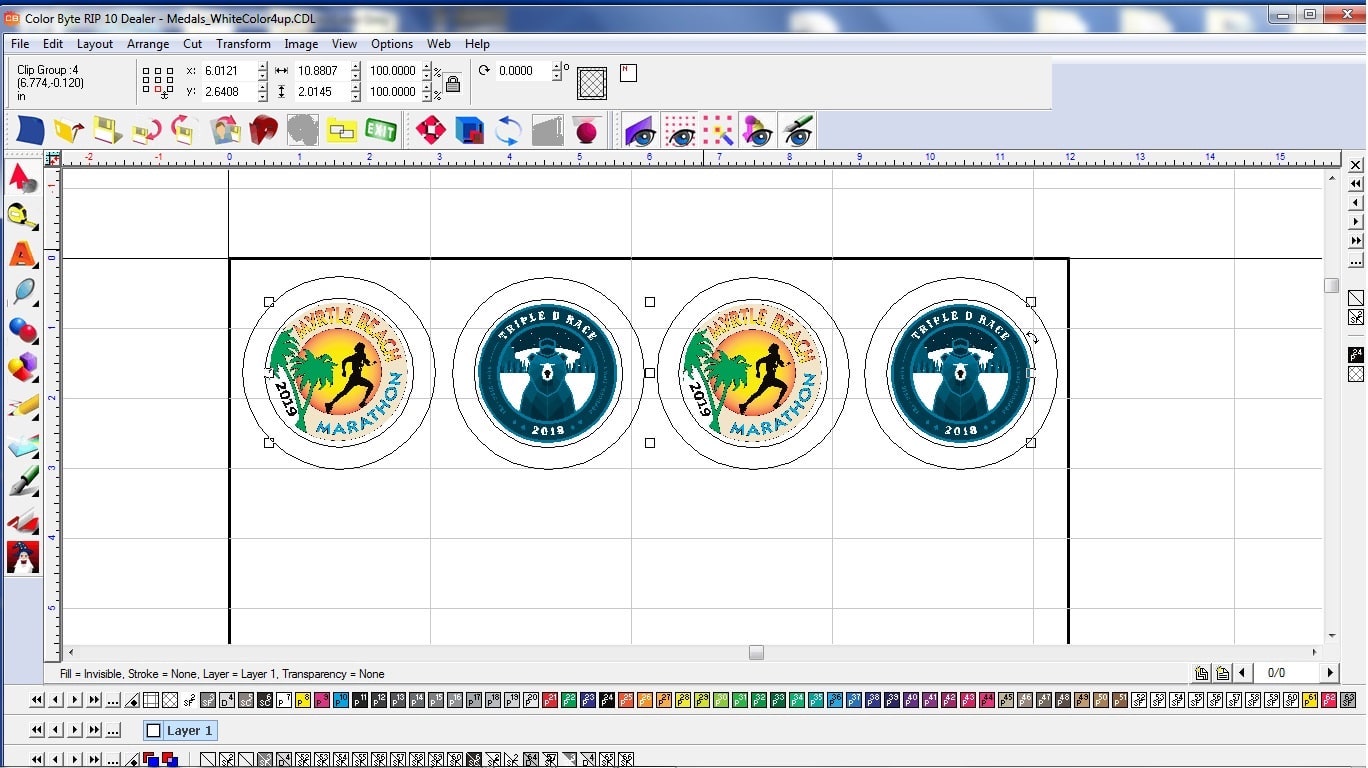
For this project, we will print on gold medallions. To achieve our desired output, we must use the white ink as a base layer. Simply import the logos and set your white underbase or primer.
Step Two: Load Products onto the UV-LED Printer
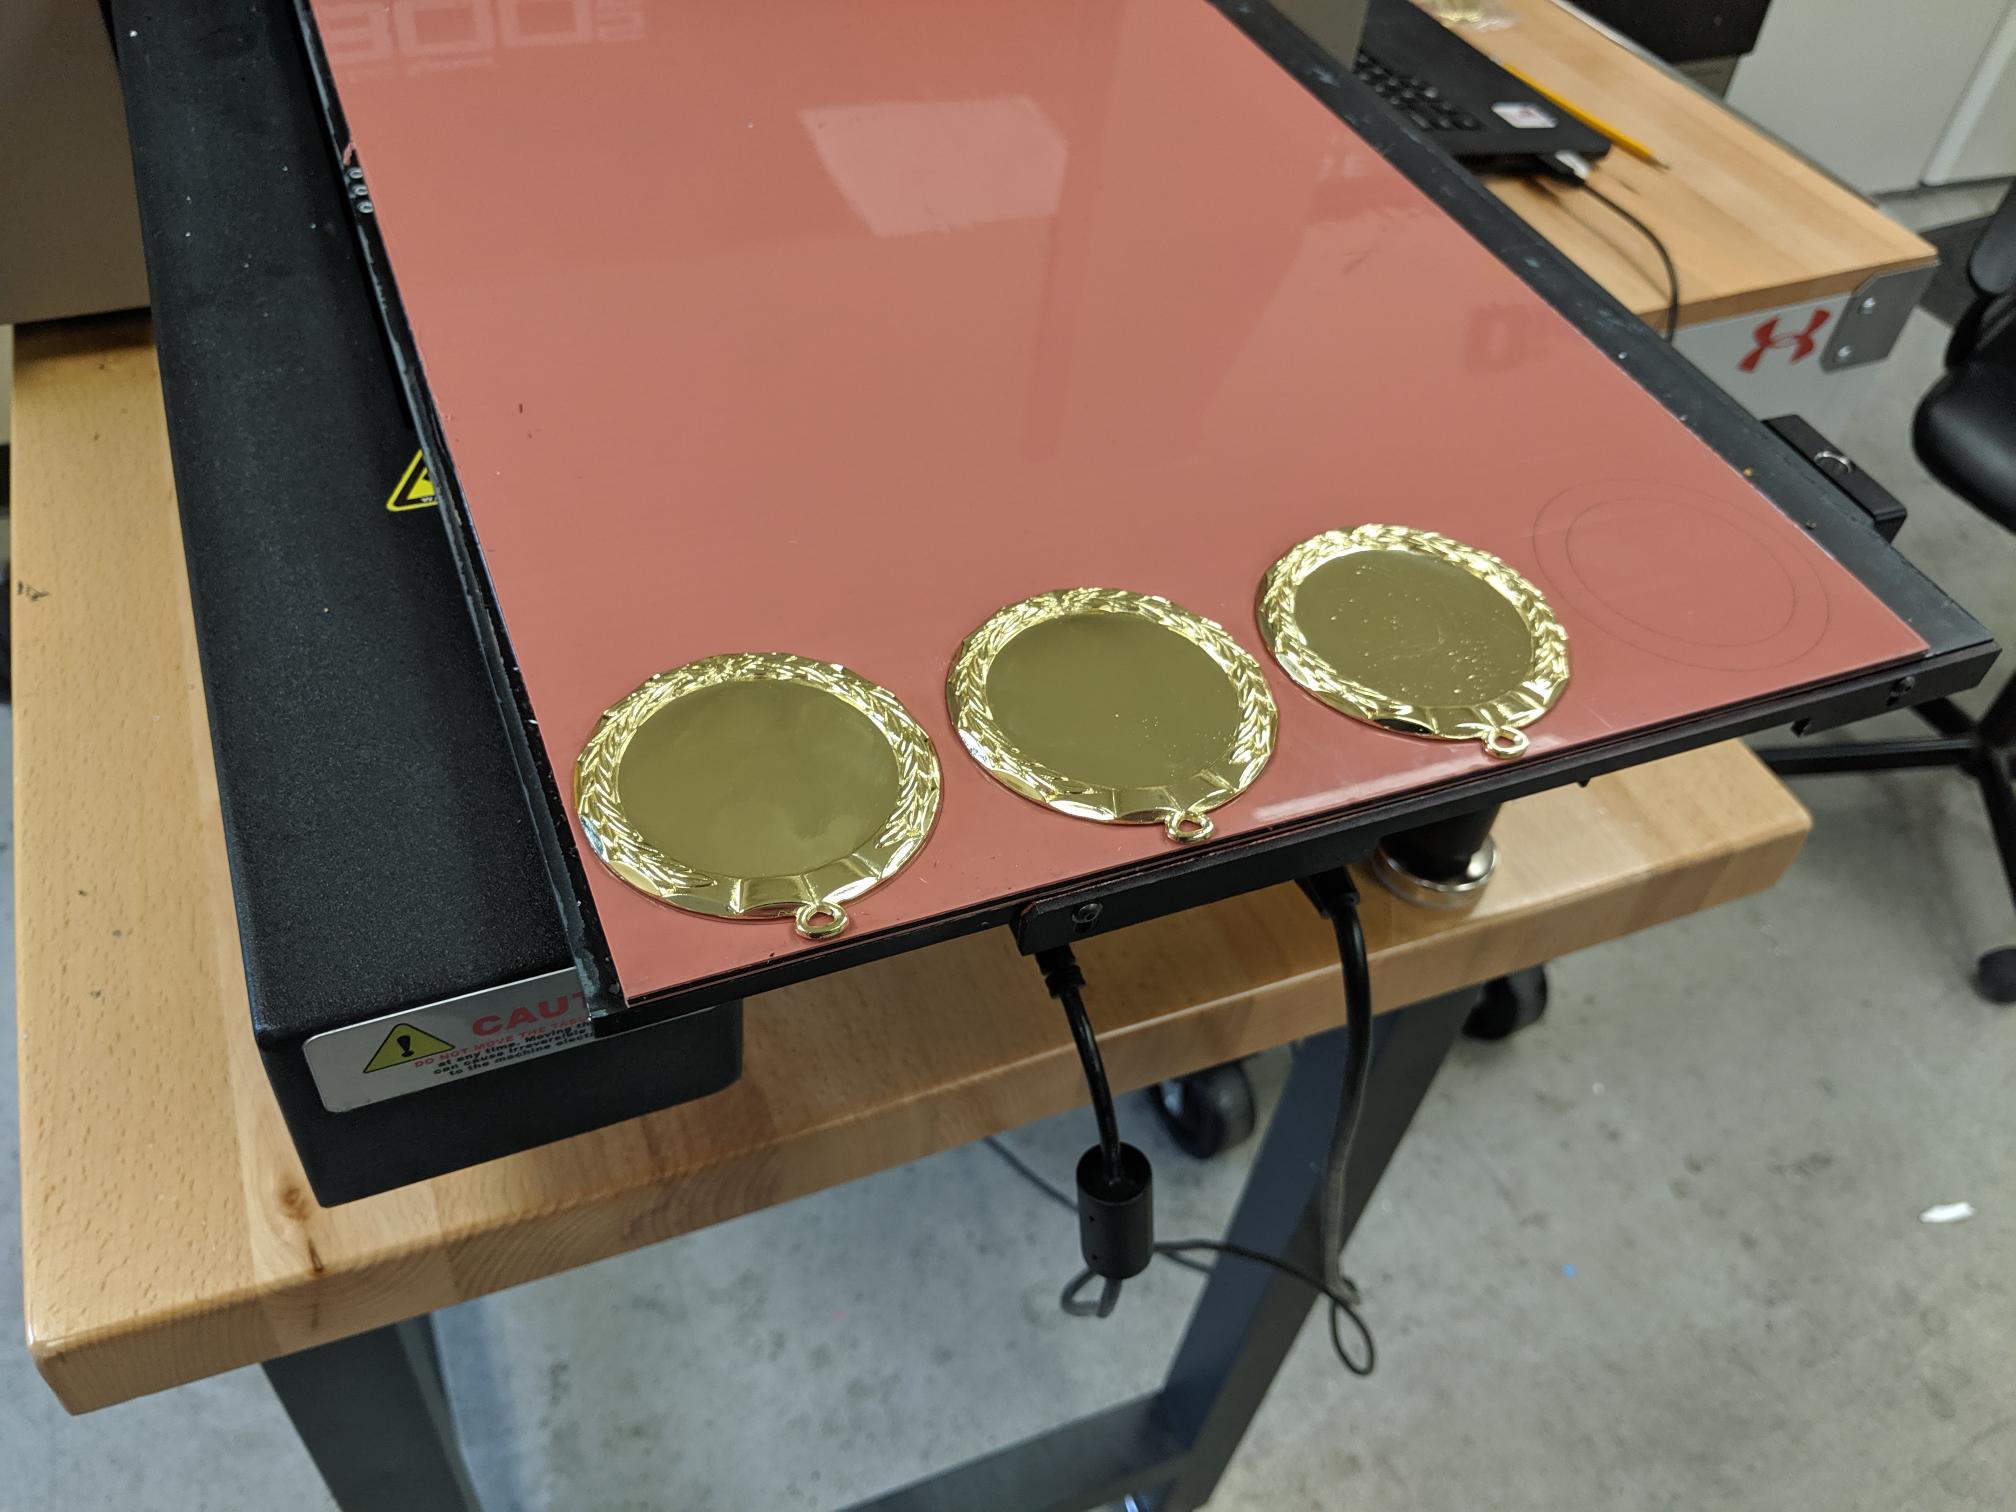
If producing large quantities of the same product, we recommend a jig or fixture that can be easily loaded and unloaded. For small runs (or in the case of this project), the operator can simply print an outline of the product’s shape from the art file in step one onto the silicone tacky mat. This ensures accurate placement of the product on the printer’s bed. Once the job is complete, the silicone tacky mat easily wipes clean.
Step Three: Adjust Print Settings
We are technically printing down into a cavity on these medals, so our ink droplet size must be adjusted. Navigate to the variable dot setup in the software (or similar menu depending on the printer model) and toggle the small dot options off. You need to do this for all ink colors.
Step Four: Print Your Products
Once the ink droplet adjustments have been made, you can send your art file to the RIP, select the appropriate print mode (in this case, White with Color, 1440 x 1440 uni-directional), right click on the job, and select PRINT.
Step Five: Remove Printed Products from Printer
Once a product is printed with the UV printer, it cannot be smudged; simply remove the printed products and reload the next set. If printing the same art file again, step one can be omitted from the printing process.
All images courtesy Michael Perrelli, Direct Color Systems