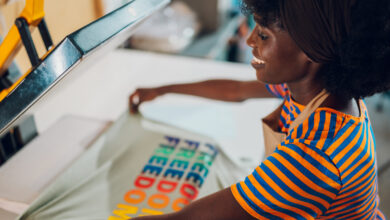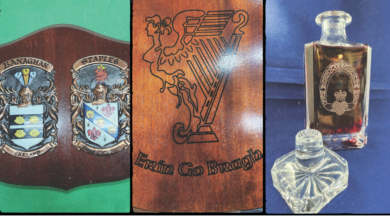
With sublimation, you can turn any image into a vibrant and permanent memento or piece of art. Take a look at the printing and pressing process of one of the most popular items, an award plaque for sports teams.
Materials Needed:
- Sublimation printer
- Heat press
- Blank plaque
Note: Each blank item is created with a special polyester coating designed to absorb the ink used in a dye-sublimation printer.
Settings Used:
- Temperature: 400 F
- Time: 30 seconds
Step One: Design
With every item, a product template for designing is also available online. I suggest taking advantage of these templates to design your image or customer’s image to be printed for the item.
Step Two: Printing your design
Print your image in reverse using sublimation ink. Note that the image will look dull and grainy after printing. Attach this printed image to your plaque using a thermal tape so that it cannot shift during or after pressing it in the heat press.
Step Three: Pressing
Place the plaque on the heat press with the transfer paper on top and press using the recommended settings listed above. This heat and time setting permanently transfers the printed image into the coated surface of the plaque.
Step Four: Cooling
Once the pressing time has elapsed, remove the transfer paper immediately to reveal your finished product. No finishing sprays, clear coats, or additional steps are necessary – simply allow to cool before handling and packing and send out for your customers to love.
-Aaron Montgomery, 2 Regular Guys, MontCo Consulting


