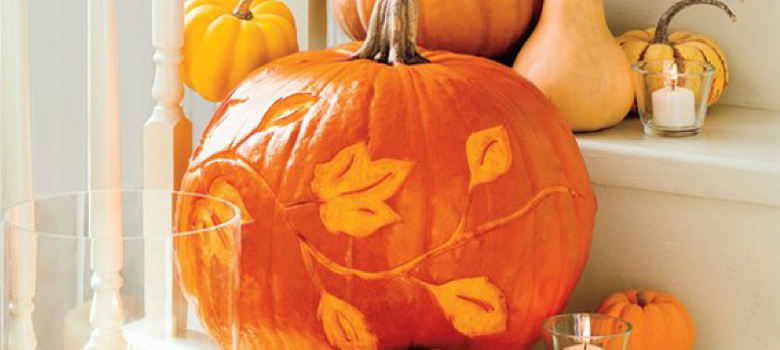
Try This: Sandcarve a Pumpkin
Peter Norman of IKONICS Imaging demonstrates a fun and festive DIY for sandcarvers.

Give your shop a festive feel or show off your sandcarving capabilities online or in an email blast – sandcarve a pumpkin and let your customers know about other Halloween-themed products they can find inside. Here’s how to replicate the project…
Materials Needed:
- Pumpkin
- Photoresist film (Used here: UltraPro)
- Wire wheel brush
- Masking tape
- Sandcarving system (Used here: CrystalBlast Elite)
Recommended Settings:
- 40 psi
- 180 mesh abrasive
Step One: Pick a spooky graphic
Design your own or find a free or low-cost stock graphic to fit the season. For this demonstration, we went with a haunted house with bats flying in the sky. You can download a similar graphic here.
Step Two: Create a mask
We recommend using a photoresist film that is intended for hard-to-stick-to substrates because they will have more stick to ensure it stays on the pumpkin.
Once you’ve placed your photoresist on the pumpkin, use your wire wheel brush to remove any air bubbles. Then, tape around the graphic to protect the areas you don’t want to sandcarve.

Images courtesy IKONICS Imaging
Step Three: Sandcarve
Using the recommended settings listed above, sandcarve the pumpkin to your desired depth. If you want to sandcarve deeper so that the light will illuminate from the inside, use a thicker mask and coarser grit such as 120 mesh and sandcarve for longer.

Step Four: Clean
Remove the remaining film with water, and it’s ready to be displayed outside your shop.

-Peter Norman, IKONICS Imaging


