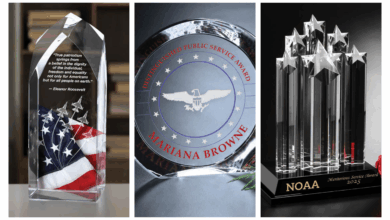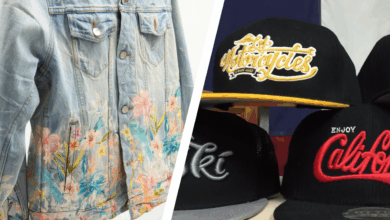
Denim is everywhere. From head to toe, you can find any garment and accessory made of this fabric – it’s even making its way into the home décor and gifts market with items like pillows and phone cases. This means a big opportunity for those in the personalization business.
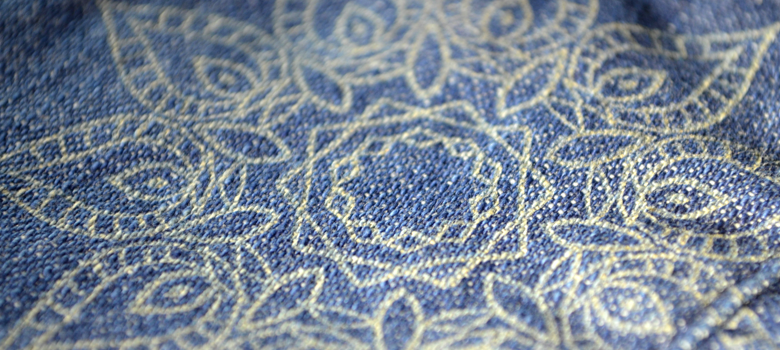
But odds are, certain decoration techniques come to mind more than others when it comes to decorating denim: heat transfer vinyl, rhinestones, various printing methods, and so on. How about laser engraving? Whether you are helping a customer refresh an existing look or working on something completely new to add to your showroom, laser engraving has the ability to produce precise, complex patterns and permanent designs on denim. See the example below to get started making your own designs.
Materials Needed:
- Denim fabric
- CO2 laser (Used here: Gravotech LS100)
- Optional: You can use metal weights around the engraving area to keep your fabric flat.
Settings Used:
- 400 dpi raster
- Speed: 90%
- Power: 25% (Recommended:.25 X 35W)
Note: Settings may vary depending on your machine and its wattage.
Step One: Design
If you are experienced in CorelDRAW or another graphics software, you can choose to make your own design.
For the sake of time and experimenting with the application, I recommend using a pre-made template. The design used in this example was purchased from www.vectorstock.com. All you have to do is pick your favorite design, dowload, and open the file in your design software.
When purchasing, be aware of what kind of license it comes with. If you plan to reproduce it for customers, then make sure that the license allows that (i.e. commercial licenses). If you’re just using it for fun or for marketing materials (i.e. no “re-sell” of designs to customers) those are usually standard licenses, which are cheaper than commercial. Ultimately, you always want to check permissions before using an image that is not your own creation. There are tons of stock imagery sites out there and their licenses can vary.
Step Two: Prepare denim for engraving
We opted to put metal weights around the engraving area to make sure the fabric remained as flat as possible. Though this is not mandatory, with thicker, flexible materials like denim, it helps the overall precision of the engraving to get the fabric taut. Typically, some heavy washers or hardware does the trick and keeps it in place, but depending on your particular denim, some creativity may be required.
Step Two: Engrave
Send your design to the laser and start engraving.
Just a few minutes later, you will have a great-looking, high-contrast mark on denim that makes a regular shirt into a one-of-a-kind creation.