
If you think about it, the methods used by painters and computer artists differ mainly in the physical application of color. Painters, of course, paint with pigment, whereas computer artists paint with light.
The similarity however, is that computer painting simulates the real-life studio environment with several virtual tools for applying color. Any effect that can be painted on paper or canvas can be simulated on a computer with accuracy and fidelity using built-in “brushes.” These same capabilities are enhanced by applying artistic, textural, and color effects that can convert a photograph into just about anything-from a Rembrandt to a Picasso.
Fancy Brushwork
All image editing and illustration software packages provide an abundant supply of built-in brushes that can be used to apply colors and textures to an image. New brushes can be created whose characteristics such as size, hardness, spacing, roundness, and angle can be controlled.
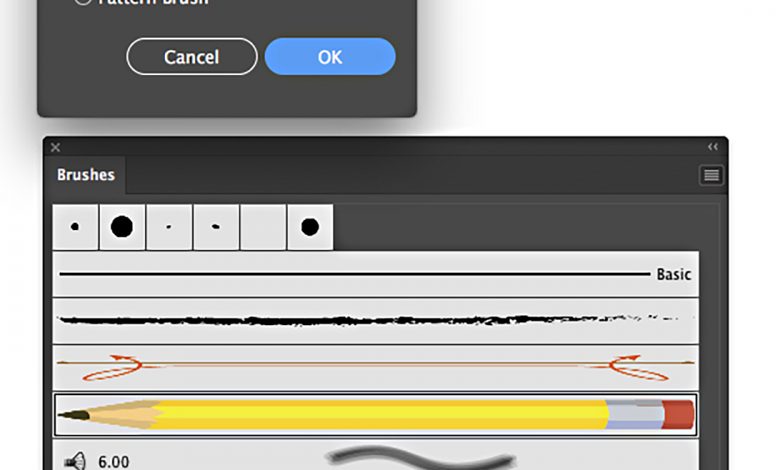
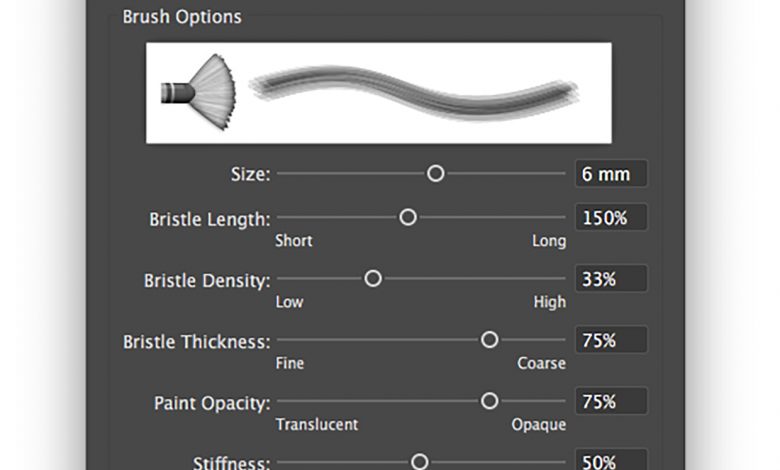
Depending on the software that you are you’re using, the techniques vary for creating new brushes. If you’re working in a vector-based program like Adobe Illustrator, you have a variety of brush types to choose from (see Figure 1). Some types of brushes look a lot like actual paintbrushes such as the Bristle brushes. Controls specify the size, length, density, thickness, and stiffness of the bristles and the paint opacity (see Figure 2). It’s a simple matter to choose a color and drag across the art board to produce a brushstroke.
Brush Strokes
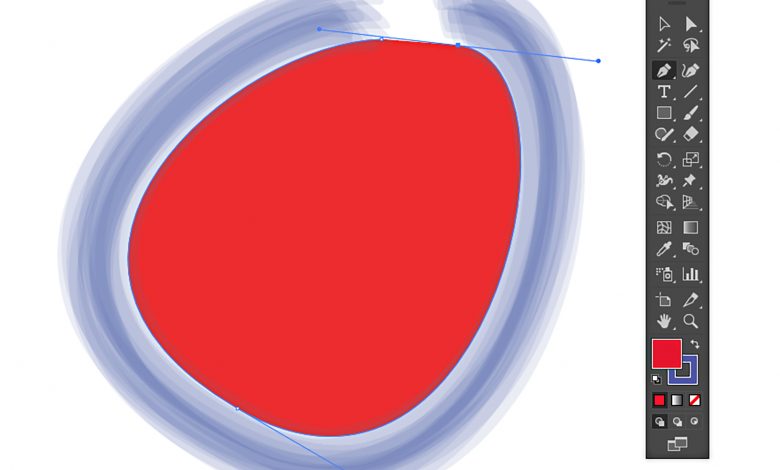
The color of the brush stroke is determined by the current stroke color in the toolbar. The brush is applied to the stroke, not to the fill. If a fill is required, the color will appear between the two end points of the stroke as in Figure 3, or within a closed path.
The brush tool makes paths, that contain editable anchor points, just like the Pen tool. In fact, a brush stroke can be applied to any premade path by selecting the path and clicking on the desired brush in the Brushes panel (see Figure 4).
Image Brushes
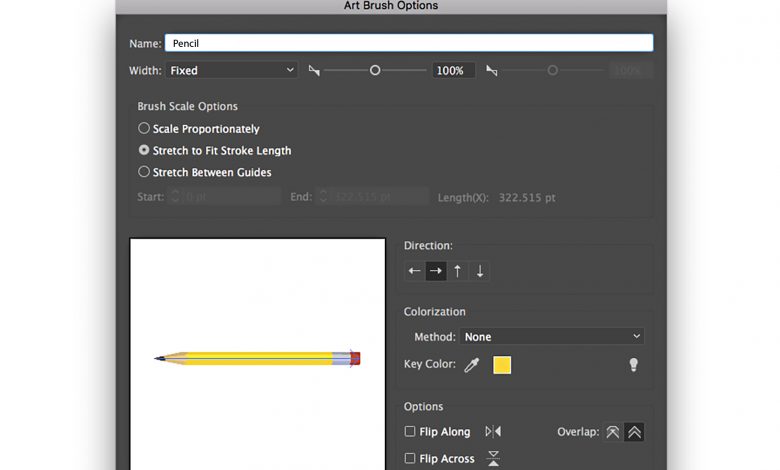
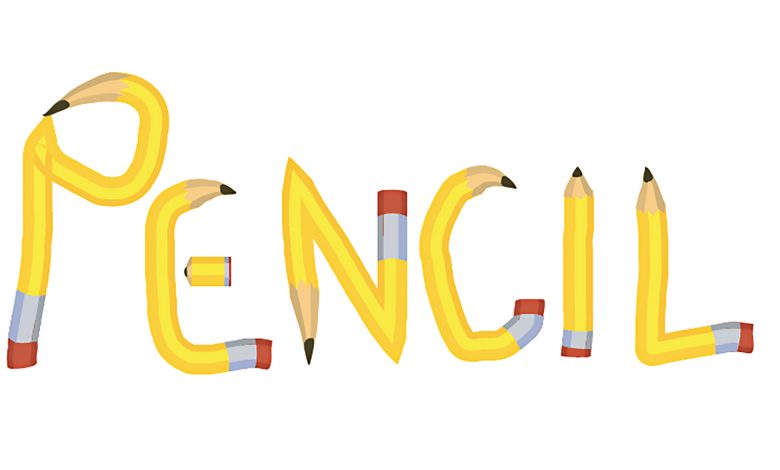
Other types of brushes start out with one or more vector objects. The artwork is selected and New Brush is selected from pull-down menu in the Brushes panel. In this case I’m making an Art Brush, a versatile tool that simulates a selected graphic as a brush stroke. The dialog box (see Figure 5) provides controls for the new brush including specifications for the width and the direction that the brush deposits color. Dragging the brush across the art board produces a brush stroke that simulates the original vector graphic (see Figure 6).
Versatility
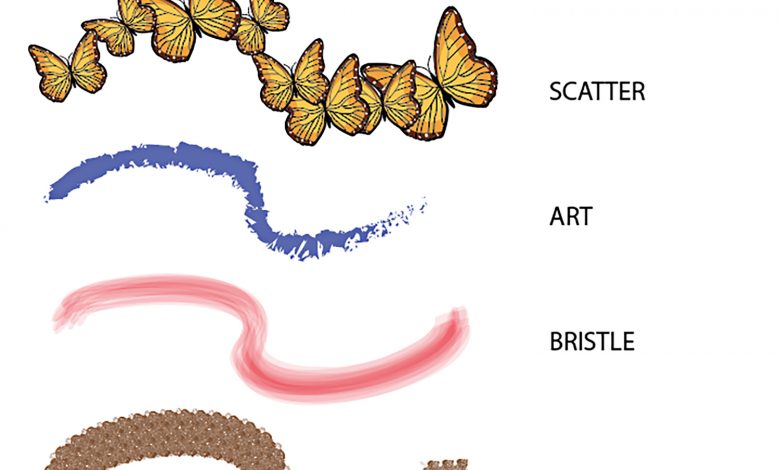
Illustrator provides five types of brushes (Figure 7) including Calligraphy, Scatter, Art, Bristle, and Pattern brushes. Each type of brush has specific controls that enable the customization of characteristics so that the possibilities to produce virtually any effect are limitless.
Pixel Brushes
In pixel-based software like Photoshop, brushes go far beyond just the application of color. They are used from everything from cloning to dodging, burning, saturating, retouching, repairing and smudging among countless other useful functions. Brushes are critical for creating universal textures and fine-tuning small areas.
In Photoshop, brush characteristics are activated in the Options bar when any tool that supports brushes is selected. The tools that support brushes are: the Brush, Spot Healing, Healing, Pencil, Color Replacement, Mixer, Clone Stamp, Pattern Stamp, History, Art History, the three Erasers, Blur, Sharpen, Smudge, Dodge, Burn and Sponge-19 tools in all. Obviously, with so many tools to choose from, and so many possible effects, it’s important to know how to control them because they play a critical role in the image manipulation and digital painting process.
Brush Menu
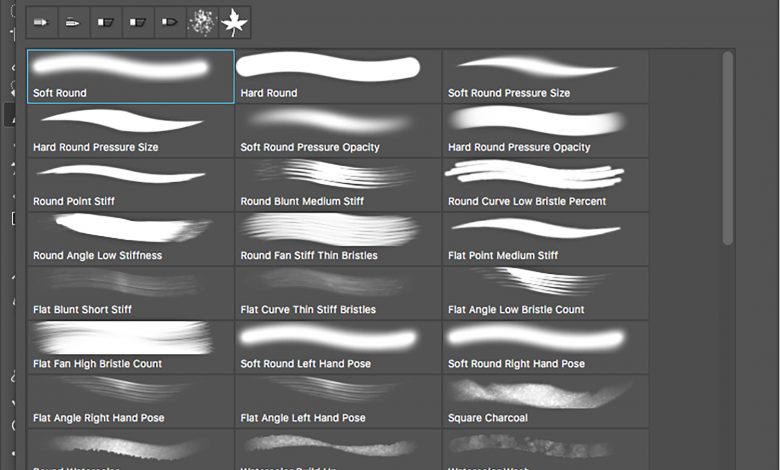
The default brush presets are displayed in a pop-up menu on the left side of the Options bar whenever one of the painting or editing tools is activated (see Figure 8). There are numerous types of brushes displayed, but essentially they are all designed to alter pixels. By default, each brush is displayed as a brush stroke. They can also be viewed by brush tip or by name.
Click the desired stroke in the menu to select the brush and apply it to the current tool. Modify the selected brush’s size and softness by moving the Master Size and Hardness sliders. The thumbnail in the Options bar at the top of the pull-down menu reflects the changes. If you wish to save the brush as a new preset, click the arrow at the upper-right of the Presets panel.
Brush Dynamics
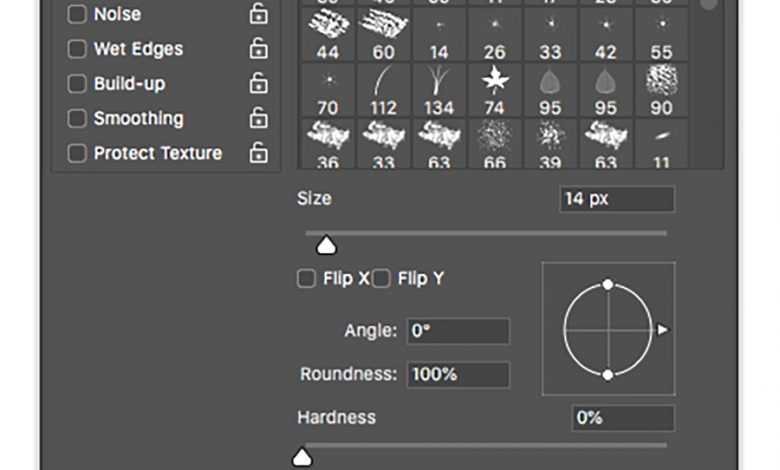
The Brush Settings panel (Figure 9) is where the action is as far as modifying brush shape and behavior, and this is where experimentation can really pay off. This interface is very extensive, so I don’t have room in this article to describe every feature. Suffice it to say it is BIG and goes DEEP.
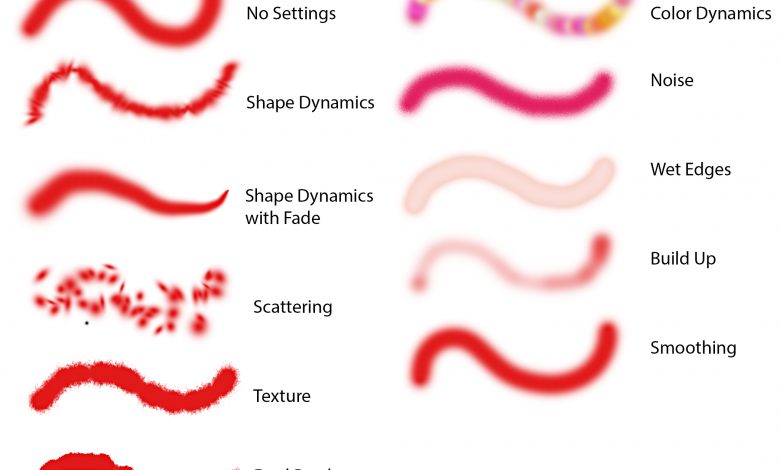
Examples of the various basic brush dynamics are shown in Figure 10 and combinations of dynamics produce an infinite variety of potential effects. As always, experimentation is encouraged.
General Features
The general brush features in the Brush Settings panel include:
- Shape Dynamics-controls size, angle, minimum diameter and roundness. In this panel strokes can be made to fade, taper or respond to stylus pressure.
- Scattering-regulates the quantity of brush tip marks contained in a stroke, and how they are distributed (or scattered, if you will).
- Texture-incorporates a chosen pattern into the brush tip, resulting in the appearance of painting with a texture.
- Dual Brush-combines properties of two brush tips. The primary brush tip is the tip selected by using the brush presets, and the secondary (dual) tip is then selected in the Dual Tip options.
- Color Dynamics-adjusts how color varies over the course of the stroke.
- Other Dynamics-adjusts how color varies over the course of a stroke, in regards to the hue, saturation, brightness and purity of the current foreground color.
- Noise-adds a grainy noise effect to the outer edges of brush tips resulting in a frayed look. It’s especially noticeable when used with soft brushes.
- Wet Edges-permits color to build up along the edges of the brush stroke, resembling a watercolor-style stroke.
- Build Up-deposits the color gradually by spraying.
- Smoothing-generates a smoother curved brush stroke.
- Protect Texture-locks the texture, pattern and scale so that all brushes using this feature are affected.
Creating a Custom Brush
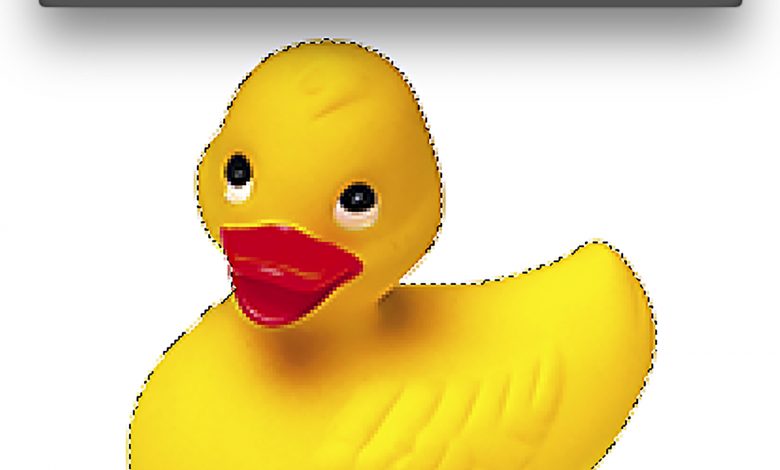
A custom brush tip can be made from a selected area and used to create startling effects. It’s easy, just a few of steps! Here’s how:
- Select an area of an image with any one of the selection tools. ?
- Choose Edit > Define Brush Preset. The Brush Name dialog box appears (see Figure 11).
- Name the brush and click OK.
- Choose one of the painting or editing tools. Voila! The custom brush is now available as a choice in the Brushes panel. The custom brush can be applied to an image with brush dynamics to produce colored textures, backgrounds or pretty much anything (see Figure 12).
Blend Modes
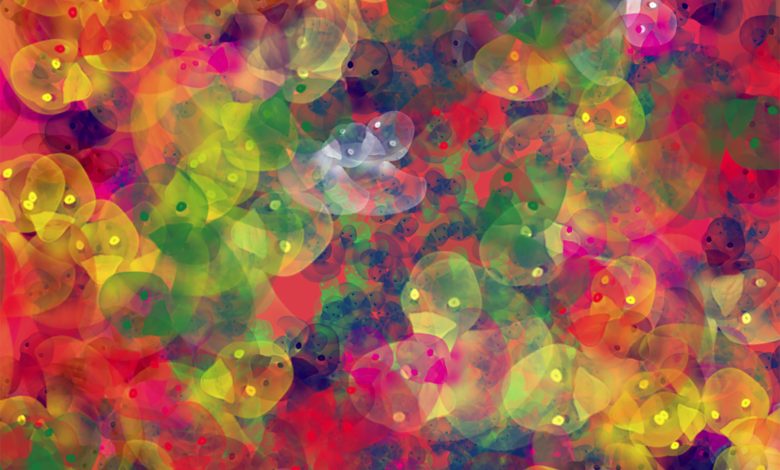
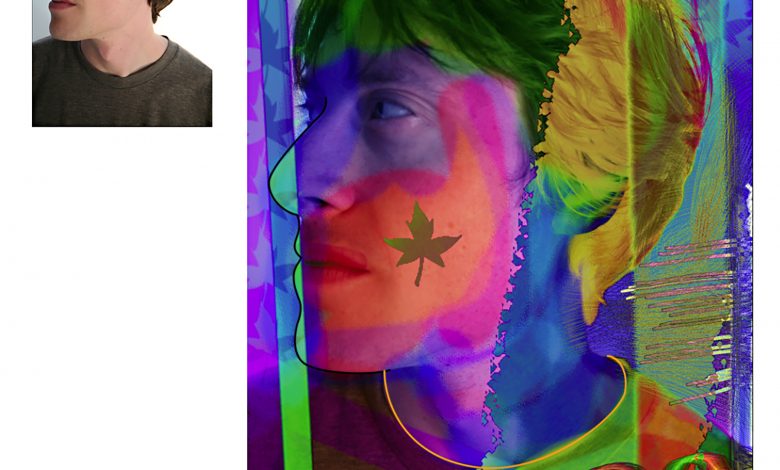
No article about brushes would be complete without mentioning the effect that blending has on brush strokes. Here truly lies the unique power of pixel-based painting. Blend modes alter the color pixels and can be applied either to an entire layer or directly to a brush. When the brush is dragged over the image, amazing color shifts can happen. Furthermore, the opacity of the layer or brush can be reduced to mitigate the blended effect. In Figure 13 I’ve painted over the surface of the portrait with various brushes, blend modes, opacities and brush dynamics to spice up the image and produce a colorful composition. As the brushes are dragged over the image, the existing colors are altered depending on the currently selected foreground color, the color on the image being painted over and the blend mode being used.
Hand-Made Computer Art
The title of this section sounds like an oxymoron, doesn’t it? But unlike filters and color adjustments, using brushes to deposit or alter digital color is most definitely a manual process that requires a keen eye and a steady hand. Computer painting with brushes avoids the tactile and olfactory sensations of the studio, yet has the potential to produce startlingly creative effects. Whether you’re using vector or pixel- based software, you’ll find the creative potential and versatility of brushes quite seductive and worth your time to explore.