Nonlinear editing is the key to sustainability when constructing an image in Photoshop. The workflow must be manageable so that at any point in the process changes can be made without having to reverse gears and repeat commands that have previously been applied. I can’t stress enough how important it is, for the sake of efficiency and to maximize creativity, to set up a process that enables nonlinear changes to be made.
Image editing software like Adobe Photoshop provides numerous methods to maintain a fluidity in virtually every aspect of the editing workflow, guaranteeing that the process can continue if adjustments need to be made without reverting to earlier states of the image.
Filter basics
Filters are mathematical formulas that alter the numerical values of pixels in specified ways. Certain characteristics of an individual pixel can be modified, including its hue, saturation, brightness, and position in relation to other pixels. When these effects are applied to a group of pixels, great variations can be achieved over a specified range, following specific constraints.
Some filters work subtly; others can be brash and flamboyant. Some effects gain strength when used gently and reapplied; sometimes a filter can be mitigated or softened by fading. Like other aspects of image editing software, the application of filters can be nonlinear so that modifications can be made at any time.
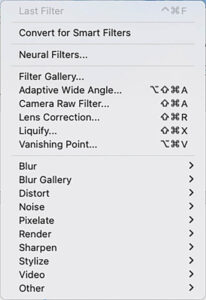
The application of filters is an easy way to dramatically alter the appearance of an image. There is a large variety of filters in Photoshop that do everything from enhancing clarity and color and applying artistic effects to distorting and warping images. The list is long and extensive (Fig. 1) and includes recently introduced Neural filters that rely on artificial intelligence (AI) to produce astonishing results.
Smart objects
Because the application of filters can be so dramatic, it’s important to be able to reverse or at least mitigate their effects. This can be achieved by first converting the layer to a Smart Object.
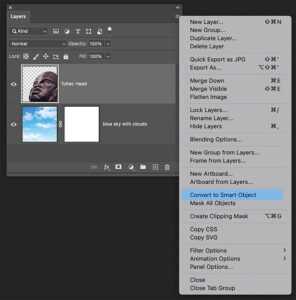
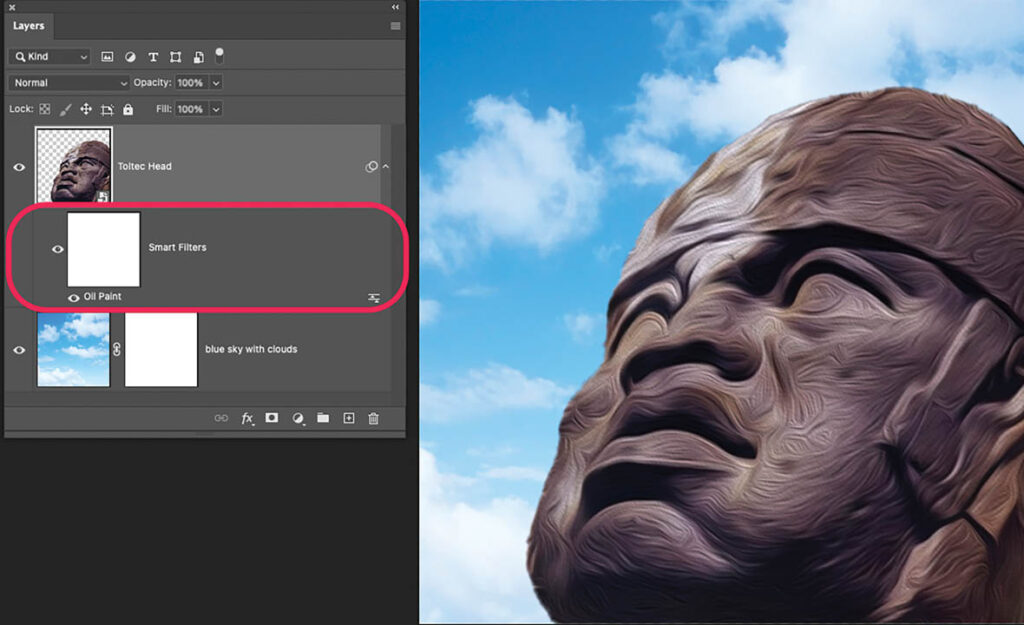
Conversion is quite simple! Select the layer and go to the Layer panel’s options menu and choose Convert to Smart Object. Any filter applied to a smart object automatically becomes a Smart Filter (Fig. 2).
Choose a filter from the Filter menu. A few filters are applied directly with no adjustable settings. Most filters though have extensive controls that can adjust the strength of the filter’s characteristics (Fig. 3). If there are controls, adjust them by dragging sliders to increase or decrease the effect while observing the live changes in the preview window. Most Photoshop filters can be applied as a smart filter except for Lens Blur, Flame, Picture Frame, Trees, and Vanishing Point.

Modifications
Once applied, the smart filter’s name appears in the Layers panel below the smart object layer (Fig. 4). Click the filter’s name to redisplay the controls. Make the necessary adjustments at any time during the session or save and close the file. When reopened, modifications can still be made.
Masking
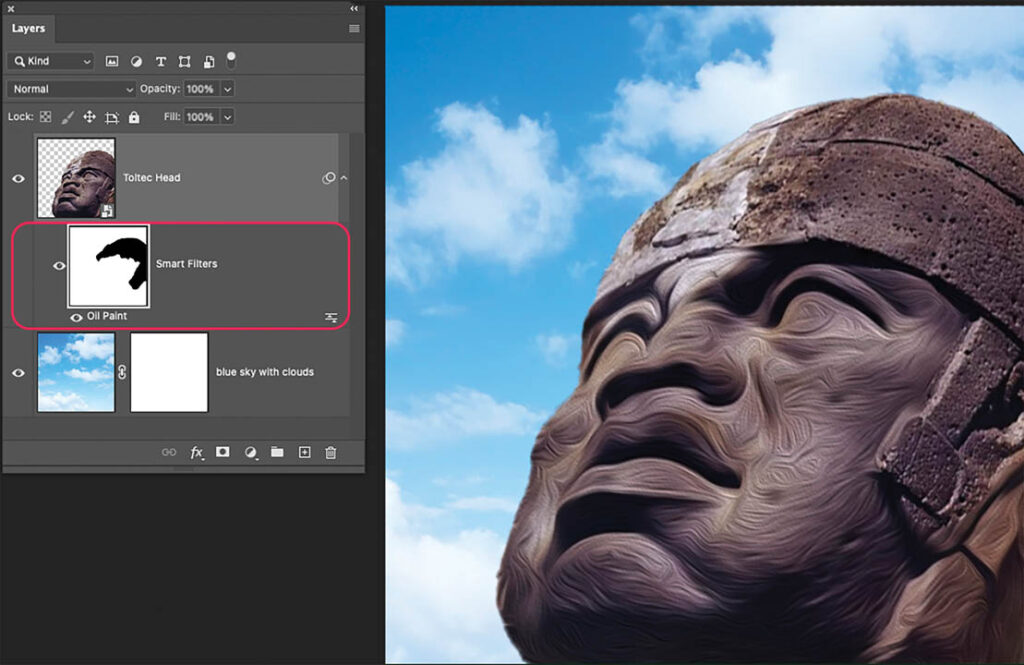
A smart filter automatically produces a mask. Like any other mask, it provides the ability to determine the location where the filter is applied and the strength of the application. To erase the filter effect on a specific area, select the mask in the layers panel, choose the brush tool, and paint black on the region to completely conceal the effect (Fig. 5). Conversely, paint white to completely reveal the effect. Any percentage tint of black, from 1% to 99%, painted on the mask partially conceals the effect, mitigating its strength.
Blending
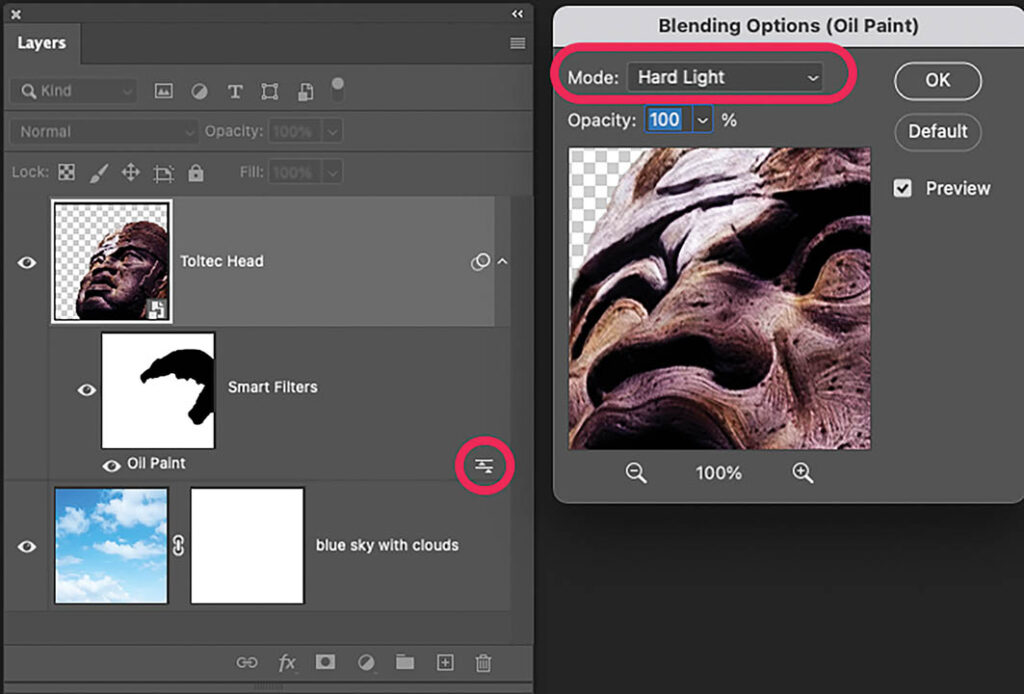
The icon on right of the filter’s thumbnail enables the adjustment of two aspects of the filter — its global opacity from zero to 100% and any of 27 blend modes. When double clicked, this icon displays a dialog box that applies either of these two characteristics (Fig. 6).
Filter characteristics
Consider the comprehensive nature of image editing software. The philosophy behind its development and success is to create a tool that can modify an image into any configuration. If it can be imagined, it can be created. That is why the filter menu is so all-embracing and provides virtual tools that can produce an infinite number of results.
There are seventeen different categories in Photoshop’s filter menu, each containing numerous submenus. Within each of these submenus are numerous filter effects. These filters can be categorized into two general groups: Constructive and Destructive filters.
Constructive filters modify and enhance images for printing or screen display. This list includes filters that blur, sharpen, alter color, reduce or add noise, or otherwise enhance pixel configurations. Constructive filters are the bread and butter of Photoshop power. The workhorses that are used more frequently due to their ability to make images pop.
Destructive filters, on the other hand, are used to displace pixels, radically redistributing image elements or colors. These special effects are responsible for distortions, pixelizations, liquefications, and the generation of effects like fibers, clouds, trees, and even fire. Used with care, they can be useful assets or used excessively, they can render the image into mud.
Filter gallery
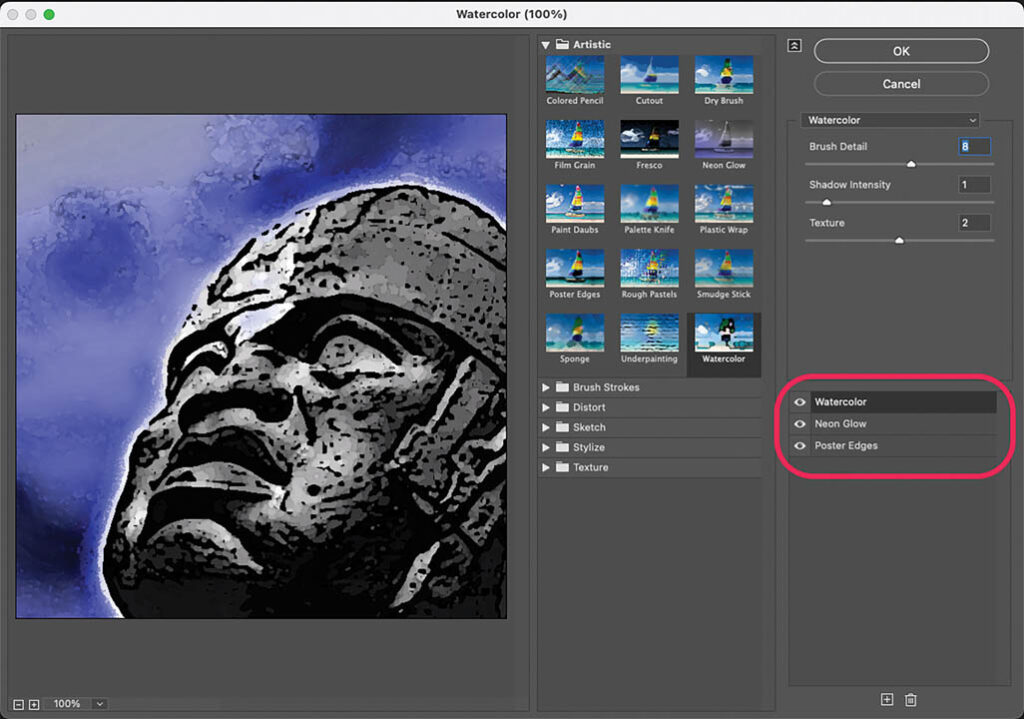
Filters that provide textures, painterly techniques, and fine-art effects are found in the Filter Gallery. The potential to convert a photograph into handmade simulacra of a work of art is tempting. Often, though, simply applying an artistic effect to an image doesn’t quite produce the intended result, and the image looks photoshopped. At this point, consider experimenting with multiple effects at different strengths from the same interface.
The Filter Gallery is an entire interface. A software program unto itself. With these controls are a plethora of sub-menus that open the doors to dozens of image-altering effects. These filters can be combined and stacked (Fig. 7) so that any combination of filters can be applied in various strengths. The preview window displays the results in real time as the filters are applied.
As a reminder, it’s essential to convert the layer to a smart object prior to the application of these effects. More likely than not, you’ll want to tweak and alter the initial results. Applied as a smart filter, there are no worries in modifying the settings at any point in the workflow.
Neural filters
It would be remiss of me to write an article about Photoshop filters without mentioning the latest AI features. Neural filters were released three years ago as the first AI-generating feature in Photoshop. They are extremely versatile and push the boundaries of image manipulation by automating filter effects. Neural filters are accessed from the Filter menu. Each filter must first be activated by dragging their On/Off buttons to the right.
Neural filters rely on a database of images to produce alterations. Depending on the filter, each has specific sliders that control the intensity of various characteristics such as opacity, saturation, luminance, and detail, among others.
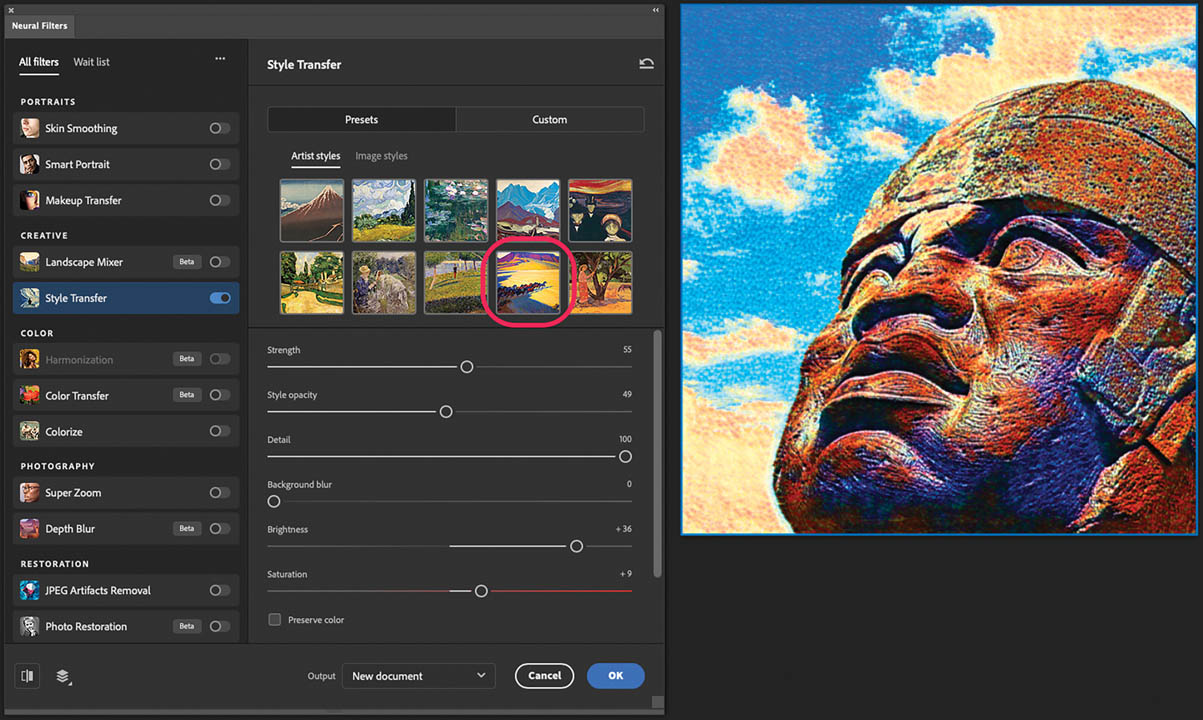
Some of the filters, such as Style Transfer, provide a menu of artistic images that apply stylistic characteristics to an image (Fig. 8). If you want your picture to look like a painting by Vincent Van Gogh, for example, here is where you can make it happen. Like the Filter Gallery, multiple filters can be applied simultaneously from the interface.
Other items in the Neural filter interface modify skin tones, enhance color, sharpen photographs, remove artifacts, colorize, and restore photos.
Once again, be sure to convert the layer to a smart object prior to the application of Neural filters because you’ll want to experiment with the combination of effects.
Work efficiently & have fun
Though smart objects have other uses, such as the ability to seamlessly import and alter vector graphics for example, probably their most common use is in the application of filters. As we have seen, smart filters provide an extraordinary array of dazzling effects that can be instantly applied, extending the breadth of creativity and polish to an image. The ability to modify these effects at any time during the creative process is an undeniable asset. You can experiment without the fear of making mistakes or committing to undesirable results.
Convert those layers to smart objects and have fun with smart filters and the amazing effects they can produce.