
Laminating your graphics is one of the most important steps in the wrapping process. There are myriad options in laminate films that offer protection and different finishes.
Protection
Protecting your graphics is an important function of the wrap laminate you choose. Lamination protects against damaging UV rays which can cause fading and deterioration. The laminate also makes your graphics more durable against moisture, road grime, and road debris.
In our area of California, we have a problem with acid dew. We noticed that the non-vertical planes on quite a few of our wraps were turning brown and spot graphics were curling. After talking with 3M we decided to switch to a different 3M high gloss laminate. It’s highly conformable, stretches to 150%, and offers better scratch resistance during installation.
Always match up your vinyl film and your laminate. This means use the same manufacturer for both your wrap vinyl and laminate. Also, use a premium, cast laminate on cast vinyl, and a calendared laminate on a calendared vinyl film for short-term wraps.
Sheen
One consideration in choosing a laminate for your wrap jobs is the sheen of the film. On most of our wraps, we use a high-gloss laminate, but occasionally we get requests for a laminate with a luster or matte finish.
Popular choices for us include options from 3M. They offer great conformability and durability. If you’re a fan of Avery Dennison’s Supercast films be sure to check out their paired laminates as well.
Enhance
The laminate you choose also enhances the graphics. In short, it makes your wrap look better. This can be taken a step further by choosing a specialty laminate that also adds a level of texture or sparkle.
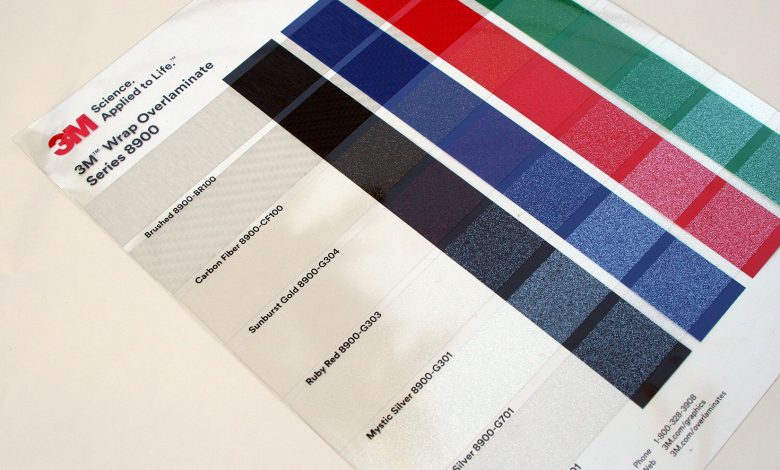
Check out 3M’s 8900 laminates, available in carbon fiber, brushed, and five sparkle options. The carbon fiber and brushed metal can be used over digitally printed or 1080 color change films to give the color or design underneath a carbon fiber or brushed metal finish.
The sparkle laminates are also used over colored films or printed graphics and each option will accent the image or film color. The sparkle films are available in various colors and each option works well with different color tones.
These laminates are recommended for use on wraps and fleet graphics and come in 60″ width rolls. With a max stretch of 130%, they work well with premium wrap vinyl.
View thru
Every so often we see perforated view-thru graphics that another shop hasn’t laminated. Often, the holes will be full of dirt and the graphics will look battered.
All of the same protection and enhancement rules apply to perforated view-thru films. You just have to be sure that you use an optically clear overlaminate that is paired with the perforated film you’re using.
The optically clear laminate will still allow the driver to see out from the inside but keeps dirt and water from clogging the holes and decreasing visibility. The laminate also enhances the color and looks of the print while offering the same protection against UV damage and abrasion.
Tips and tricks
Since we laminate all of our printed graphics, we need to keep our workflow efficient because the graphics need to be printed, dried, and then laminated and finished. Anytime steps are added to the process it can slow down your workflow. Being organized eliminates issues and keeps you efficient. Here are some tips to smooth out the process.
- Store rolls of laminate right next to your laminator – avoid dragging heavy rolls any further than necessary.
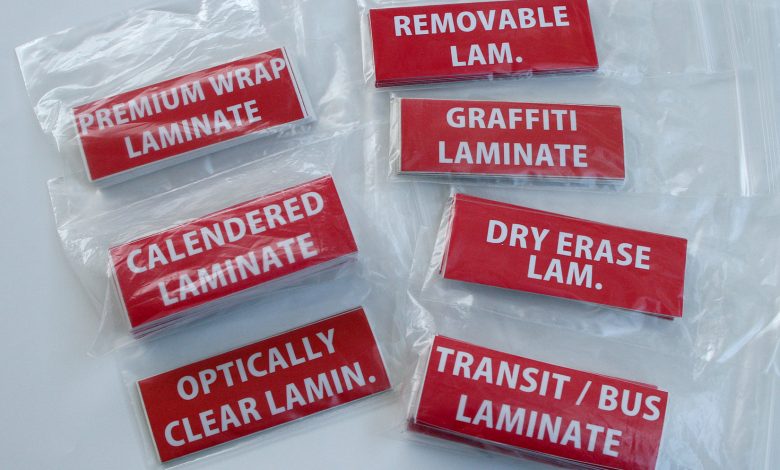
- Label your rolls clearly so that you don’t accidentally laminate your wrap film with the wrong laminate. We keep them simple: Premium Wrap Laminate, Luster Wrap Laminate, Optically Clear Laminate, Transit Laminate, etc.
- Create drying racks to give your vinyl plenty of time to completely out gas and dry before lamination. We use metal wall racks that are designed to hold rolls of vinyl. These keep our drying media rolls up off the ground and out of the way.
- Laminate your graphics in groups when possible to avoid wasted time changing out laminate rolls.
- If you need to laminate a spot graphic or smaller section of vinyl, cutting the laminate off the roll and applying it to the graphic in a section may be more efficient. We lay the section of laminate over the printed vinyl section, tape it smoothly along one edge, and run it through the laminator.
- Handle your vinyl rolls with gloves when moving vinyl to the printer, from the printer to the drying racks and from the drying racks to the laminator. We use inexpensive lint-free gloves to avoid fingerprints.
- Use a soft edge or felt-lined squeegee when applying unmasked laminated graphics to minimize scratches. Use heat on gloss laminated graphics to remove light scratches.