Embroidery 101: The basics of getting in the business
For producers looking to branch out in their business, check out this article from the premier issue of START HERE - a new annual publication brought to you by A&E, Printwear, and Sign and Digital Graphics magazines.
Note: This article appears in the 2018 issue of START HERE.
It’s easy to love the creative opportunities that embroidery offers, despite the complications and frustration inherent to learning the craft. Starting a venture in commercial machine embroidery adds the difficulty of starting a business to this learning curve, leaving many erstwhile embroiderers stunned. Success as a decorator is determined not only by your mastery of decoration processes and the operation of equipment but by dedicated attention to the clerical aspects of your business as well. One article can’t cover everything you need to know to start operating as a commercial machine embroiderer, but the broad outline below covers critical steps to help you avoid pitfalls in everything from selecting equipment and the technical needs and knowledge of embroidery operation, to the tenets of doing business in this industry.
FINDING YOUR MACHINE
New embroiderers obsess over equipment. It’s expensive, and it’s undeniable that machine embroidery needs machines, but the first question they ask is, “Which machine makes the best-looking embroidery?” Truthfully, among established brands, there isn’t a candidate that won’t produce a satisfactory result from well-digitized files and the right materials. Unless your work is highly specialized, most machines will suffice. The differentiators that affect your business most often aren’t equipment features but the following qualities.
Support: What training does your distributor or manufacturer offer? Will you be able to take advantage of it? What documentation or instructional materials are available? Is there an active user community to help you when official channels fail? In short, how hard will it be to get the instruction and answers you need to operate?
Repair: Are technicians and parts available to service your machine? Are they local to your business? If not, what costs are required to get a tech on site and what is the average wait for service? Ask yourself, when you are down, how difficult and costly will it be to get running again?
When multiple machines are affordable and suit your production needs, it’s the one which will be able to be operated, maintained, and repaired at the lowest cost and with the least difficulty that serves you best over time.
EFFECTIVE ACCESSORIES
Though there is a world of equipment to expand your shop’s capabilities, certain accessories and tools are critical in your initial setup.
Toolkit: Make sure that you have a dedicatedtoolkit for fixes, needle changing, and any necessary lubricants or anything else that the machine requires. It should always be within reach of the machine.
Hoops: You must ensure you have sizes to address the most common decoration areas: chest logos and full backs. Secure enough hoops to prepare a full run of garments while one is on the machine for increased efficiency and throughput.
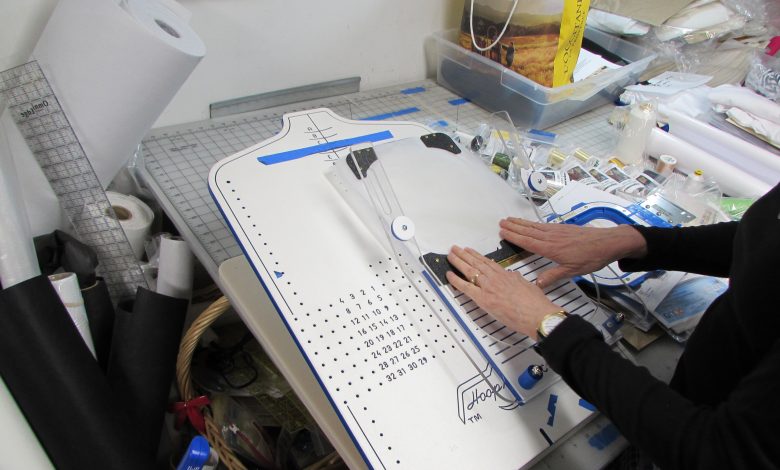
Hooping Aids: These can be inexpensive ruler-like devices that mark the center of your design on any sized garment or costly jigs with registration systems over which you slide garments for straight and repeatable positioning you can record. Small shops sometimes balk at the cost as you can hoop manually, but aids reduce errors and make hooping more efficient, especially for those new to embroidery and have a hard time judging alignment manually.
Tension gauges: Early on, many embroiderers struggle with tension. A simple solution is to start with your vendor’s recommended settings for your thread type. To do that, you’ll need both a pencil gauge for top tension and a bobbin gauge. Defaults aren’t for everything but having a measured baseline will make your adjustments more precise and allow you to record tested tensions that work for any given combination of materials.
Garment steamer:Whether removing the telltale ‘hoop burn’ ring from an excessively tight hoop tension, removing water-soluble topping that temporarily supports stitches on textured materials, or softening stiff caps, a garment steamer is useful for much more than wrinkles.
BEFORE THAT FIRST STITCH
Once you have your setup sorted, here are some skills and basic information you’ll need to stitch successfully:
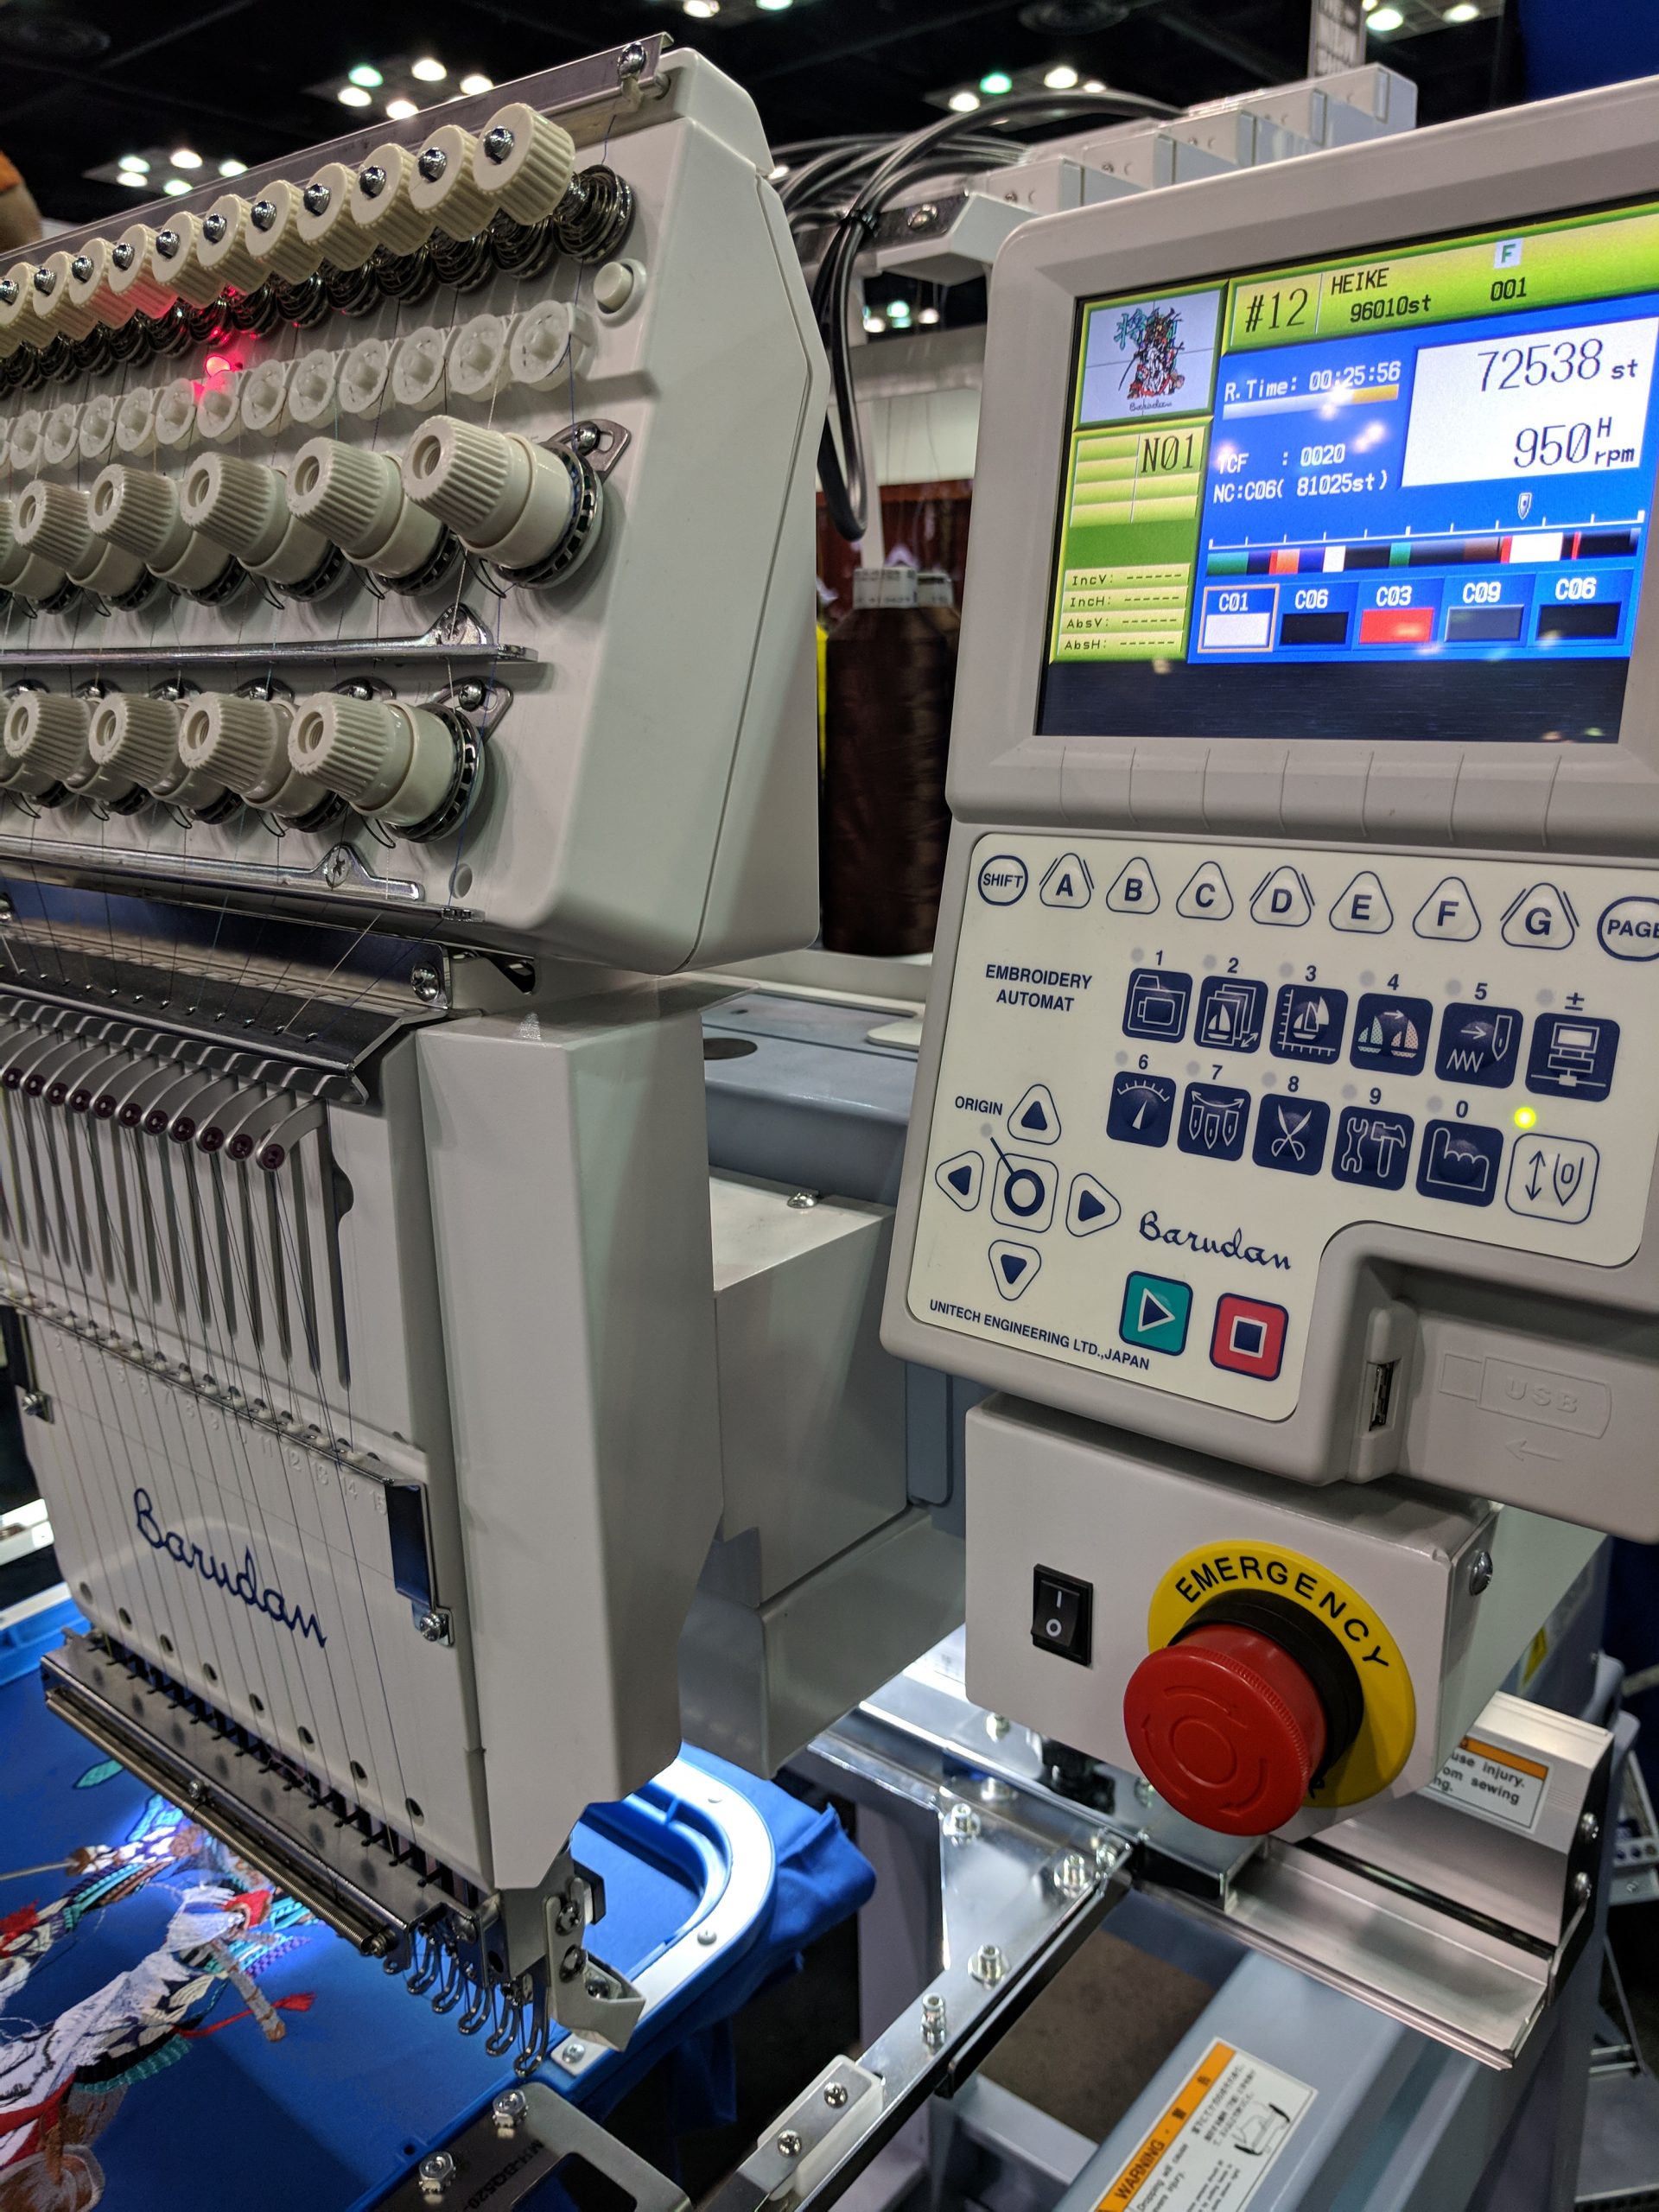
Machine operation and maintenance: Basic operation can be learned from machine manuals and basic manufacturer training. Your operator should know how to do the following operations in the machine’s controls:
- Load and clear files
- Change the starting position of the needle
- Set running speed
- Trace the extents of a design to check hoop clearance
- Navigate through stitches in a design for missed stitch/error repairs
On the physical side, the operator should be able to:
- Thread the machine
- Load a bobbin correctly
- Switch from flat hoops to the cap driver
- Oil and grease the correct parts on an appropriate schedule, tracking upkeep
Operating: Operators start slow, but the task of monitoring a machine and preparing subsequent runs concurrently speeds with practice. In the initial stages of learning, it is critical to carefully observe the machine running, particularly for future digitizers, as observation helps you understand interactions between thread, needle, garment, stabilizer, and design and how they produce a given result. Operating teaches you how embroidery physically works. To observe and analyze the way a design runs will help you learn to control the process.
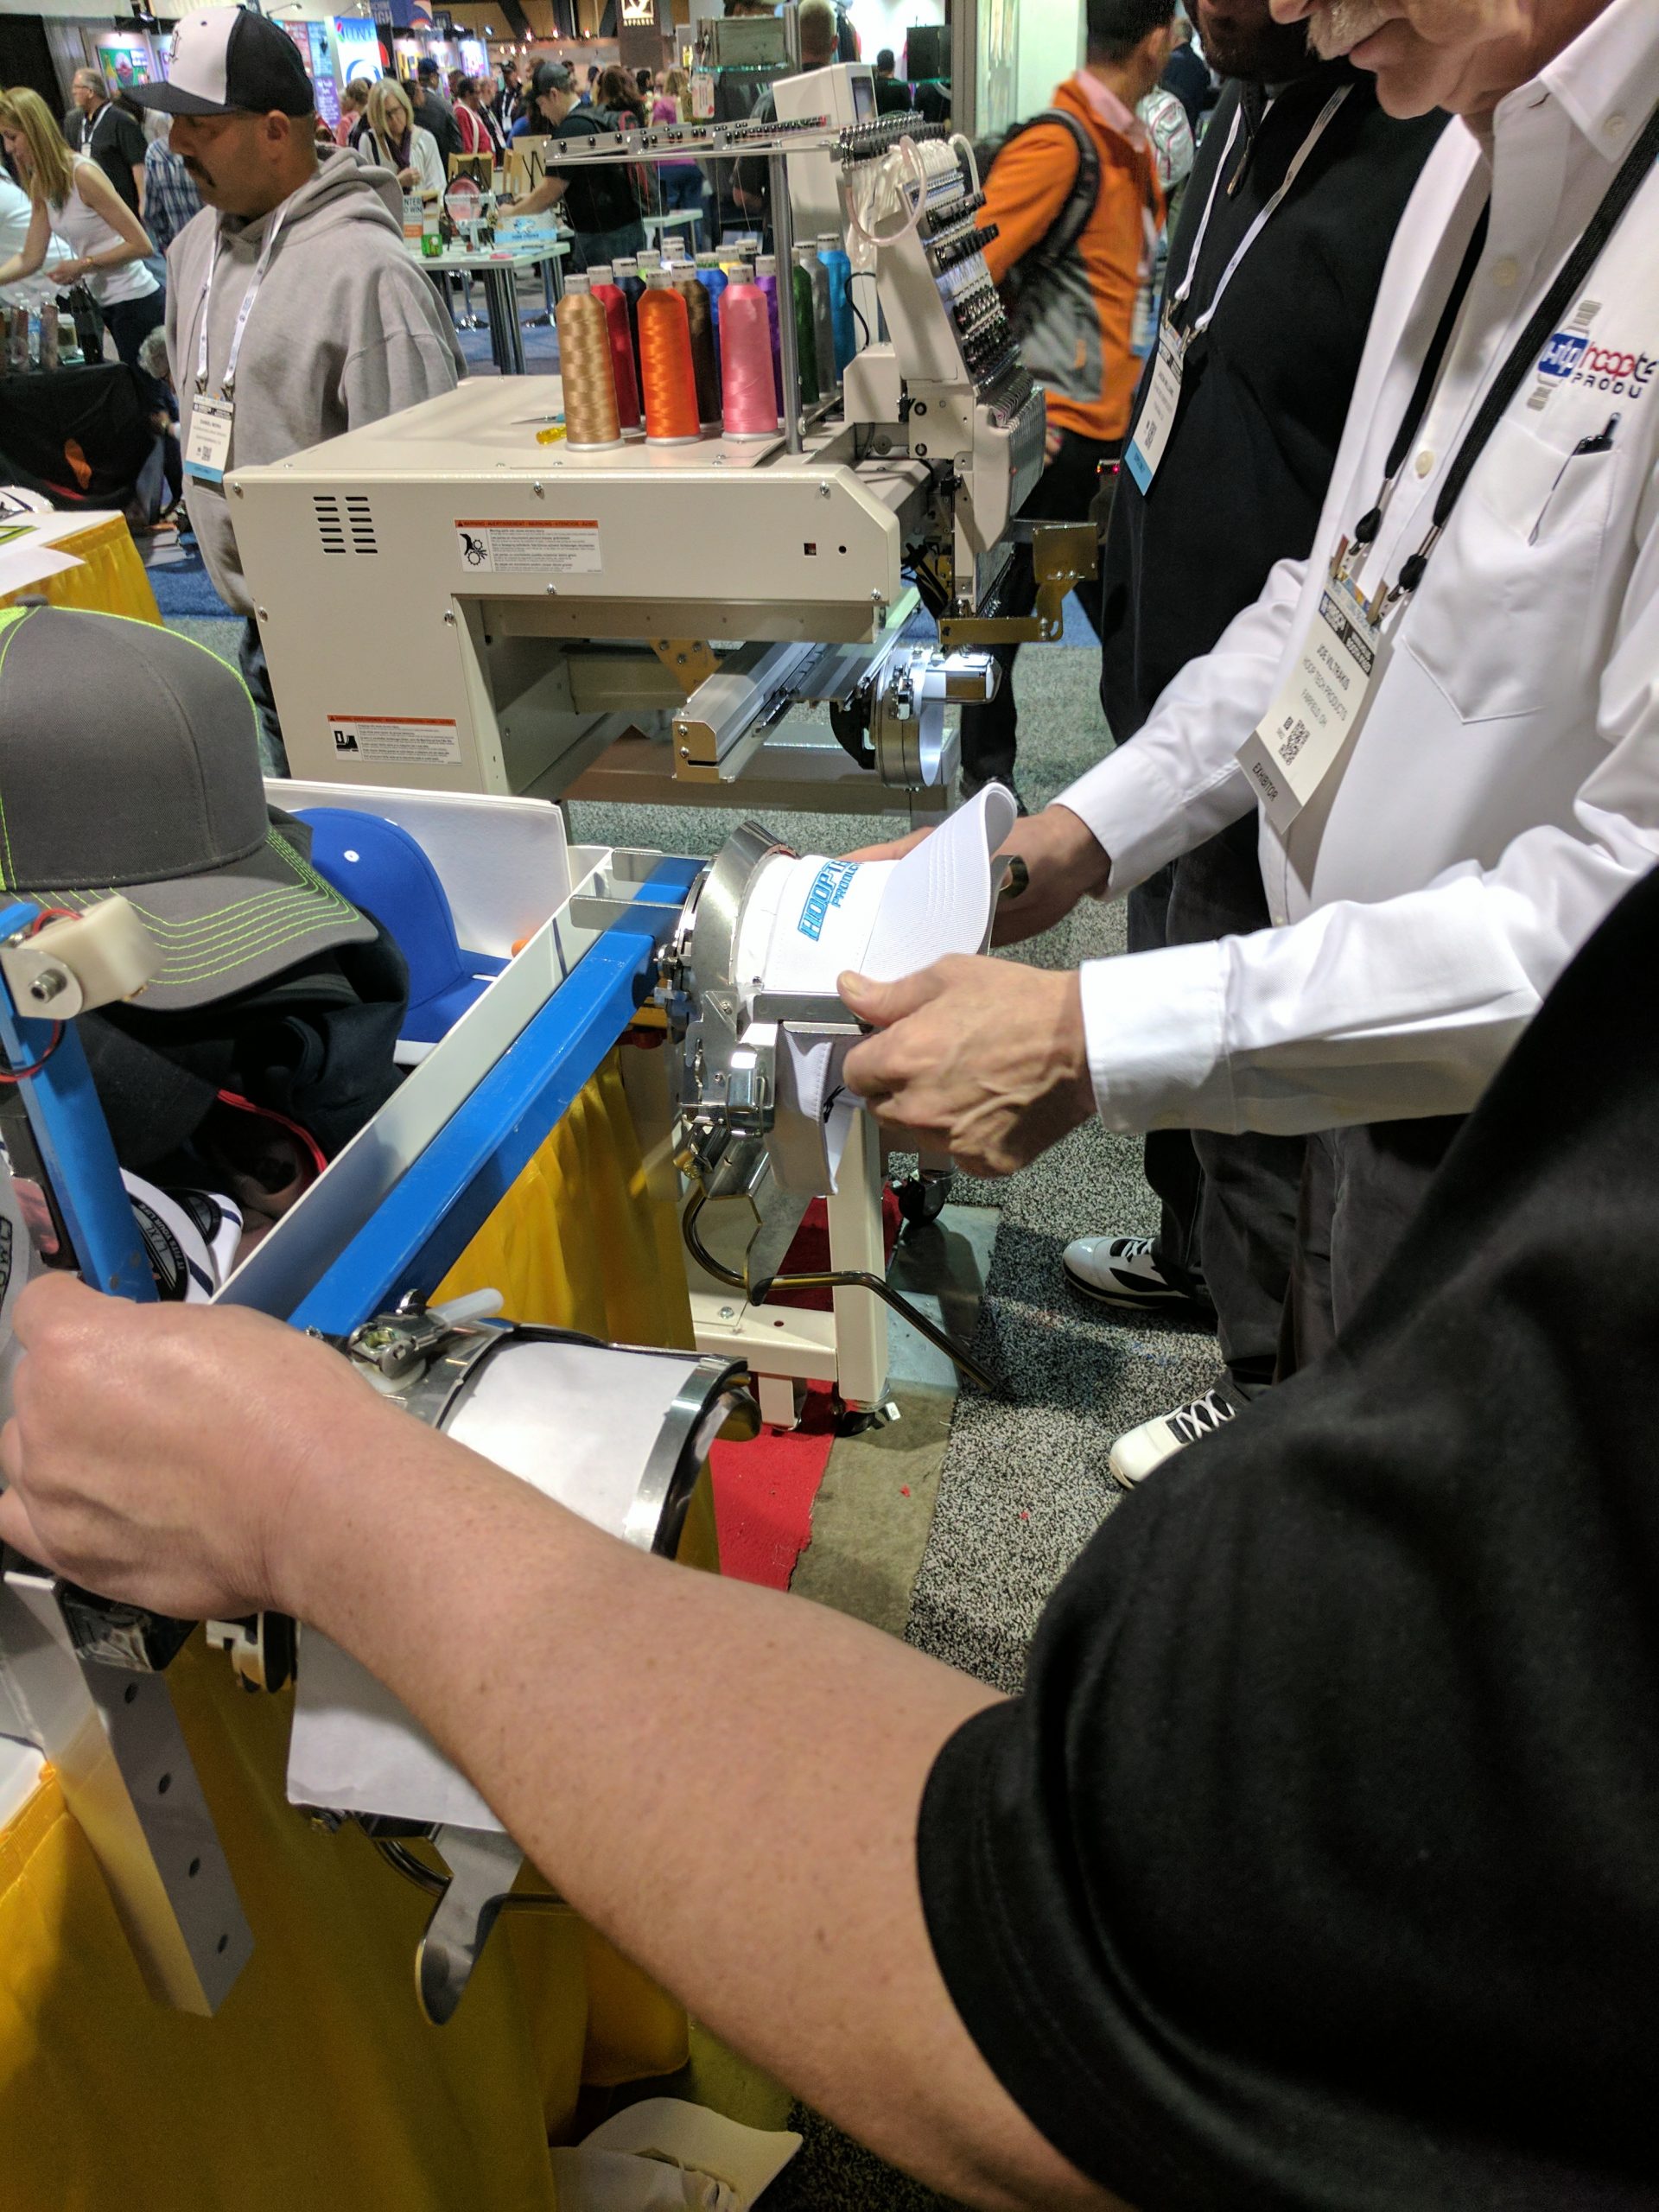
Hooping: It can be difficult to hoop a garment straight to the seams (or adjacent structures like pockets) so that it won’t appear skewed and to keep tension firm without excessive stretch. You must adjust hoops for differing garment thicknesses and materials, so hoops aren’t so tight that the garment is crushed with a permanent ‘burn’ ring nor so loose that the material crumples and shifts during stitching. This tight, yet undistorted hooping is critical to pucker-free designs. Cap framing is an entirely different animal, requiring you to smooth the cap around a cylindrical gauge and strap the crown into place. These elusive skills benefit from direct education or, at least, video examples. Hooping is one of those things one develops a feel for with experience but benefits from evaluation from a pro early on.
The chief knowledgecomponent for hooping is in selecting the proper stabilizer. A single piece of medium cutaway will suffice for most flat garments with a well-digitized design, while caps require only tearaway from pole to pole of the cap gauge to be properly stable. Those two types are ubiquitous, but modern embroiderers enjoy a broader selection of useful stabilizers. Stretchy performance materials and light garments benefit from thinner and similarly stretch-resistant no-show mesh, and performance wear specific stabilizers, for example. Your stabilizer vendor often offers ‘recipes’ of their tested combinations that serve as a good starting point.
Finishing:Though seemingly simple, finishing requires attention to detail for the best presentation of the completed decorated garment. Learn to carefully cut away most of the excess stabilizer leaving adequate area to avoid cutting garments or nicking embroidery. Holes or unraveling designs are a total loss. Learn to trim surface connecting stitches that aren’t trimmed on the machine without leaving fuzzy ‘tails’ and how to steam, fold, and pack for presentation. Finishing is your last chance for quality control and determines the initial experience your customer has with your product. When the box opens, finishing comes first.
THE BOTTOM LINE
Ultimately, commercial embroidery is about commerce. You may work hard to be skilled at the trade, but you won’t have a chance to keep doing the work if you don’t make the money it takes to survive. To that end, these are embroidery-specific business tips to keep in mind.
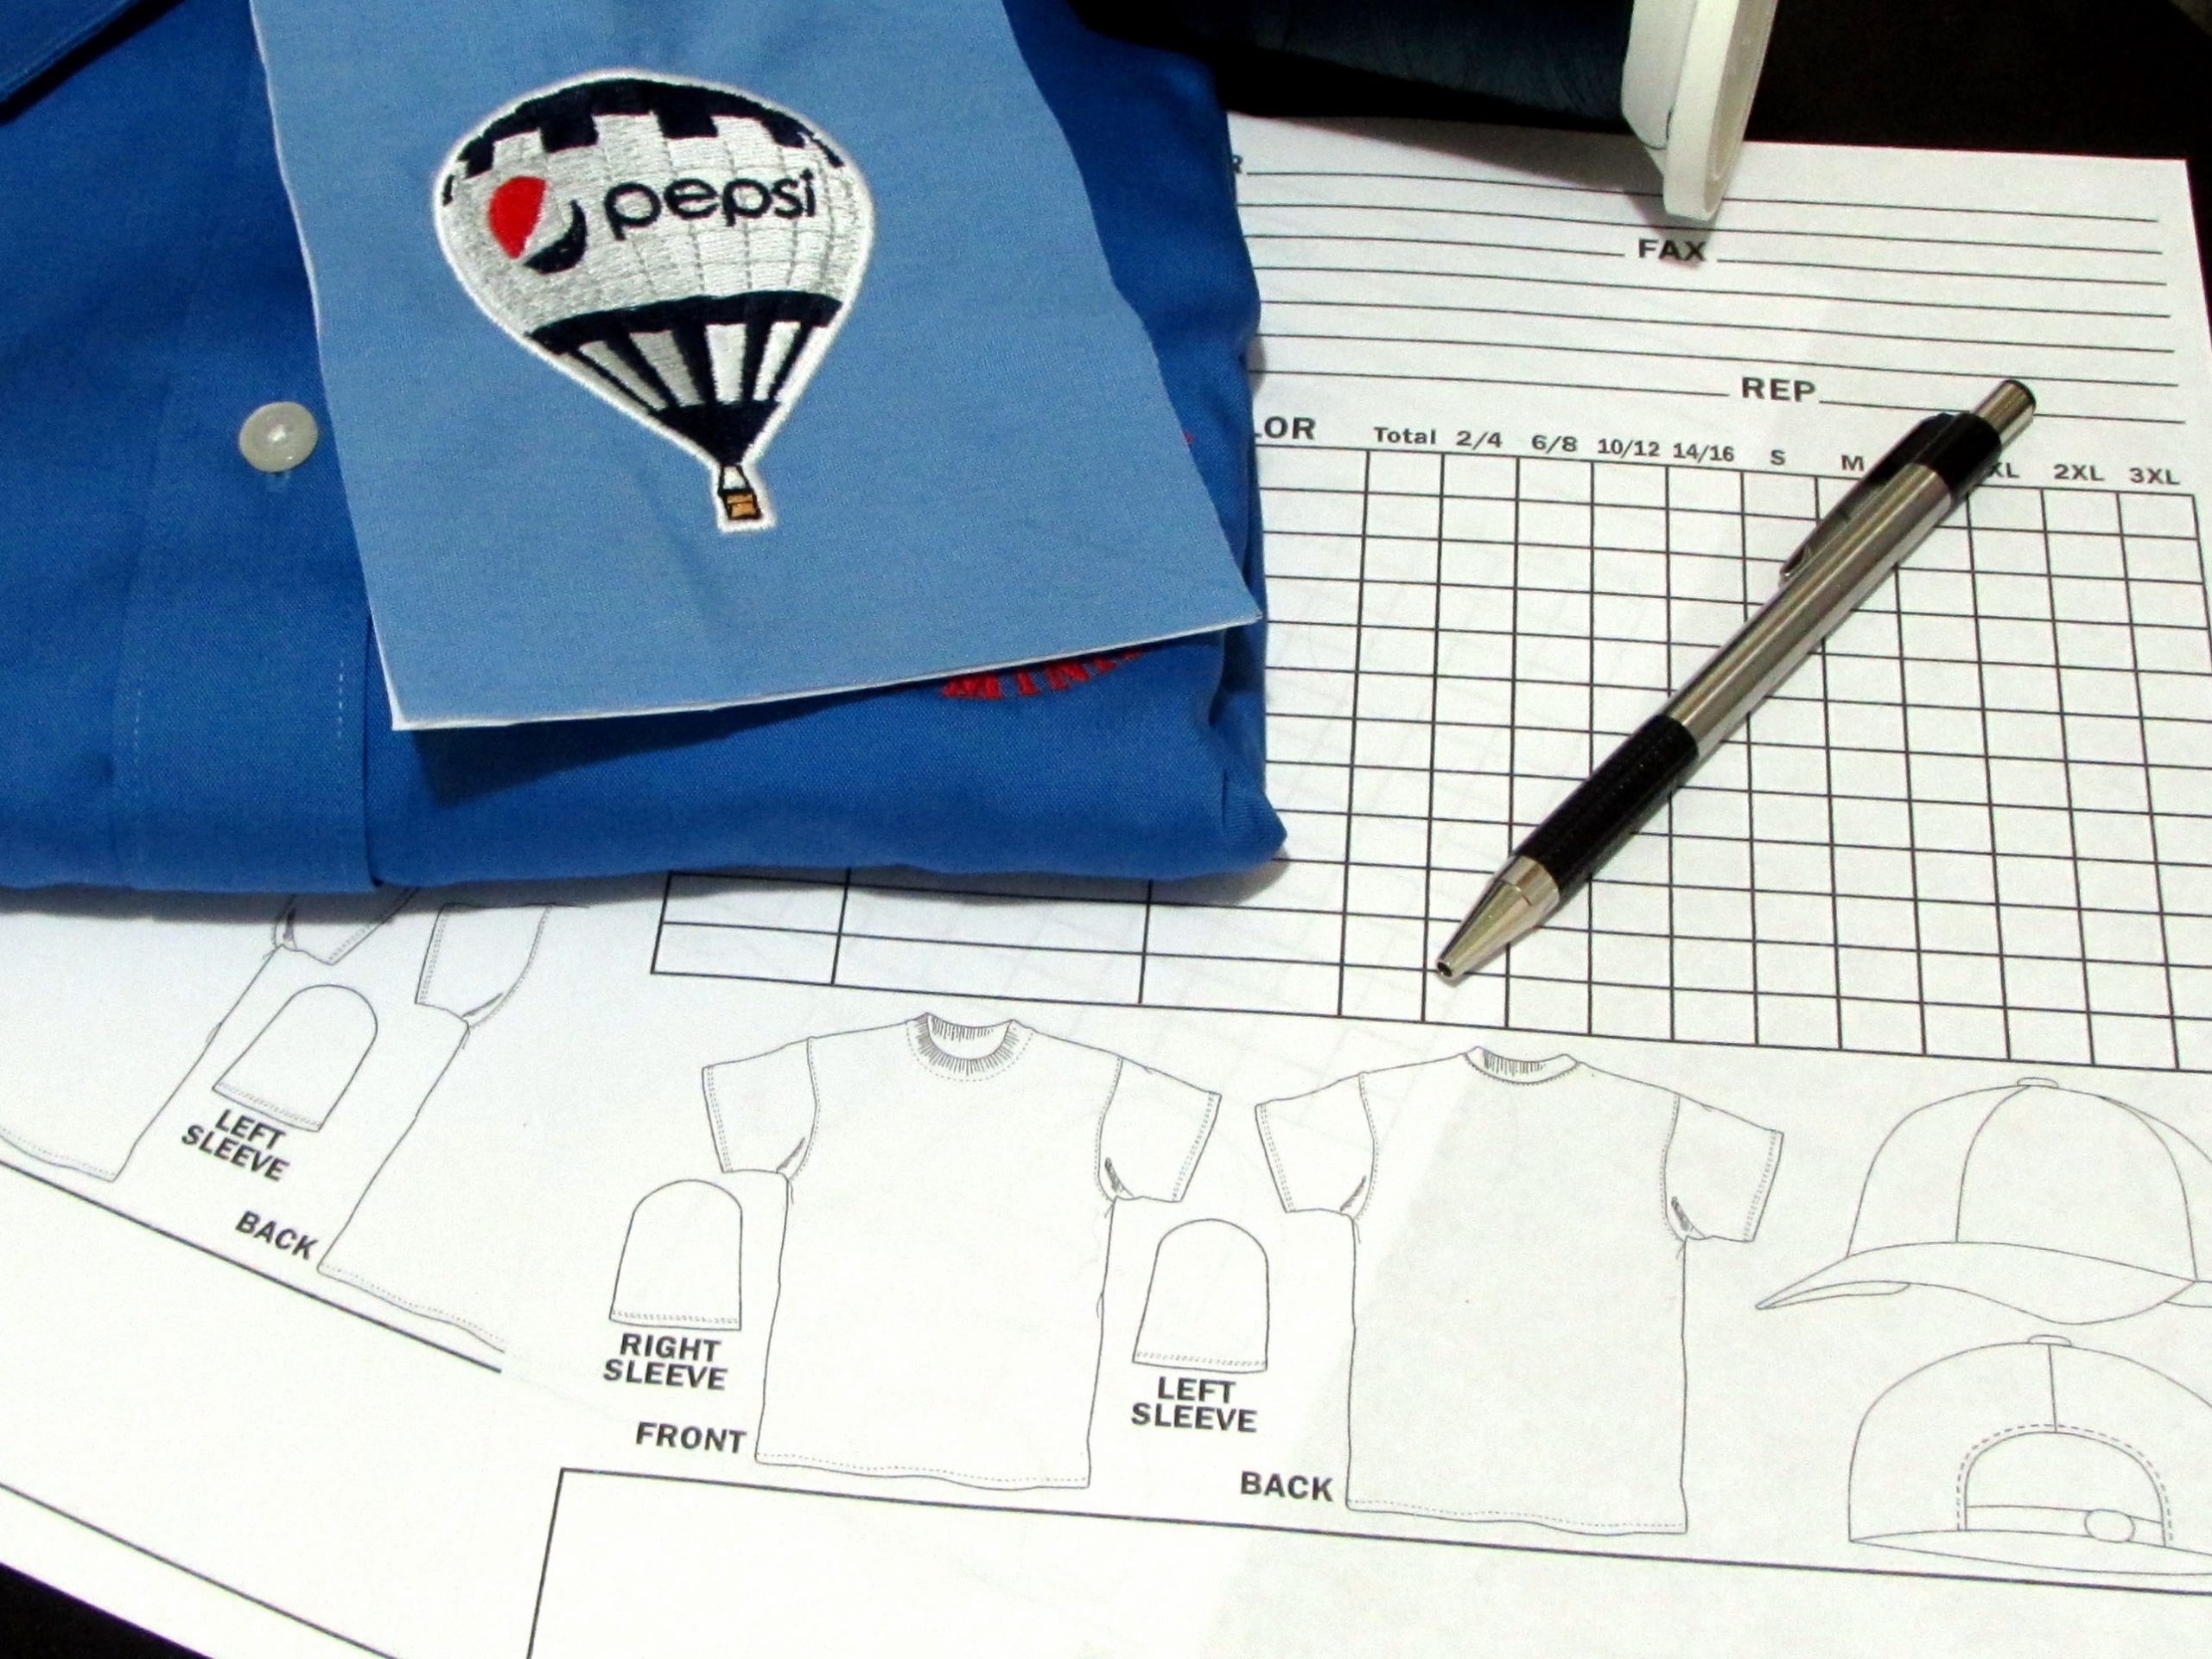
Know your overhead, plan for profit, and price accordingly. Always know what it costs to keep yourself running. Know the cost to be in your location, the energy required to run equipment, the costs of your supplies, and the labor needed to decorate a piece. Measure costs but plan for expansion, repair, and profit, and price accordingly, accounting for the work you can reasonably do with available equipment and time. If that’s something your customers won’t pay, you need to work on finding customers that will or more efficient ways to operate. Start by pricing below what you need to operate, maintain, and reinvest, and you might as well quit rather than work hard for too little and go under anyway.
Have a market in mind before acquiring equipment. Whether it’s your first machine or adding a decoration process, don’t let the desire to create make you commit before you have a market. Start with a clear idea of who you will service, what unique experience you can offer, and what this group of people needs. You can operate and build a market entirely without equipment by selling while outsourcing your production. Contract decorators exist to fulfill that role. Always try not to justify the costs of a machine before you have a plan and a target to which you’ll sell its produce.
Never stop selling. Never stop or slow in marketing your business, whether that’s through old-school prospecting or establishing your brand via social media and events. No matter how you operate, there’s nothing to produce without incoming orders. If you don’t like to sell, partner with or hire someone who does. Even if you start your shop with no love for profit and just because you love to embroider, the only way to be free to do that work every day is to make the money it takes for your shop to survive. Though profit-minded businesspeople are already on-board, but for many creative people I know, selling starts as a struggle. If you believe in the value of embroidery, charge for that value and keep yourself running.
What gets measured, gets managed. Keep track of production, materials, expenditures, hours worked, and anything that comes in and out of your business. Only those things you measure and record enlighten your future decision making. Through analyzing our history in data, problems of excess cost or slowdowns in production become obvious. Track, report, and use what you learn to pivot toward a more efficient and profitable operation.
PUTTING IT ALL TOGETHER
There may be a lot to consider, but there is a conceptual thread that connects these practices. Think about the result before you start. Learn how things interact and measure what you want to control, never losing sight of the reasons why you act. Consider things holistically and give yourself the time it takes to learn as well as a little forgiveness for the mistakes you’ll make. Every ruined garment or unprofitable job will teach you volumes. If you start with careful decisions about costs and setup, continue dedicating yourself to learning and practicing the execution, and never stop working on your business as much if not more than you work in it.

