You know that favorite graphic T-shirt of yours hanging in the closet? What if I told you that you could design shirts just like that one all from home?
With the right equipment and supplies, you can earn an extra income all from the comfort of your home or even start a new hobby. The T-shirt business will continue to skyrocket over the next few years, so it’s the perfect time to dive into this relatively inexpensive side hustle.
Chosen because they work well in a small, home-based environment like a back bedroom, these options deliver professional results you’ll be proud of and have a variety of starting prices:
- White toner transfer printing
- Direct-to-garment
- Embroidery (Yes, this falls into the custom apparel category)
- Heat transfer vinyl (Using a cutter)
- Sublimation (Small format—the easy kind)
Next is a brief description of the equipment, the process, and the cost.
White toner transfer printing
One way you can start making T-shirts at home is by investing in a white toner led printer. Manufactured by OKI and UniNet, these are office-style full-color printers that have been adapted to use a white toner along with the other colors. The white is what lets you make a transfer that can be applied to dark T-shirts or hardgoods.
Sold under the brand Digital HeatFX, there are two options: one that uses CMY+ white and one that uses CMYK + white.
With this type of system, you’re printing a transfer that can be heat pressed to a garment or hardgoods using a basic process.
How to print Ts using white toner printer transfers
- Choose your art (Picture, text, graphic, logo, etc.)
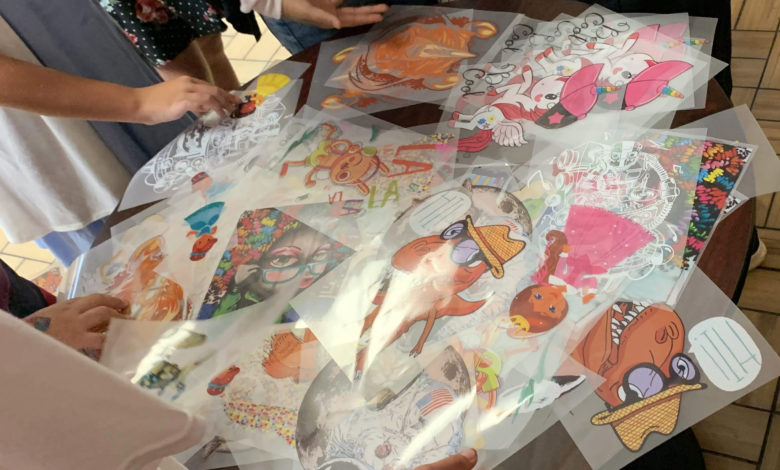
- Print your graphic using white toner transfer paper
- Use a second sheet to apply polymer to your transfer with a heat press
- Line up the finished graphic on the T-shirt under a heat press
- Heat press for about 30 secs (May vary depending on materials)
- Let cool and remove the transfer sheet
- Finish your shirt with a final heat press
These are general instructions, and there are typically training courses that come with the printers.
Why you will like it:
- No color limitations (Print photos, logos, or anything in between)
- Toner is easy (As opposed to liquid inks, there’s no mess, and it lasts a long time)
- You can apply the transfers to almost any fabric
- There’s a wholesale business built in (You can sell the transfers to other T-shirt makers)
- No ink means no maintenance
- No weeding like vinyl
- Fast process (Average about 5-10 minutes per shirt)
What you might not like:
- Each transfer sheet you print on is relatively expensive (Think $3.50-$4.50 per full sheet)
- The multistep process gives room for user error
- Not the softest feel of prints on T-shirts (Can feel like a transfer)
- Requires use of a high-end heat press (Be prepared to spend a few thousand dollars)
Initial investment: $4,000-$15,000
Direct-to-garment printing
Next, we have direct-to-garment (DTG) printing. Yes, it literally means you print directly on the shirt. This process uses inkjets to print directly onto T-shirts. You get a beautiful, full-color, high-resolution image right on your shirt. This printer works very much like your home color inkjet printer, but it’s a commercial machine—much pricier.
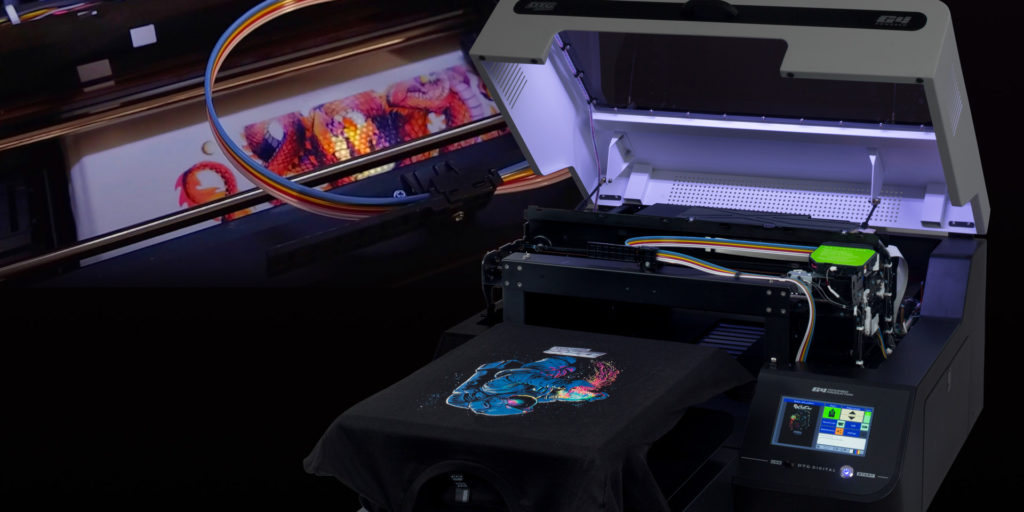
The DTG G4 is simple to use, can fit in that back bedroom, and has a patented vacuum platen that makes loading and unloading shirts fast.
How to print Ts using a DTG printer
- Choose your art (Picture, text, graphic, logo, etc.—once again, there are no restrictions on the number of colors)
- Pretreat the shirt using a pretreat machine or apply a small amount directly on your shirt with an HVLP sprayer (Watch a video on this process)
- Heat press your shirt with a heat transfer cover sheet
- Load the shirt into the printer and print the graphic onto your shirt
- Heat press the wet shirt to cure it
Why you will like it:
- Print big images up to 16″ X 20″
- Very low cost per print (We’ve printed full-color graphics onto white shirts for as little as $.07)
- Prints on 100% cotton T-shirts
- Soft hand feel
- Lasts wash after wash
- Vibrant colors
- Go from art to finished shirt in minutes
What you might not like:
- Cannot print on synthetic fabrics
- Requires dedicated space for both a pretreat station and DTG printer
- Requires regular maintenance for the liquid ink system
- Each shirt requires a liquid pretreatment
- Requires a professional heat press
Initial investment: $20,000-$25,000
Embroidery
Another cool way to create your custom clothing is through the embroidery process. This process has been around for quite some time, which is why it’s considered one of the more traditional ways to make a custom design.
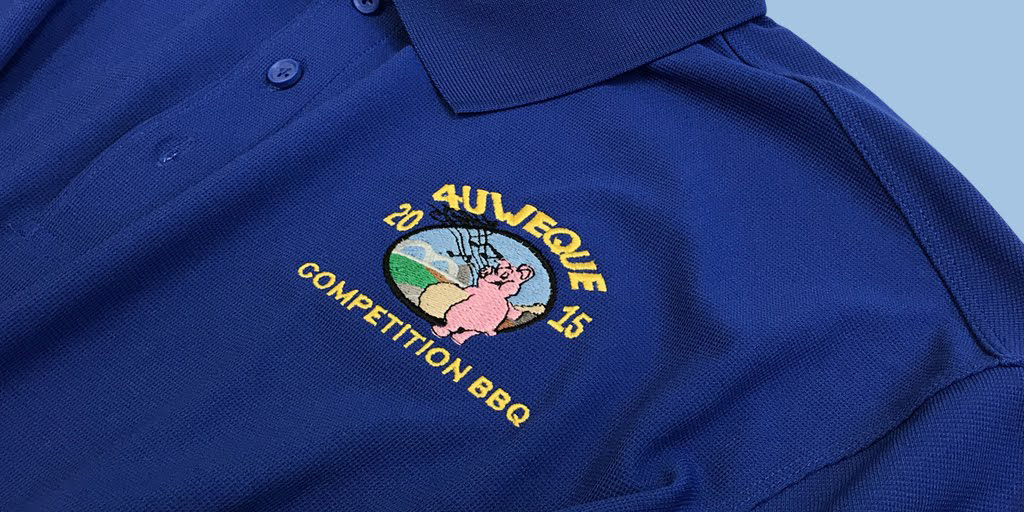
If you’re a home embroiderer now, you’re already on your way to understanding how to use the larger industrial machines. For example, the Avance 1501C embroidery machine has an updated touchscreen control panel like many of the pricier home machines do. This type of commercial machine allows for quick turnaround for products out of large shops or smaller home-based startups.
Most of these 15-needle embroidery machines come with a rolling stand, which makes it easy to push it into a closet when not in use.
How to embroider a garment
- Load your design onto the machine’s control panel using a USB or Wi-Fi
- Hoop your shirt
- Select your design and colors
- Select your hoop and trace
- Change your embroidery status
- Press start and sew
This machine and process may be for you because it’s small, there is less mess, and the threads are cheap. You can create a custom T-shirt in no time, depending on the design’s size.
Why you will like it:
- Custom caps are hot, and you can make them with a professional machine
- Thread and other supplies are cheap
- Works on nearly all materials (Cotton, polyester, canvas, leather, shoes, hats, etc.)
- Lasts almost forever regardless of wash
- Lots of opportunity in the gift market (Bring in varied business)
What you might not like:
- Not a way to create traditional graphic Ts
- Slowest of all the methods
- Art requires a specific skill of learning to digitize the graphic
- Or you’ll pay $15-$50 to have a design digitized for embroidery
Initial investment: $10,000-$15,000
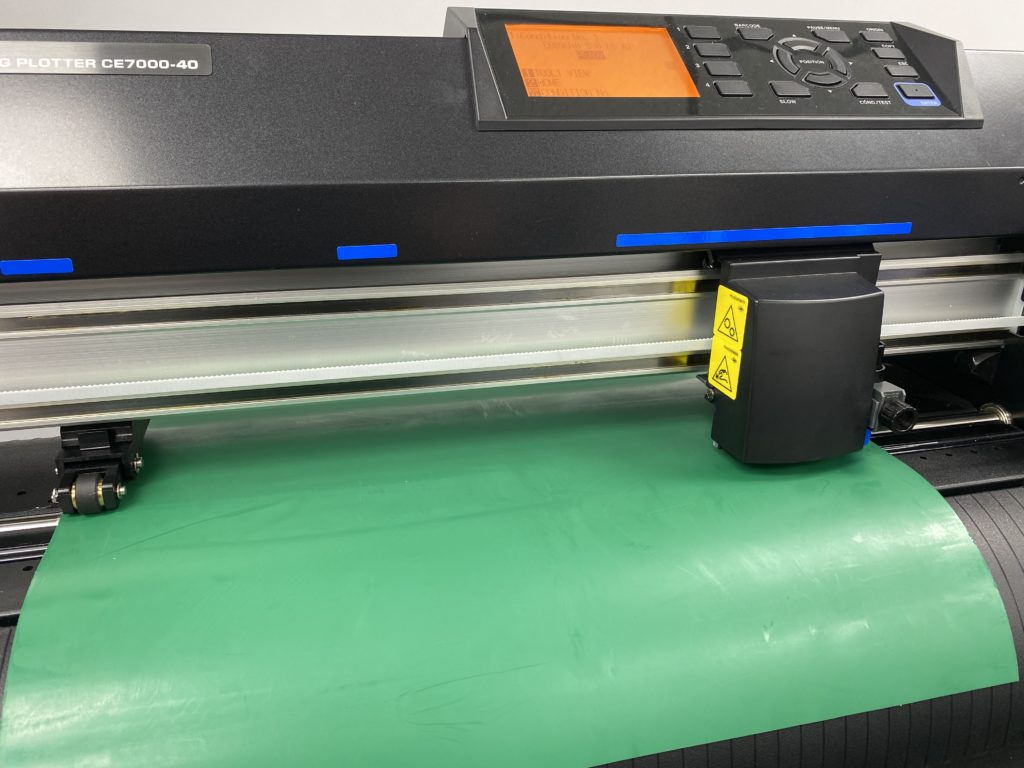
Heat transfer vinyl (vinyl cutter + supplies)
This method involves using rolls or sheets of a heat transfer material (HTV). This material is then cut to the shape of your graphic. You probably know someone who has a hobby version of one of these machines they purchased from a craft store. This is a popular method for creating T-shirts and easy to use.
How to print Ts using HTV and a heat press
- Create your design using the application that comes with the cutter, like Graphtec Studio software
- Adjust your cutter to the type of vinyl you’re using
- Cut out all the separate parts of the design by sending files from your computer to the cutter according to instructions
- Heat press your T-shirt to smooth it out
- Weed your HTV (Remove unwanted parts)
- Lay your design onto the shirt and press it
- Remove the carrier sheet (Clear film)
Using the HTV method could be useful for you in many ways. You have the option to use glitter and metallic vinyl, and if you plan on using this in small quantities, your production rate will increase.
Why you will like it:
- Very fast when creating simple one-color designs
- Easiest to learn and teach others to use
- Available in glitter, metallic, reflective, neon, and more
- Super soft finish and washes great
- Create transfers that can be sold wholesale
- Lowest investment to get started
What you might not like:
- When creating a multicolored graphic, it can be time-consuming
- Graphics with too much detail become unrealistic to create
- Weeding vinyl can be tedious
- Wasted materials mean a higher cost to create finished products
- Not full color (You’ll print one color layer at a time)
- No photos, etc.
Initial investment: $1,000-$3,000
Sublimation
Last but not least: sublimation. This process is a bit different because you must use dye-sublimation-based ink and paper. A sublimation printer, like the Sawgrass Virtuoso, is very intuitive to use. It behaves just like a home inkjet printer, but with special inks and paper.
How to print Ts using a sublimation printer
- Choose your image and print it onto the paper
- Line up the graphic where you want it on the T-shirt
- The paper may shift when you heat press, so use heat tape to keep the shirt in place
- Heat press, let cool, and pull transfer off
You might like this method because it’s mess-free, fast, and the garments withstand frequent washes. With sublimation, you have an unlimited number of objects to print on.
Why you will like it:
- Easy to learn
- Washes and wears well
- Best feel along with DTG (You cannot feel the image on the shirt)
- Works on a wide variety of substrates (Shirts, mugs, mousepads, etc.)
- Lowest potential investment to get going
What you might not like:
- Only works on white/light-colored garments
- Requires 100% polyester or a specially coated item
- Liquid ink printing is slower than other methods and might be messy
Initial investment: $500-$3,500
Which process is right for you?
If you’ll notice, each method has pros and cons. And there’s a wide difference in pricing.
The best way to pick the right system for you is to look at what you want to accomplish with your business, who you’re going to sell to, the kinds of things you’ll need to print and print on, and your budget. One size does not fit all!