Framing up caps on wide-format hoops can seem daunting at first, but with a few simple steps and care taken at the most critical points in the process, you can make the most stable substrate possible for your embroidery designs. With your cap straps open and materials at hand, it’s time to “hoop” some headwear.
Step 1: Place your cap frame on the firmly mounted gauge and open the attached straps.
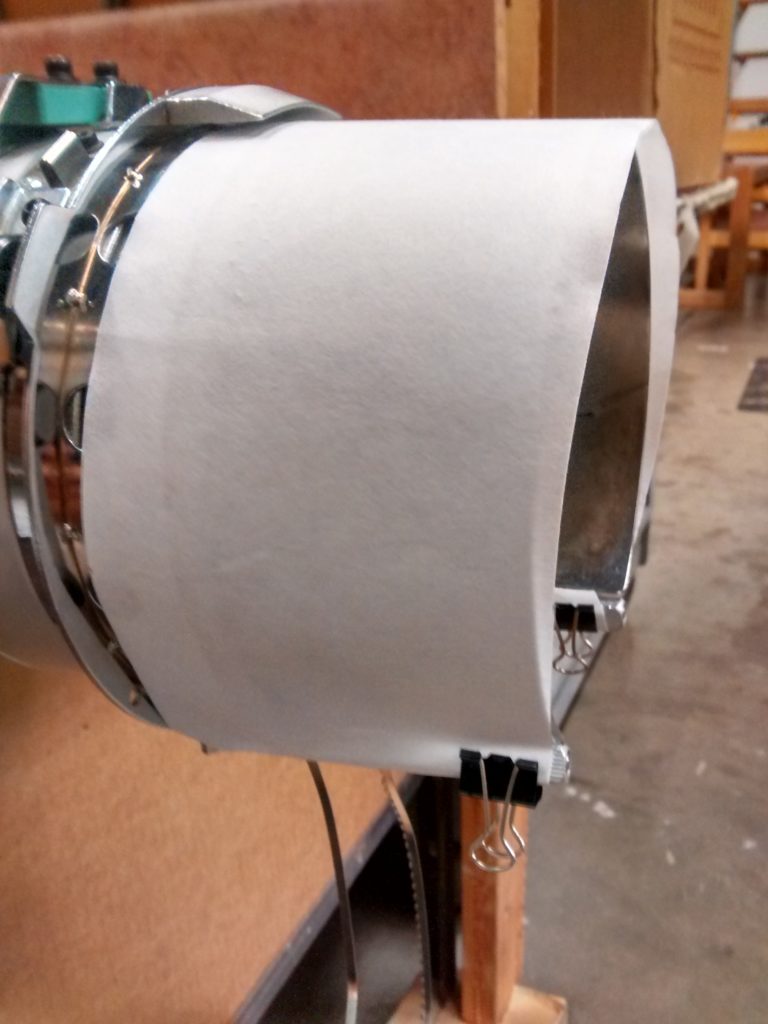
Step 2: Place the stabilizer on the frame, sliding it under the alignment bracket.
Pro tip: For complete stability, especially on unstructured caps, you may want to use a length of stabilizer that spans entirely from one of the rear posts around the frame to the other post as these posts provide the only stable object to which the cap’s crown will be attached along the vertical axis of your design. Using a full span of dimensionally stable material from post to post creates a cylinder of material with complete attachment to the full area of the horizontal and vertical axes of the frame to which you can attach the cap crown. You may need to temporarily clip the stabilizer in place if you elect to use the full span as explained here.
Step 3: Flip the sweatband down and out of the cap crown and slide the cap onto the frame, making sure to slot the sweatband under the alignment bracket with the stabilizer while keeping it smoothly placed around the frame. Make sure to keep the stabilizer and the rear posts inside of the cap crown.
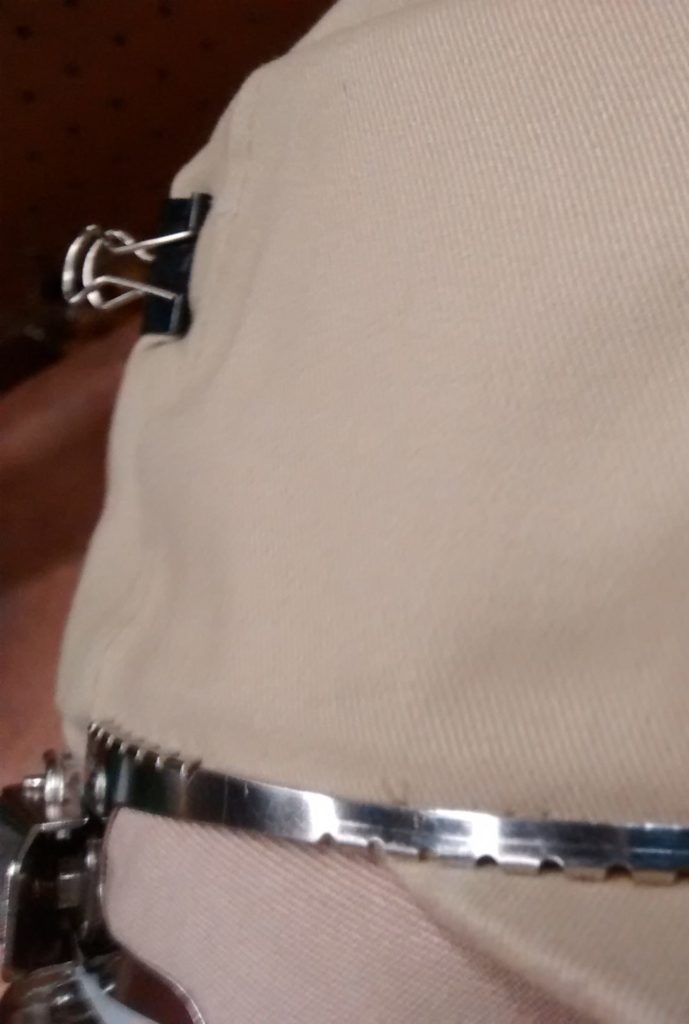
Step 4: Pull the frame’s strap over and around the bill of the cap, making sure to align the strap’s teeth with the seam between the crown and bill while keeping the bottom side seam of the cap aligned with the teeth on the frame. Proper alignment of these teeth with the seams on the crown will ensure that your design will stitch in proper alignment with the seam and appear straight on the finished cap.
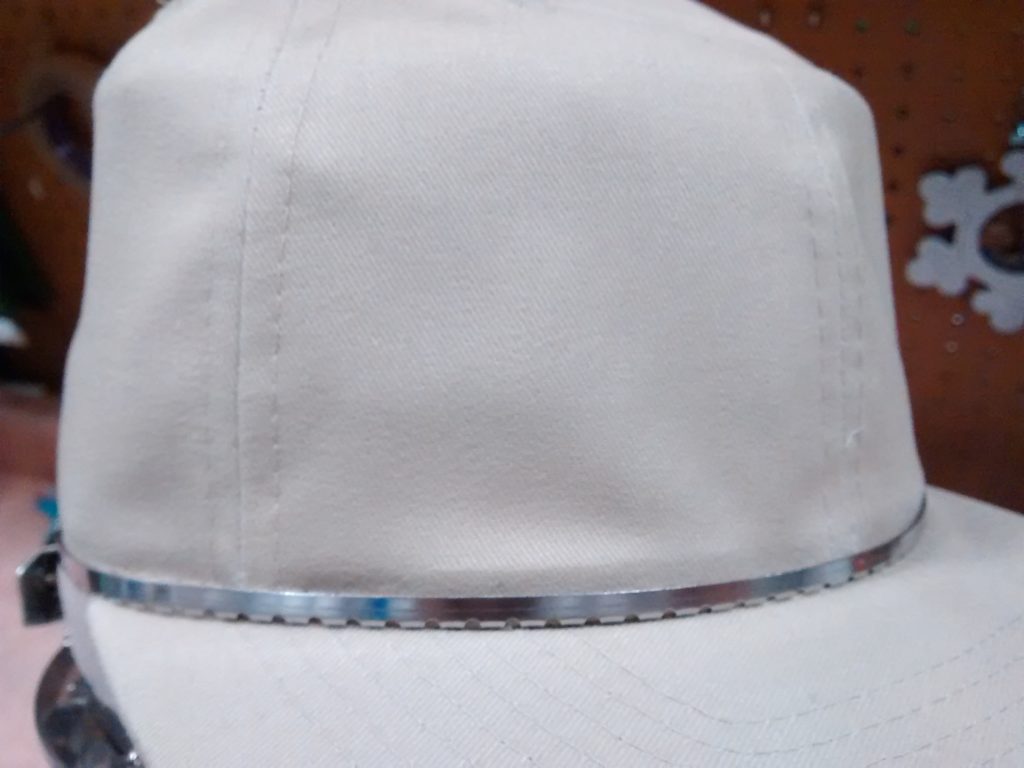
Pro tip: The teeth in the front of the strap will fit snugly into the seam between the bill and the crown, whereas the teeth on the sides of the strap that are the near side of the strap will align just above the bottom crown seam. These side teeth pair with teeth on the frame, which should align with the seam to arrest it.
Fit the loop on the strap to the folded hook on the frame and tighten the strap, making sure to align the front seam with the line on the alignment bracket.
Step 5: Smooth the side panels of the cap, working from the center of the hat toward the back, and clip any loose material to the posts at the back of the frame, eliminating as much wrinkling as possible. If you have temporarily clipped the stabilizer to the posts, you may have to remove those clips and use them to clip both the material and stabilizer to the posts.
Pro tip: Though the clip configuration differs from frame to frame, the aim of these back clips remains the same throughout. Smooth out the side panels and firmly adhere the sides to the rear posts to enhance stability for the run.
Your caps are now ready to run. Your best results will come from using caps that are friendly to the embroidery process and designs properly digitized for the shifting landscape that is the cap crown. By and large, all cap designs should stitch with the apparent motion of the needle bottom-up and center-out. That said, without properly framing them up, any cap and design can suffer.
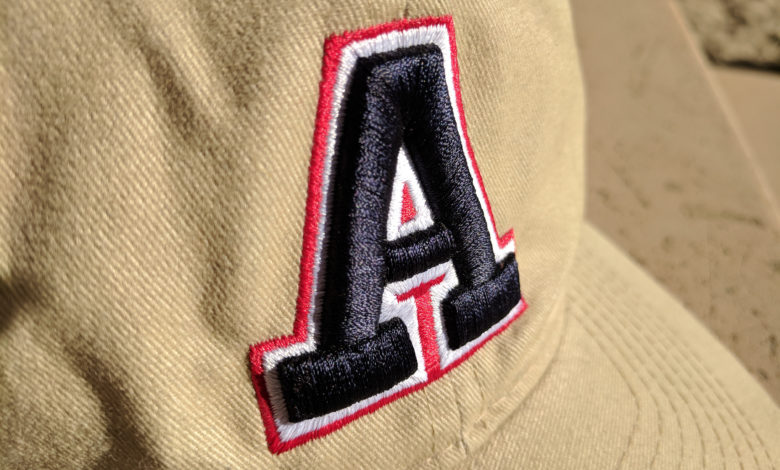
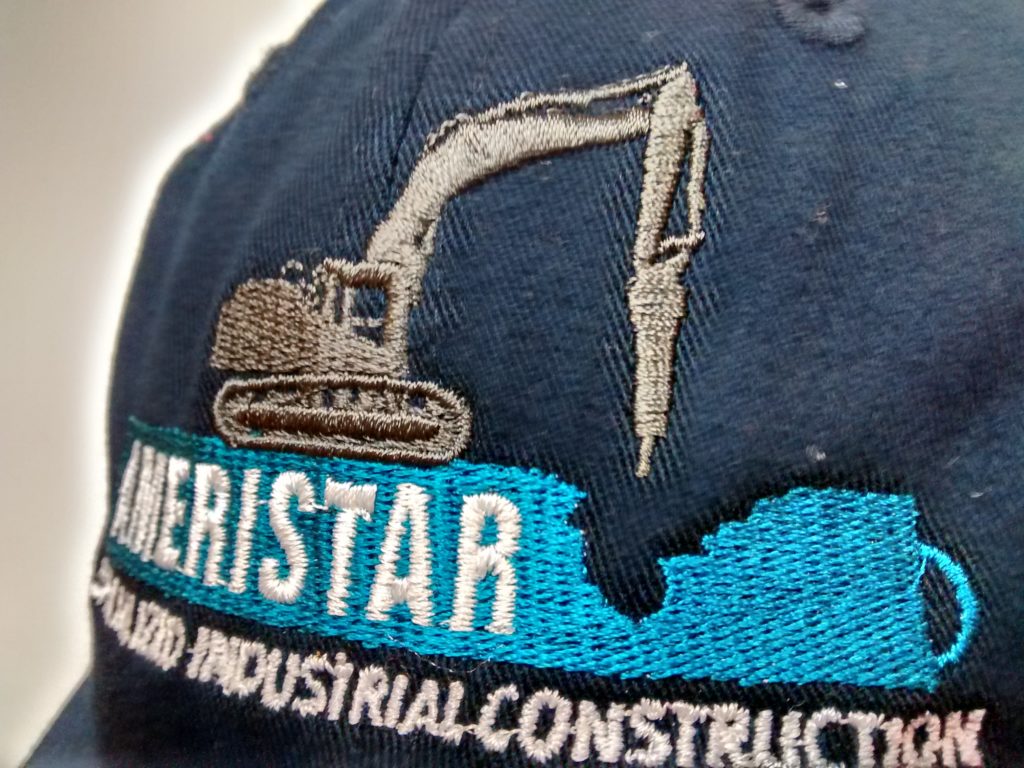
For example, the cap below was improperly framed, and the design was improperly placed, allowing the top of the equipment in the design to stray too far into the cap crown. Stitching too high in the bubble at the top dead center of a six-panel hat can cause excessive shifting. The underlay popping out and the visible distortion are part of that shifting.
Learn more: The Big Do’s & Don’ts Of Digitizing