In this Try This tip, I break down how to screen print face masks on an automatic screen printing press. This article covers what you need and provides a step-by-step guide to complete your project.
Face masks—screen printing presses weren’t designed for printing them, but with the right tools and how-to, you can screen print this new staple promotional and PPE item that is still in high demand.
What you’ll need:
-
- Hold-down platens
- Ink
- Artwork and mockups
- Art layout and screen preparation
- Press setup
- Printing
- Curing
- Packaging
Hold-down platens
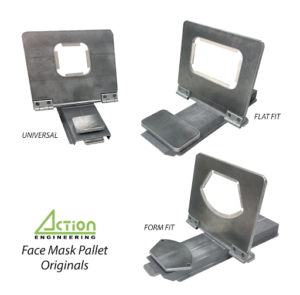
The only really different thing you’ll likely need to screen print on face masks using your auto is hold-down platens. Most face masks have two to three layers, so hold down jigs are necessary to keep the fabric from moving since you cannot use adhesive. Action Engineering manufactures a variety of platens depending on the mask style you are trying to print. If mask printing isn’t your main gig, you may want to consider getting a half set first before loading the entire press up.
Universal platens fit just about any multilayer face mask style and can print a 3″-4″ square and most parts of the mask.
Flat fit has the largest printing surface and is designed to print rectangular masks.
Form fit platens are for the fitted style of face mask that forms to the nose and tucks under the chin.
Ink
The mask’s material directly dictates the ink you use: most cotton or cloth masks accept standard T-shirt ink. However, some specialty or medical masks may require specific ink or ink additives.
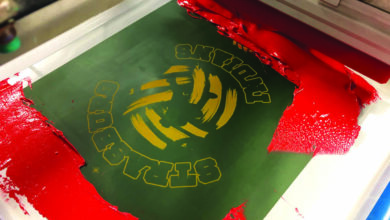
While you can use standard plastisol inks, I recommend printing a low solid or high-solids water-based ink. Why? Because it is both safer and does not contain any plasticizers or PVC ink. It also typically does not smell. It also flows smoothly through the screen mesh, especially if you are using lower solids or thinner water-based ink. This makes the printing process much easier. I want to suggest always using a low solids, water-based ink since the ink does not bridge the fabric. Instead, it wraps around the fibers, leaving room for airflow. While most logos are airy in design, some have heavier coverage. Therefore it’s best to use the ink that allows for maximum breathability.
As for dark masks, this ink choice can present a problem as typically you would use a high-solid white. I would discuss with your customer about printing either an off-center placement of their logo or a redesign that will allow for more airflow. Conversely, you can also work on a vintage look. Thinning down the ink will allow for less bridging of the garment, providing better breathability.
Artwork and mockups
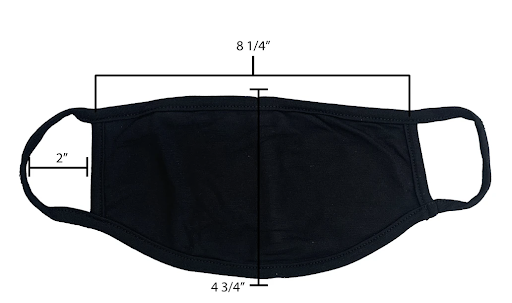
All masks are not made alike, and all masks don’t fit alike. Thus it’s crucial to both size and position art on a mask. Having a sizing chart helps show how large or small the logo will appear on the mask.
Sure, simple designs can probably get standard center, left, or right placement. For more complex designs, I would recommend printing out the art to size and then placing it onto the mask with tape to ensure you have the right positioning and angle onto your screen. To do this:
- Print out the artwork to size
- Tape onto the sample mask
- Put on sample mask and adjust accordingly
- Place sample mask with taped artwork onto the mask hold-down to ensure the design fits on the printing surface
Then, move the screen over the platen and note the art placement in relation to the screen.
Art layout and screen preparation
Screen orientation: For most mask prints, note that unlike T-shirts, which load upside down, masks are typically loaded with the design/artwork facing the printer. This can be a little tricky when positioning artwork onto the screen because it’s backward from everything you typically do on a T-shirt.
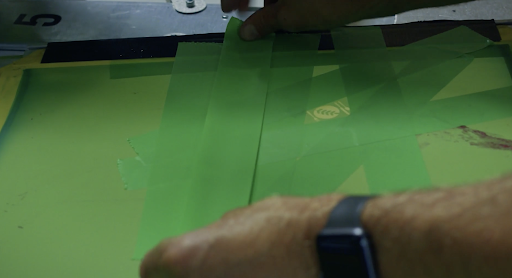
Screen prep: Masks and mask platens typically have raised ridges. For this reason, it’s important to note where the screen touches the platen and tape around the design where the raised or contact points are. If you do not do this, your screen could break down prematurely.
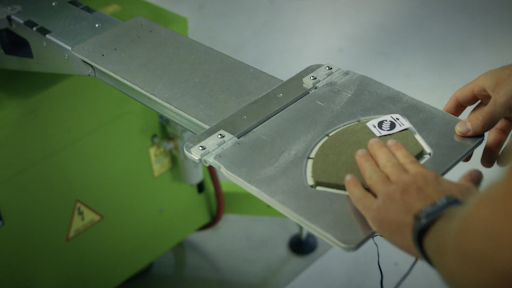
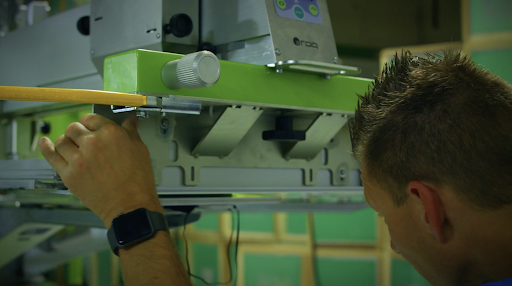
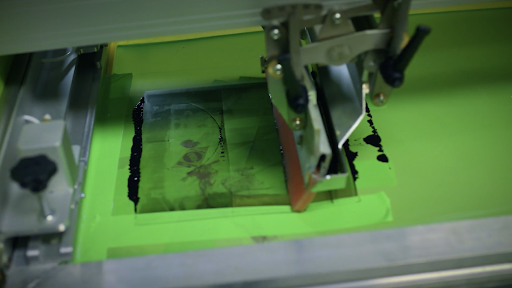
Press setup
When it comes to setting up your press, printing a mask is not much different from printing a T-shirt, except for the height of the printing surface. Because of the special platen setup and the dual-layer nature of the mask, most mask off-contact is higher, which means you need to raise the off-contact on your press and adjust the squeegee and flood bar travel to accommodate for the raised printing surface.
Wet-on-wet printing
For single or multicolor designs on lighter fabric, you can typically set up for wet-on-wet printing. With this method, I recommend performing two print stokes with water-based inks to clear the screen properly.
When introducing a flash dryer, you can typically change the prints to one print stroke if you are doing a print-flash-print—however, test for optimal results.
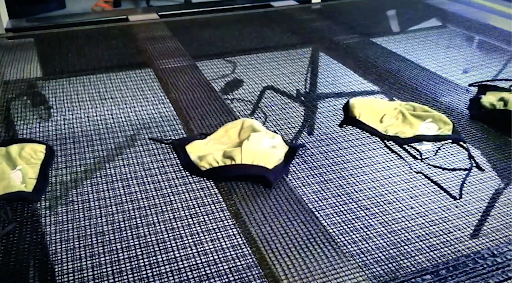
Curing
You want to be careful when curing masks with thinner elastic straps. You don’t want them to get too hot in the dryer, which can melt the elastic. To accomplish this, you can lower the dryer temp by 10-15% and then slow the belt speed down to ensure a full cure. Since masks are smaller, even though the belt is going slower, it should not impede maximum production speed.
Packaging
The final step of the printing process is the packaging. While it is always a best practice for your shop to be wearing protective PPE when printing masks, the curing process effectively sterilizes the mask, and thus the most important part is to package the masks safely. You’ll want the masks to drop into a clean and sterile bag or be packaged directly out of the dryer by employees wearing a mask and gloves. This will minimize any contamination of the mask.
It is also good to put simple wash/wear instructions with every order as a liability precaution.