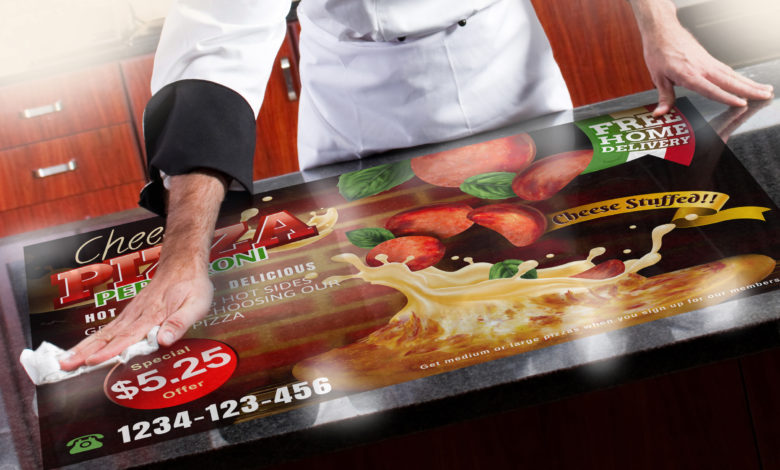
Laminators are more important than ever despite advances in printing technology. There’s always a good reason to laminate a finished print, particularly if it will be subjected to the elements outdoors or be situated in a location with full sun.
Laminators have pretty much stayed the same over the past 20 years. The only changes are what Carl Hoffman, Royal Sovereign, says are more “quality of life things rather than performance.”
If a print shop is considering buying a laminator for the first time, here are some of the must-have features they should consider.
Rear windup
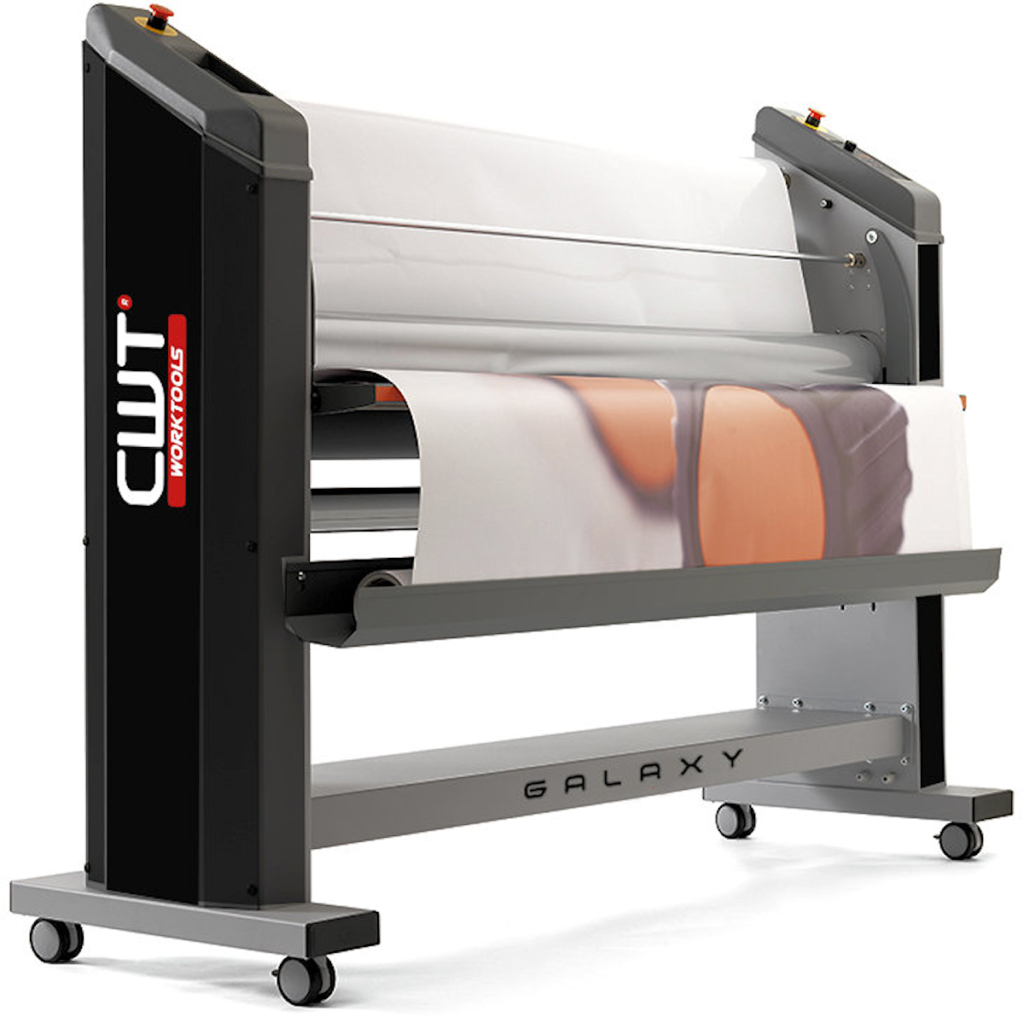
Shops that run a lot of material through their laminator should consider getting one with a rear windup assembly that pulls the material off the laminator and winds it into a roll. Companies that don’t have this feature on their laminator need to have one person in front of the machine feeding the material through and making sure it is going in properly and another at the back of the machine, rolling the material up by hand.
If the lamination job is a really long one, “You don’t want people standing there for 25 minutes rolling lamination,” Hoffman says. Shops also don’t want to let the processed material fall to the floor, where it can get damaged and scratched. Other shops like to add a front feed assembly so that a person doesn’t have to stand at the laminator feeding material into it.
“If I had to choose, I would choose the rear winder. In front, you can get a table,” he says.
Mitch Noble, Graphic Finishing Partners, says that having an integrated rear rewind function for roll-to-roll operation is very important, especially for long production runs like vehicle wrap applications.
“This allows the operator to run from a rolled printed image to rolled finished output without interruption and reduces the possibility of dust and dirt on the image,” he says.
Mike Osman, CWT Worktools USA, says that the rear take-up is a must, particularly for car wrap clients. Many companies offer rear rewind functions as a separate add-on attachment. CWT’s laminators come with that function built-in.
Document and paper feed guides
Document guides or paper feed guides are also a must.
“For us, they come with the machines,” Hoffman says. “We have one for keeping it flat on the table right before it goes into the machine and two on the sides to keep it feeding straight. Those are pretty useful.”
Hoffman says that foot pedals are also nice because the operator can start the process or stop it from both the front and back of the machine. Many machines come with emergency stops on both sides of the machine. Others have remotes.
Many laminators come with hand crank rollers to apply pressure to the lamination. More expensive machines use pneumatic rollers.
Versatility and settings
Not all laminators are created equal, says Tony Caruso, AGL Inc. The first order of business is to pick a laminator that does everything you want it to do. It comes down to understanding what you are trying to create and the process requirements.
If a shop is going to invest heavily in printers designed for high volume and output, they also need to buy a laminator that can keep up with the pace of the printers to eliminate bottlenecking issues.
“A laminator of ours, depending on the model, would be capable of supporting multiple printers,” Caruso says, including UV, eco-solvent, and latex printers. “A lot of people who laminate and offer finishing, they just assume they have to give up 20% to 25% waste to the laminating gods. It’s the cost of doing business because a print might get ruined because you didn’t pay attention to the settings on the laminator.”
Purchasing a laminator that has repeatable settings is also a must. That way, it is simple for anyone to use the machine, and there will be less waste in the workshop because of it.
Ike Harris, Daige Products Inc., says there are three types of laminators, cold roller, heated roller, and pouch. In the sign industry, cold and heated laminators are king. Daige laminators are cold laminators, which “are much more popular over the last five or six years due to the nature and type of work customers are doing,” he says.
Cold laminators are used for laminating prints, mounting prints to boards, and in the sign industry.
Harris says that silicone rollers are a must, both top and bottom, and big enough to apply the proper pressure. He also believes shops need a way to roll up the silicone release paper that covers the adhesive as a project is laminated. Silicone rollers are important so that the laminate won’t stick to the bottom roller.
In cold lamination, laminate is only applied to the print. Whereas in hot lamination, the piece being laminated is fully encapsulated in laminate. For cold lamination, shops could buy laminators with adjustable speed motors, although Harris says it isn’t necessary.
“We have one speed that works quite well for laminating and mounting prints to boards, so we don’t provide that adjustable speed,” Harris says. “We don’t feel that customers are penalized at all.”
But, some people might want to run at a slower speed, and some might want to run their laminators at a higher speed. It depends on what they want to do with their laminator.
Laminator rollers and splitters
Noble says that shops considering purchasing a laminator should buy one with an infinitely variable roller gap adjustment.
“Varying substrate and film thicknesses require precise adjustment for roller gap and pressure to ensure flat/smooth output,” he says. “Laminators with preset roller gap positions ignore these varying thicknesses for different applications and ignore variations in the thickness of standard mounting boards.”
He also says that it is important to purchase a laminator with a strong machine frame and cross members.
“Flexing or twisting of the machine structure during operation can cause wrinkles and waves in the finished output and cause the film web to skew toward one side or the other without the ability for the operator to adjust the machine to correct the issue,” Noble says. AGL’s Caruso agrees.
If the laminator uses non-crown rollers, they are very heavy, and you don’t want them to bend. AGL’s laminators use more steel in them, depending on the model, to support the weight of the heavier rollers. Laminators should have a minimum of a quarter-inch steel frame, according to Caruso.
“The last thing you want is the frame to be flexing or bending because the rollers are knocking it out of trim, out of alignment in essence,” Caruso says.
Metal gear mechanisms to raise and lower the top roller are also a must. This ensures that the rollers remain parallel over time without requiring adjustment or replacement of spring mechanisms.
“Parallel rollers ensure film web runs straight through the laminator without skewing to one side,” Noble says.
There also should be a single point of adjustment to raise and lower the top roller, he adds. “This ensures the top roller raises and lowers evenly and applies even pressure from side to side to keep the laminating web from skewing to one side or the other.”
Laminating rollers also should be large in diameter.
“The longer the film and media input webs can rest on the laminating rollers during operation (called dwell time), the better chance for flat output without wrinkles,” Noble says.
For thermal laminators, Caruso says that dual heated rollers (both top and bottom) are necessary for encapsulating a print. If a shop works in the fine art world and does a lot of gallery work, they don’t need a dual heat laminator. They would only require single heat to warm the adhesive enough to get absolute clarity when putting the graphic down on acrylic or glass.
CWT’s Osman says that a heat assist roller on the top of the laminator “helps reduce silvering, which is tiny silver specks in the adhesive.”
Laminators should have a way to identify and adjust material tensions in a repeatable way, Caruso says. If a shop is working with vinyl, which stretches easily, “you don’t want to apply too much tension, or it can elongate the laminate, and that can lead to problems. It is going to stretch and curl and then shrink back up on you.”
AGL’s laminators offer slitting capability for customers that want to cut and trim, which is the labor-intensive part of the finishing process.
“We also offer laminators with inline trimming, so as it is exiting, it is trimming the sides off,” Caruso says. AGL’s machines use rotary cutting wheels which stay sharp for years, unlike razor blades which dull over time.
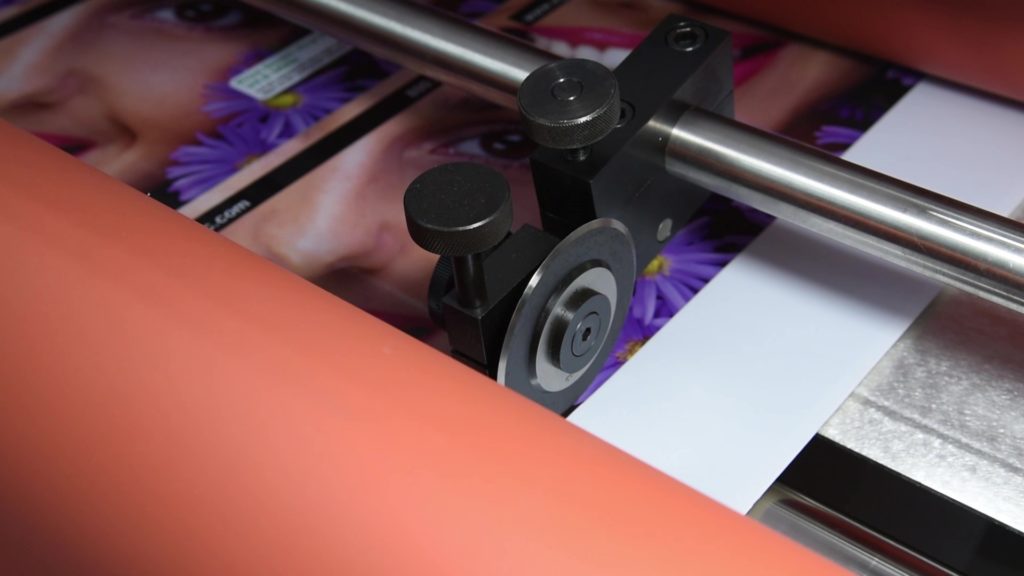
CWT’s laminators also come with built-in rear splitters that trim the sides of the film to the image.
“It saves a lot of trimming time,” Osman says. One client told him that having that feature saved him a day and a half of work by not having to trim it by hand.
Learn more: Tapping Current Trends with a Laminator