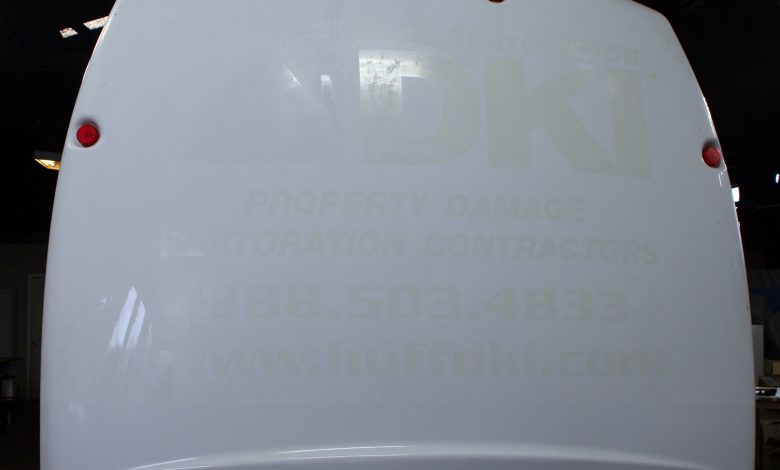
Let’s Talk Shop: Wrap Removal
Considerations for the pricing, tools and cleaners needed for a clean wrap removal job
Wrap removals are not what I would consider a top money-making service. Typically the wraps we remove are done to prep a vehicle for a re-wrap or to take care of a good customer who is selling a wrapped vehicle.
If the wrap has been left on the vehicle for entirely too long, then the customer may need to consider taking it to a body shop for removal and prep. When you assess the vehicle with the customer you can usually determine the least expensive route with the best results.
Pricing
There are two important considerations for wrap removal that need to be covered before removal begins. The first is to quote the job by the hour and not a flat fee. The only exception is if you’re removing a fleet of graphics that used the same materials and were wrapped at the same time, and you’ve established the time involved.
We explain the process to our customer and let them know the steps involved, including any adhesive removal. On the customer’s work order we note the start and stop times and number of employees working on the removal and calculate the number of hours it took-then multiply that figure by our shop rate.
Because we’ve removed many wraps over the years we are able to give the customer a rough estimate of the hours we think it will take by assessing the vehicle. Of course, we keep this open-ended and remind them that it’s just an estimate and actual removal may take longer.
You could start removing the graphics and find that the previous wrap installer used tape primer everywhere, which will take a while to remove. Or you could find old graphics or reflective film underneath that also need to be removed.
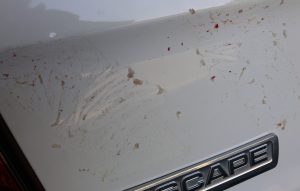
If we see that we’re running into serious issues-or something comes up that we feel will greatly lengthen the time needed for removal-we call the customer to get their approval to continue moving forward. If we also see any issues with the paint, beyond what was expected, we’ll stop and call.
Caveat Venditor (Seller Beware)
Paint conditions bring us to the second consideration. Prior to starting removal we recommend reviewing possible issues with paint coming off the vehicle during the wrap film removal process.
This is especially important for older vehicles and for wraps that your shop did not do initially. This is a lesson we learned the hard way. Wraps that have been on for longer than five years, graphics along horizontal planes, unknown vinyl manufacturer and wraps over after-market paint jobs should all raise red flags.
We now have a simple form that we created that basically lets the customer know that our shop is not responsible for any paint that should come off during removal, that the customer understands this and is signing off their approval for us to continue.
Considerations
When a customer requests a wrap removal there is a simple checklist we run through with them to try and assess how long we think the removal will take. If we didn’t wrap the vehicle initially then we try to determine what material was used to wrap the vehicle, as well as when the customer had it wrapped.
If we wrapped the vehicle then we simply pull the paperwork to check the date and material(s) we used. Wraps more than five years old, or that involved a more aggressive adhesive-backed vinyl, will typically take much longer to remove.
It’s important to take a look at the vehicle in person to review the horizontal vs. vertical planes of the vehicle. Roofs, hoods, tops of doors, trunks, etc., will brown and crack over time and are much harder to remove than vertical planes.
Tools
If premium wrap vinyl was used and the wrap is less than two years old, then you should be able to simply pull it off. A wrap that is a little older may require heat.
Heat guns or propane torches are a good source of heat to aid in removing old vehicle wraps. Heat guns provide a nice, even heat while torches give a hotter burst of heat. If you’re removing with a torch be sure that you keep the torch moving to avoid burning the vinyl which can cause marks on the surface of the vehicle.
Warmed vinyl cools quickly so there’s no point in heating an overly large section. Heat about one square foot at a time, peel, then heat the next section.
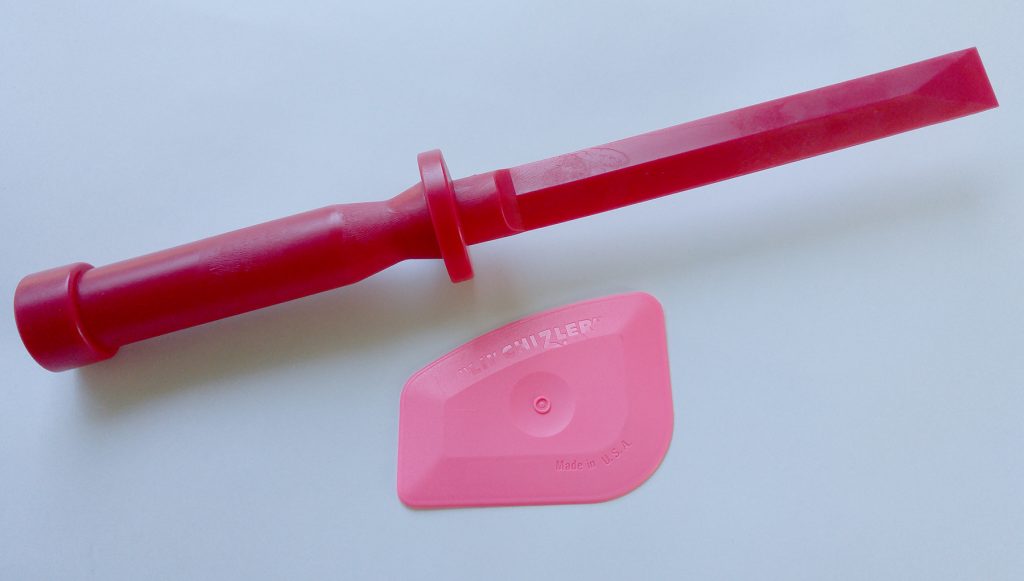
Lil’ Chizler brand plastic scrapers with handles and other non-marring scrapers are great tools for lifting the edges of the vinyl. Lifting the edge with a tool then peeling large sections by hand is the best way to avoid an abundance of leftover adhesive. For older graphics, warming then scraping may be the best approach, but you will have more adhesive left behind.
Razor blades should never be used on the body of the vehicle, but can be used to remove old window graphics. Be sure to keep the window sprayed down with window cleaner or soapy water while scraping to avoid scratches.
For very old or aggressive vinyl you may need to break out the power tools. We’ve used stripe eliminator wheels in the past-they are messy but effective. The wheel attaches to your existing drill and can chew through the old vinyl fairly quickly, without marring the surface of the vehicle.
I wouldn’t recommend trying to remove a full wrap with one of these tools, but for pinstripes or smaller horizontal areas it is an effective tool. If the entire wrap was bad enough to require one of these tools I would refer the customer to a body shop.
There is a product on the market that I wanted to tuck in between tools and cleaners because it claims to remove the vinyl and adhesive in one step. VinylOff by CrystalTek is a water-soluble, environmentally friendly product that you wipe on, wait a few minutes and then remove the graphics along with the adhesive.
Adhesive removal
Once all of the old vinyl has been removed you will likely have some leftover adhesive or old tape primer that will need to be cleaned off. The first cleaner we grab is Rapid Remover. It works great in removing old adhesive and tape primer fairly quickly.
We like to initially spray down any adhesive and allow it to sit for a few minutes to work. Try to avoid spraying any plastic areas; if you do get overspray be sure to clean it off to avoid any possible spotting.
Once the Rapid Remover has started to break down the adhesive, we use an old plastic squeegee or Lil’ Chizzler tool to scrape the adhesive into sticky balls. With a bit more Rapid Remover and either paper towels or an old lint towel we scrub the adhesive, gathering up the adhesive balls.
When the adhesive has been cleaned off we follow up with either an ammonia-free glass cleaner or a citrus cleaner. Either one cuts through the oily residue left behind from the Rapid Remover. If we need to clean very large sections, then we add the citrus cleaner to a bucket of warm water and scrub down the vehicle using a large window squeegee.
Final cleaning and prep
If we’re planning on re-wrapping the vehicle then we start our thorough cleaning at this point. This includes running a cloth-covered squeegee under window trim, moldings and other grooves and crevices. We also wipe the inside of doors and underneath the vehicle.
All of this final cleaning is followed up with a thorough wipe down using a 70/30 mixture of water and isopropyl alcohol. Wipe a section with the alcohol mixture then follow with a dry, lint-free cloth.
Document
When we remove a wrap, we like to document any damage on a template of the vehicle. This is especially important if we didn’t wrap it initially and if the vehicle is going to be re-wrapped.
If there were cut marks, nicks or surface damage from the previous wrap installer, or as a result of removing very old graphics, we want the customer to be aware. By documenting this and keeping the information on file we can reference it later if the customer questions us.
I would recommend specifically reviewing the damage and having the customer sign off on the notations. Serious damage should also be photographed and the photos saved to the customer’s artwork folder.
