In Part 1 of Goals & Practices in Embroidery, we covered SMART goal setting and considerate action plans. In this article, we’ll explore how the willingness to practice your craft can help you persevere.
For those looking for inspiration on expanding skills or refining your current embroidery work, the following exercises may help refine your goals and actionable steps.

Swatch testing
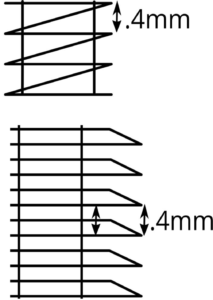
Create a file that methodically tests one setting in your digitized files so that you can see how that variable affects your designs. Run multiple “swatches” of a stitch type with one variable altered from swatch to swatch so that you can see the effect of said variable in your work. Common swatch tests include density examinations, underlay type tests, fill pattern tests, and compensation tests.
Material mastery
To learn what needs to be done for designs to compensate for the differences in fabrics by testing and analysis, use a known well-digitized design and run the same design in the same colors on multiple fabrics common in your shop. Measure elements in the digital design and see how they have changed in the stitch-outs. By measuring these items “in the thread” and taking notes, you’ll be increasingly able to adjust designs for any texture, thickness, and stretch.
Redefine relationships
Create small designs or elements that explore the relationship between adjacent stitch types and settings. Think of the most common three stitch types and explore how they interact with each other and how the parameters of each stitch type can affect the outcome in the design. With the three most common types, being fill/tatami, satin stitch, and running stitch, we can examine the intersection of bringing those stitch types together. How does a fill next to/touching another fill behave? If we outline a fill with a satin stitch, how does the satin distort or split the fill? In either case, what happens if we change the stitch angle of one of the elements?
Practice simple combinations like a satin stitch element with straight stitch outlines, a fill with a satin border, overlapped satin stitches that fill an area, etc. When you can master the pull and push distortion, and you understand the interactions between the basic pairs (fill+fill, fill+satin, fill+running, satin+satin, and running+running), you’ll have tremendous control over your designs.
Self-directed projects
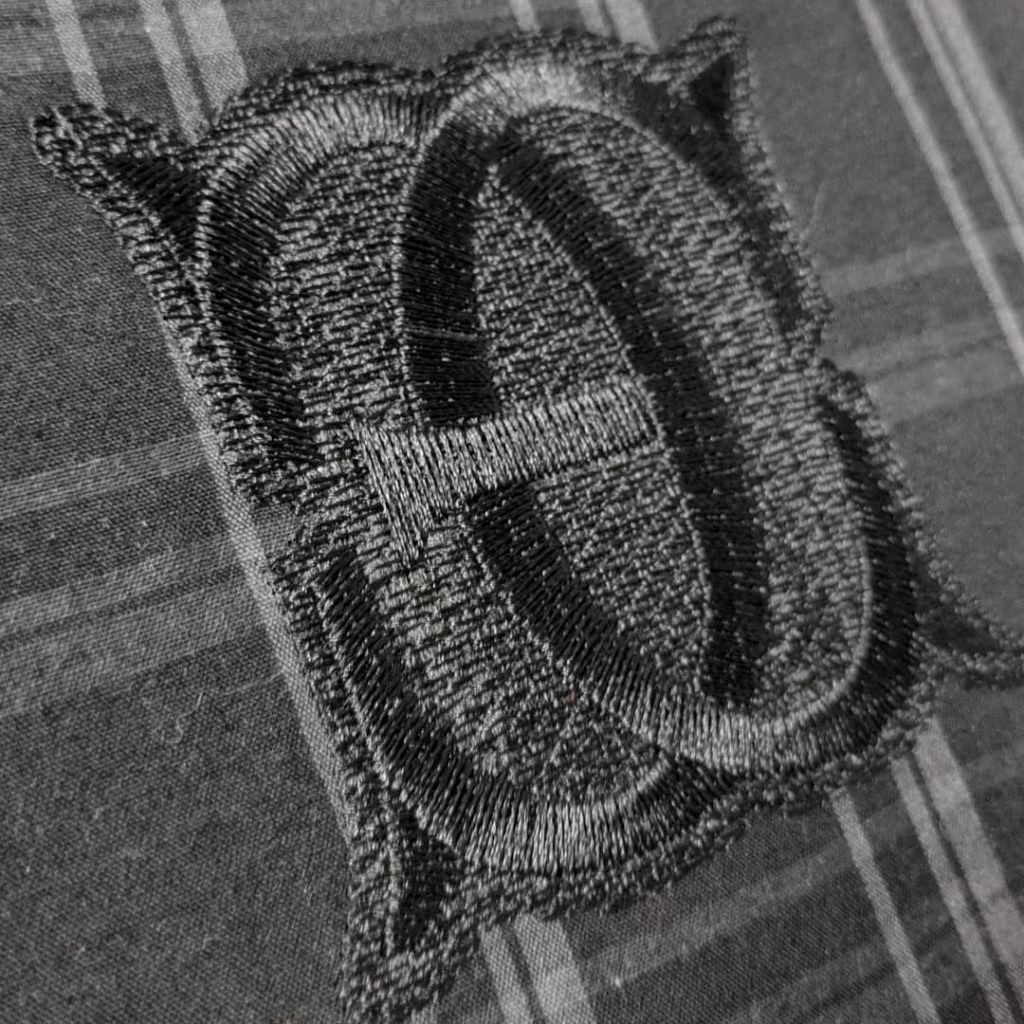
Create something for yourself, but with an eye toward skill-building and goals. A great version of this is to create a piece that is useful for demonstrating a decoration type, material, or design scheme to customers, featuring art or themes that you enjoy. As you are the “client” for this work, the pressure on this learning experience is lessened by the fact that you are the ultimate arbiter of your work, and you can take creative risks that customer work may not allow. Looking to add patches to your offerings? Make an awesome patch for shop-merch within the styles your customers are likely to order. Want to try a new thread, material, or technique? Look up instructions, buy sample material, and try it out on a self-directed project that matches the type of stitching you want to achieve.
Analysis, reproduction, and remix
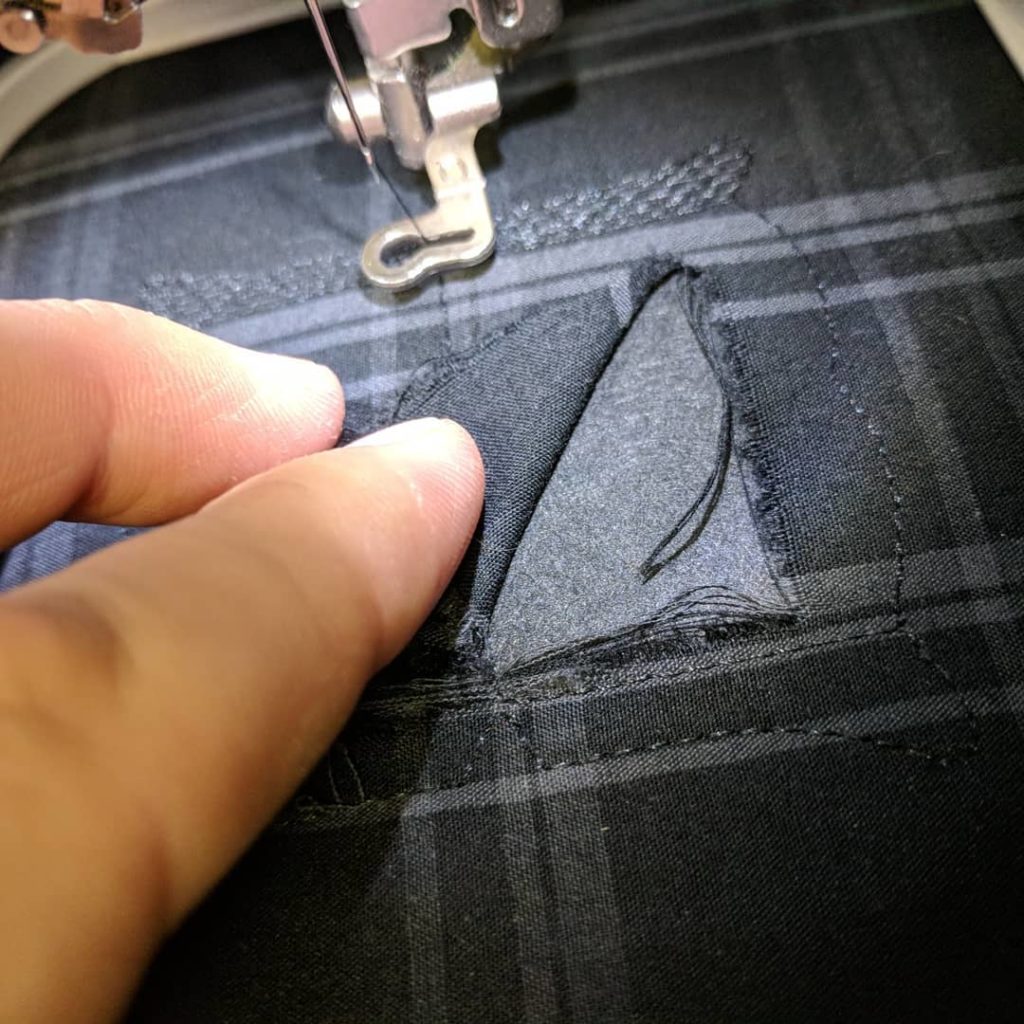
Take a piece of embroidery or a digitized design that you love and tear it apart to learn how it works. This may even include physically breaking down a retail embroidered piece. Look at how long stitches are, at what angle they are laid, what materials it uses, and how they are employed. If you have a design file, look at the settings that the creator used by measuring stitch angle, length, and density of stitch blocks, as well as overlaps and underlay type. Analyze and take notes, then reproduce the design as closely as you can to see if you have the settings right. Once you’ve replicated the elements you are interested in, pick something about the design or the style and alter it. Take what you’ve learned in the settings and use them to an entirely new design in the style of the original.
Getting in reps
No matter what it is you are trying to achieve, recognize that all of these tools serve to help you stay focussed and keep pursuing directed, consistent practice. For embroidery skills, my other SMART acronym says it all; when testing a design or new sample, stay SMART.
Stitch your design while watching it run. Measure the difference between file and result. Analyze what went right and wrong. Revise your digitizing, method, or material selection as needed, then Test again.

When it comes to goal-setting, even if you miss your mark when measuring results at check-in or find you have to redirect your efforts, remember that it’s in repetition and practice that we gain ground. Failure is never final or fatal unless you stop trying, and it is almost always educational. Commit to the big goals, break them down into actionable steps, and get in your reps. Your work and your shop will assuredly be stronger for it.


