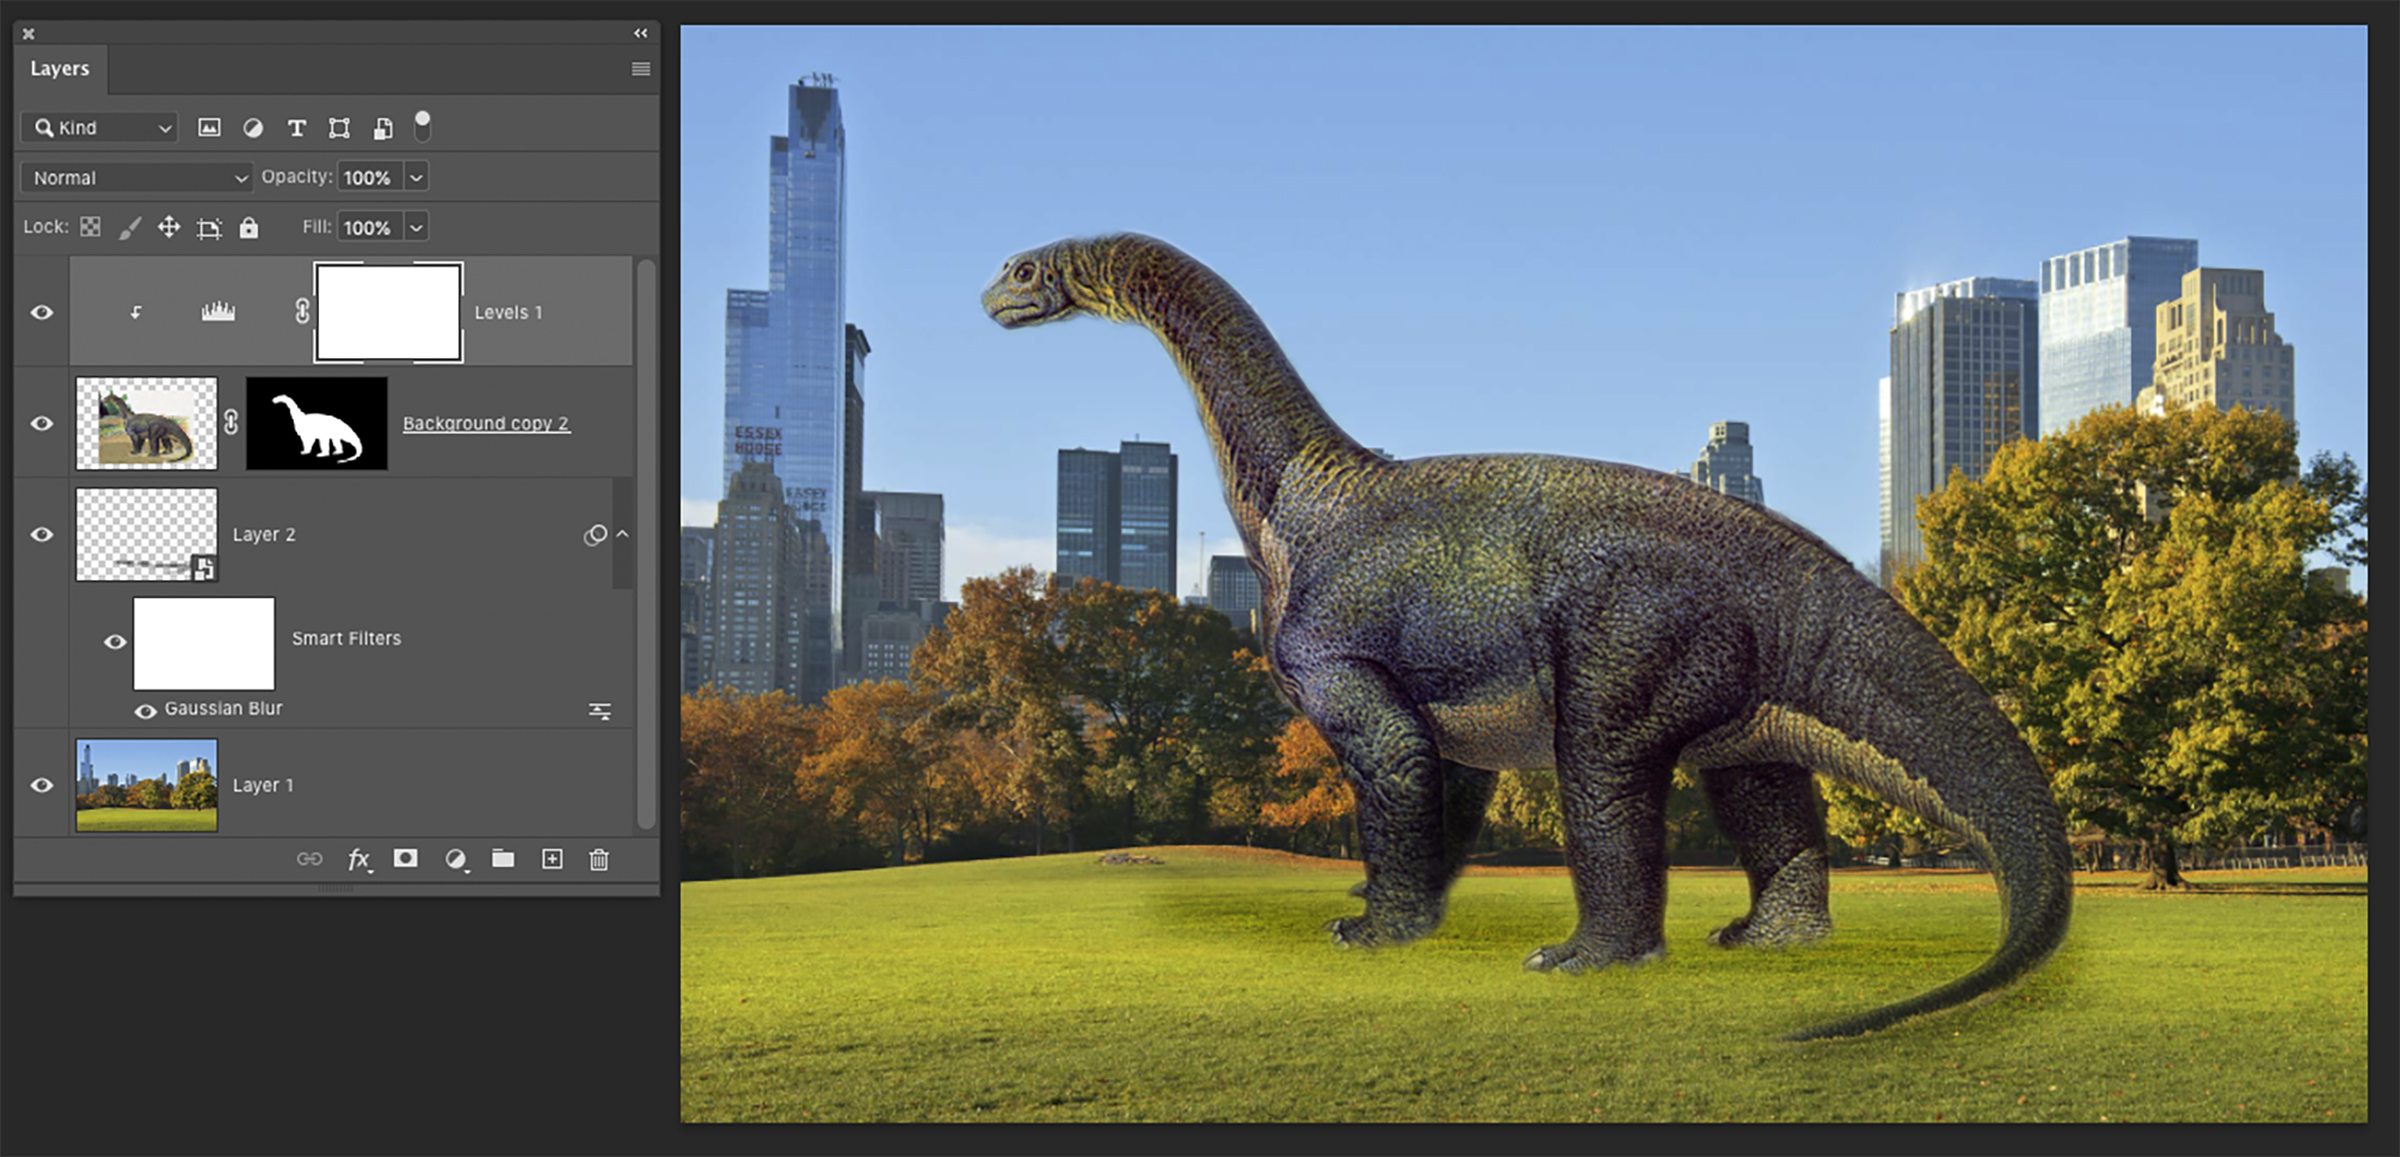
The concept is simple. Combine two or more images into a single, undetectable composite. I’m sure you’ve seen this done in most media. When experienced, the effect can be stunning. To composite images successfully — seamless to the extreme and with no trace of where one image ends and one begins — requires a sharp eye and a bit of digital sleight of hand.
Compositing workflow
Here is a typical step-by-step workflow for selecting source images and compositing them to a new document.
Step 1: Select

Start by making an accurate selection on the source photo. (Fig. 1A)
Step 2: Mask
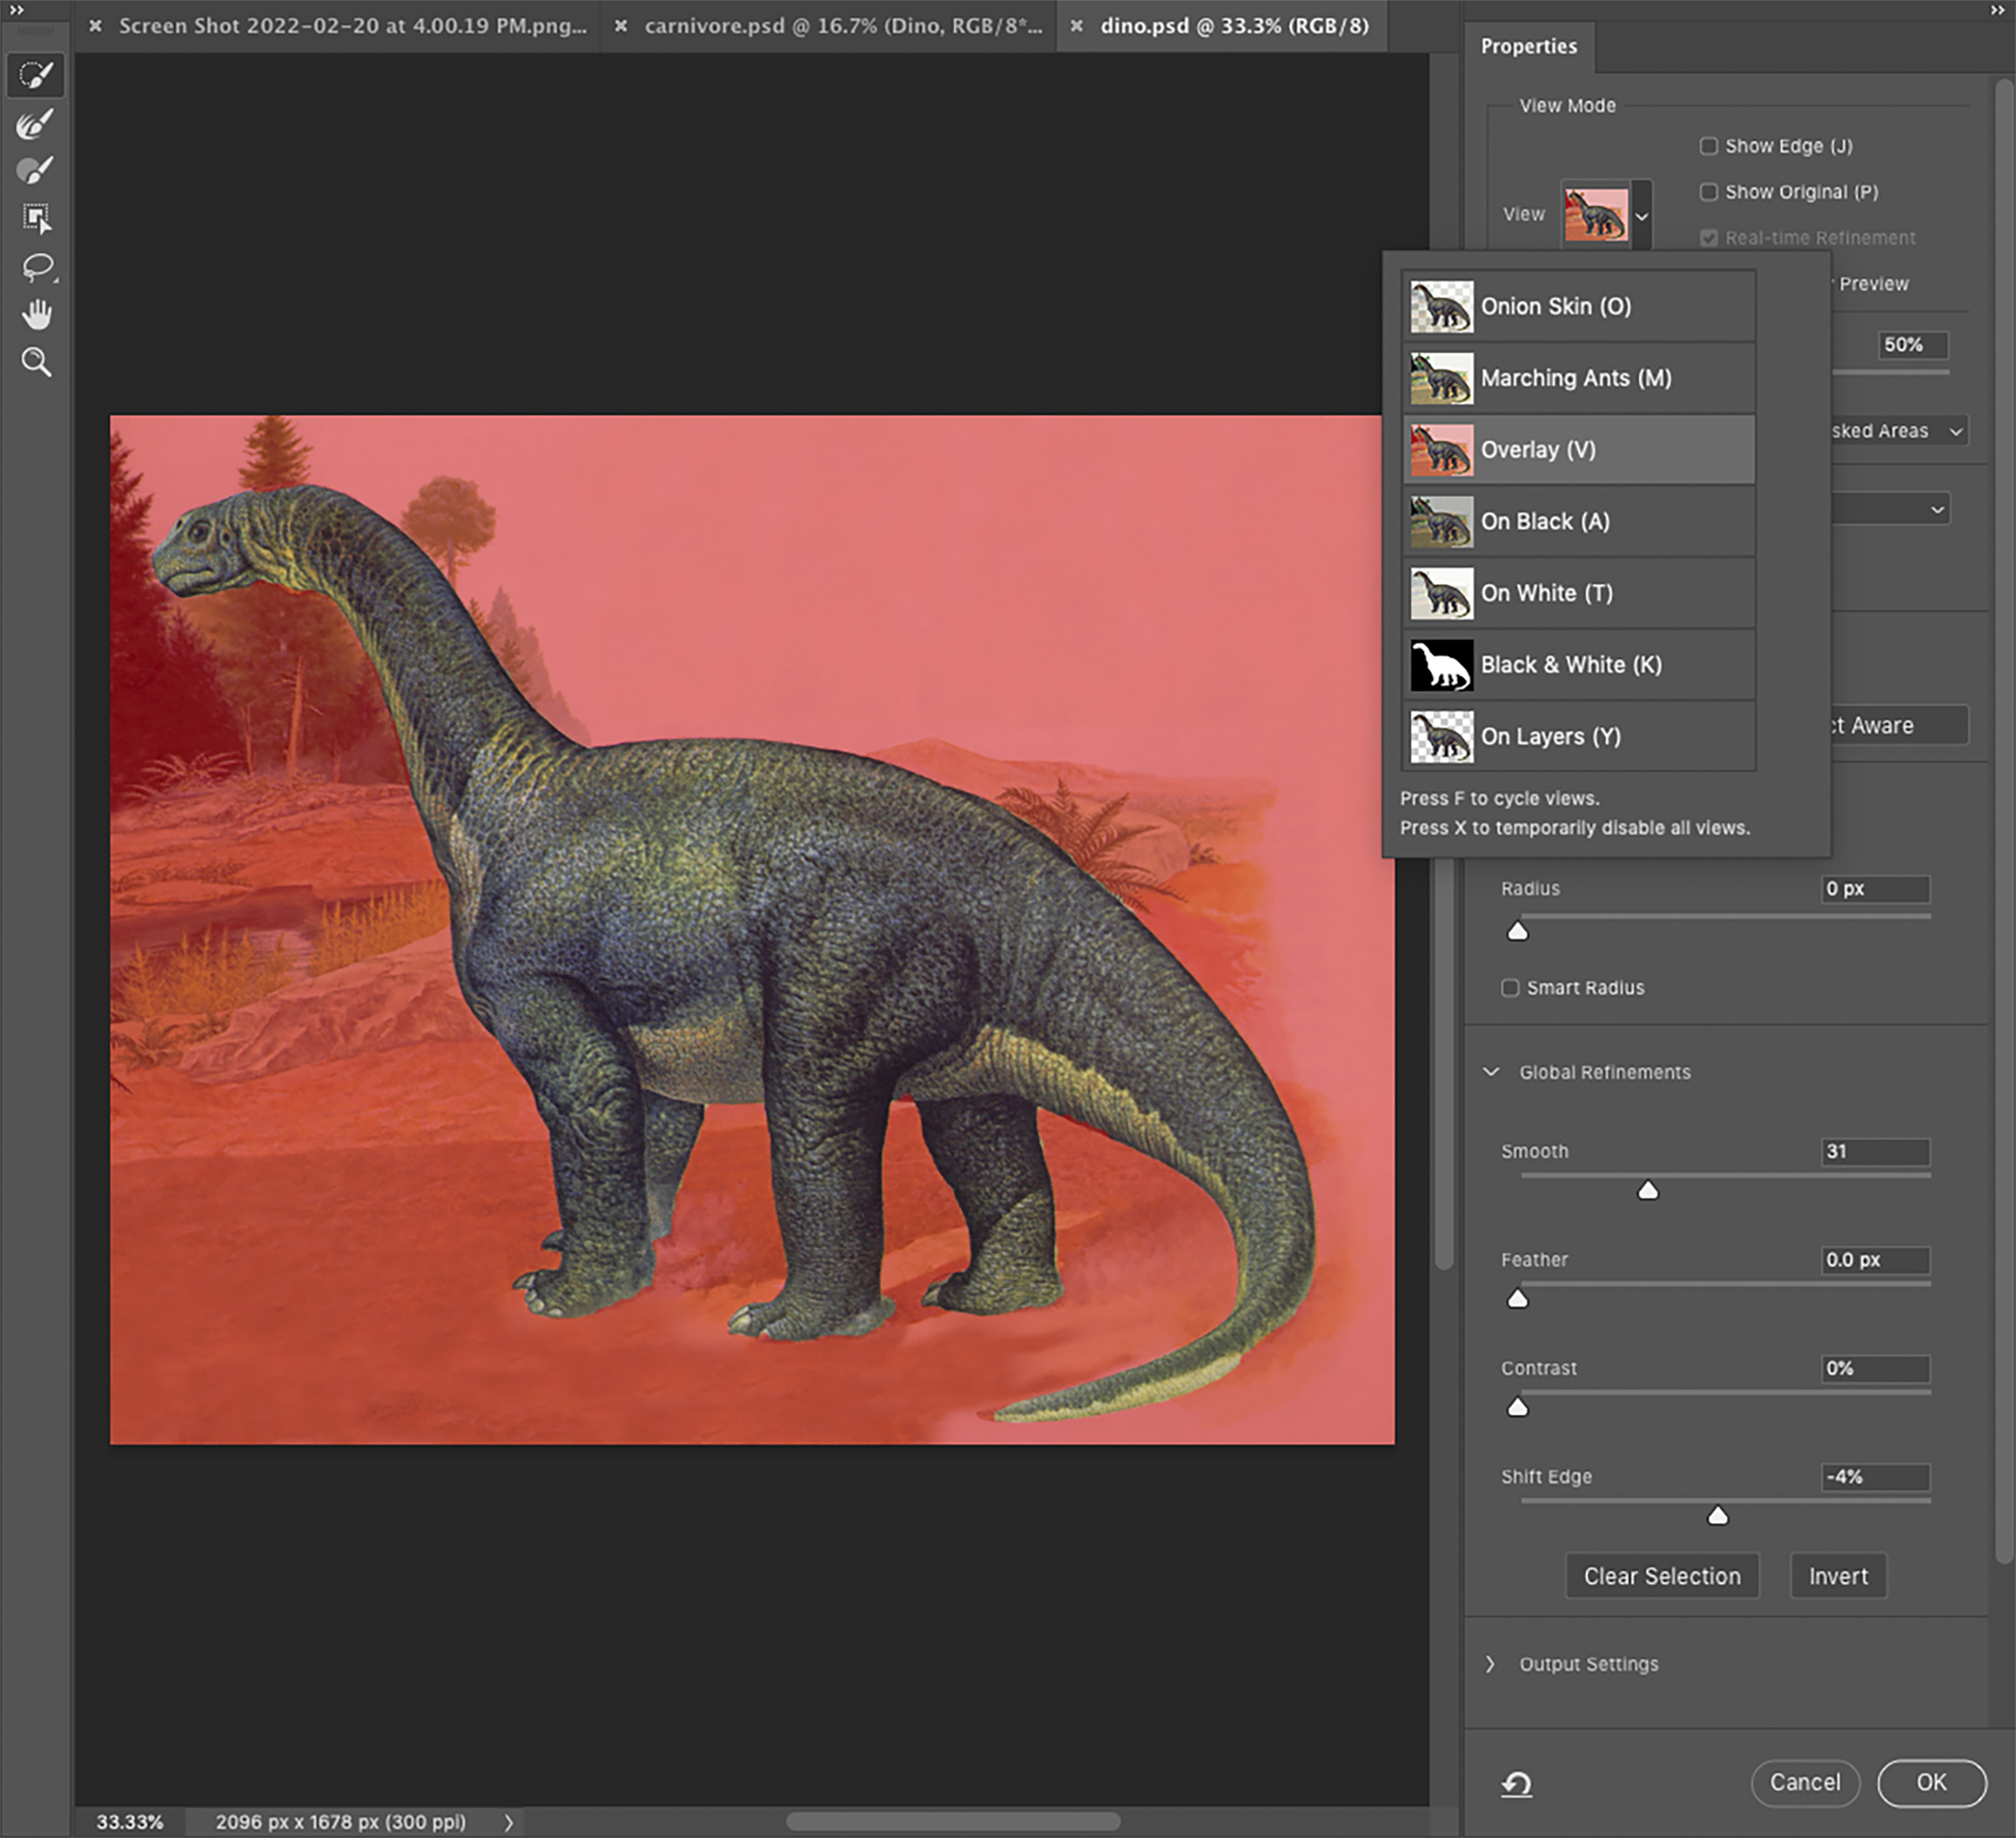
Choose Select and Mask and then choose the appropriate viewing mode from the pull-down menu. (Fig. 1B)
Step 3: Refine
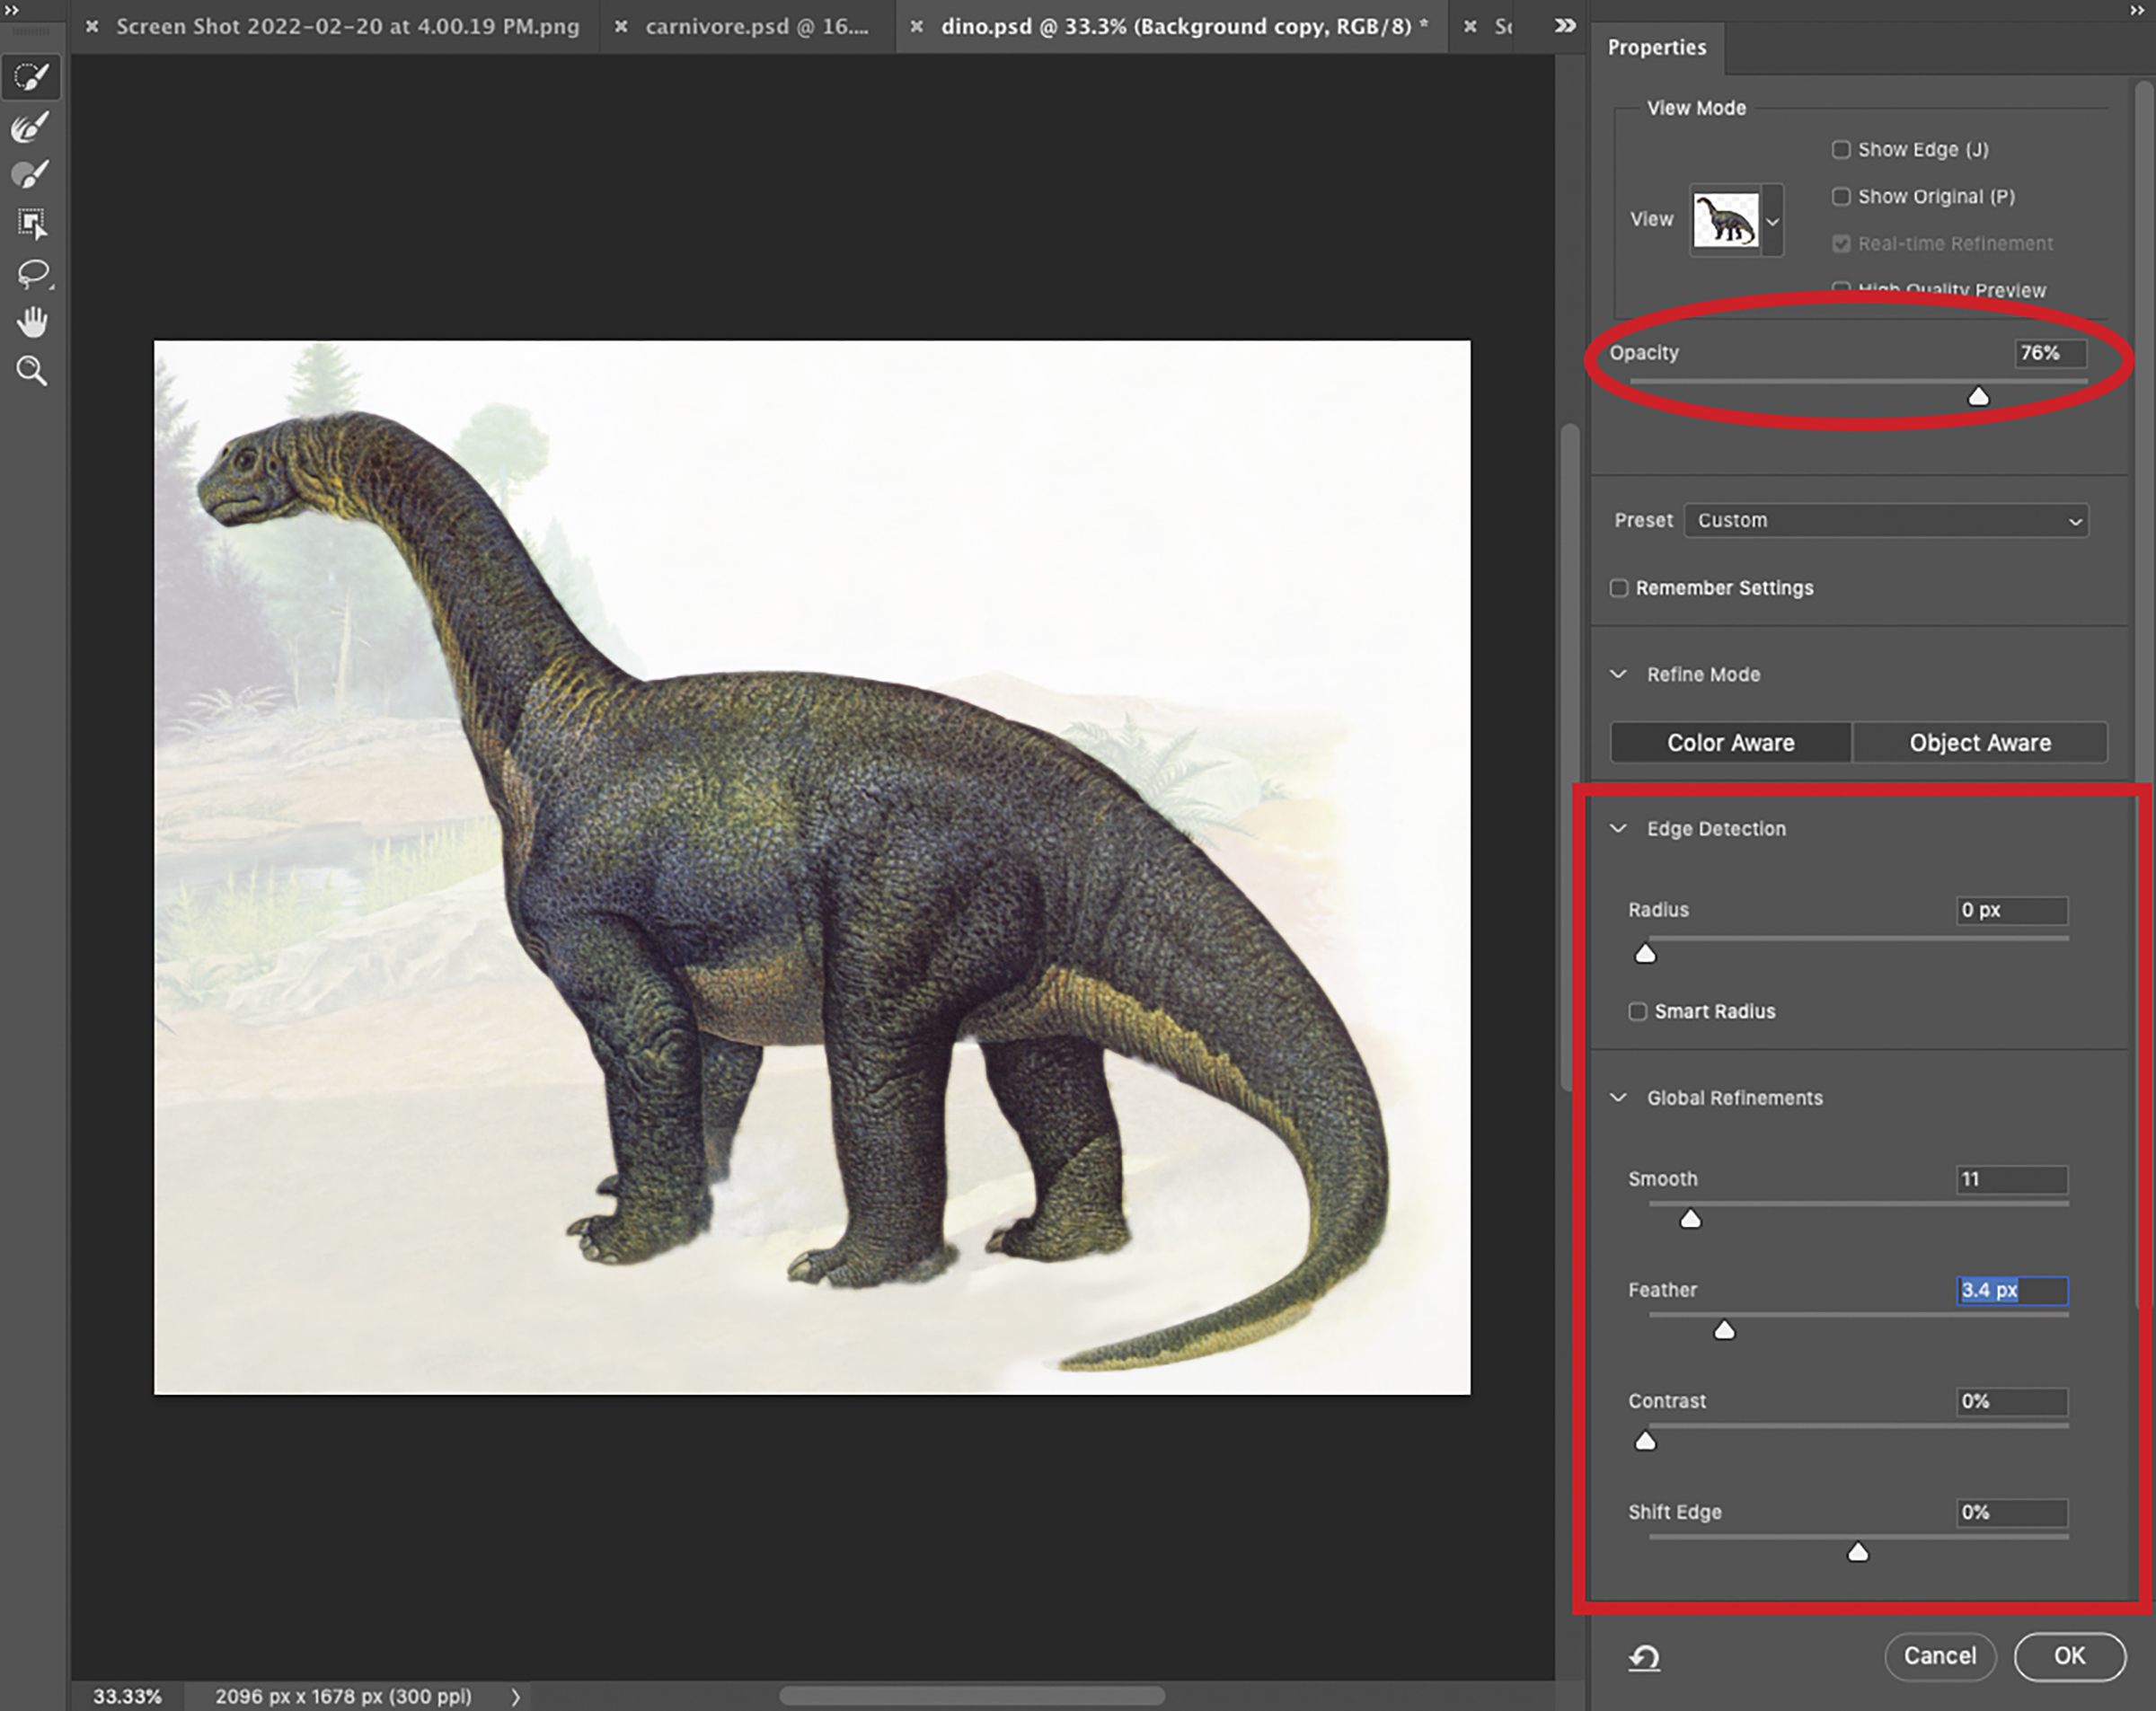
Control the edge of the selection by refining its edge using one of the Select and Mask controls. (Fig. 1C)
Step 4: Feather
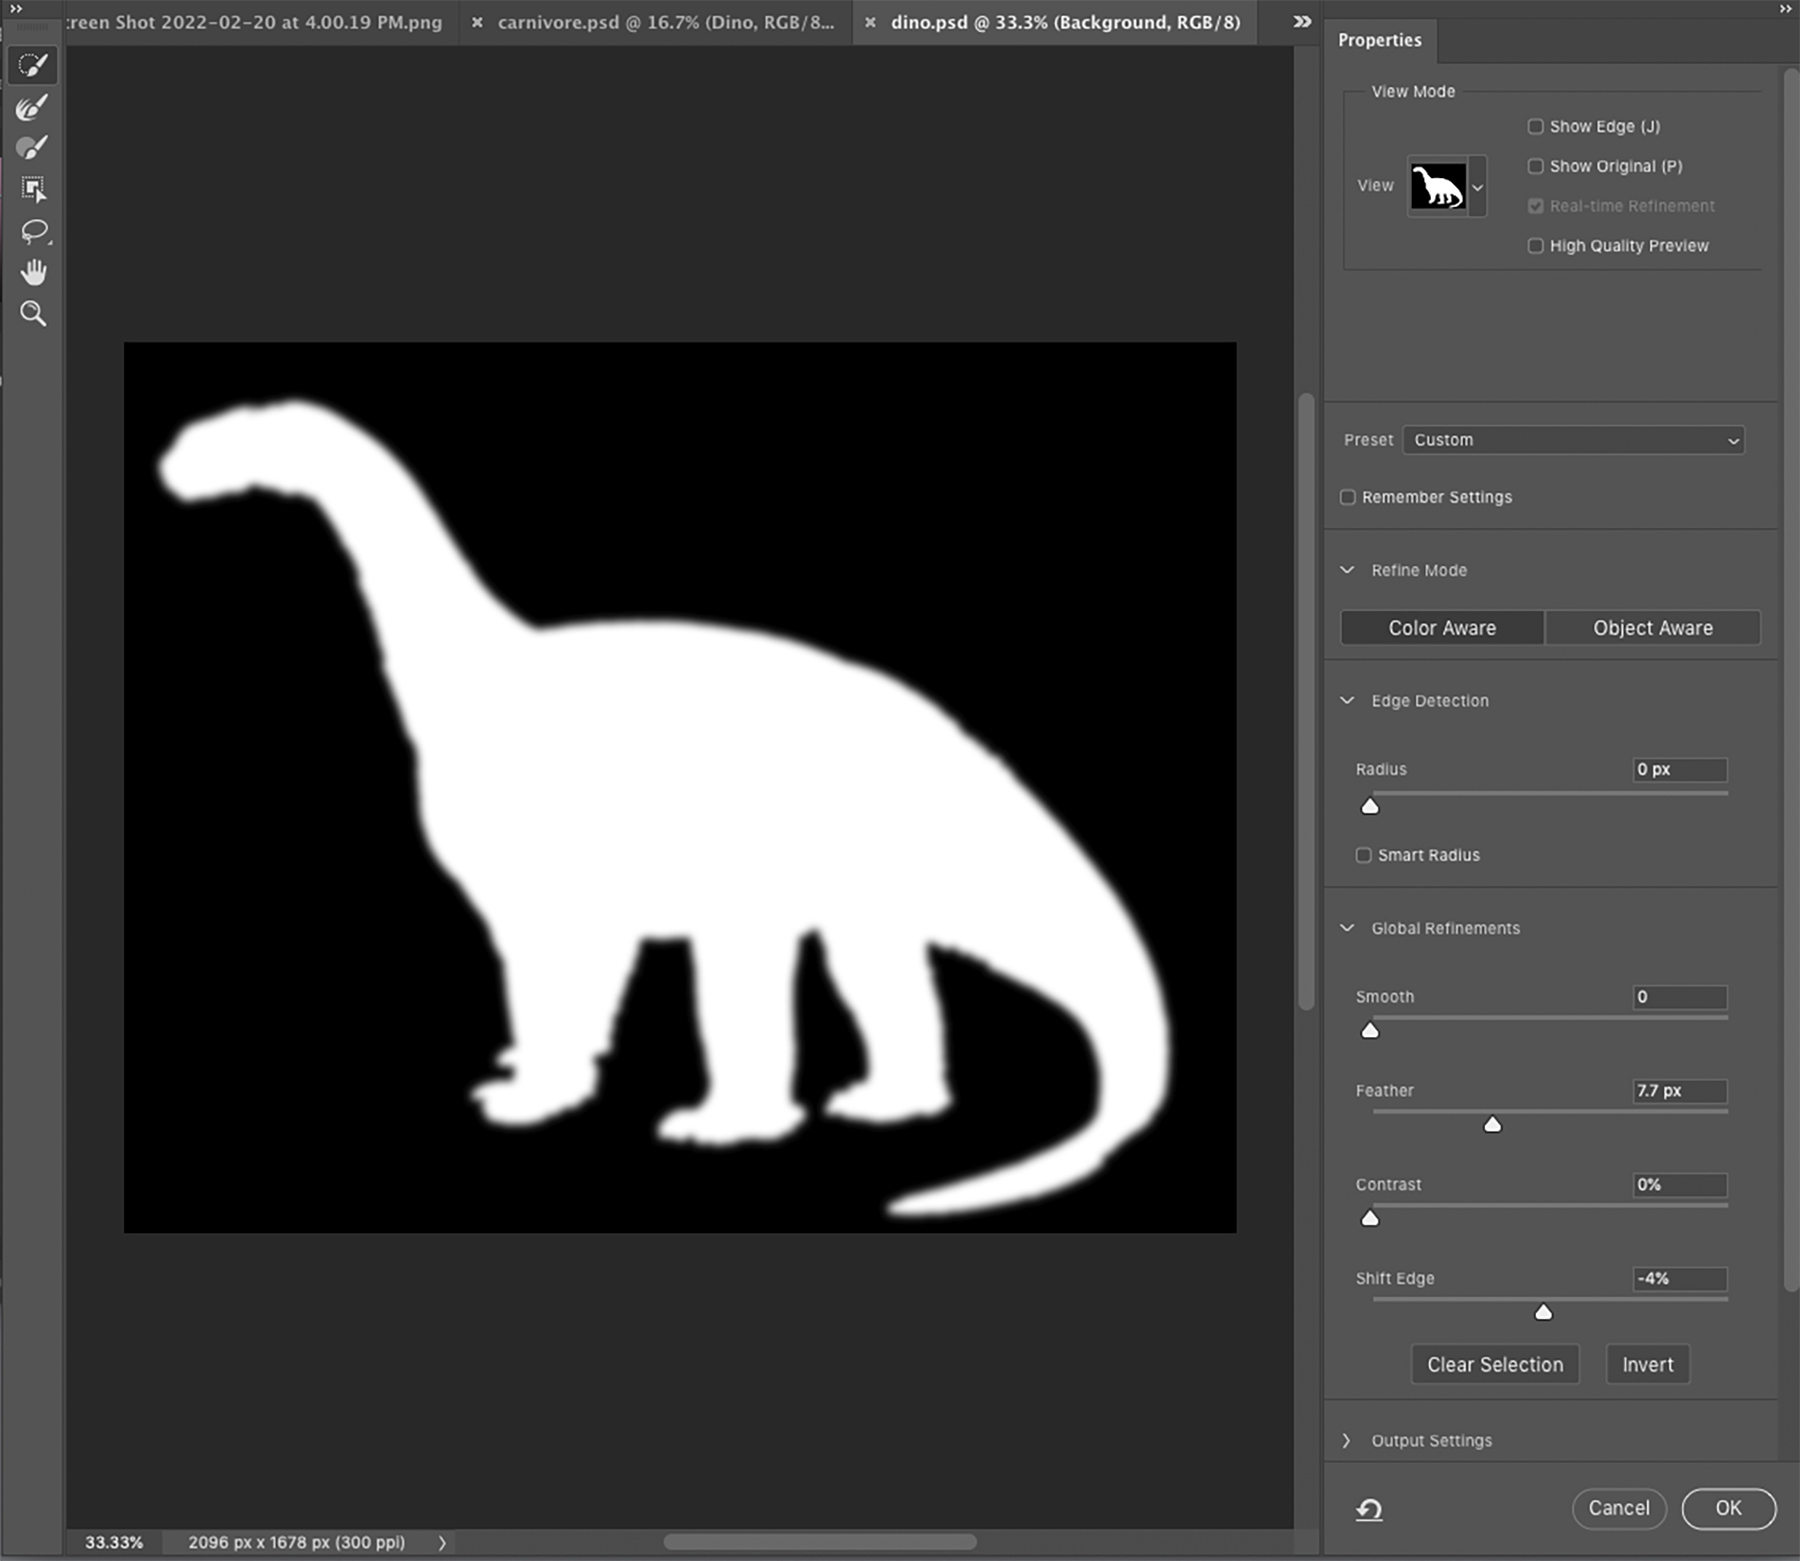
Add a feather radius that will gradually blur the edge into transparency. (Fig. 1D)
Step 5: Output
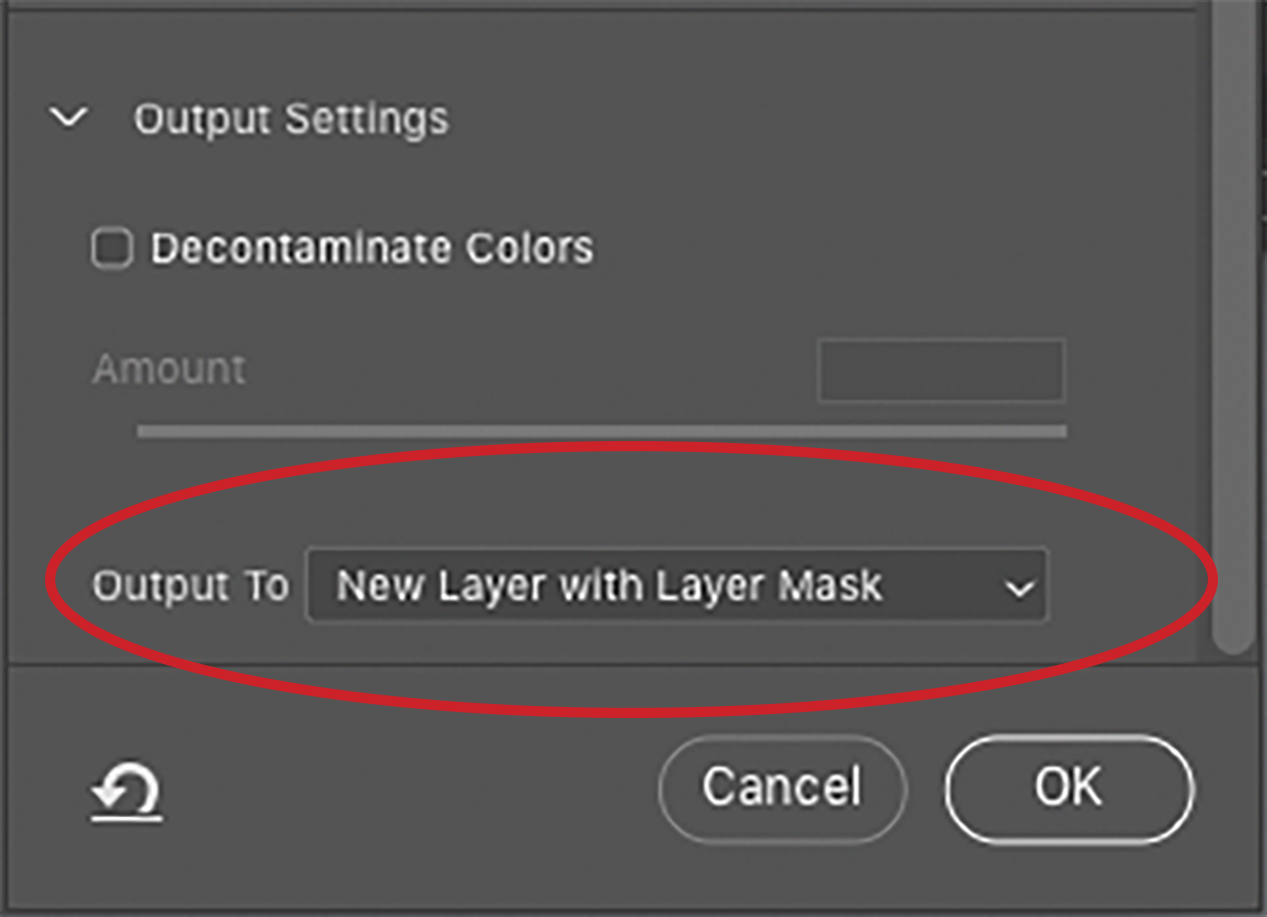
Set the Output Options to New Layer with Layer Mask. Click OK. (Fig. 1E)
Step 6: Move
Choose the Move tool and drag the content (which is on a new separate layer) to the destination document. Position the new content over the area you want to replace.
Step 7: Transform
Scale or rotate or otherwise transform the contents of the layer.
Step 8: Correct
If necessary, apply a bit of dodging, burning, cloning, and/or color correction to get the images to look natural.
