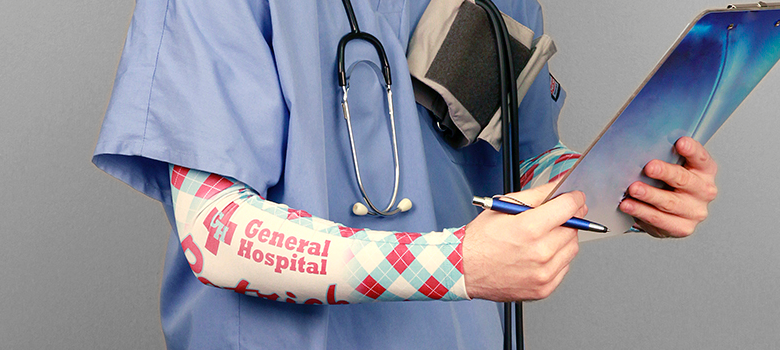
Arm and leg sleeves appeal to youth sports as well as recreational teams, schools, fans, and beyond. Not only are they great as sportswear, they make for easy and effective promotional items. If you’re new to all-over sublimation, follow these basic steps and learn how simple it is to decorate one of these products.
Materials Needed:
- Transfer paper
- Blank arm sleeve
- Repositionable spray (Used here: 3M Repositionable Spray)
- Lint roller
- Scratch paper (Optional)
- Protective paper (Used here: Teflon sheet. Note: white butcher paper is recommended.)
Settings:
- 380 F
- 45 seconds
- Light to medium pressure
Step One: Prep fabric for pressing
Lint roll both sides of the blank arm sleeve to remove any materials that were left on during manufacturing.
Step Two: Cut heat transfer
When you print your design on the transfer paper, there are two halves of the sleeve. Because you can only press one side at a time, you first need to cut the paper in half.
Step Three: Spray
Apply a light coat of the repositionable spray on the printed side of your transfer paper.
Step Four: Align
Take the blank arm sleeve and align it on the transfer paper as accurately as possible, ensuring that the graphic is in the desired spot on the sleeve and that there are no wrinkles or bumps in the fabric.
Step Five: Press
I have a piece of scratch paper below the sleeve to catch the blowout ink from the transfer. Then, the transfer goes on top, followed by a sheet of your choice of protective paper on top.
Using the settings listed above, press the garment with light to medium pressure.
Step Six: Cool
Let this side cool before moving on to the next side.
Step Seven: Repeat
Repeat steps three through six for the opposing side.
-Colin VanLint, JDS Industries


