The successful installation of window graphics comes down to basic techniques. Whether it’s a small spot graphic or large panels of graphics, you’ll often use similar steps to get high-quality results.
Wet install
Wet applications are typically messier and more time consuming, but it’s recommended for certain media types. The key is to know your material. If you’re working with specialty films like ones with glass finishes or perhaps a large section of solid vinyl, a wet application may be necessary.
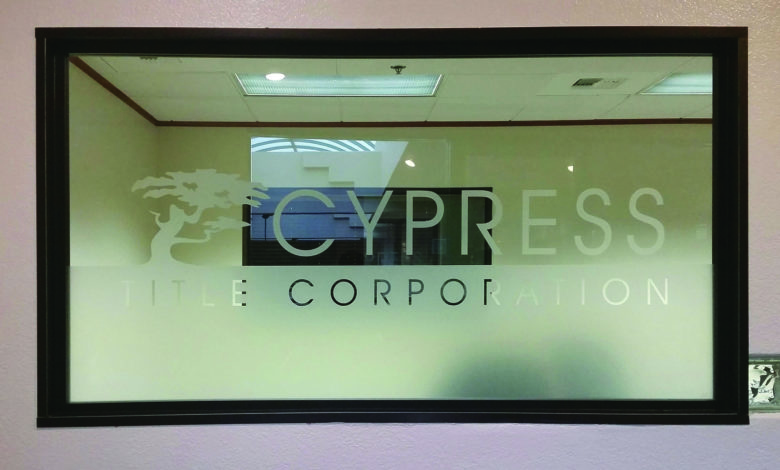
I learned this the hard way by not checking my material out thoroughly before doing an install. It was in a busy real estate title company, on a 9′ tall glass door, in the main thoroughfare of the company. This means I had an audience, lots of foot traffic, a huge piece of etched-look vinyl, and improper technique. After unsuccessfully trying to do a dry installation, I realized my mistake. I had to spend way too long scraping the failed graphics back off the door, with a tiny razor blade because I didn’t plan on having to do a removal. Did I mention I had an audience?
So, be sure you read manufacturer install guidelines on any film you’re not familiar with. When we redid the job, with the proper wet application methods, it went on perfectly.
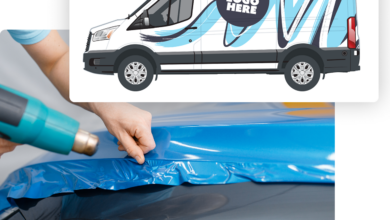
The primary difference will be incorporating either the use of application fluid or a spray bottle of water with one or two drops of dish soap. You will be spraying the surface of the glass, after it’s thoroughly cleaned, with fluid before installation. The back of the vinyl is also saturated. Be sure to put down towels to protect any surfaces below the installation area.
This will create enough wiggle room to float the graphics onto the glass surface, before squeegeeing out the excess fluid. Never use any liquids on vinyl with air egress technology.
If the vinyl you’re installing does not have an application mask over it, then spray the surface of the vinyl with fluid as well to reduce friction while squeegeeing. If it does have a mask then wait about 15 minutes for the adhesive to set before peeling the mask. You can saturate the surface of the mask as well to help release it from the vinyl underneath.
Dry install
Any film with air egress technology and perforated window films should not be applied with any fluids. These films are easy to reposition during dry installations so not only is a wet application not necessary, but the fluids can also become trapped and can cause failure.

All glass surfaces need to be thoroughly cleaned before installation. Finish the window cleaning with an isopropyl alcohol mixture and allow the surface to dry completely.
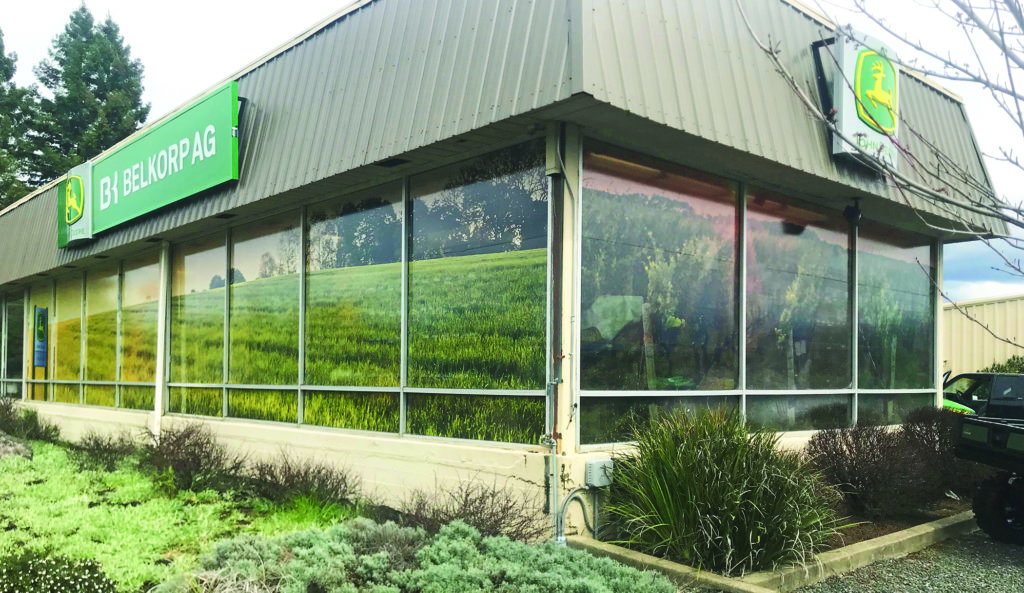
If the graphics will be covering the entire window surface, then aligning straight-cut graphics to the edge of the window will give you the alignment you need. In this case, you can peel back approximately 6″ of the backing paper and either fold it down flat or cut it off with a clean-cut, position the graphic on the window, and apply light pressure in the top corners before squeegeeing in place using a side-to-side, overlapping method.
If the graphics need to be aligned to other windows–for example, if there is a line of text across multiple windows, or you simply need it positioned in a particular place–then you’ll need to tape the graphic in place and measure from the window frame to the letters or image to get proper placement. Once it’s in place you can mark the edges of the graphic and the window trim with tape or a wax pencil, peel back the backing paper, and position the vinyl back in place using the alignment marks and squeegee down.
Be sure you trim back any graphics that go over rubber seals with a knife to avoid failure. Angle the blade away from the rubber seal, so you trim along it, not into it.


