Note: Instructions are done in CorelDRAW.
For most background graphics, I draw the repeating element. For checkering, a diamond shape should be the obvious element, but it’s not. The repeating element, the one that will be carved by the laser, is the same element that is carved in the traditional hand-tooled method-a line.
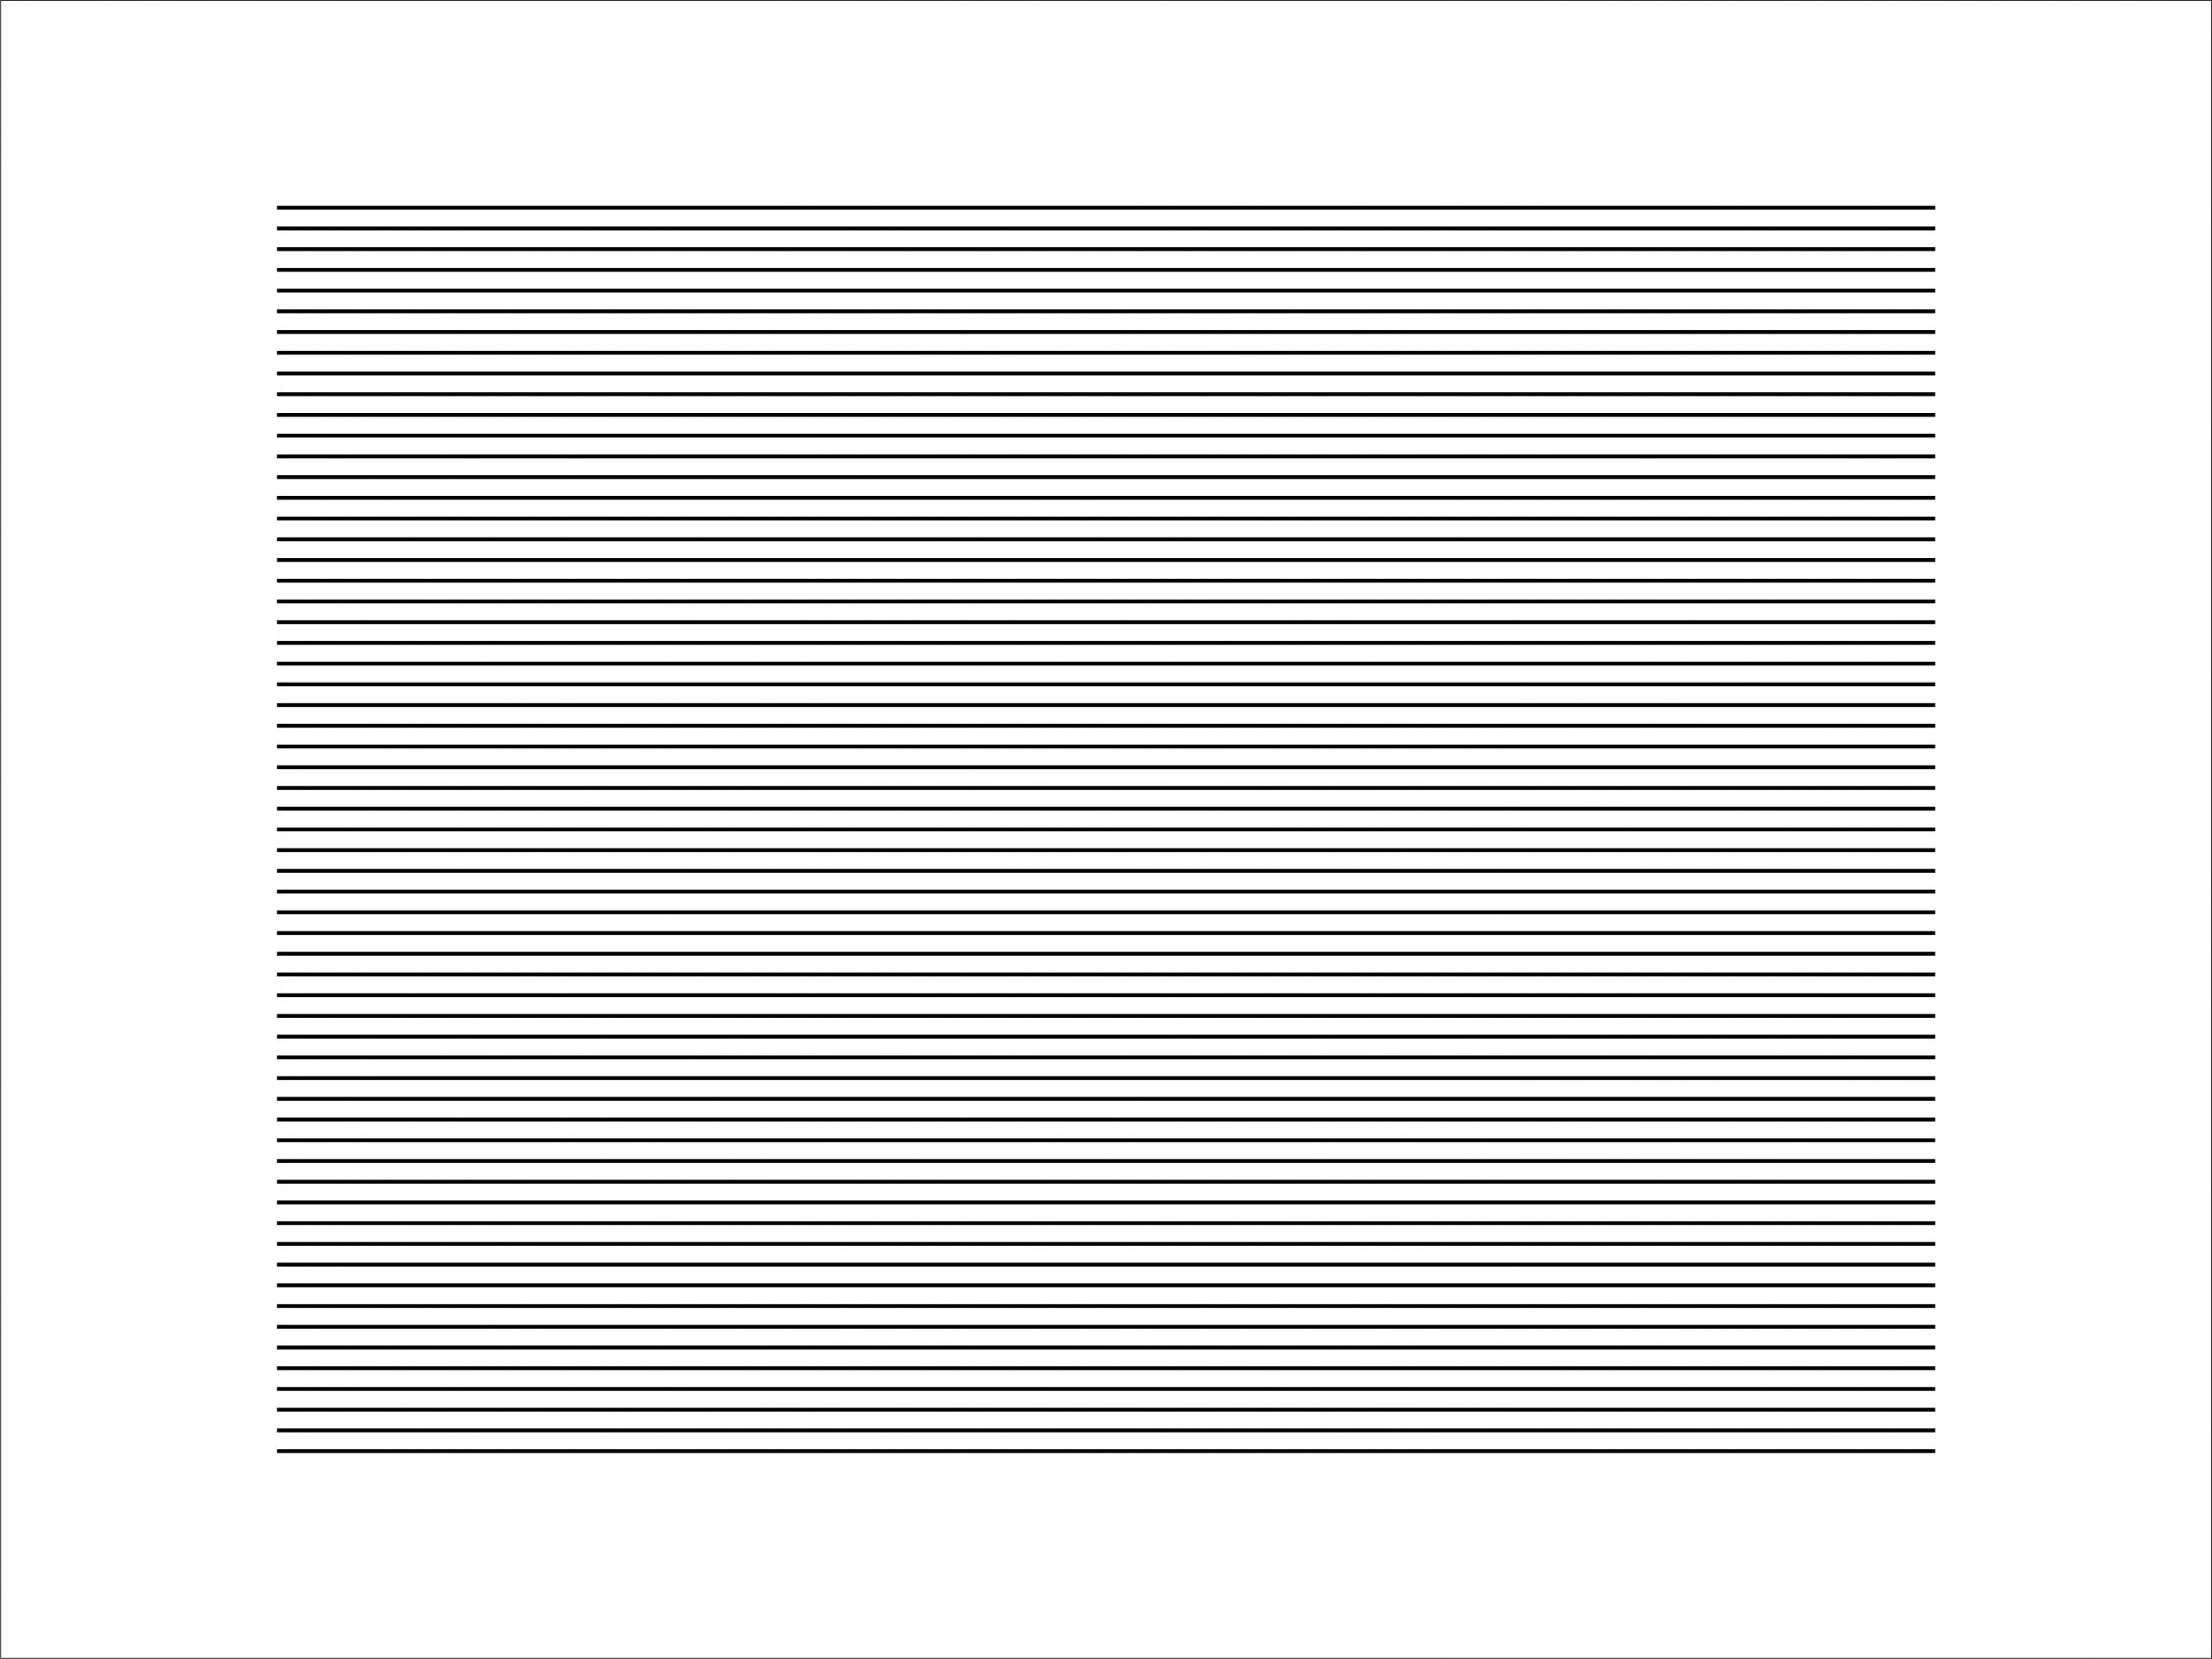
To draw the pattern, simply draw a straight line. Start with a 6-inch-long, straight, horizontal 1.0-point line. Select the line and, using the Step and Repeat function (or the equivalent function in other graphics programs), make 60 copies of the line with a vertical offset of 0.075 of an inch (about five times the thickness of the line). The result is a set of lines that look like Image 1 below.
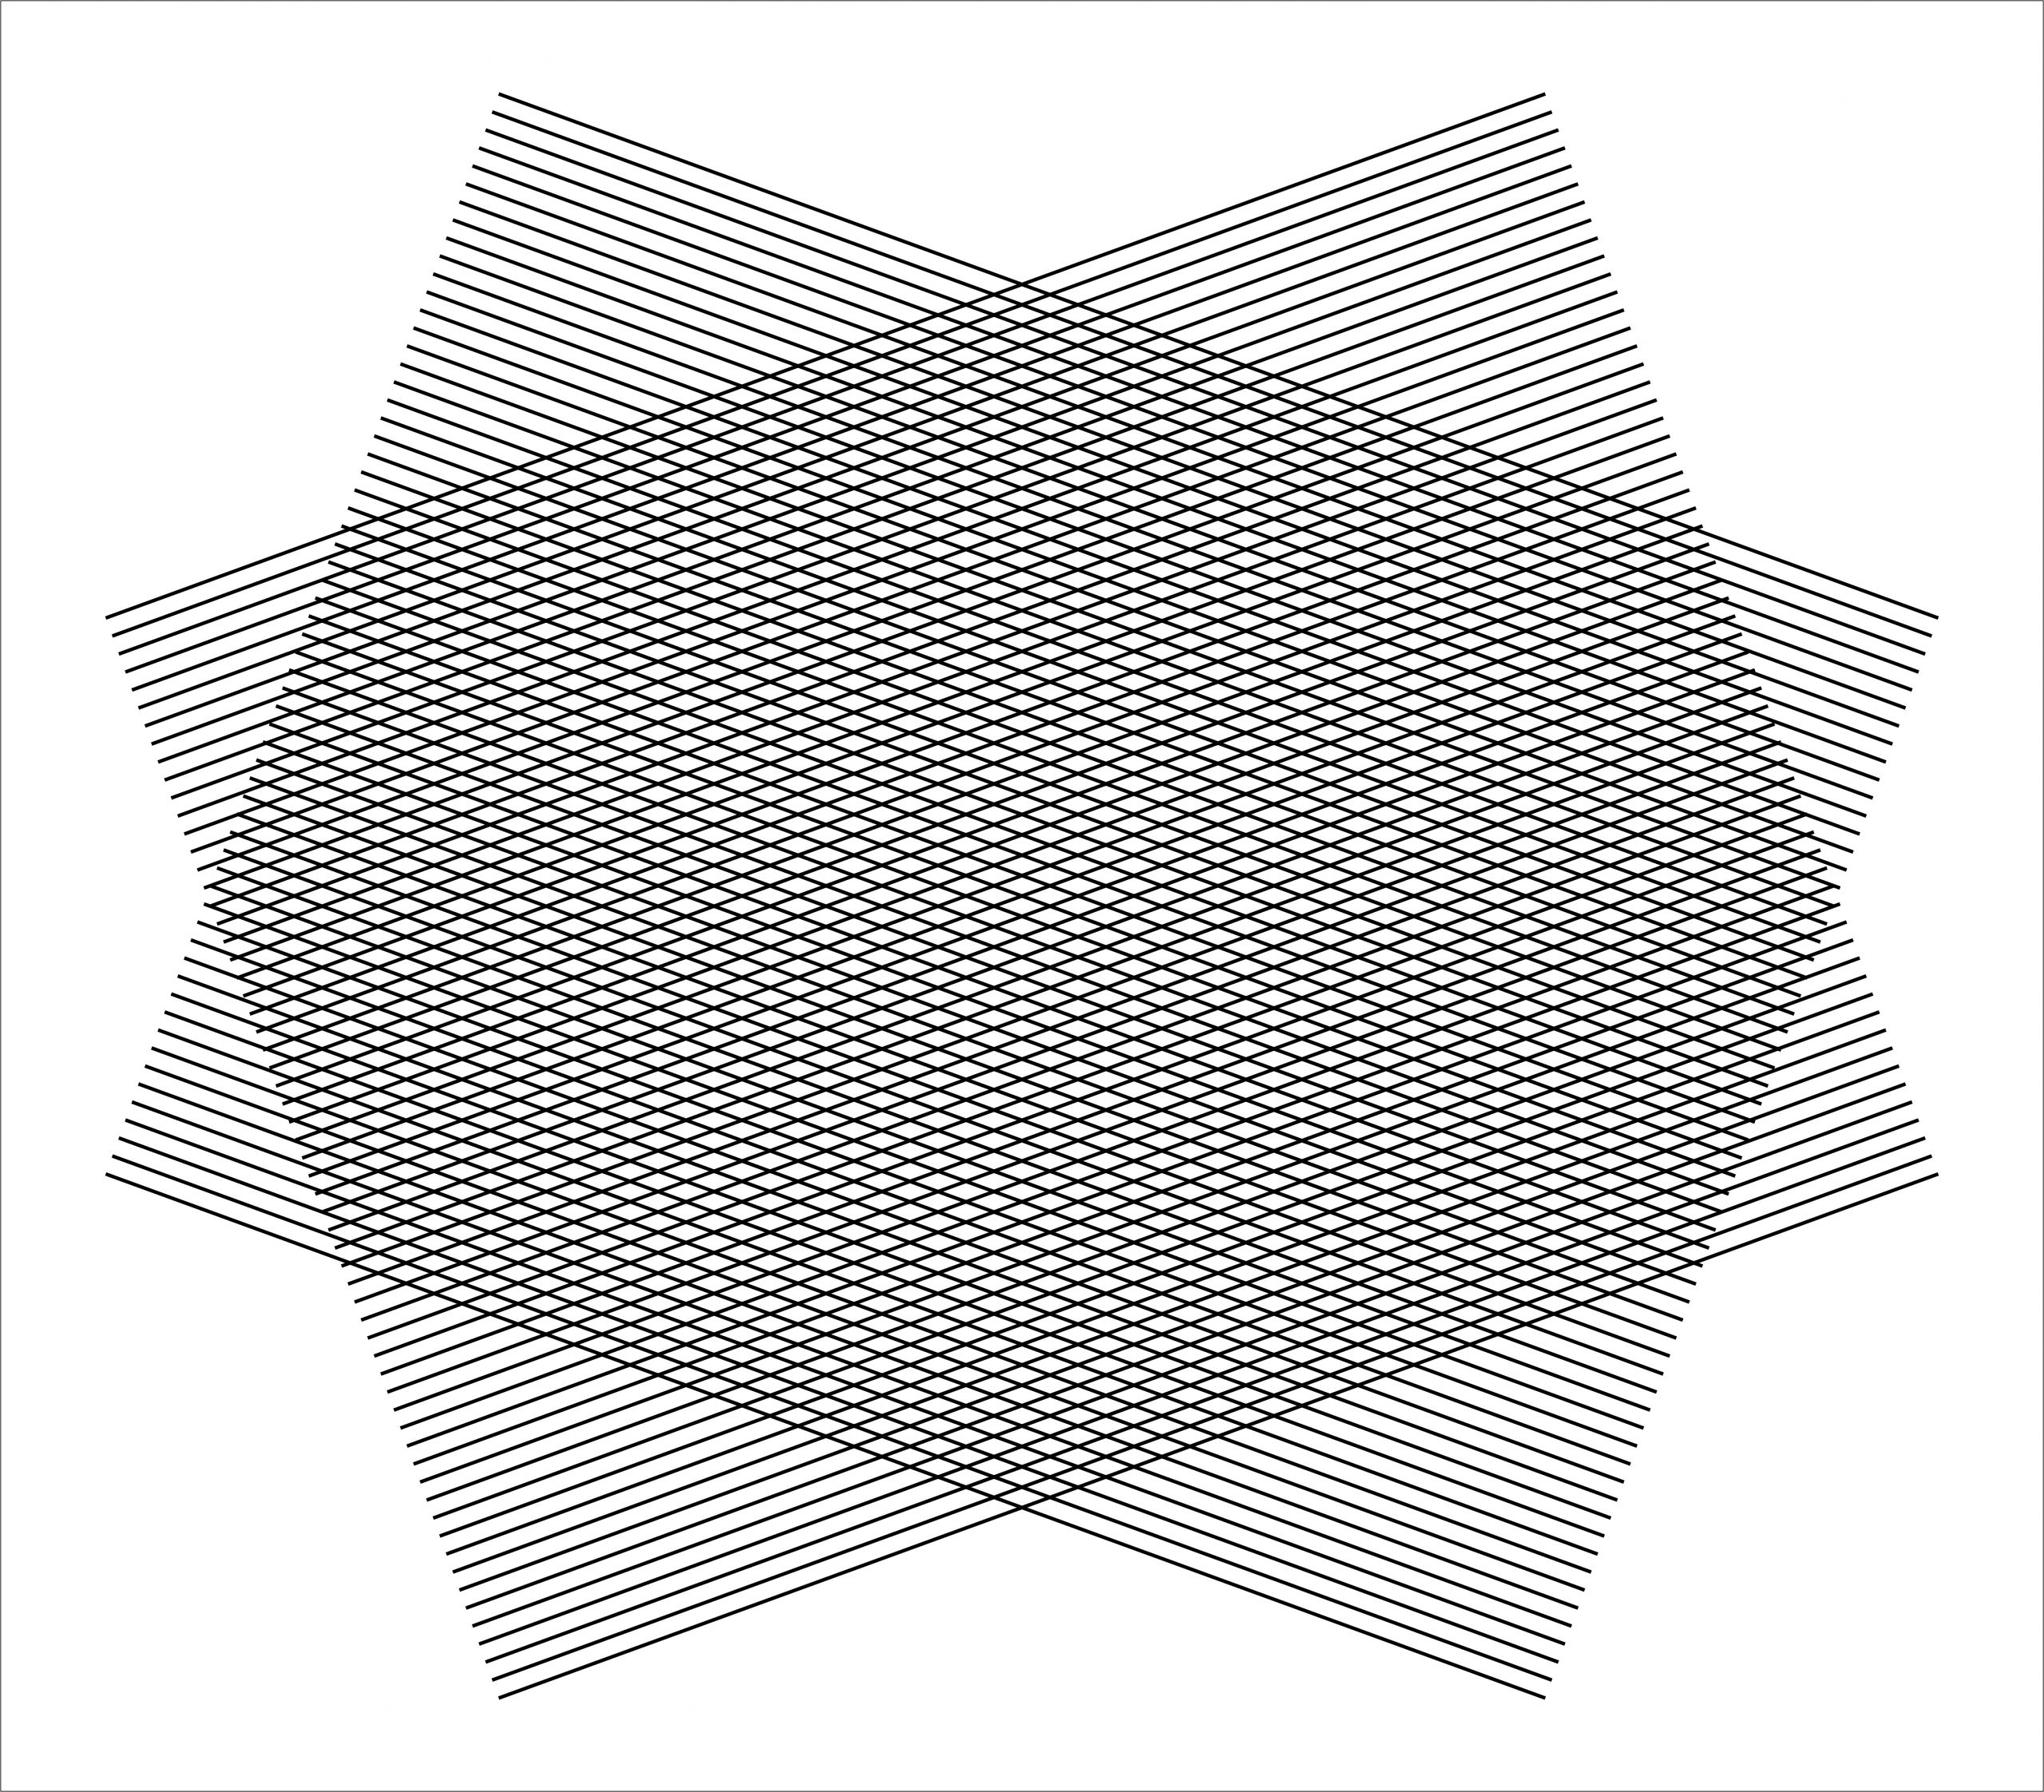
Select that set of lines and rotate it by 20 degrees. Copy and paste that set of lines in place, then mirror the copy vertically. There are now two sets of lines that show a diamond pattern where they cross. The diamond is stretched in the horizontal aspect. Using the Virtual Segment Delete tool, remove any of the lines that do not cross another. What’s left is the pattern seen in Image 2.


