What to Know About Low-Cure Inks
Before starting a job with low curing temperatures, keep these points in mind
USE THE RIGHT INK
This point sounds logical, but be sure to use an ink designated as low-cure or use a low-cure additive when using a standard-cure ink.
PROFILE YOUR DRYER
TEST FOR CURED INK
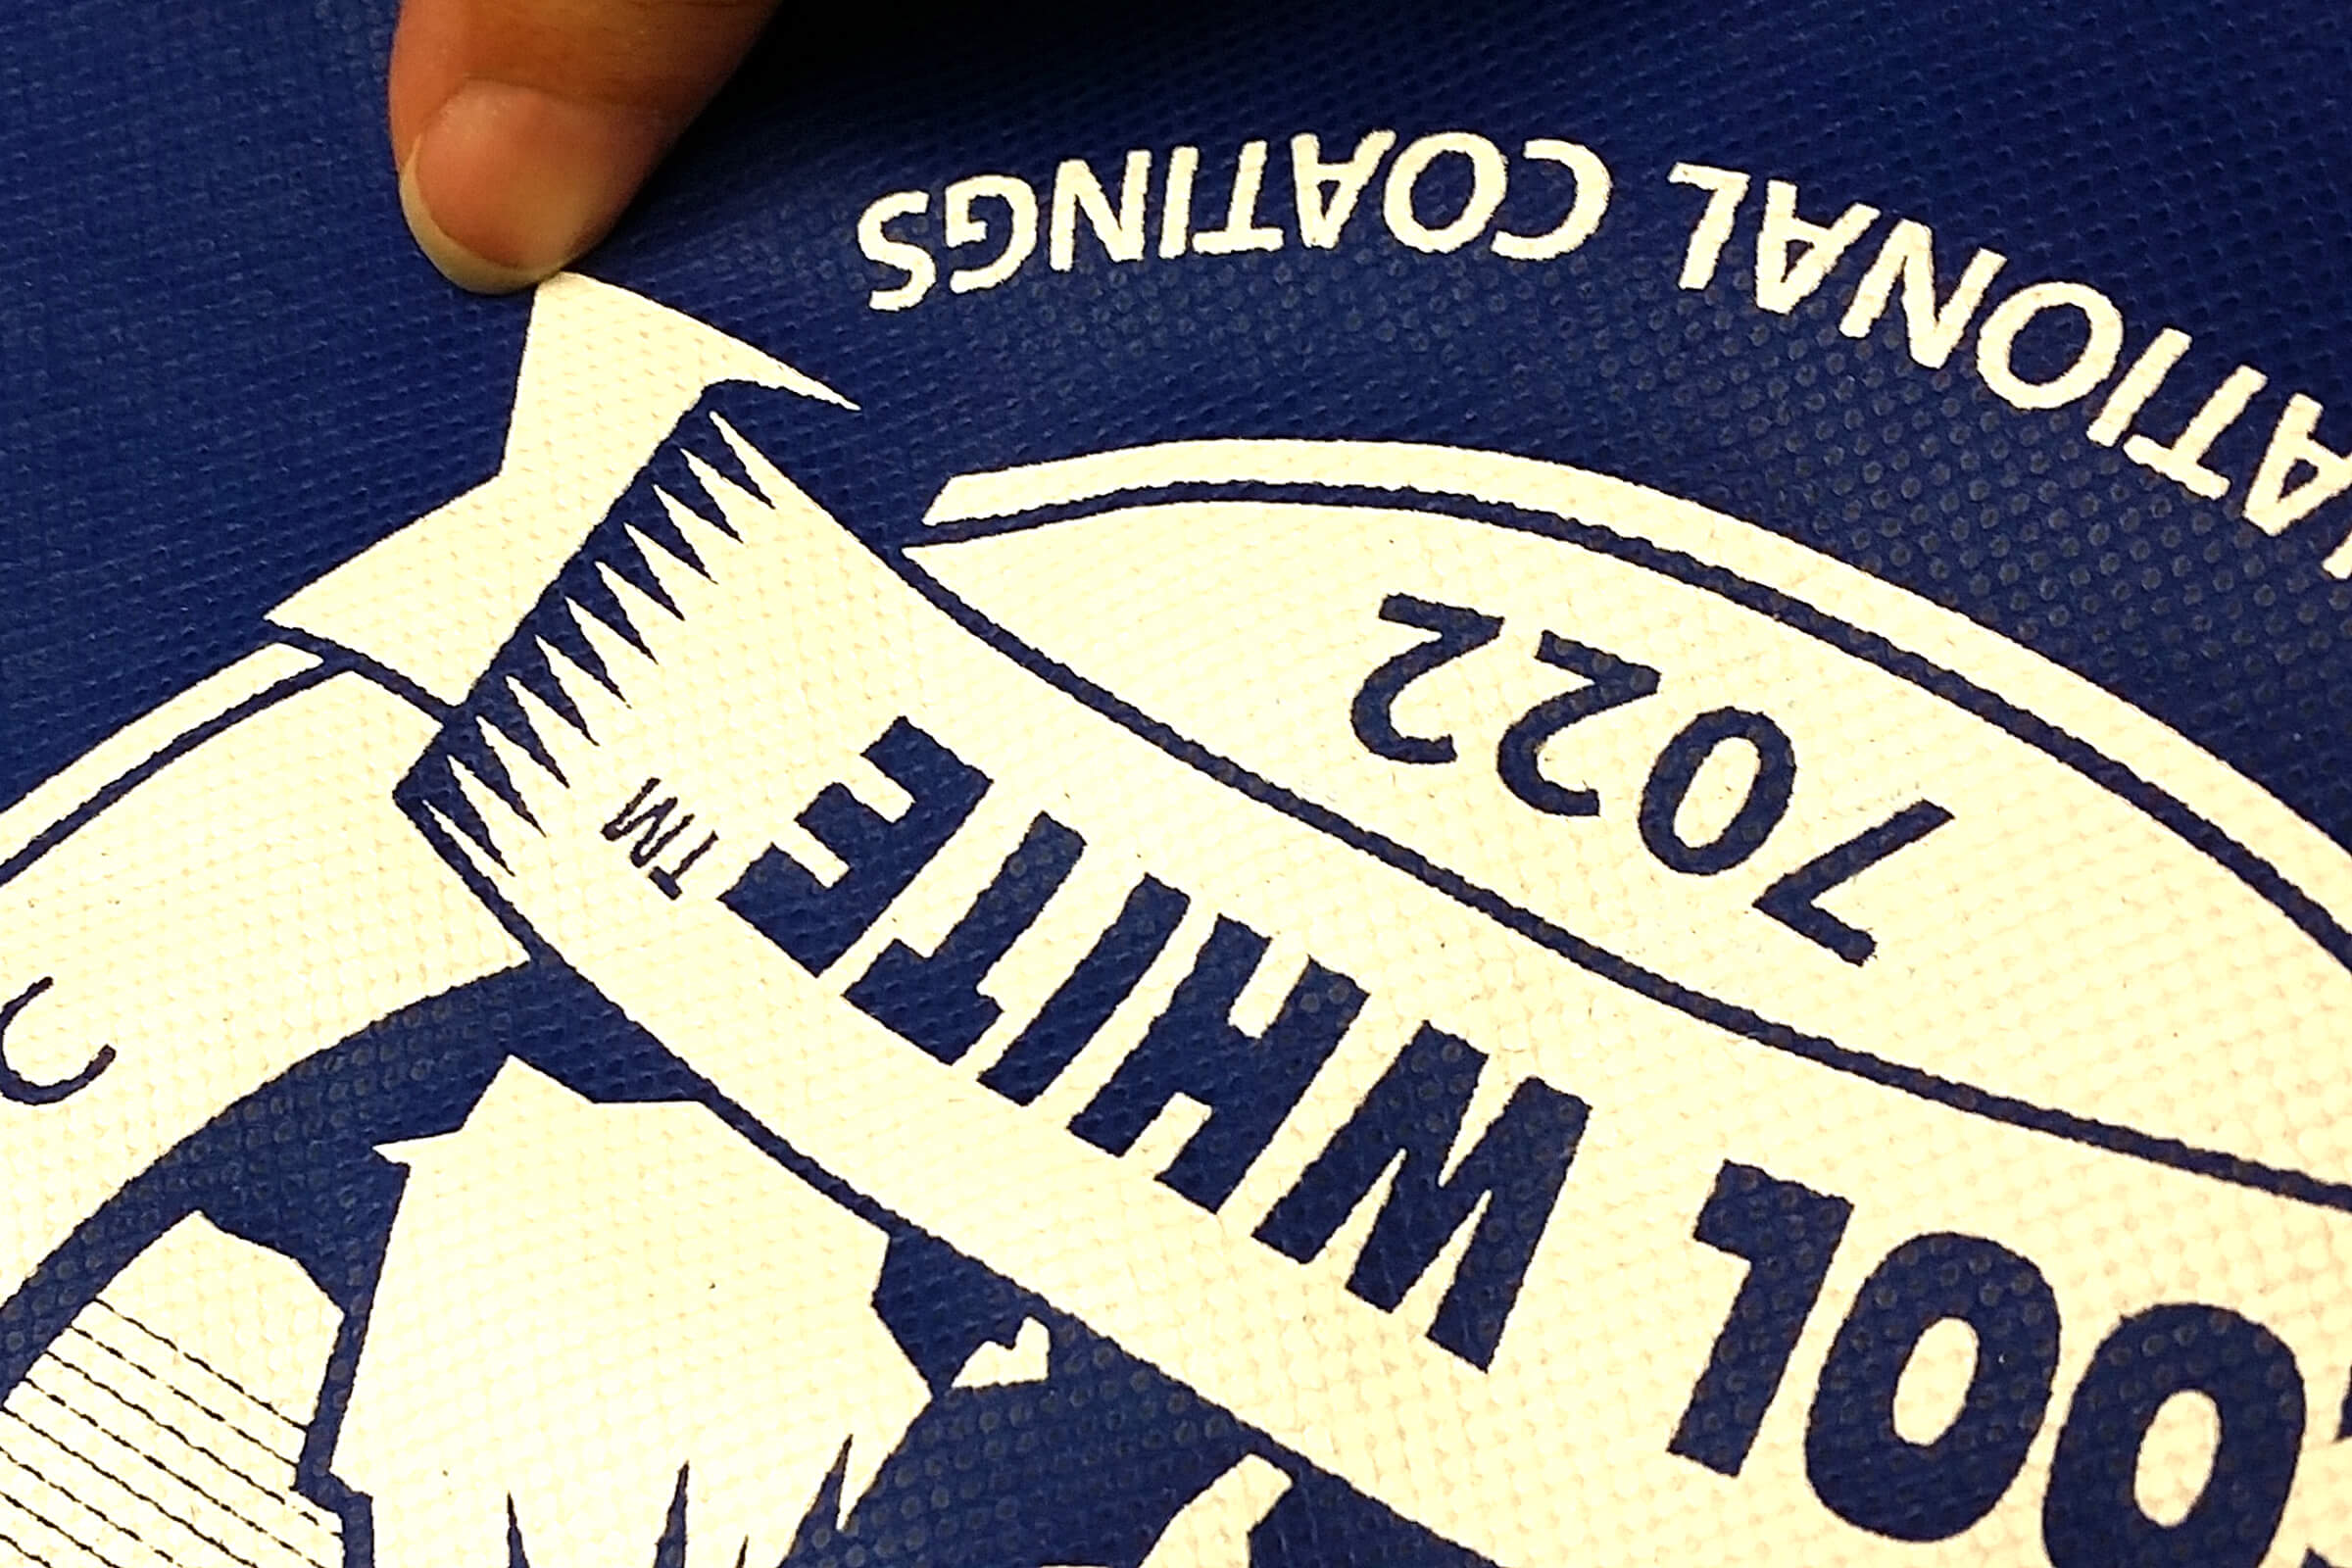
What if you are printing on a nonwoven polypropylene bag that does not stretch well? A simple scratch test will do the trick. Just lay the bag down on a firm table and scratch the printed cured image with a fingernail about five times to see if any of the image flakes off. If none or very little of the print comes off, then it should be good to go. Waiting overnight or 24 hours before doing the scratch test assures for better accuracy on this test.
One other way of confirming the ink has fully cured is to do a wash test. Wash the garment one time to see how it comes out. If the print fails right away, then obviously it is not cured. If the print comes out without any blemishes due to the ink washing off, then you’re probably safe. To be extra sure, wash the garment up to five times.
Some name-brand companies require as many as 50 washes using specialized washing machines that have internal water heaters to maintain high water temperature throughout the wash cycle. Among other things, they also prescribe specific wash times and spin revolutions, etc. When I was a production manager, I always took printed garments from production home with me and washed them while I cooked and ate dinner and checked them so I could rest easier.
Another test, not frequently used, is using ethyl acetate. Place a few drops of ethyl acetate onto the back of the print on the inside of the garment. This spot of ink is then placed onto a clean unprinted fabric and then tightly held together for two minutes. If there is a transfer of ink to the unprinted area of the garment, it means the ink hasn’t cured. The garment must be either re-cured at a higher temperature or for a longer duration.
One example on curing I always refer to is that of baking a cookie versus a cake. A thin layer of dough requires less time in the oven than a thick layer, cooked at the same temperature. Yes, the low-cure inks can cure at 275 degrees F, but keep in mind that the entire ink film must reach this temperature, not just the surface. Depending on the thickness of the print, it may require additional dwell time in the dryer to achieve this temperature. Standard dwell time in the drying chamber is usually 60 seconds. If it’s just one layer of ink (cookie) printed through a 156 mesh, chances are excellent all will be well. But if you have double printed through 110 mesh and then flashed, with an additional layer of color on top with a 156 mesh (cake), you may need some extra dwell time in the heat chamber to give the thick ink deposit time to fuse fully.