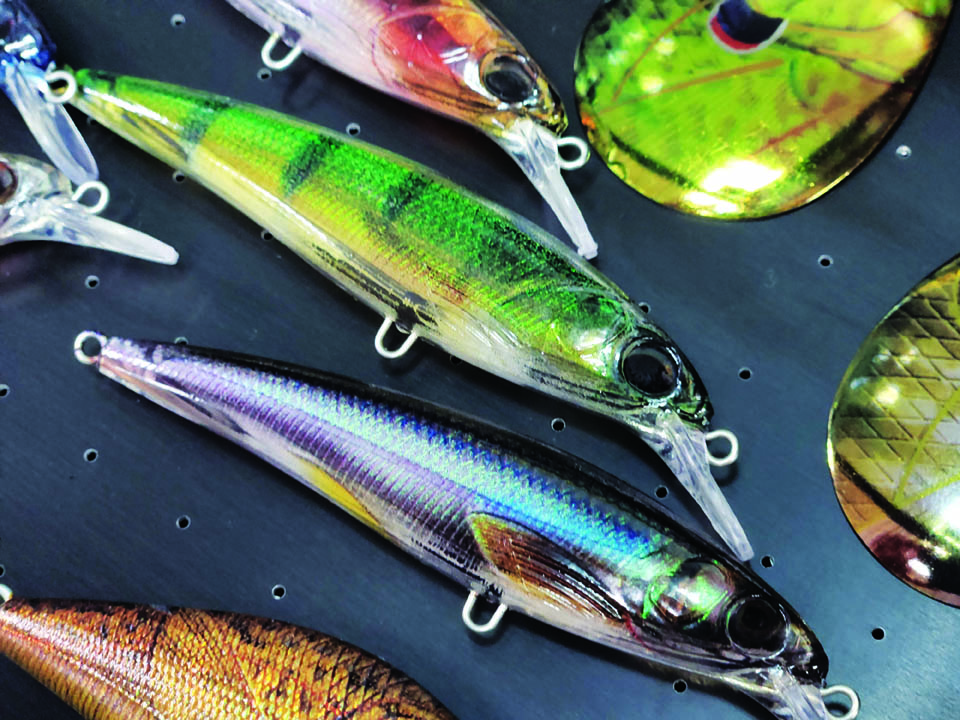
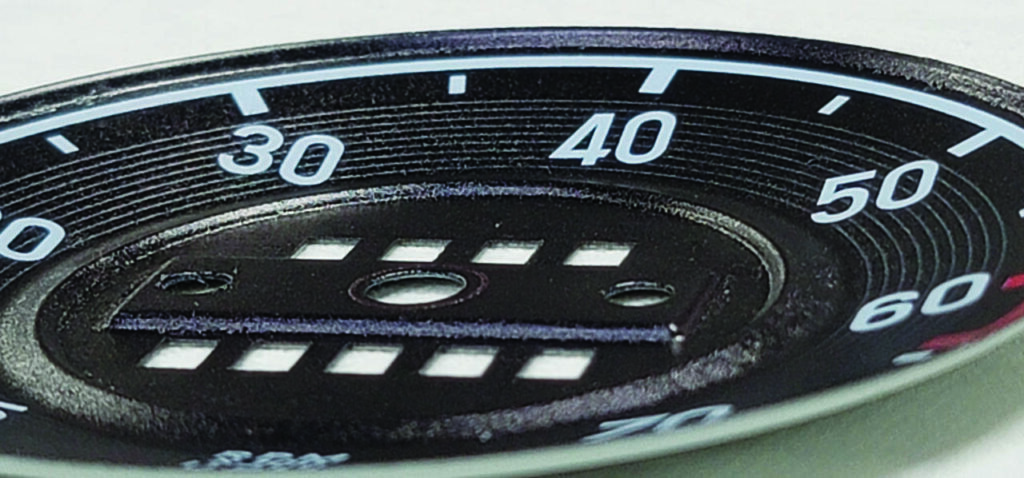
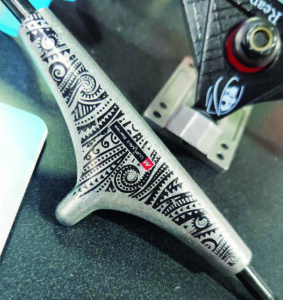
The landscape of the print industry has undergone a significant transformation with the advancements of LED UV printing technology. These advancements allow for printing on an extensive range of tricky products, spanning from conventional photo paper to intricate components such as fishing lures or even electrical connectors for spacecraft. The capabilities of direct-print UV are virtually boundless, enabling printing even on surfaces previously deemed challenging.
The evolution of UV printing presents both an opportunity and a challenge, particularly when it comes to printing on unconventional surfaces. This ability to efficiently print on tricky surfaces provides UV print providers with a distinct advantage over their competitors. In a competitive market, it’s essential to acknowledge the presence of competitors and use this as motivation for continuous improvement. Adopt the mindset of goal setting and striving for improvement daily to stay ahead of your competitors.
 What exactly are considered tricky surfaces? Non-flat materials like fishing lures, footballs, blow dryers, hairbrushes, wall-mounted defibrillators, softballs, basketballs, firearms, duck calls, tumblers, and various other challenging surfaces. Notably, these irregular surfaces are printed on using flatbed UV technology.
In UV printing, the standard print head gap typically measures 1.5mm, representing the distance between the print head’s surface and the product being printed on. To put it into perspective, this is roughly the thickness of two credit cards. Historically, exceeding this 1.5mm threshold results in a decline in print quality and registration accuracy. The print head gap holds significance as one of the fundamental principles in UV inkjet printing. Any print issues such as fuzzy prints, registration issues, overspray, or double imaging on bi-directional printers often trace back to discrepancies in the head gap. When experiencing print issues, the head gap is the first thing to check.
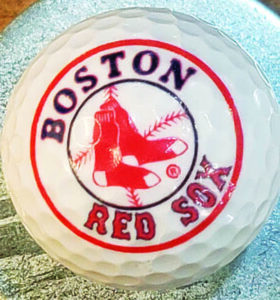
The revelation that full-color printing is feasible on such diverse products has ignited a surge in new, high-margin markets, which continue to emerge daily. To capitalize on these opportunities effectively, certain key aspects must be considered before attempting to attack the LD market, as printing with a head gap over 1.5mm can also cause issues with most UV printers.
Before we dive too far into this type of LD printing, we need to make sure we understand how to do this without damage to your UV printer. The brand of UV equipment we sell is designed and engineered to provide 10-plus years of solid production if properly operated and maintained. Improper operation can kill your machine in a few months if you’re not aware of how to do it properly.
What are the main concerns to look out for when LD printing?
Light reflection and overspray are the fastest way to ruin your UV printer. When printing with LD mode, you have a higher head gap and the light from the UV lamp has more of an angle to bounce back up into the print head and cure the ink on the surface of the print head. So, if we can eliminate light reflection, we have solved one of the issue with LD printing.
An easy way to reduce light bouncing up into the print head is to make sure to absorb the light by having a matte black non-reflective light-absorbing surface on your print bed. This type of product is basically special paper that is a non-coated matte black. The paper is porous enough to still allow the vacuum bed to work and it absorbs a ton of light.
Do not use white glossy paper to print on when using LD print modes. The light that bounces off of white glossy paper is ridiculous and can also hurt your eyes.
 Another way to help reduce light bounce is two-part jigs/fixtures. A two-part jig has a bottom and a top. The bottom jig holds the product and the top jig absorbs the light bounce and overspray. When using jigs, take the time and make sure they are also a light-absorbing non-reflective finish by spraying the jig with matte black spray paint.
The next best way to ruin your UV printer is through excessive overspray, and when running LD printing, it’s even worse. To reduce overspray, just make sure your ink drops have a place to land. For example, if you have printed on pre-stretched canvas you already know that they are rarely perfectly flat and sometimes require LD print mode. If you’re printing stretched canvas that is 16“ X 20“, and you have to make sure and produce an edge-to-edge print. Your print file will need to be exactly 16“ X 20“ or a little bigger. If your image is bigger than 16“ X 20“, you will need to have a nice area for the extra ink to land. I like to use adhesive weather stripping to wrap around the canvas — it is black, nonreflective, and reusable. The best way to eliminate overspray is just making sure the ink lands on something that is the same height or a few millimeters lower than the print surface, and not just blowing overspray all over the place.
So, as you’re looking to go after some of the tricky high-margin products, do so with caution and precision and get ready to dominate your market. The advancement of LD print modes makes tricky products a breeze.