Using Vinyl Stencils Instead of Emulsion: A Step-by-Step Process
Explore a new screen-printing method.
Before you get started on this fun screen-printing project, you need a few items:
- Vinyl cutter (even a cheap one!)
- Self-adhesive sign vinyl
- Weeding tool
- Transfer tape
- Masking tape
- Screen-printing screen
- Squeegee
- Water-based ink
Prep Your Art
If this is your first time doing this, make sure to use art that is high contrast and will have minimal weeding. Ideally, try to avoid many small individual pieces. The larger the area the better the vinyl will hold up during your printing and the easier it will be for your first time. For example, text is easier to weed out and create a stencil for than trying to start with a complex illustration. Make sure to also add cutout center marks above and below the image. This will help you later.
Prep Your Vinyl
Now that your vinyl is cut, instead of weeding out the negative space like you would normally do for typical vinyl transfers, you weed out the actual image itself, leaving behind the negative space as a stencil.
Once weeding is complete and the positive space has been removed, a stencil of your design is left. You need to transfer it to the screen. To do that, you have to get it off the vinyl backing. You will need to get some transfer tape, which will hold the vinyl in place but can still be peeled off easier than masking tape would.
Evenly roll out the transfer onto the front of the sign vinyl. Use a squeegee to help evenly apply the transfer to the surface. Once completely on, pull the vinyl up from the backing slowly with one hand, and use a small squeegee or a credit card in the other hand to help press the transfer tape to the cut pieces of the stencil so it pulls off the backer in place. Don’t worry if you struggle the first few times you do this, you’ll get the hang of it. Once you have the stencil completely removed from the backing, place it sticky-side up on a table to prep for the next step.
Prep Your Screen
Get a screen from your local art supply or screen-printing supply shop. I always recommend going to a local screen-printing supply company to purchase this if possible. I say this because getting to know industry locals will give you a resource for advice and products if you want to dive deeper into screen printing down the road.
To begin, I recommend taking a permanent marker and marking the center of the screen on the top and bottom of the frame, some may even choose to draw the center line down the mesh itself. Either is fine, but just make sure you have an easy way to identify the center.
Next, take more vinyl and cut a center square roughly the size of your art. Peel it off the backer and apply it to the flat side of the screen. Think of this as making a frame around your artwork that you are going to apply in the center of the frame. This is masking off the screen to make sure ink does not go where you don’t want it to. Use your squeegee to make sure the vinyl is flat and smooth against the screen.
Take the screen and flip it so the ink side is up and place the flat side against your sticky-side-up vinyl. Using your center line markings on your screen and line it up to the center cut marks on your vinyl. Don’t be too aggressive on the screen mesh, but press down on the inside of the screen to make sure the vinyl adheres.
Once it’s on, flip it over and carefully peel your transfer tape from the image. This process is easier than peeling off the vinyl backer. Use your squeegee to flatten and smooth out the vinyl across the screen. Next, use masking tape to tape over the center cut marks and any openings on the screen that you don’t want ink to pass through.
Print! Print! Print!
Now your screen is ready to go. Don’t forget, you can print on more than just shirts. Take your design and print shirts and some posters. Anything that is flat and the ink can dry and bond to, you can print!
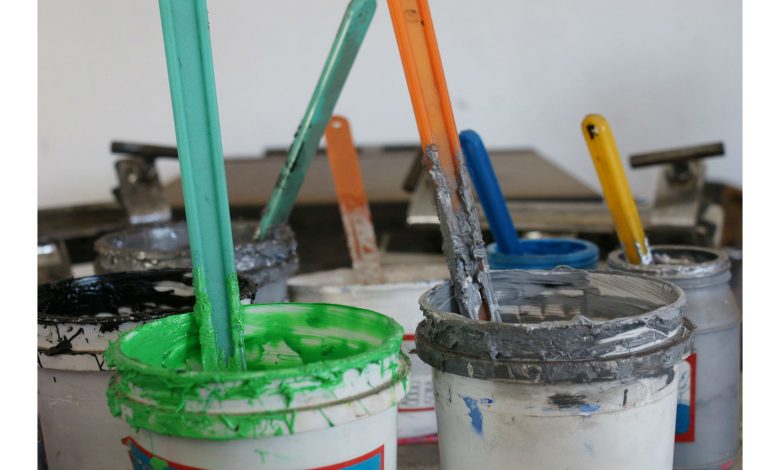
Take your screen and place it centered on top of your shirt or paper or whatever you are printing on. Take your water-based air dry ink, and place a thin bead of it above the art on your screen. Use your squeegee and pull the ink over the open image area with just enough pressure to push it through the screen and onto your shirt. Some people like to place cardboard or chloroplast inside the shirt to separate the fabric layers, which makes it easier to keep flat and wrinkle-free.
Once you have pulled all the ink through the image area, carefully pick your screen up off your shirt to reveal your new print! Let the ink airdry by letting it sit, or use a heat gun or blow dryer to speed the process up. Repeat the process for as many as you want. You can print dozens and dozens of shirts without having the equipment normally needed to make your first prints come to life.
Have some fun with this and see what else you can print!