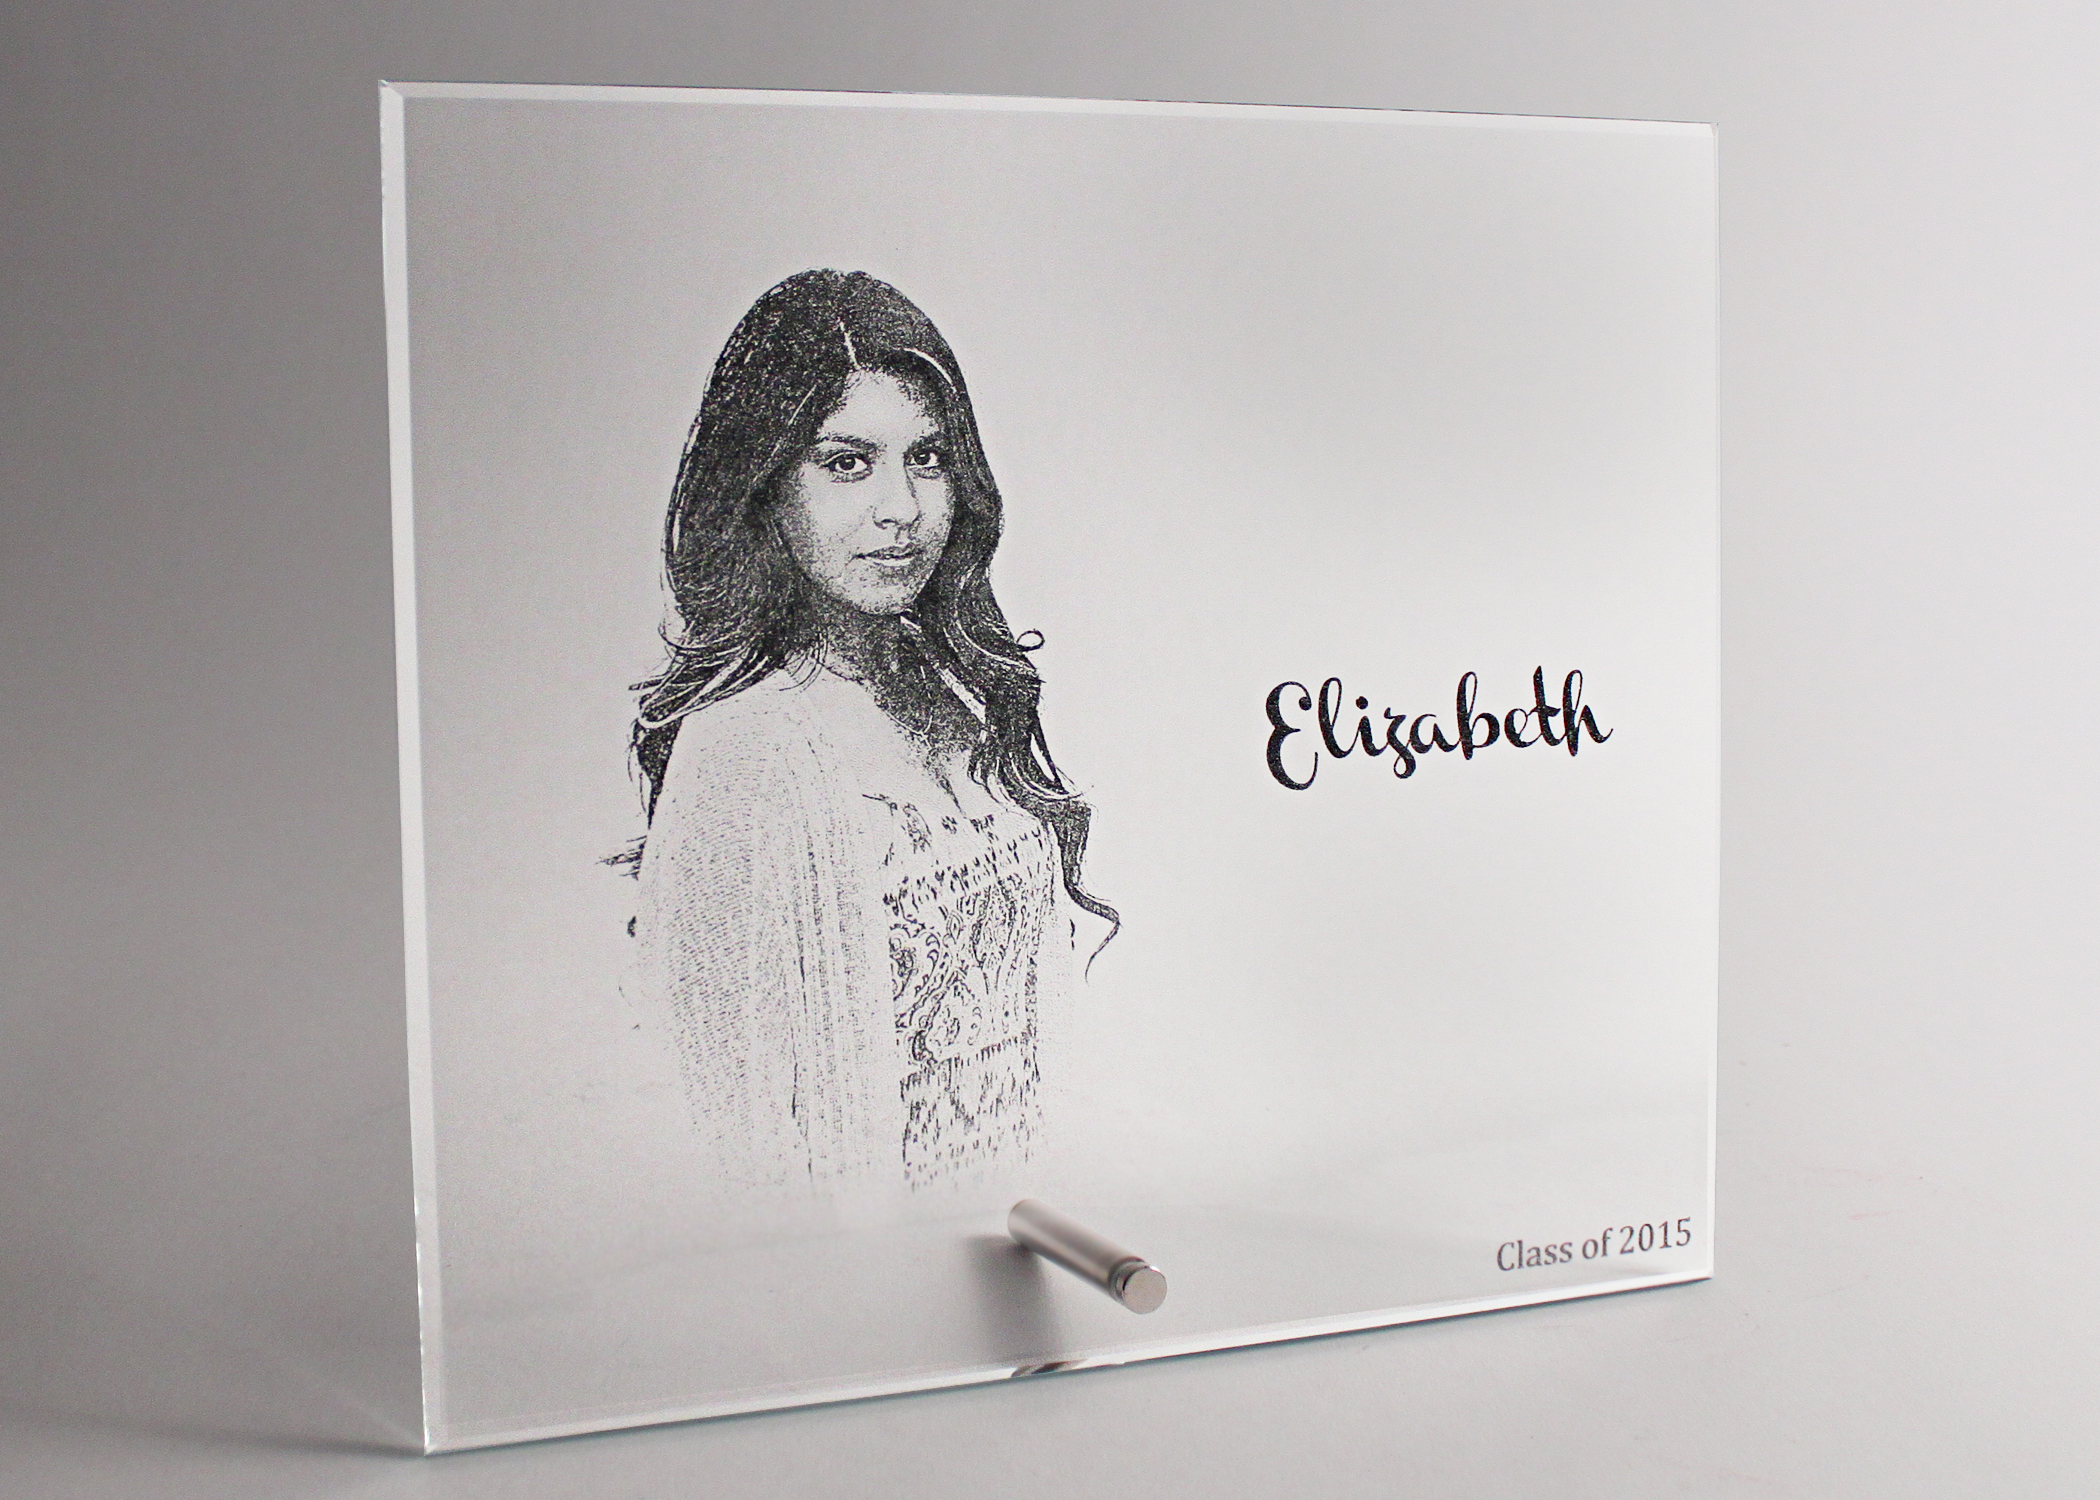
The first step when engraving photos on glass is to learn the basics of using CerMark on glass substrates. The product I recommend is the tile and glass marking CerMark. If you have experience with CerMark products, the tile and glass marking product works in a similar manner.
After cleaning the glass with regular glass cleaner and a clean cloth, shake the spray can for a minute then spray an even coat of the CerMark spray onto the glass. Use steady, even strokes for medium coverage with no thin spots. The CerMark will dry to the touch in five to 10 minutes and will be ready to laser engrave.
When it is time to laser engrave the coated glass, it will be the focused heat energy from the laser that fuses the CerMark onto the glass to create the black colored engraving. The areas that were not engraved by the laser can be washed off using water. The CerMark process for marking glass is a pretty simple one, but I always recommend trying a few test pieces first to get the hang of it before doing a production product.
