Using a Sublimation or Laser System for Signage
Learn how to create a sign using multiple design processes
As an awards shop that utilizes laser engraving, sublimation, or possibly a combination of the two processes, you have probably run into the question, “Can you make a sign?” When thinking about it, laser engraving and sublimation are just two ways to decorate different substrates. A sign is anything that tries to convey a message through visual means.
From that perspective, there’s really no reason someone couldn’t utilize sublimation or a laser system for signage. You just have to know the limits of each process and figure out where they come into play best.
Getting Started
If you go to your internet browser and type in “How to get started in the sign industry,” you will notice one of the first things to pop up is a vinyl plotter cutter. A plotter cutter is a machine that drags a knife on a horizontal X-axis through a piece of vinyl that is being fed back and forth on a vertical Y-axis using small wheels called pinch rollers. Plotter cutters use vector graphics to determine the path that the blade will take to cut out your image. Sound familiar?
For most people just starting in signage, a vinyl plotter cutter is the foot in the door of the sign world. For an awards shop looking to expand and get into signs, it wouldn’t be any different. A plotter cutter is a great tool that anyone looking to get into signs should have. The integration process is convenient as well – you can run your plotter cutter out of the same software as you use for sublimation and laser engraving.
For example, I use CorelDRAW as my main vector-based software. My Graphtec plotter cutter has a plug-in that allows me to send my vector designs from CorelDRAW directly to my plotter. I can take the same file and send it to my sublimation printer or my laser engraver, all from one computer and design software. Adobe Illustrator is another well-known design software that many plotter cutters integrate with.
It is important to note when looking for a plotter cutter that fits your needs to check whether it comes with proprietary software or if it can integrate with existing software. Being able to use a familiar design software allows you to hit the ground running if and when you decide to get a plotter cutter.
Big Benefits
The big thing that separates an awards shop coming into signage from other standard sign shops is the fact that you can incorporate multiple processes to give customers a one-of-a-kind sign. In my experience in the sign world, it boils down to creative problem solving.
People come to me with all sorts of sign ideas, some basic and some complex. My job is to look at the application of the sign and figure out where it will hang and how long it needs to last. The more tools I have at hand, the more options I have for that application. And it works both ways.
For example, if decorating apparel with sublimation is a part of your existing business, you can expand that line by using heat transfer vinyl to decorate on specific blends and colors of apparel that sublimation cannot do, like cotton.
Tutorial
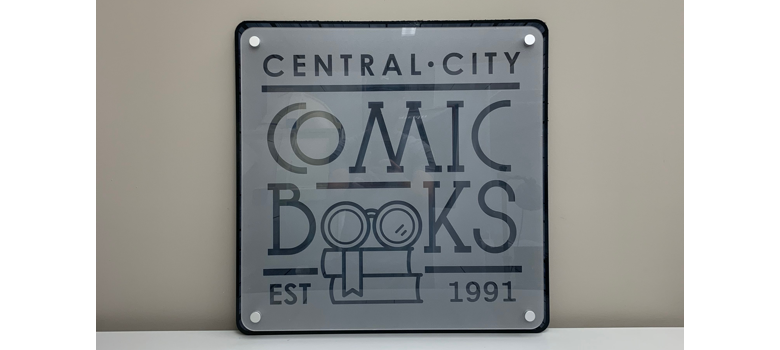
Let’s look at an example of how you can create a unique sign using multiple design processes. Following, I have a sign for a comic book store that I created using laser engraving, sublimation, and cut vinyl.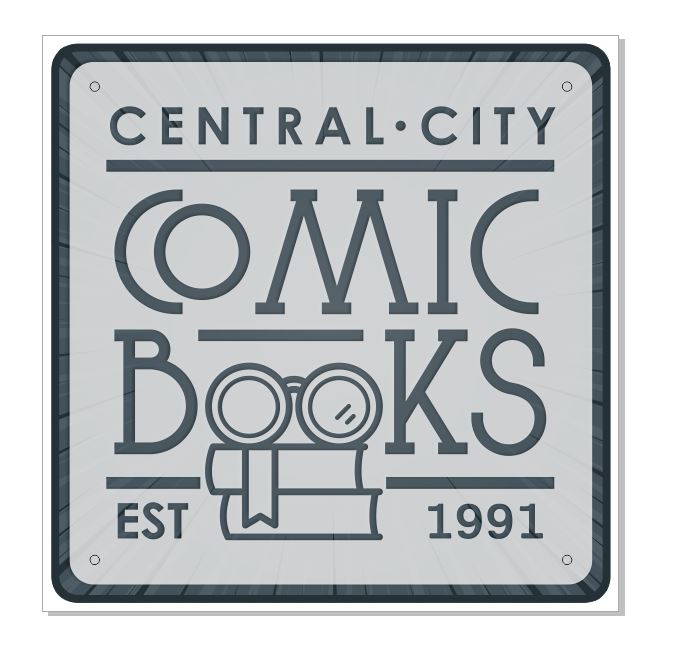
The big thing that separates an awards shop from other standard sign shops is that fact that you can incorporate multiple processes to give customers a one-of-a-kind sign. (All images courtesy Colin VanLint)
Materials Used:
- 1/8″ sublimatable hardboard material
- 1/8″ acrylic sheet stock
- 4 Kota Pro stand-offs or other similar product (used for mounting acrylic to hardboard)
- GF 790AE Print-N-Privacy Polymeric Light etched film
Step No. 1: Once I have my design, I want to separate each individual part of the design for its corresponding design process
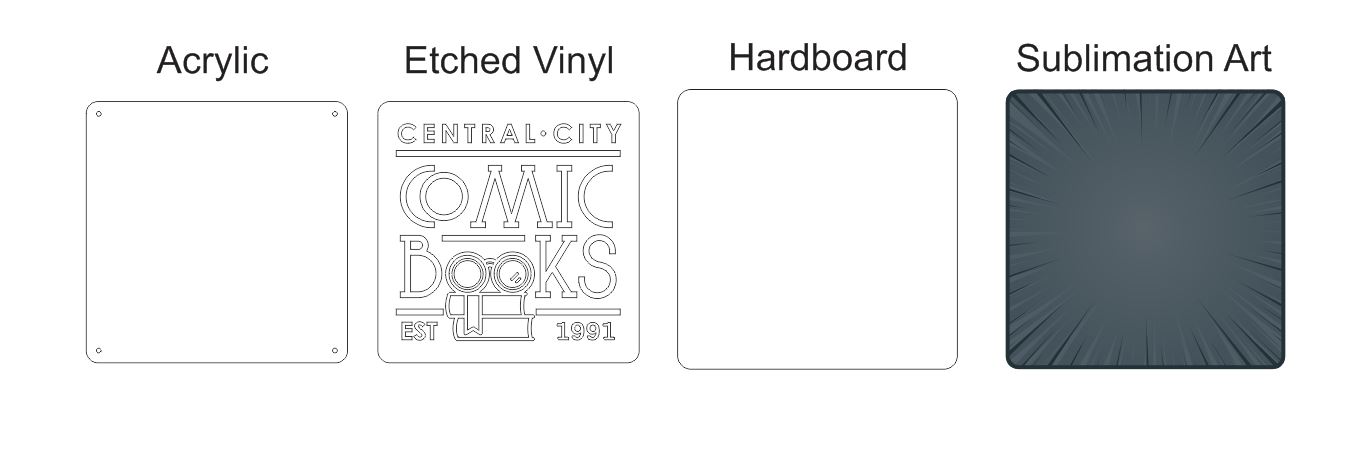
Step No. 2: I use a laser engraver to cut the acrylic and hardboard pieces to shape. When cutting both the acrylic and hardboard in the laser, leave the protective coating on to help protect it. For both acrylic and hardboard, it’s best to use a slow speed and high power setting with multiple passes to achieve a better finish to your edge. Cutting them both on the vector bed grid (aka honeycomb grid) helps with the heat going through it and helps achieve a nicer cut. 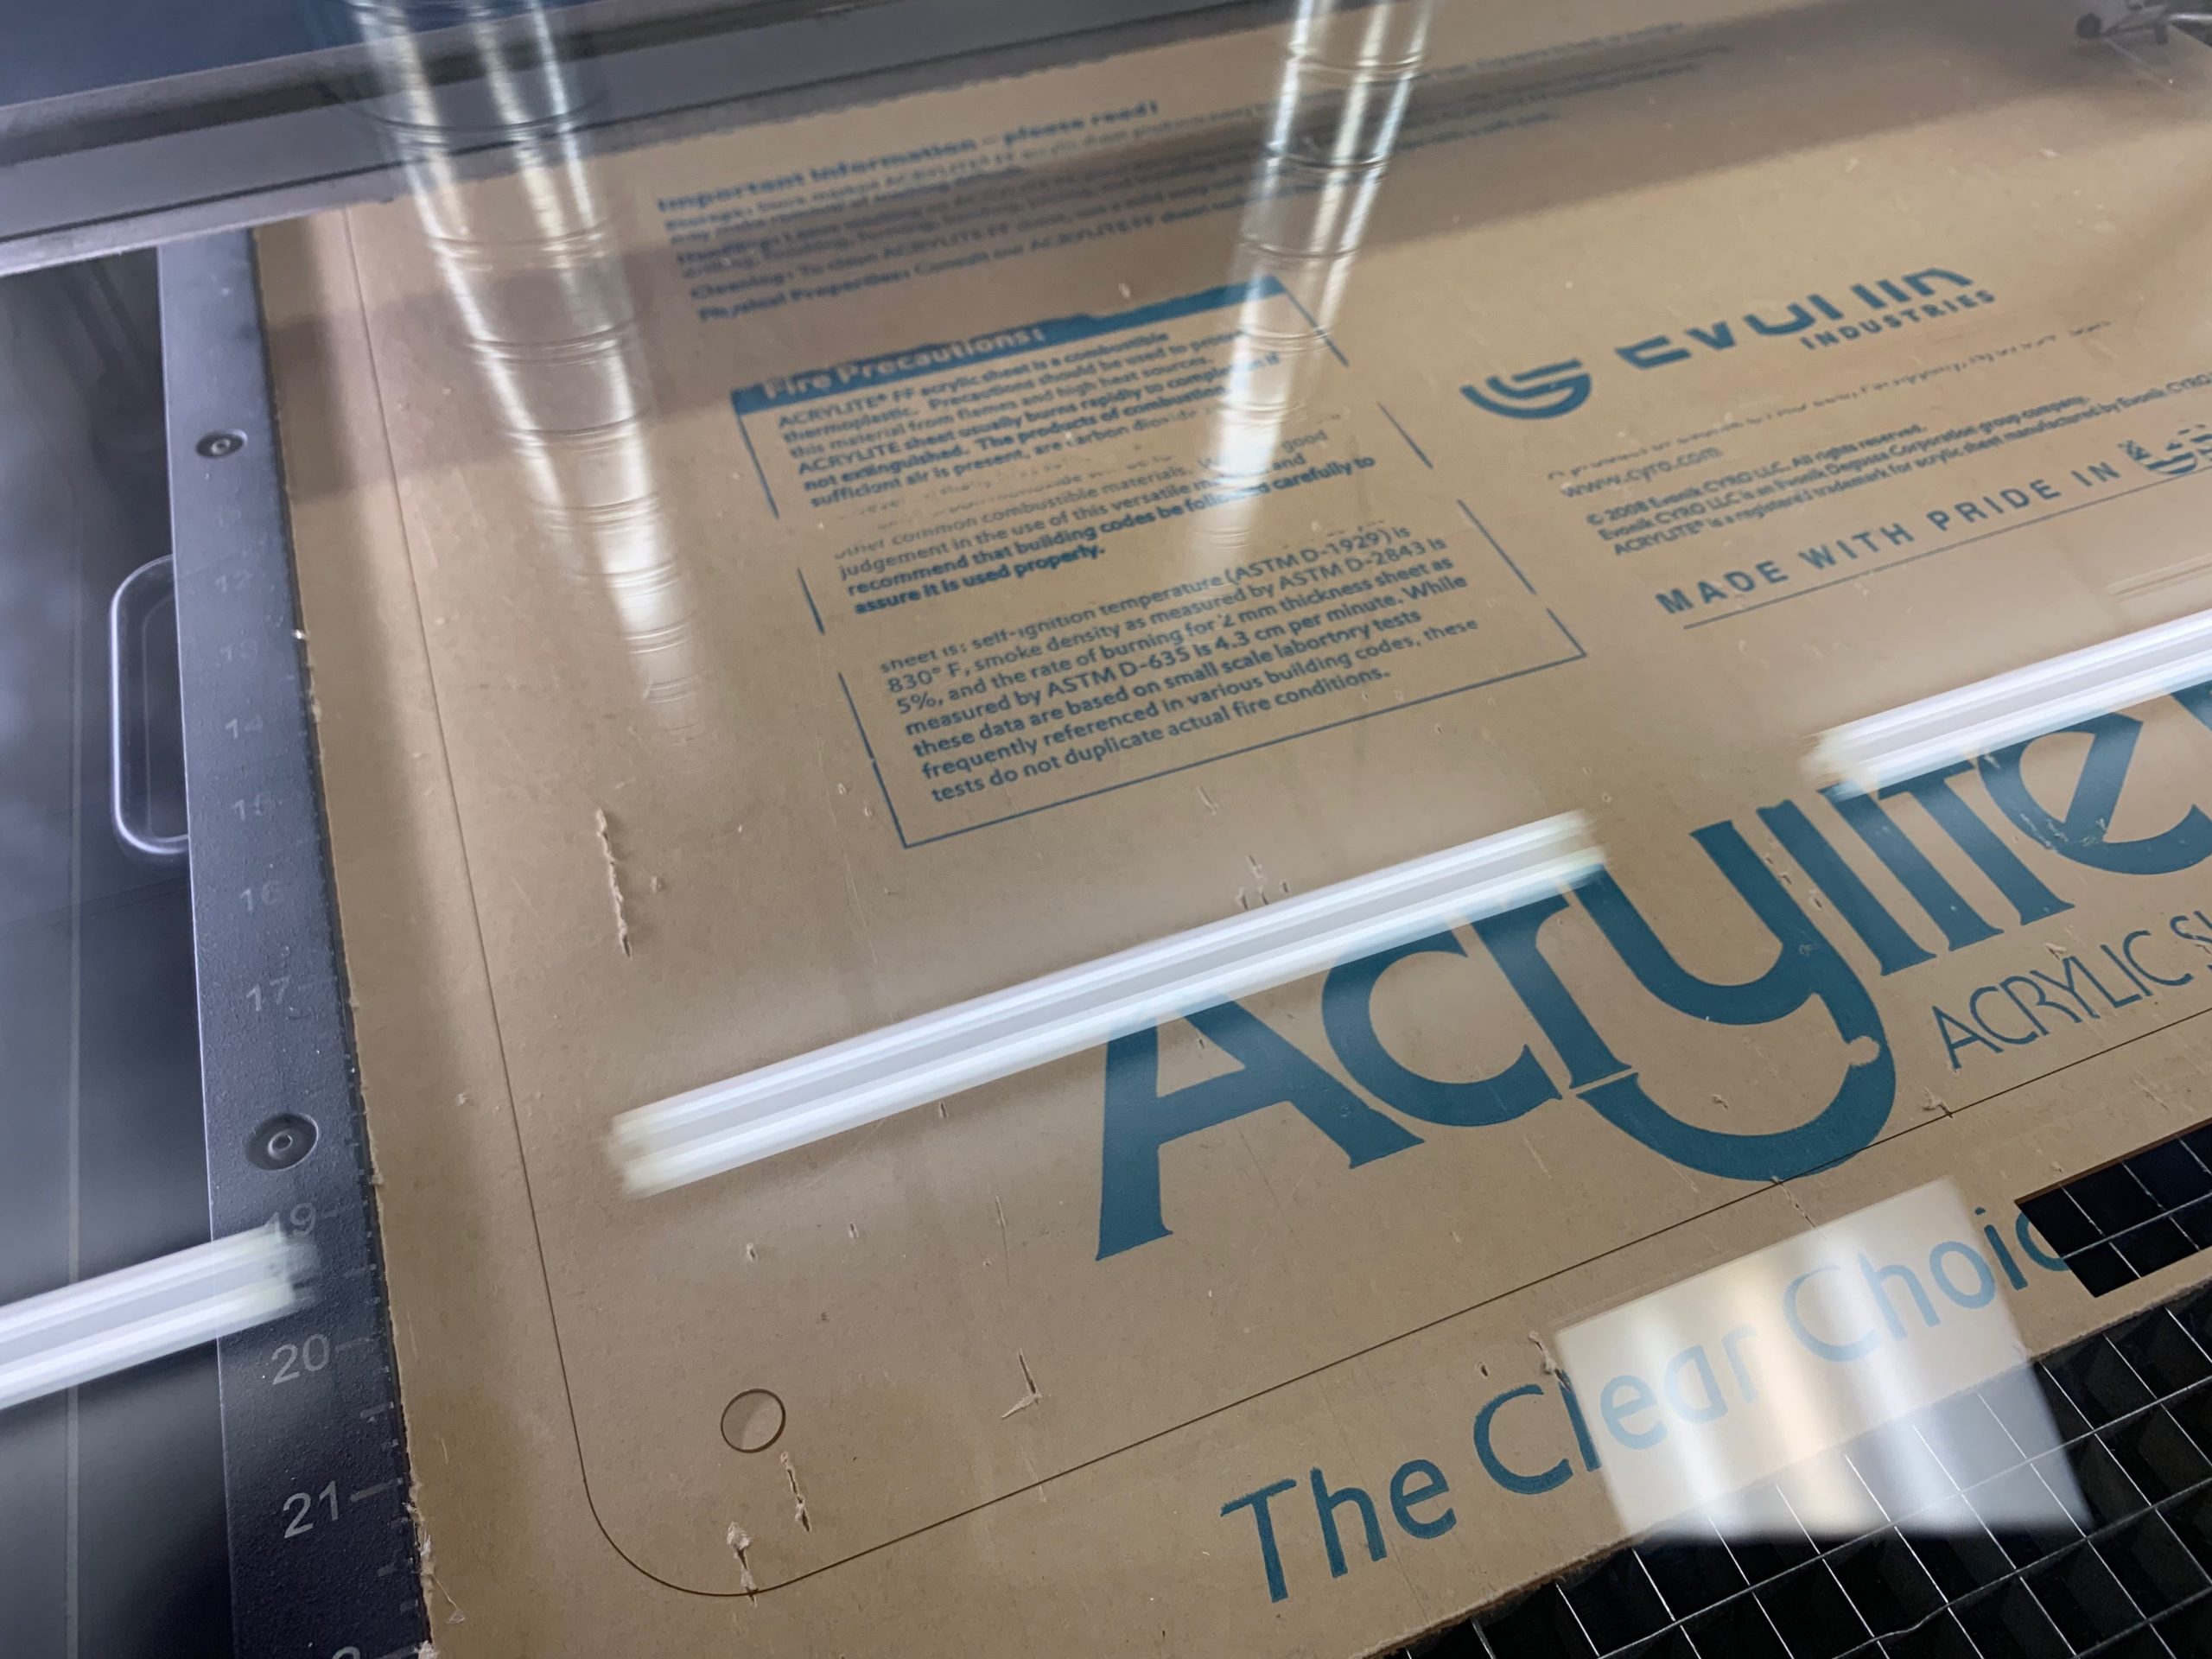
When cutting acrylic and hardboard, it’s best to use a slow speed and high power setting with multiple passes.
On our 60W Fusion Epilog we run for 1/8″ acrylic:
- 15% speed
- 100% power
- 100Hz for frequency (this is on a scale of 1-100Hz, most are 1-5,000Hz)
- Two passes
For our 1/8″ hardboard:
- 15% speed
- 60% power
- 25Hz
- Two passes
Step No. 3: After we have our pieces cut, the next step is to sublimate our hardboard. This transfer was printed on a Sawgrass VJ628 with sawgrass inks.
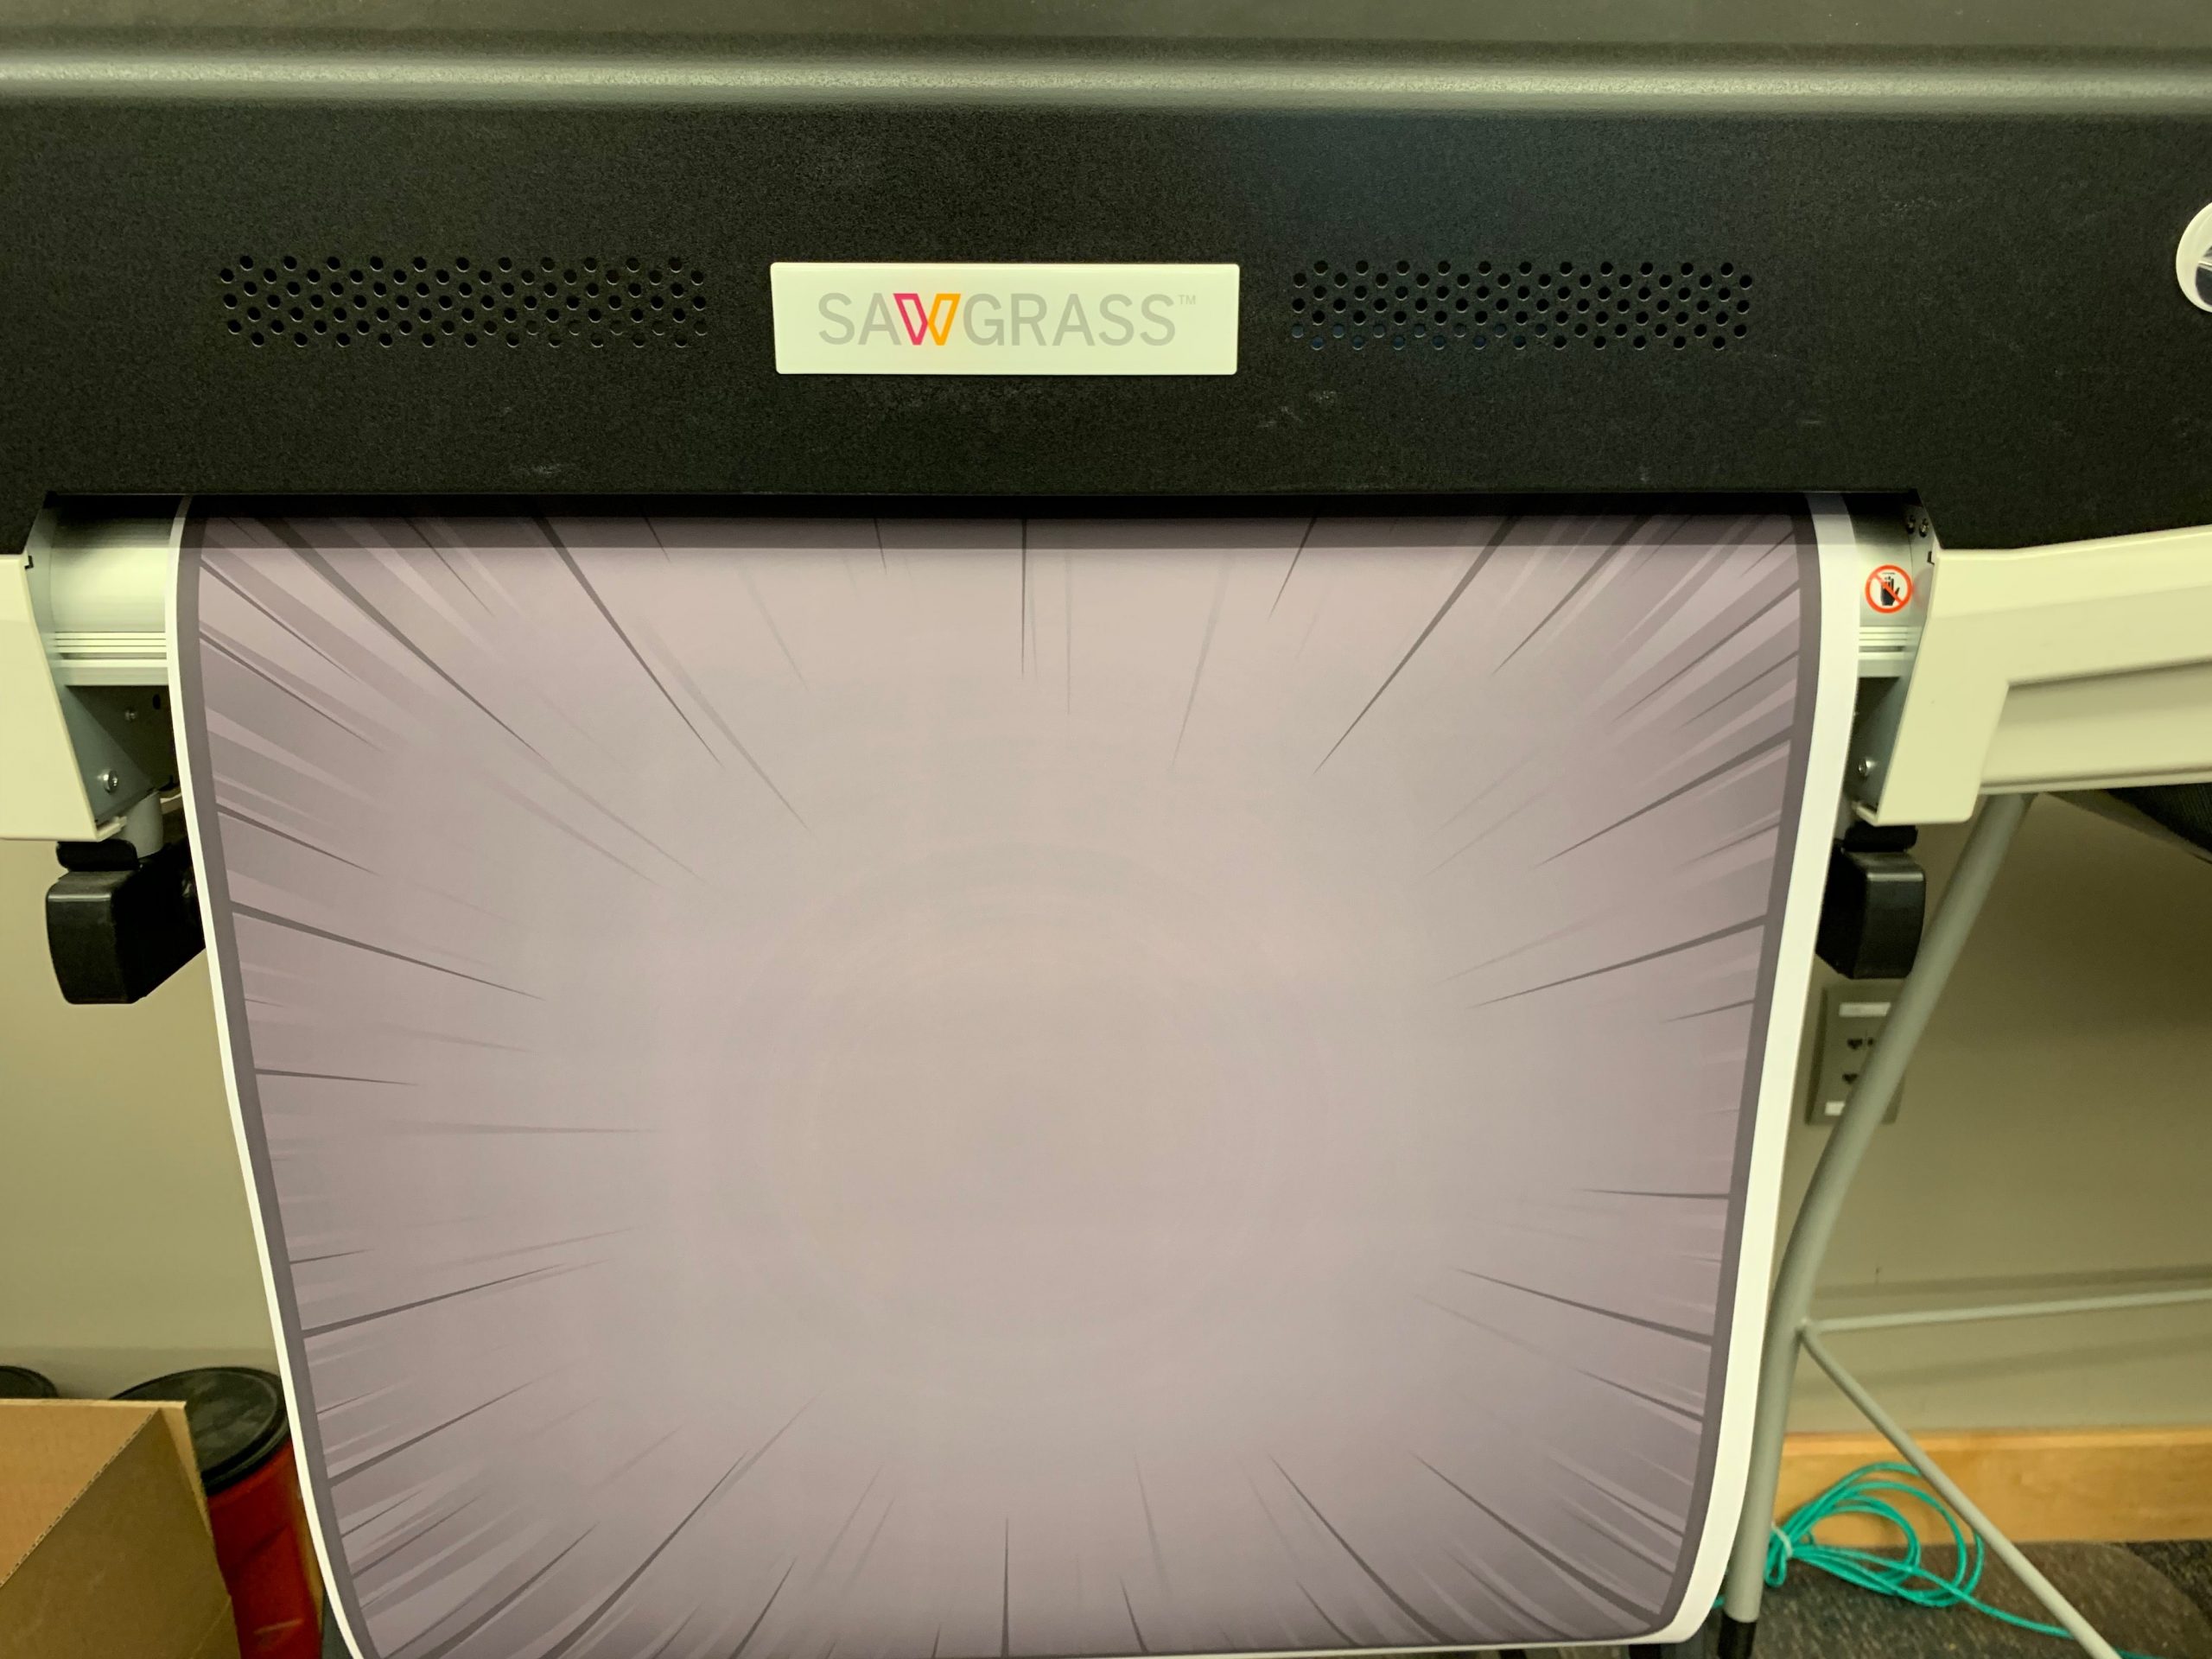
The first step is to remove the protective plastic coating off of the surface of the hardboard. After you peel away the protective coating, line up your hardboard onto your transfer sheet. It helps to leave a 1/8″ bleed around the artwork to give some margin of error. If you live in an area that has high levels of moisture in the air, I recommend pre-pressing the hardboard for 60 seconds by itself to draw out any unwanted moisture. Moisture can cause issues for your sublimation inks as everything heats up and starts to turn to a gas state. You can also lay the transfer under the heat press without dropping down the heat platen; instead, let it hover over the transfer to draw out any excess moisture.
To adhere the sublimation transfer to the hardboard, you can use either heat resistant tape or a repositionable spray. Once we have our transfer adhered to our hardboard, we can begin pressing.
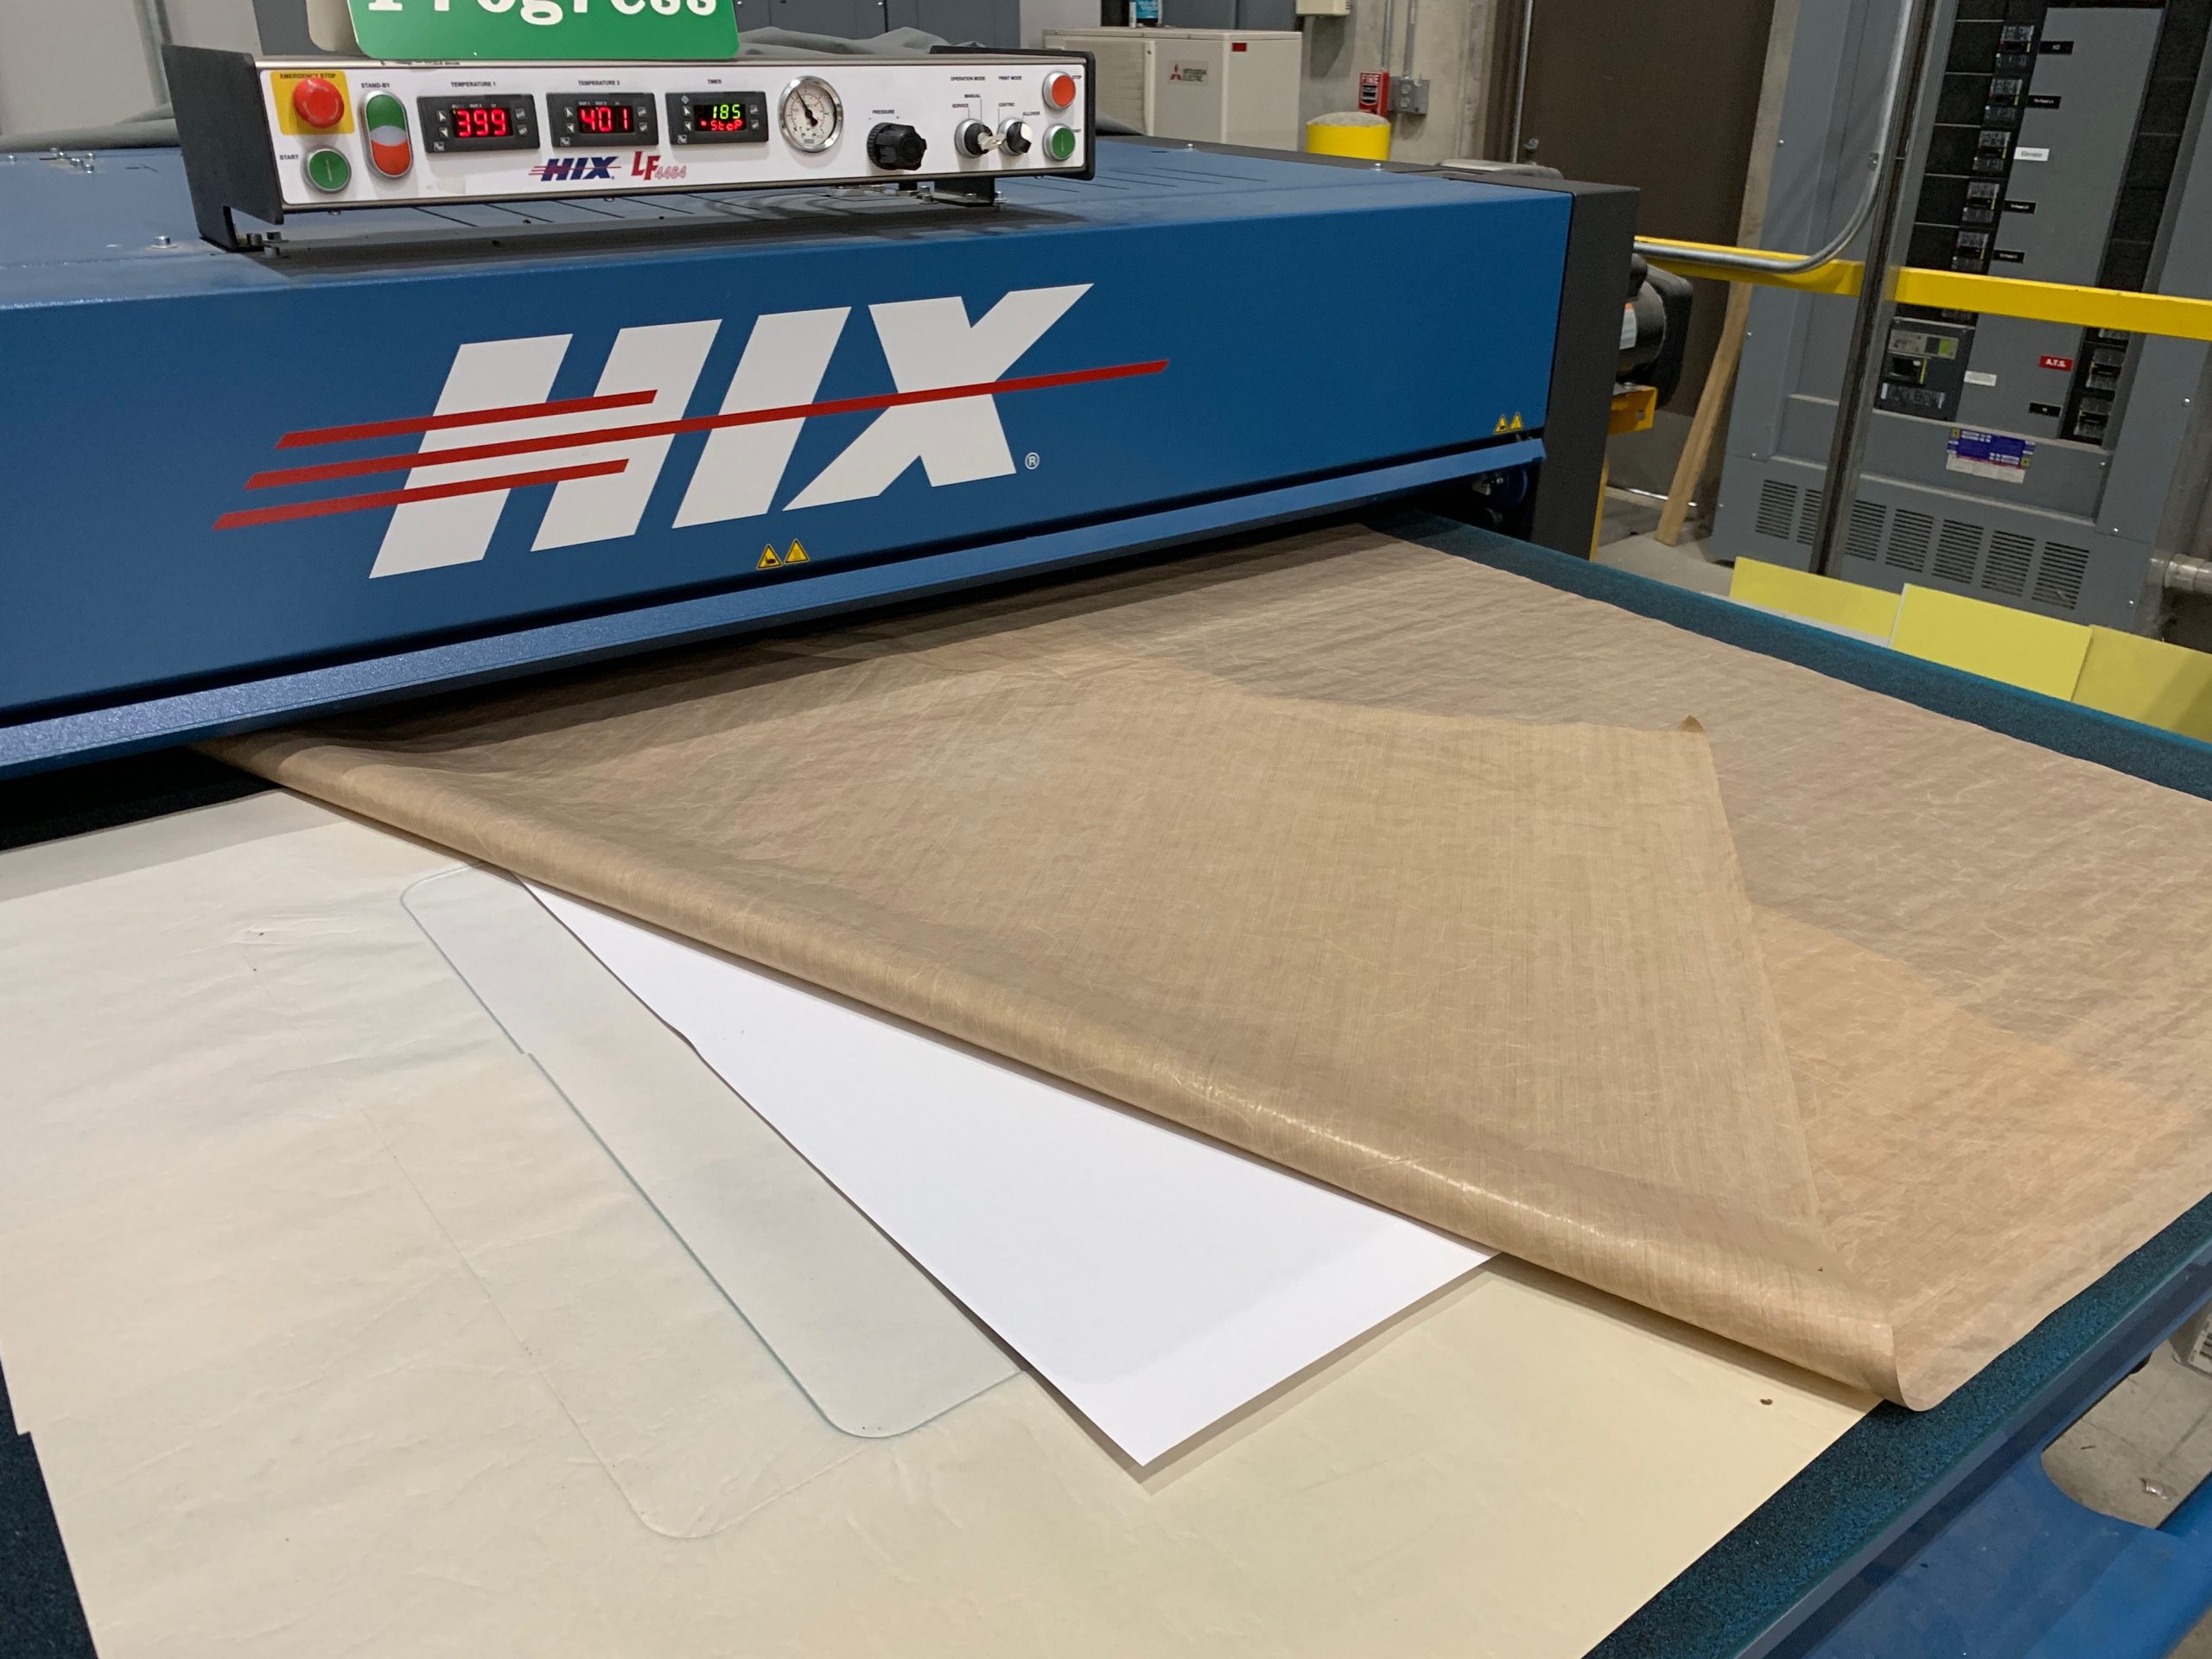
Once the transfer is adhered to the hardboard, begin pressing.
Press settings:
- 400 F
- 3 minutes
- Layering bottom to top:
- Teflon or scratch paper
- Hardboard (face up)
- Transfer (face down)
- Teflon or scratch paper
Step No. 4: After the hardboard has been sublimated, the next step is cutting our vinyl. The first thing needed is to load our etched vinyl into our plotter cutter.
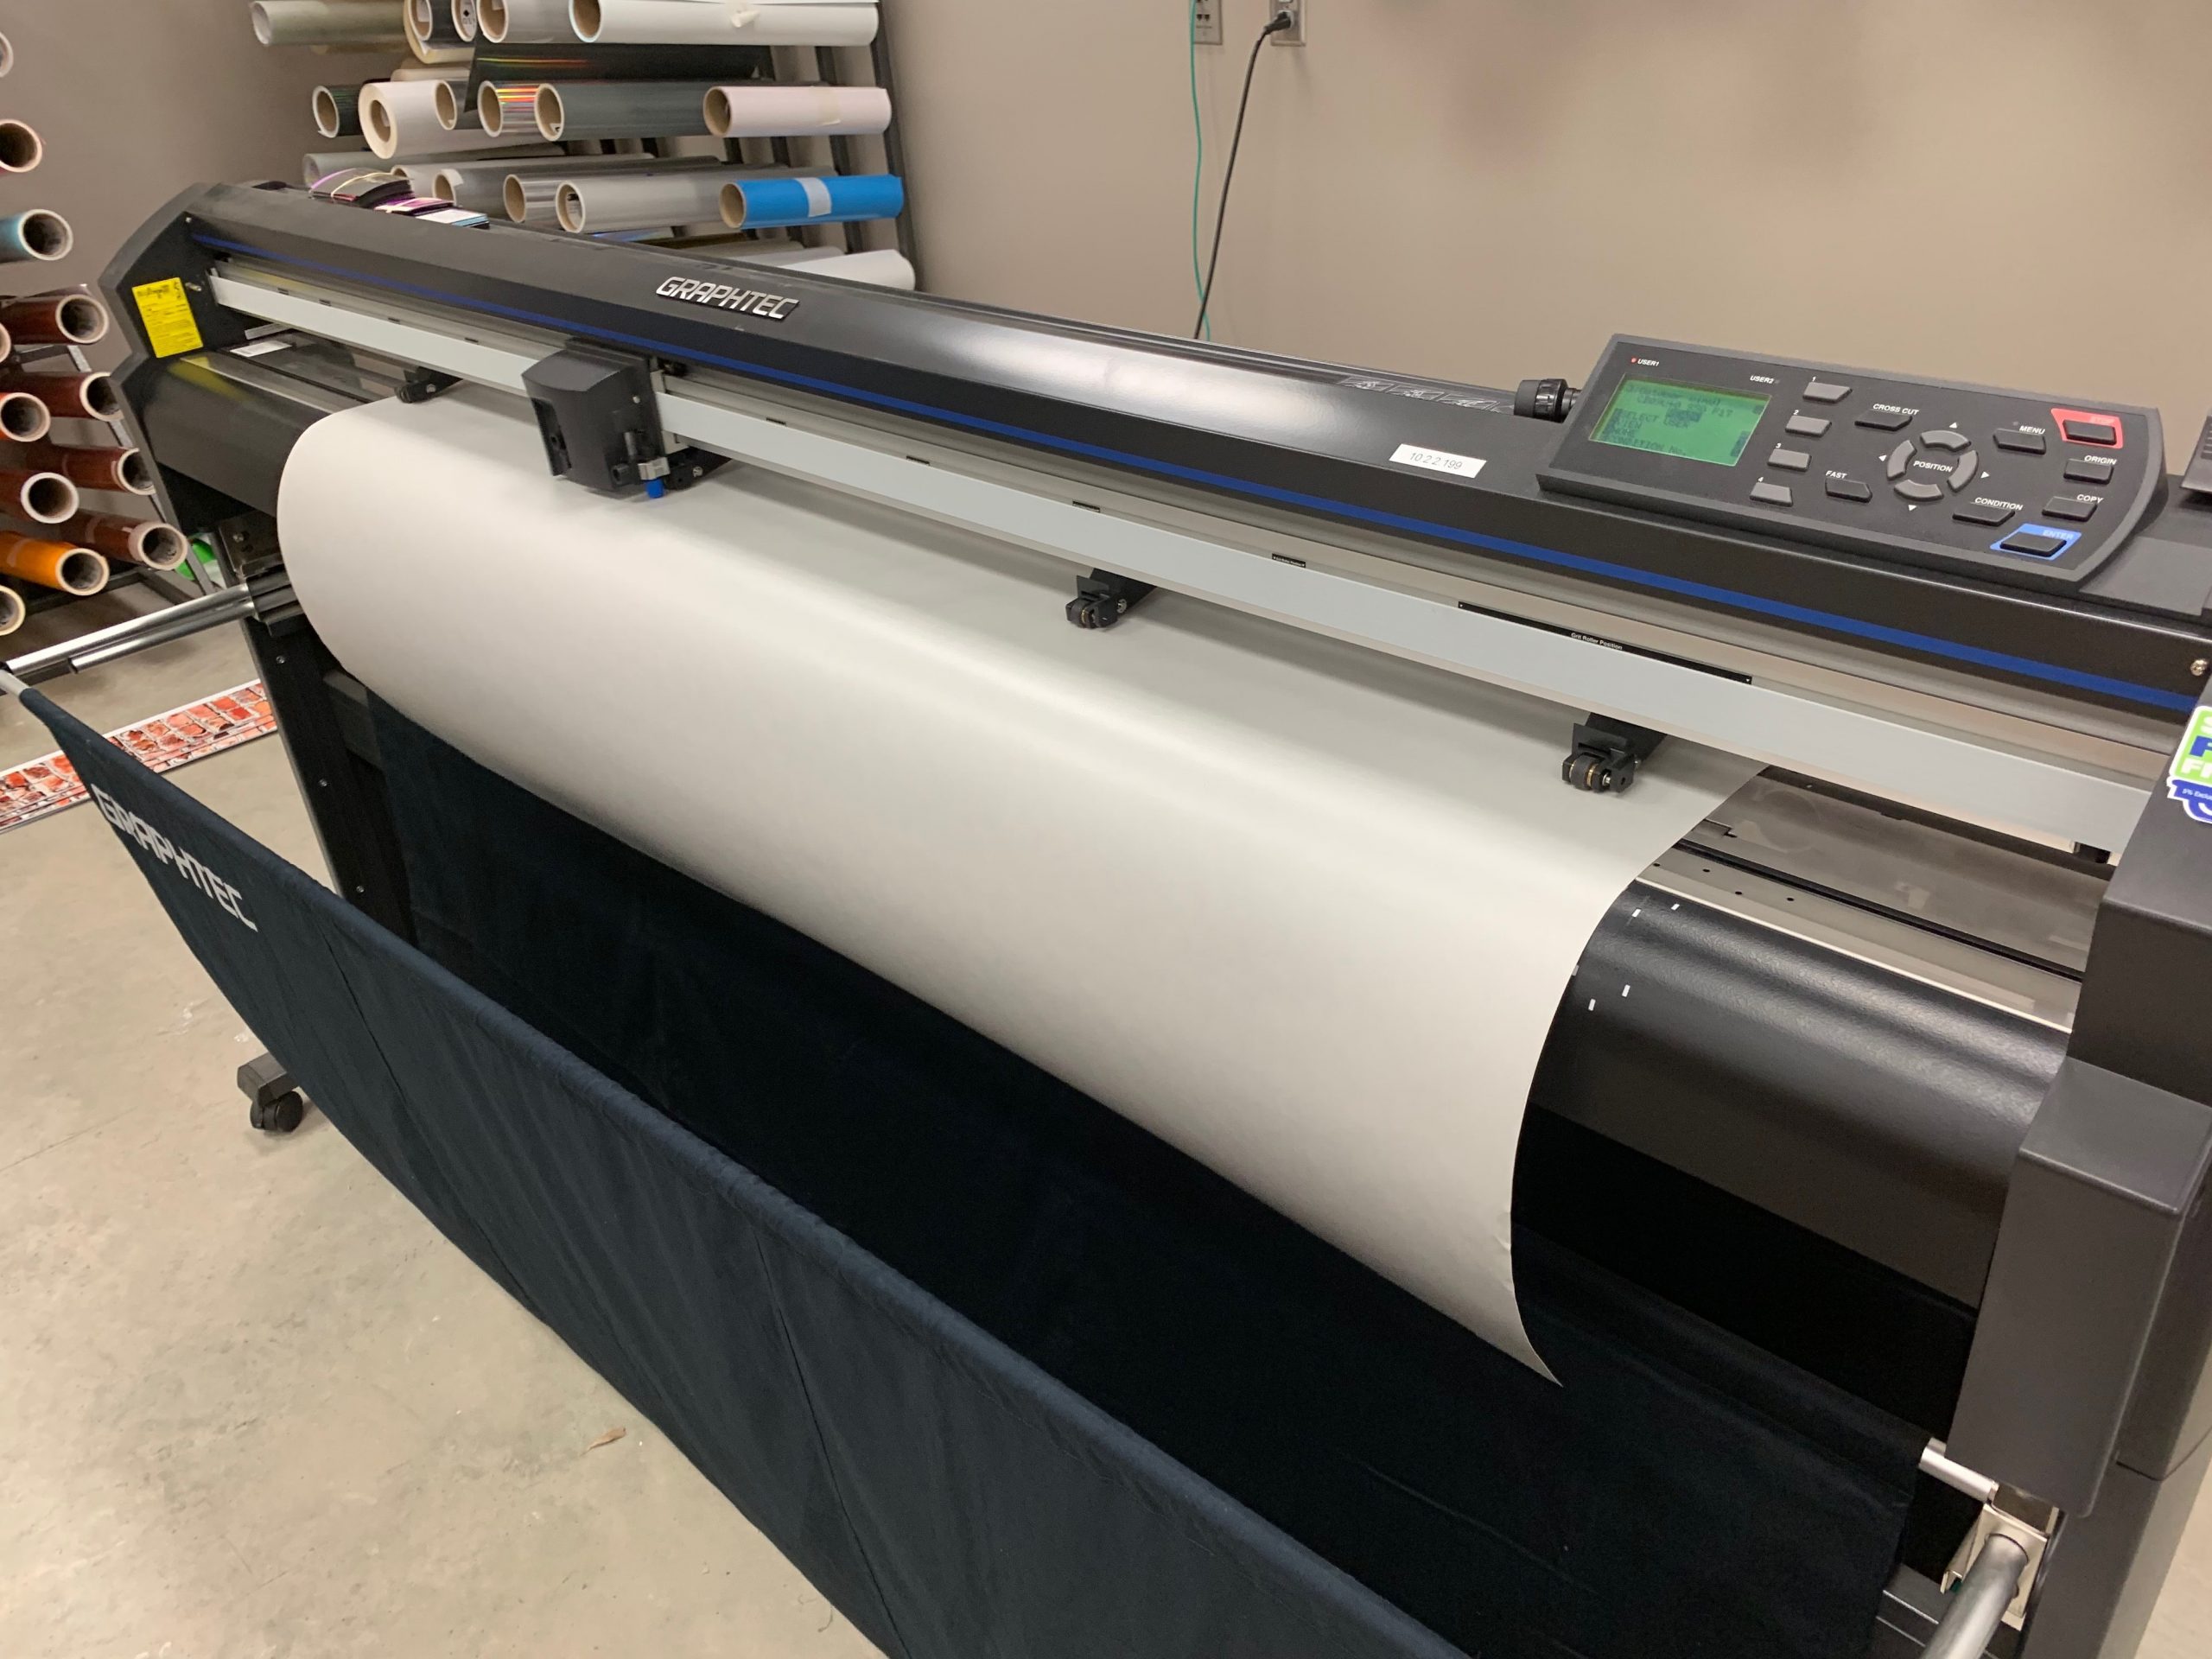
Once the vinyl is loaded, we can send our vector art file to the plotter cutter. For this particular sign, I want a second surface installation so I’m going to cut the vinyl in reverse.
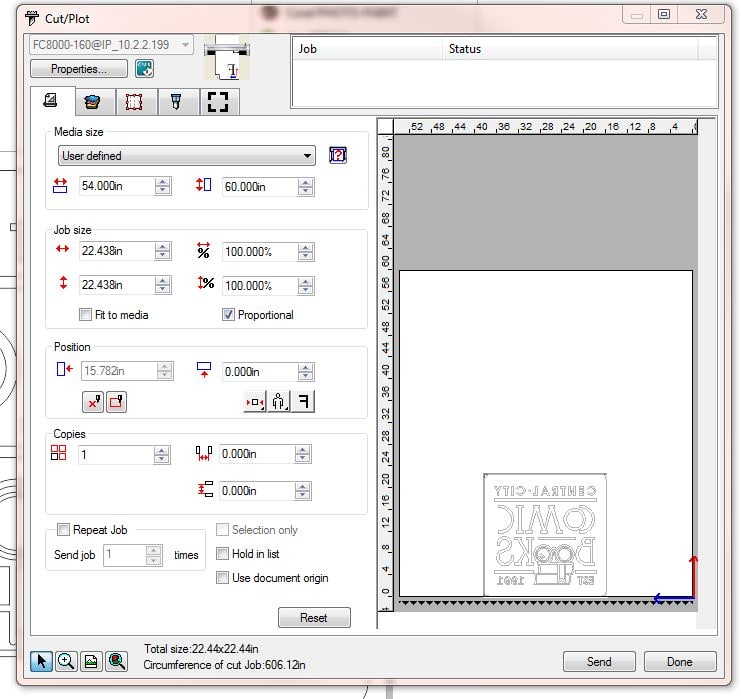
For this particular sign, we want a second surface installation so cut the vinyl in reverse.
If the substrate is transparent, like glass or acrylic, we have the option to cut the vinyl right-reading and apply to the top, or first surface, or we can cut the design in reverse and install to the back side (second surface) so when looking through the transparent substrate, you can still read the content correctly.
Cutter settings:
- Force: 18
- Speed: 40
- Blade: 45 degrees
Step No. 5: Once the vinyl has been cut, the next step is to remove the excess vinyl in and around our artwork. This process is referred to as weeding.
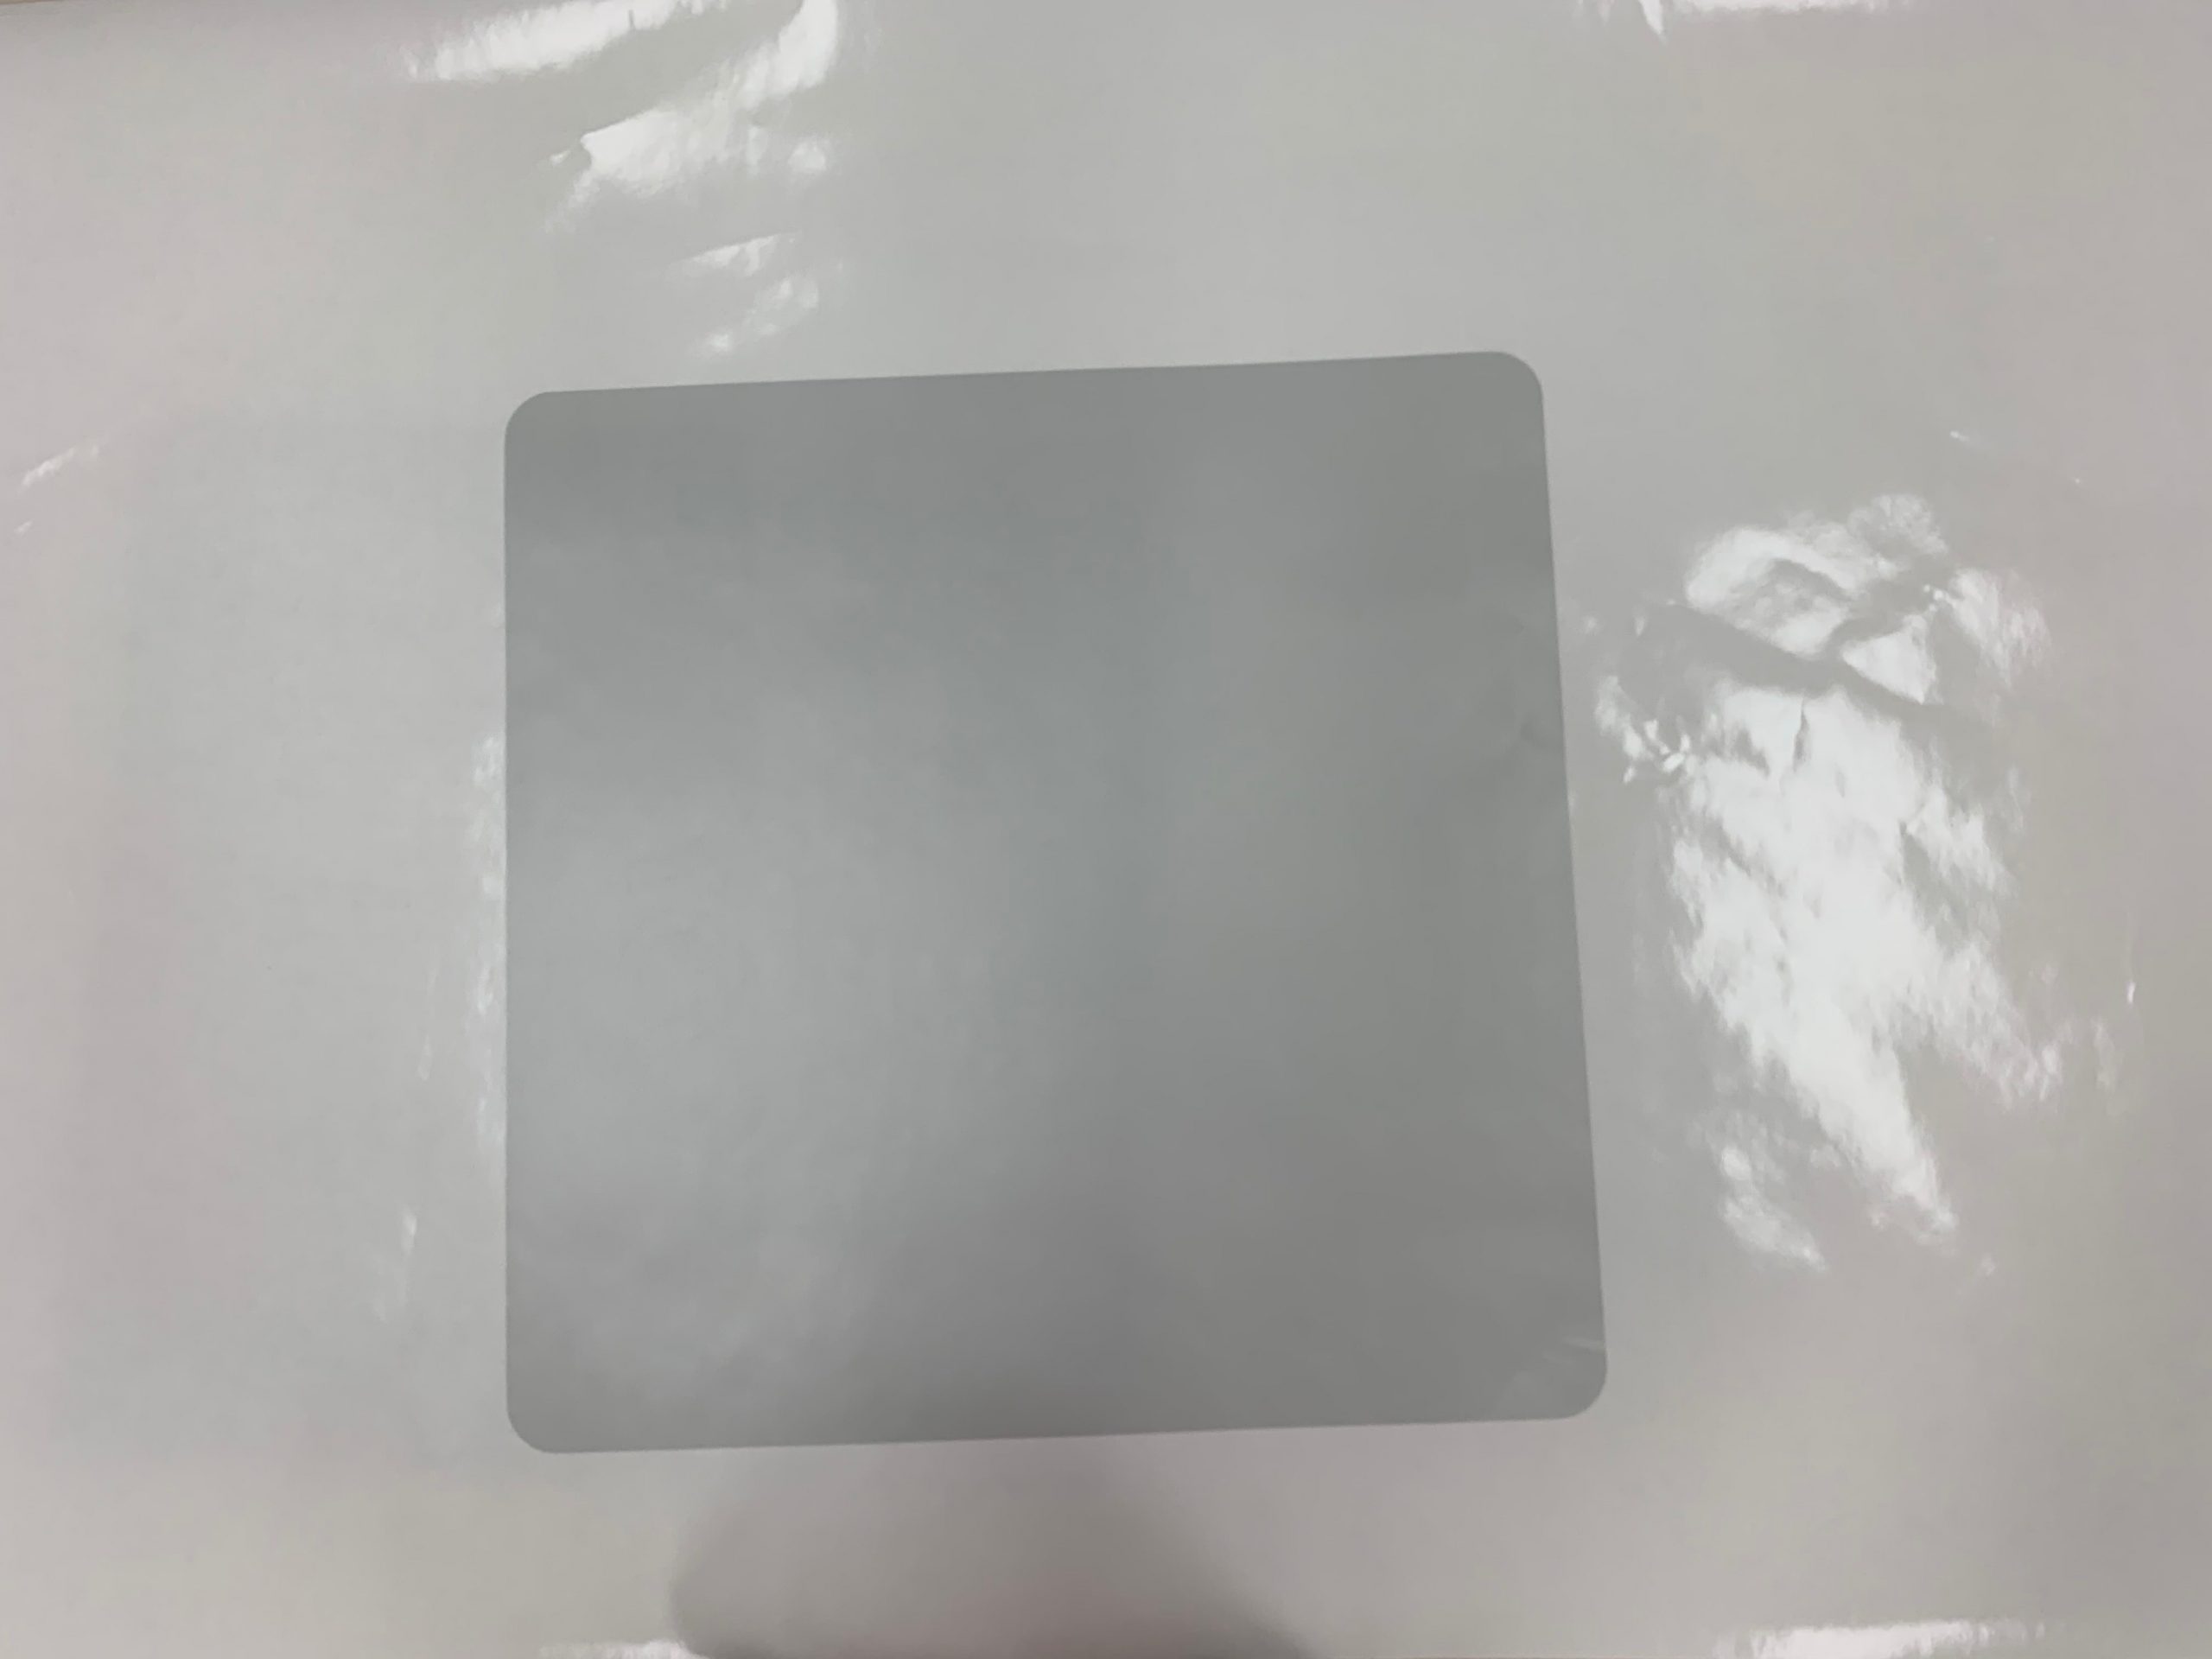
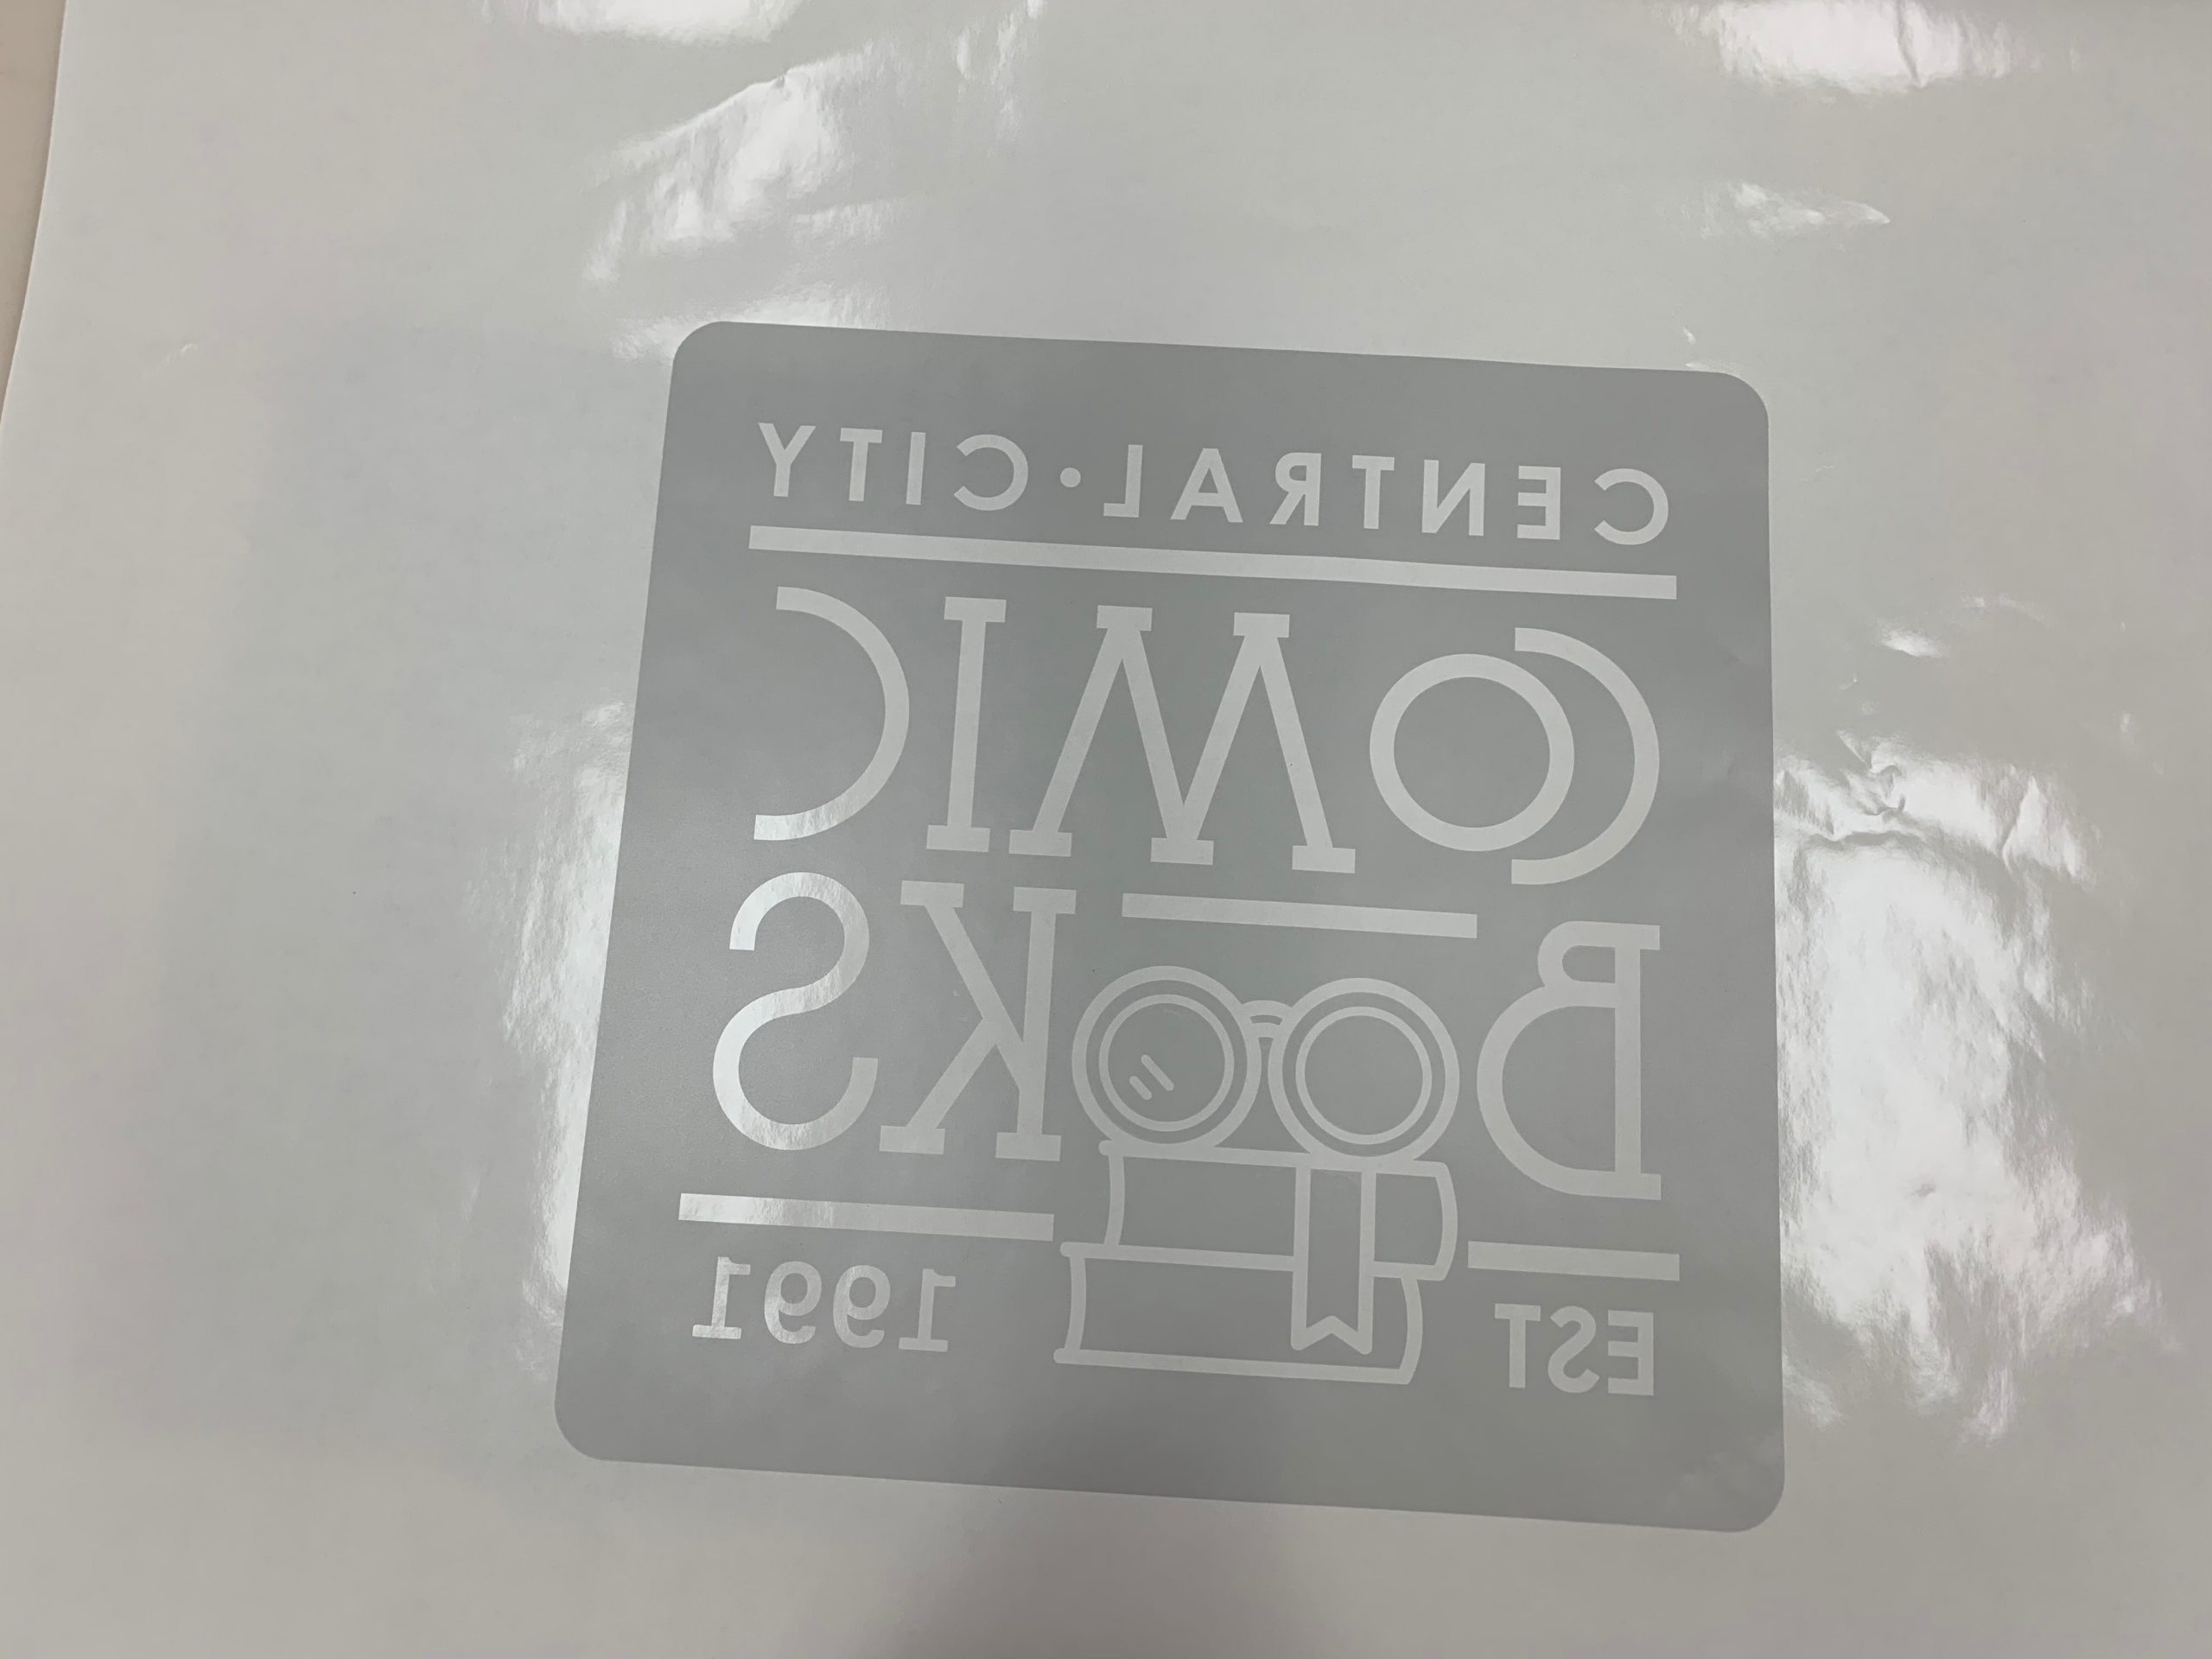
Step No. 6: After the design has been weeded, the vinyl needs to be transferred from the backing paper it is currently on to the surface of the acrylic. This requires transfer paper, also known as application tape or pre-mask. Transfer paper is an adhesive paper that can either be a transparent plastic or an opaque paper base. Transfer paper comes in three levels of adhesive strength: low, medium, and high. As a rule of thumb, the larger the graphic, the lower the adhesive strength required. For this project, I use a plastic, medium strength transfer paper.
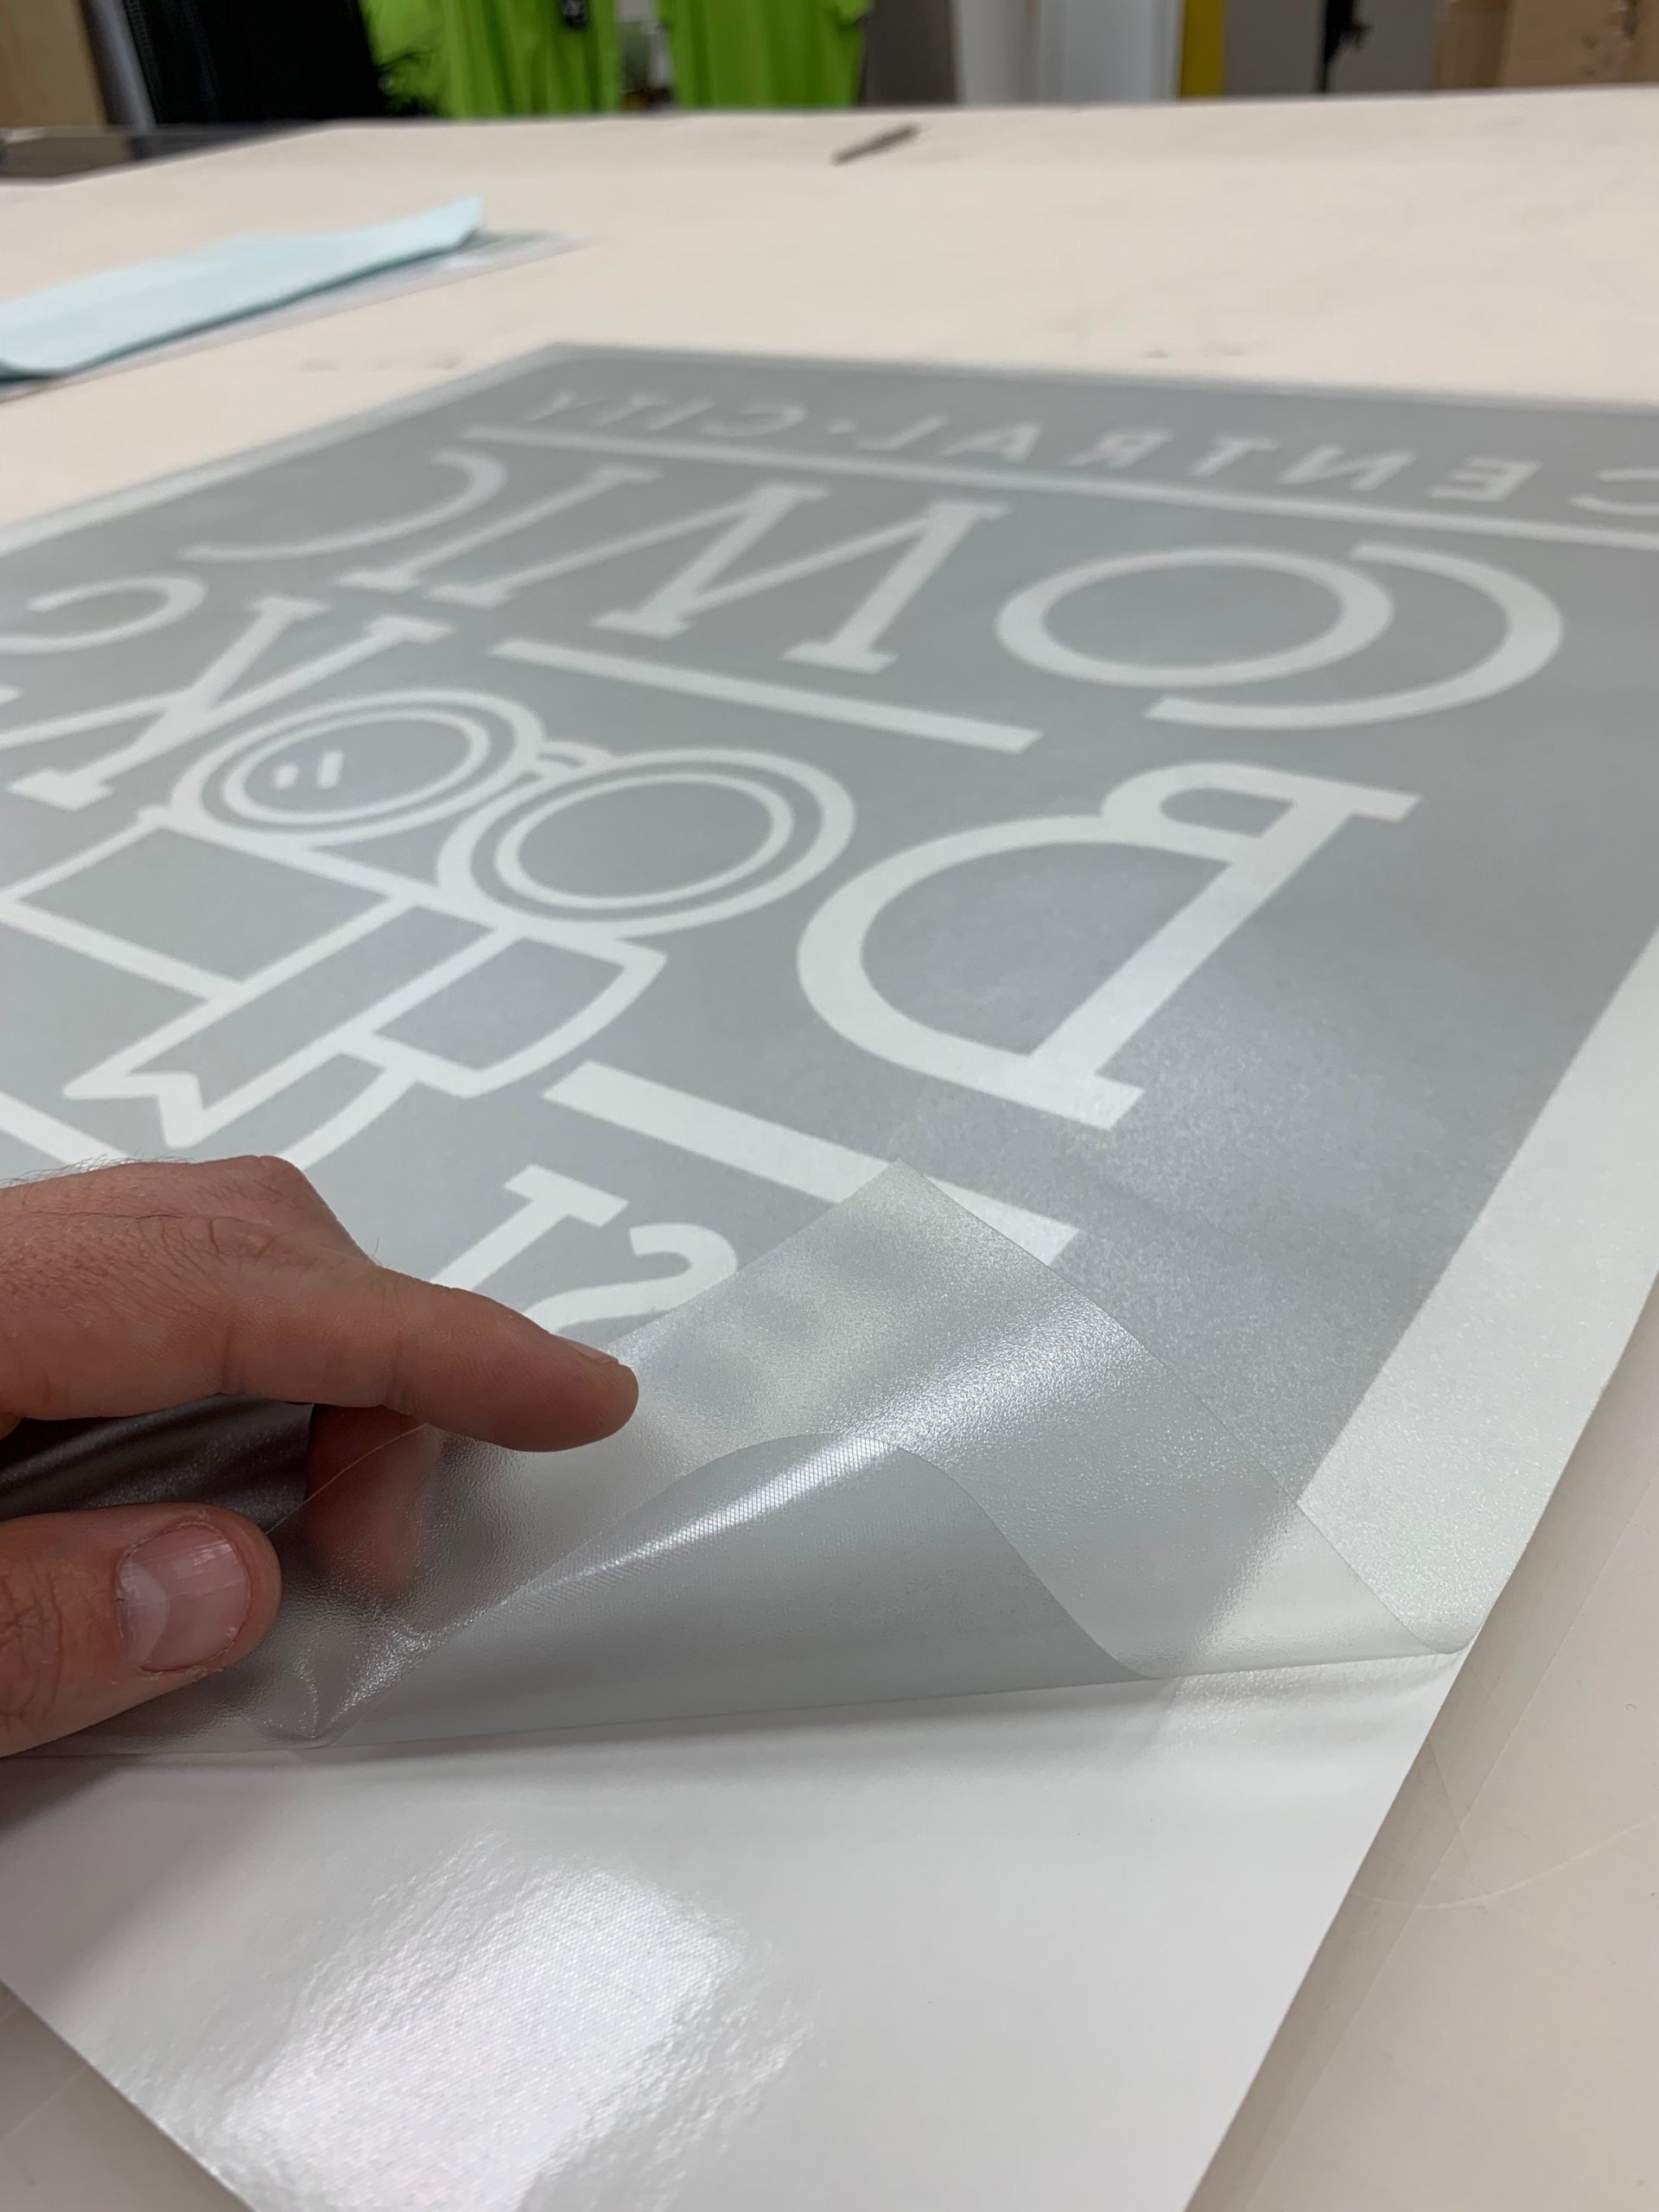
The vinyl needs to be transferred from the backing paper it is currently on to the surface of the acrylic.
Step No. 7: Once I have my vinyl cut, weeded, and masked, it is ready to be applied to the acrylic surface. This process does require some technique to ensure that the vinyl applies smoothly with no bubbles.
Clean the surface of the acrylic with isopropyl alcohol to ensure a clean bond. For this project, I use the hinge technique. The hinge technique allows you to line up the vinyl graphic to the surface of your substrate without removing your paper backer that the vinyl rests on to ensure proper alignment.
Once situated into position, I create a hinge down the middle of the design using blue painters tape.
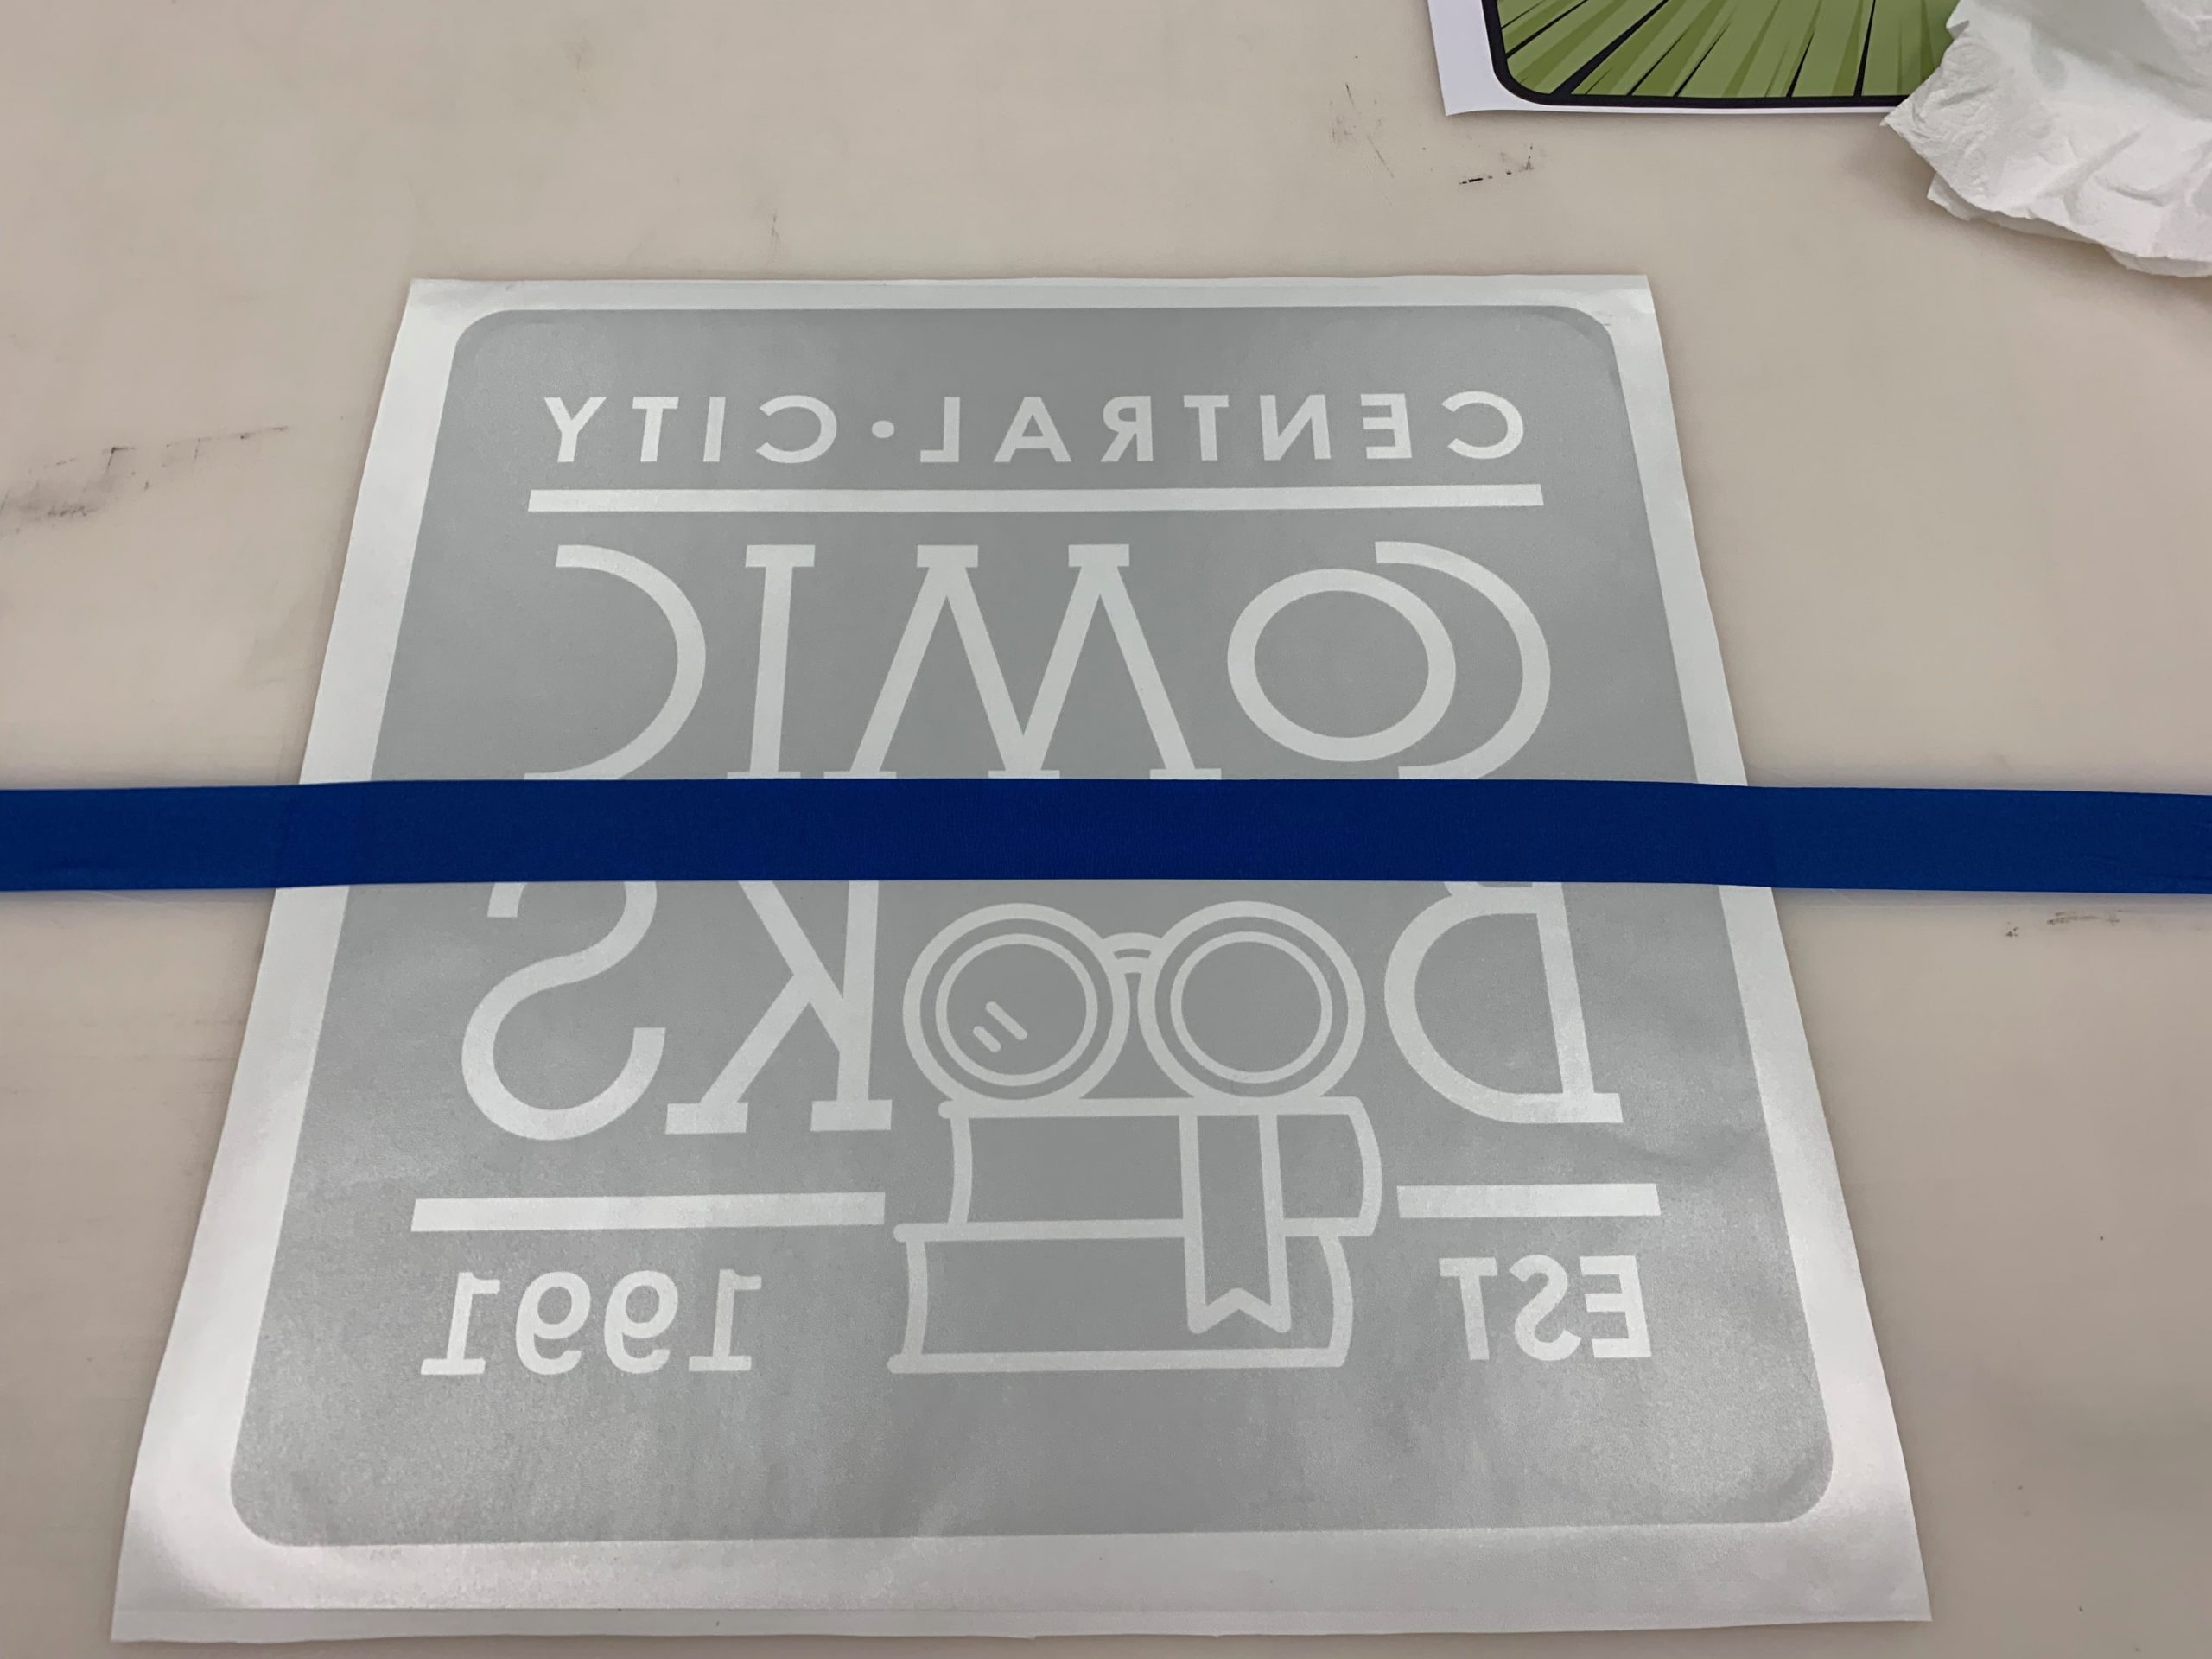
The tape holds the vinyl in position, allowing me to peel one half of the vinyl away from the paper backer while staying aligned to the surface of the acrylic.
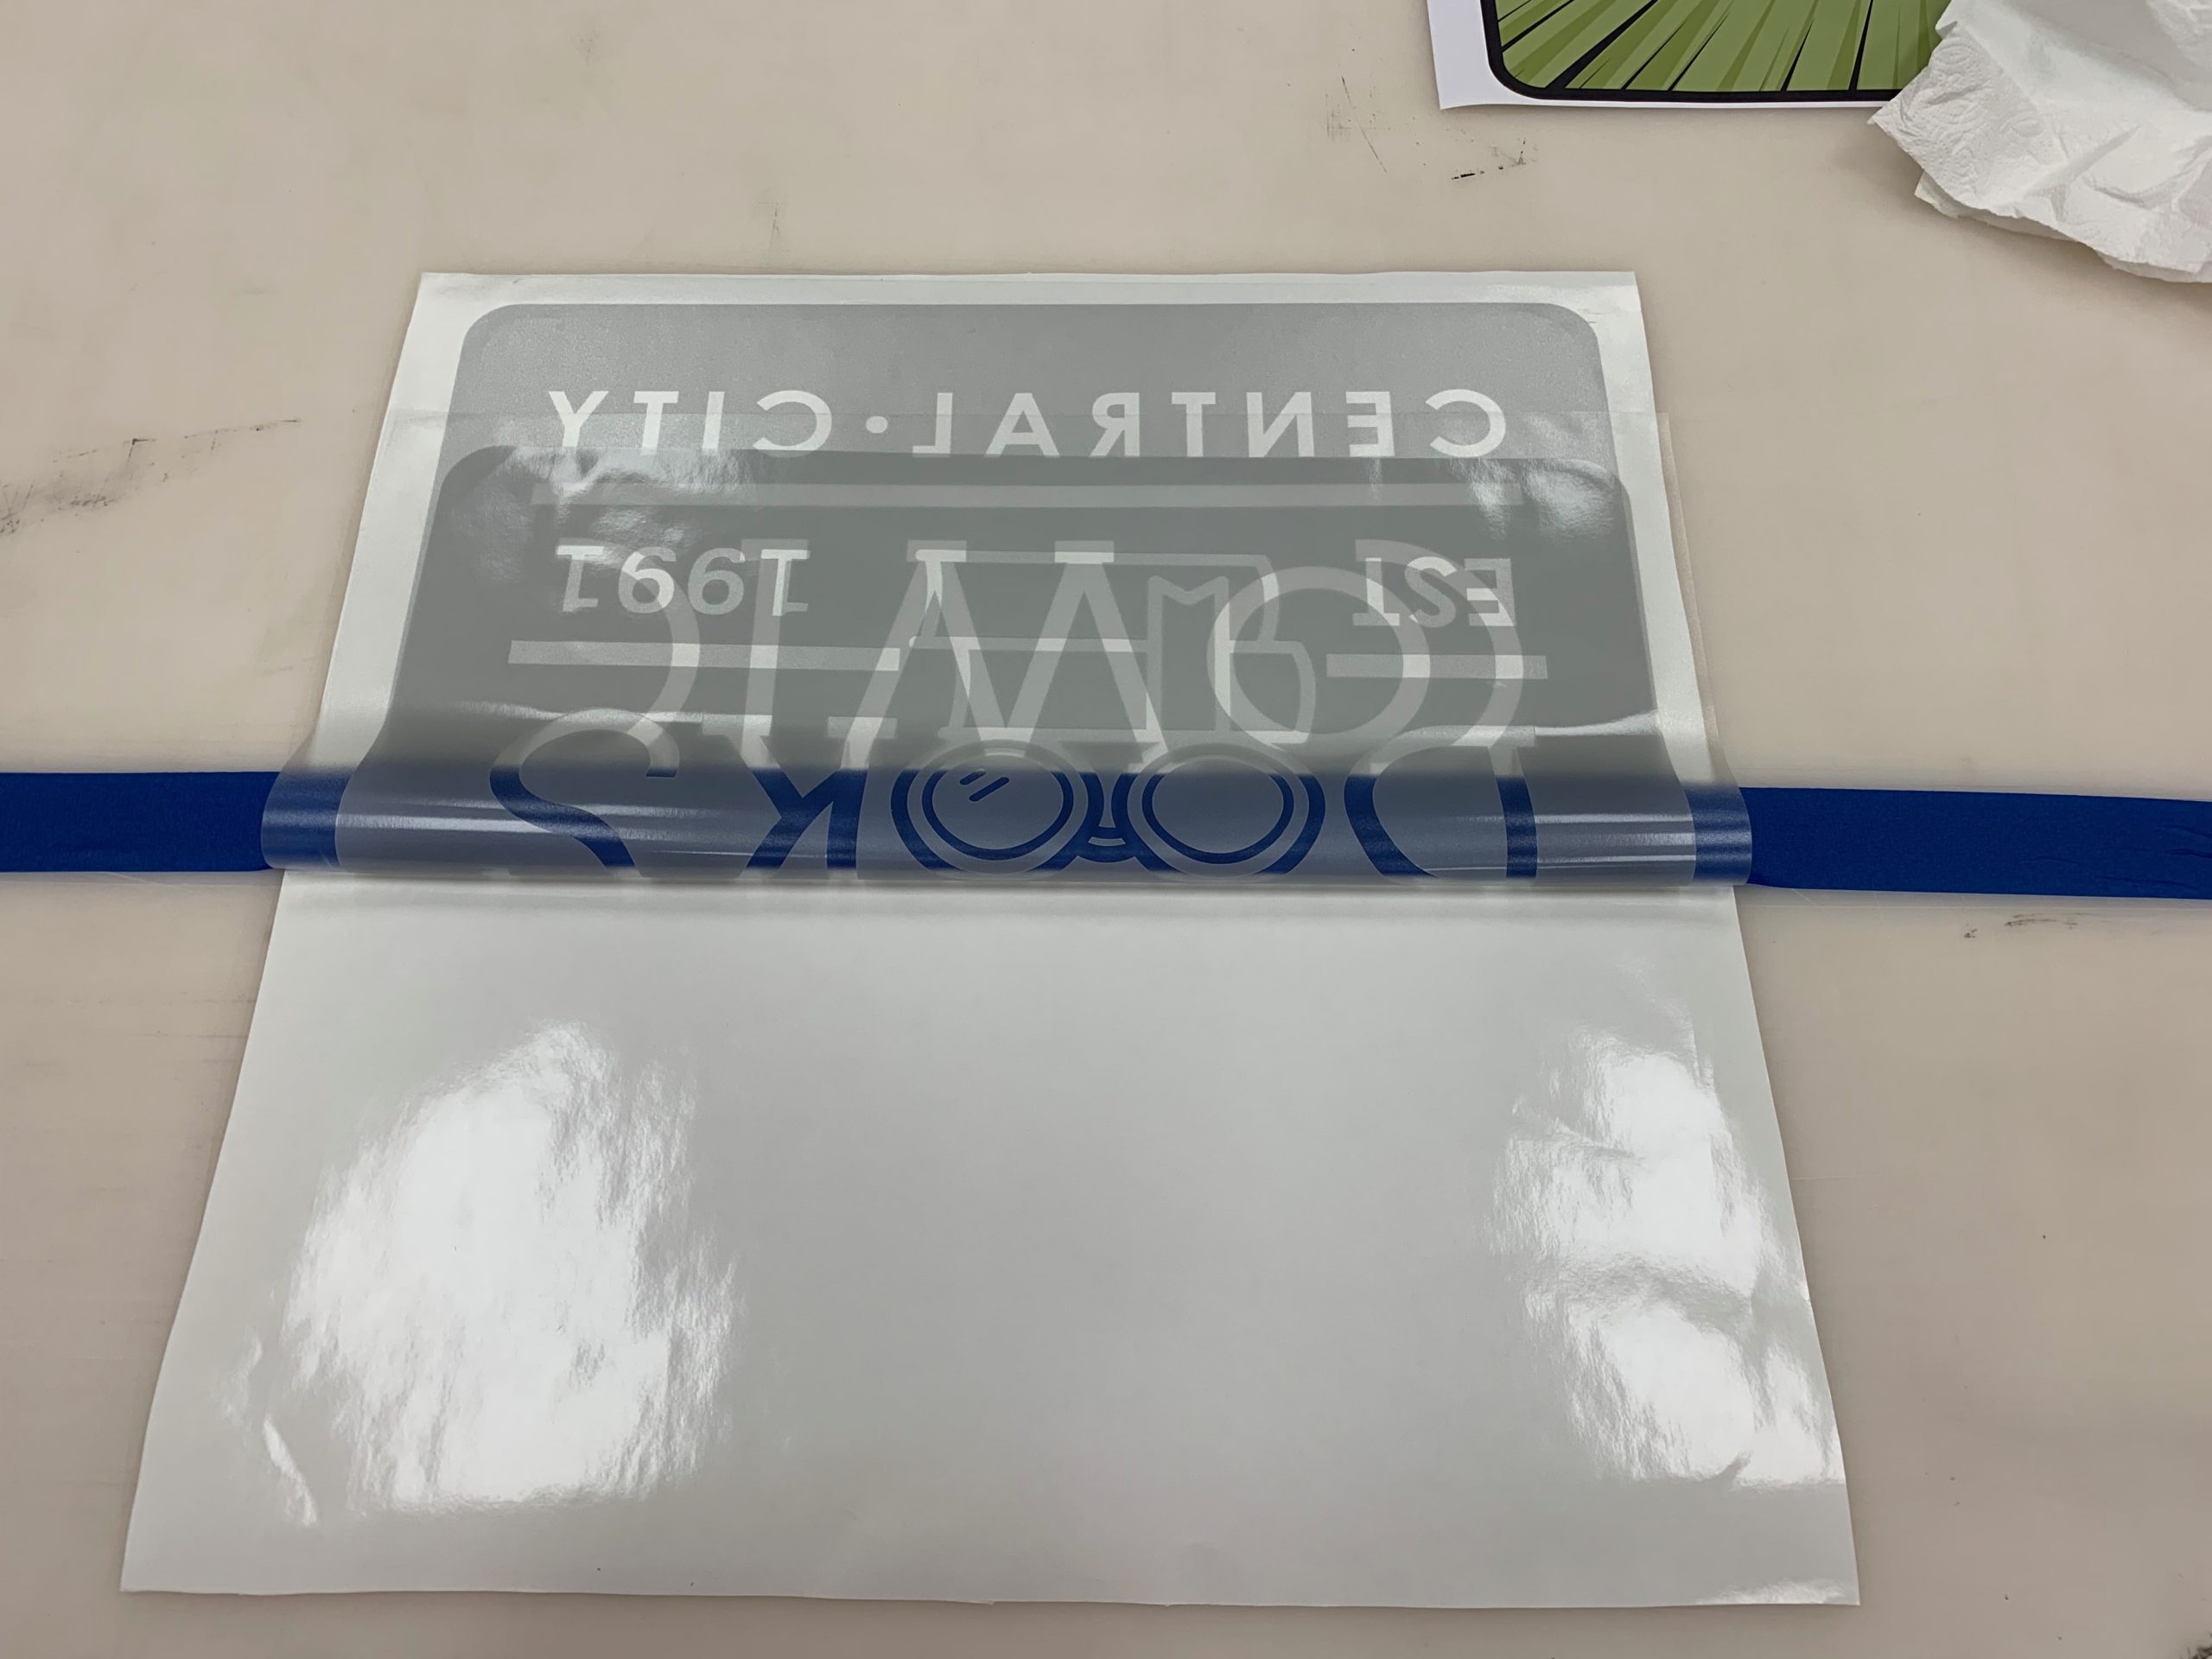
I then cut away the exposed half of the paper liner, allowing me to squeegee the vinyl onto one side of the acrylic. 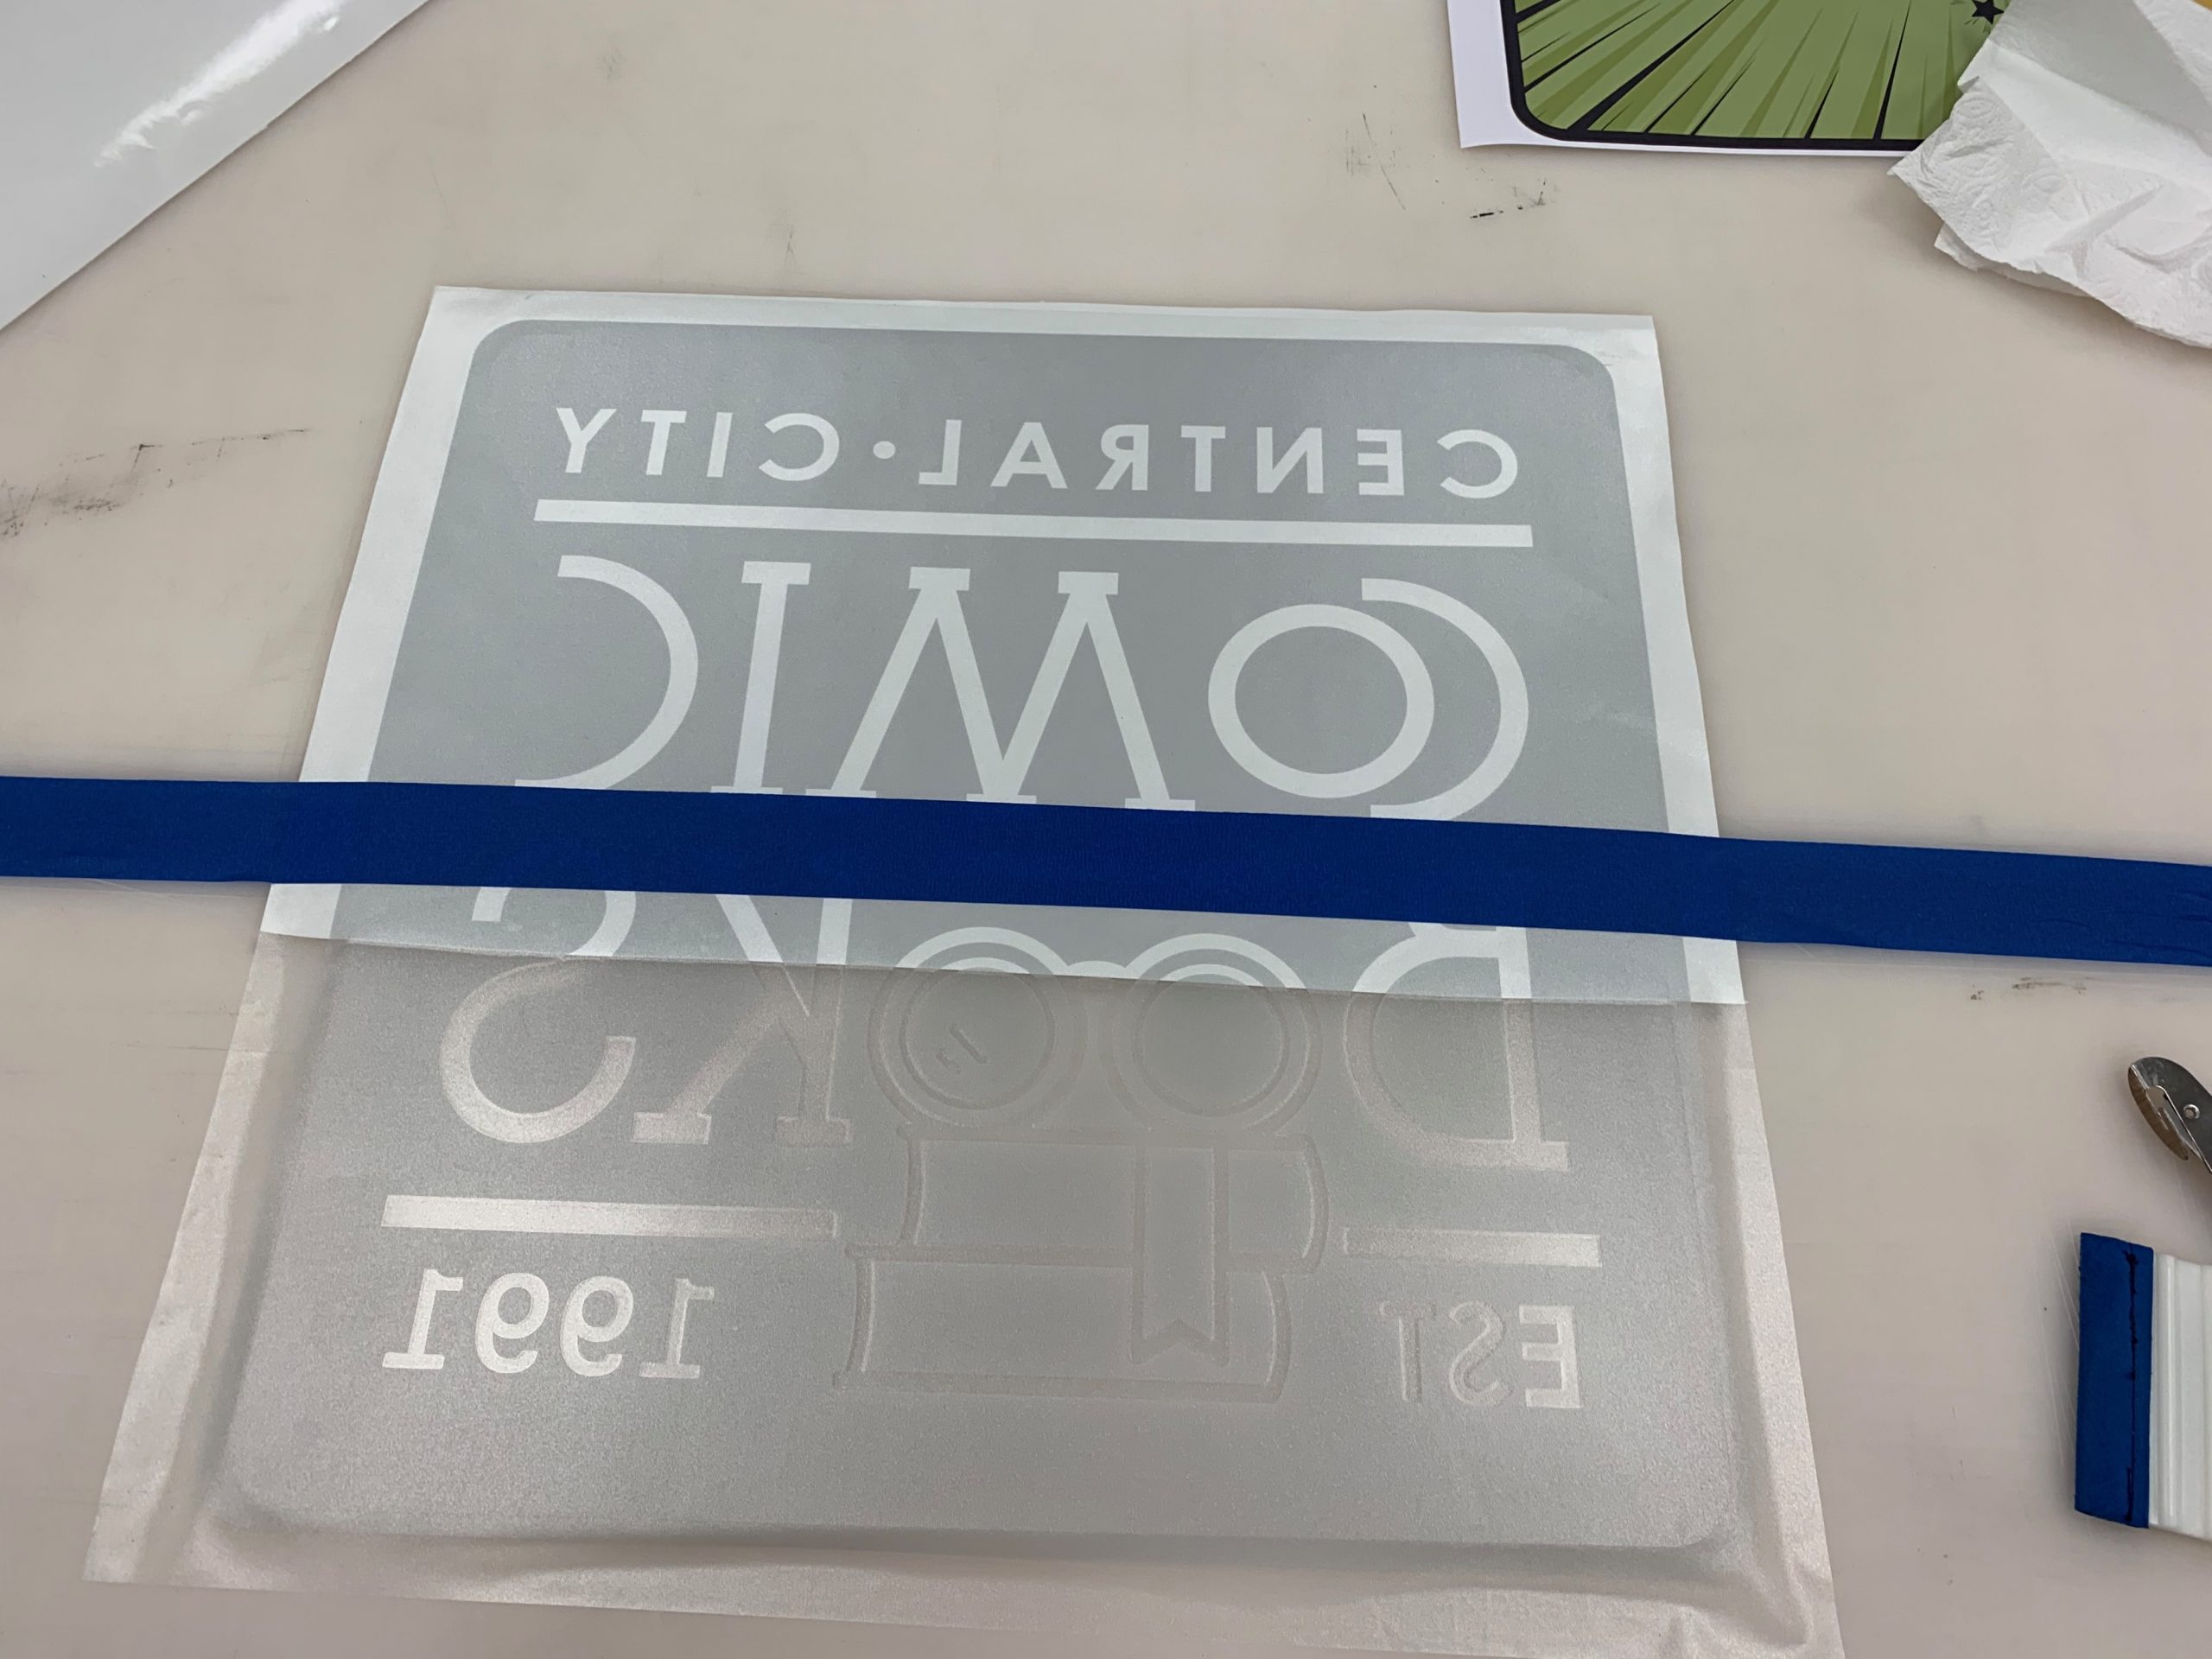
Because the vinyl is now adhered on one side of the acrylic, I can remove my tape without worry of misalignment and repeat these steps for the second half of the vinyl.
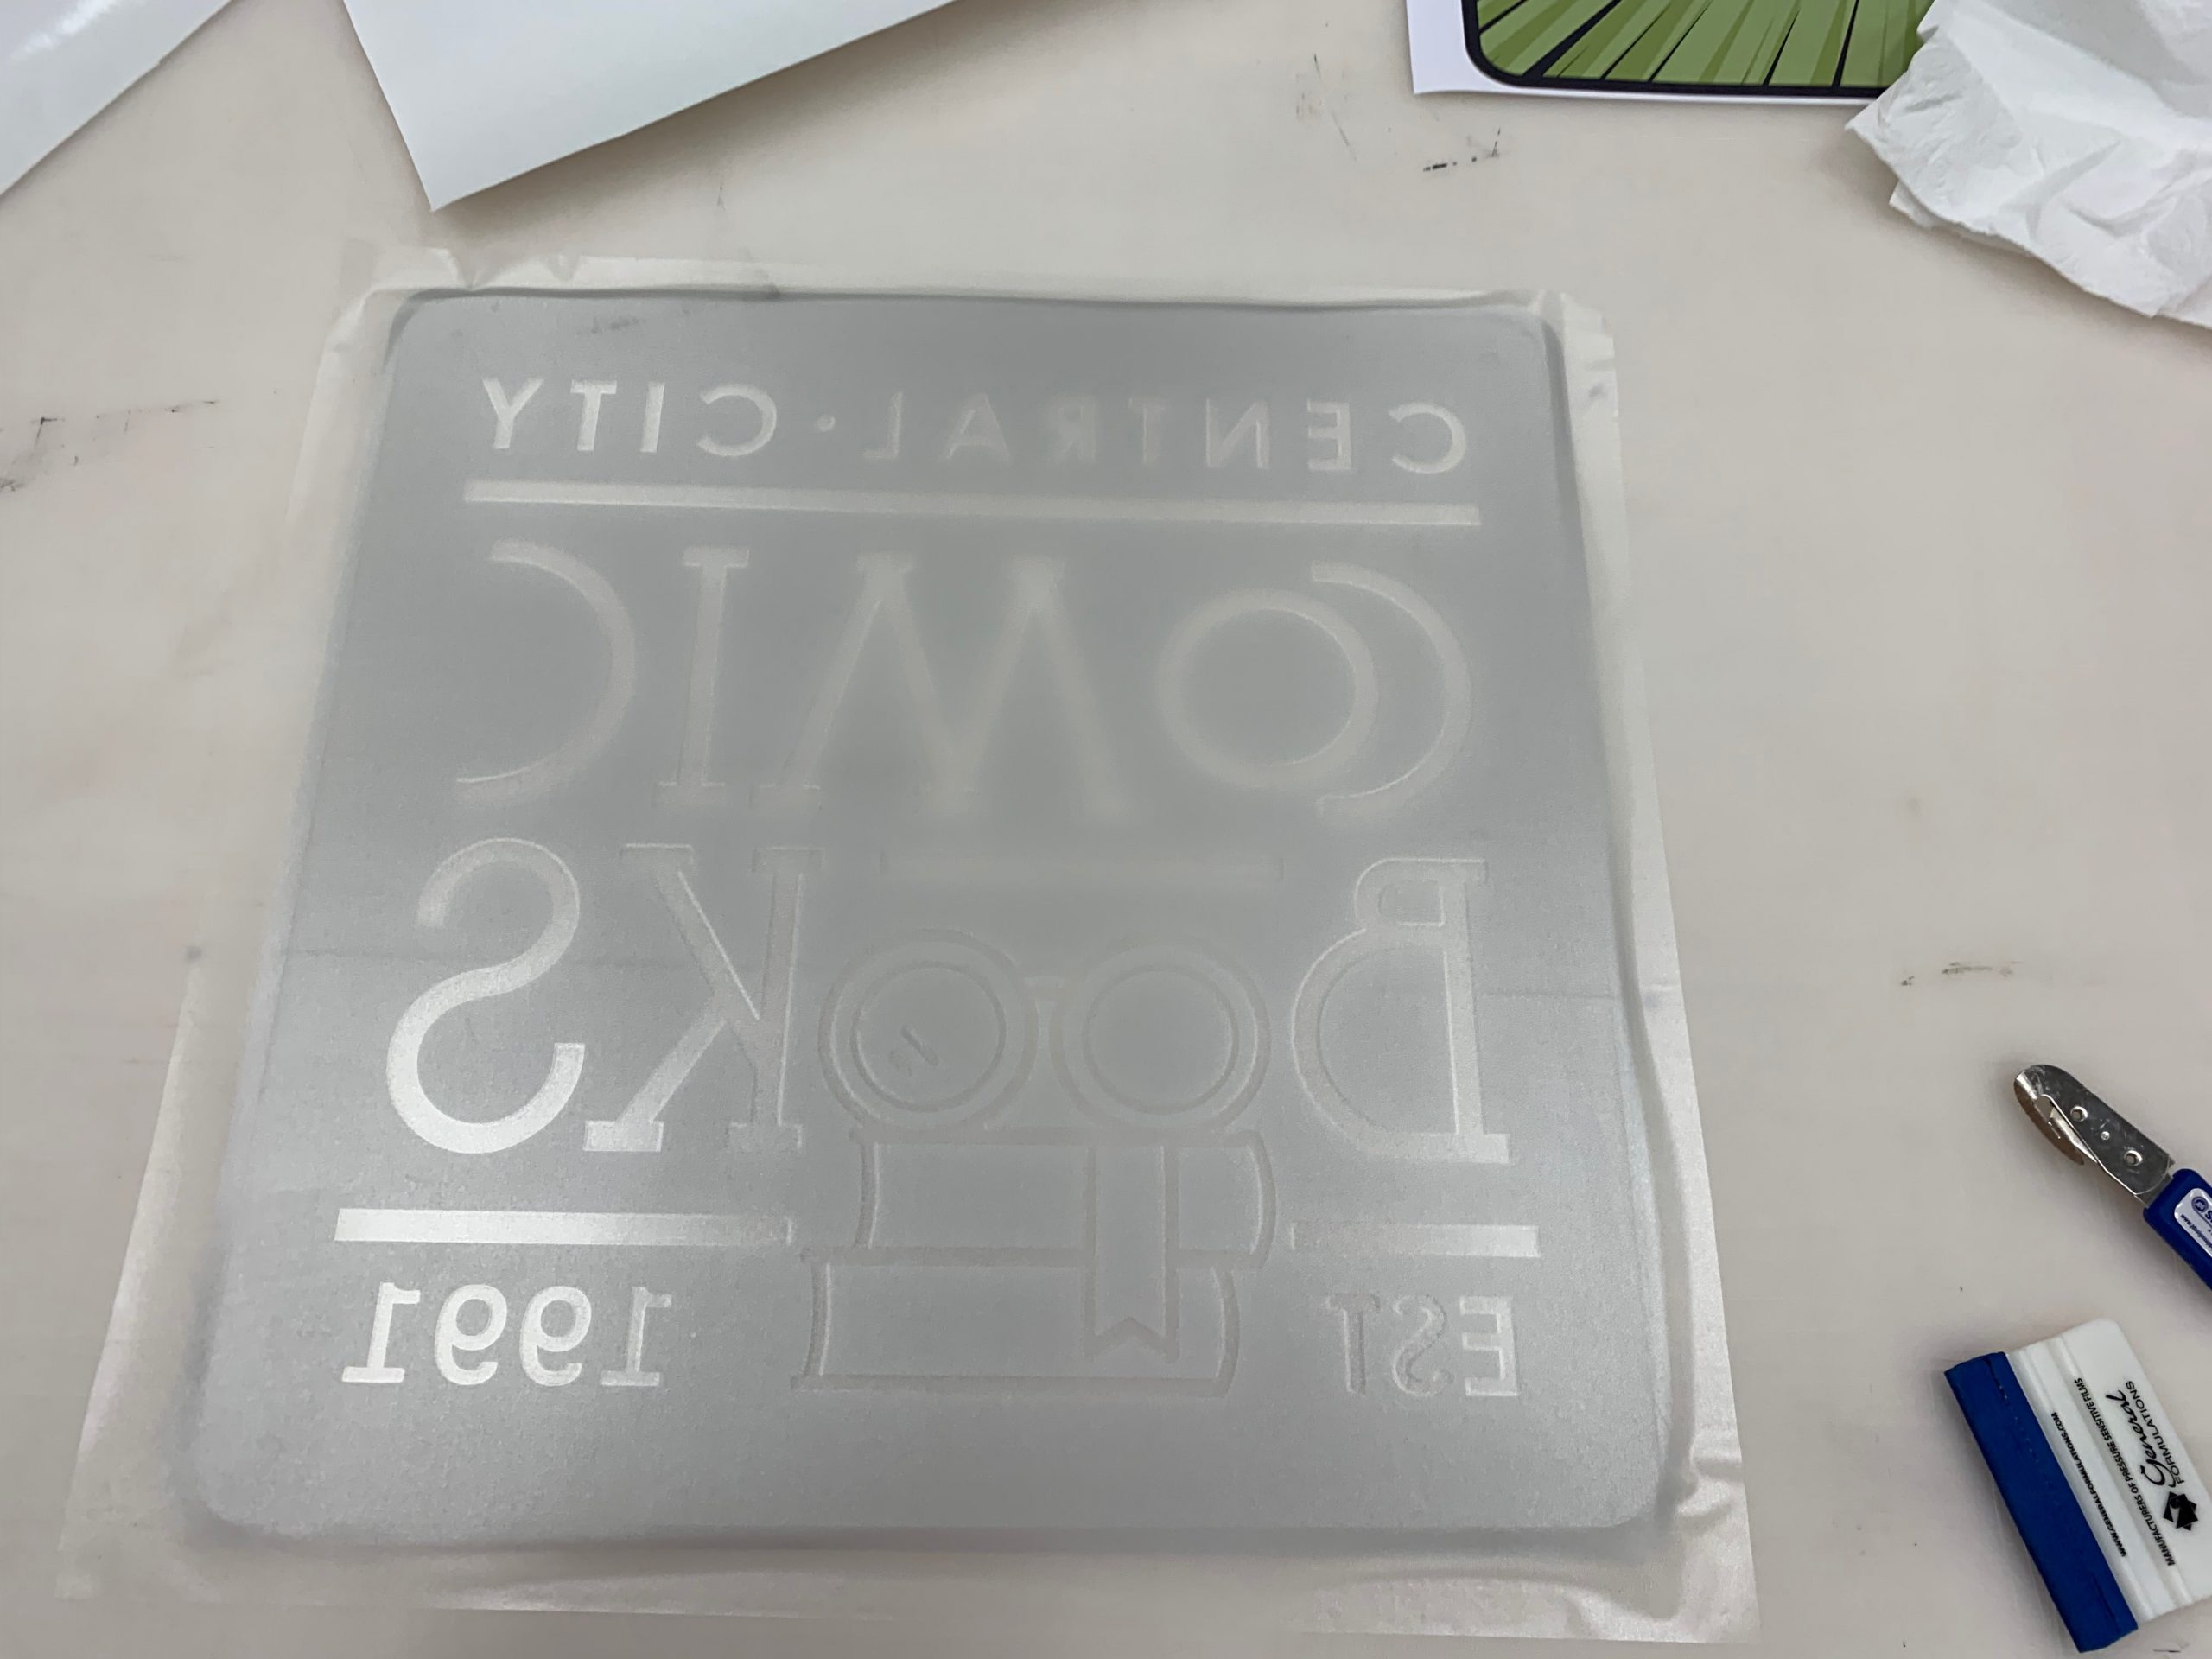
Trim away any excess vinyl around edges of sign.
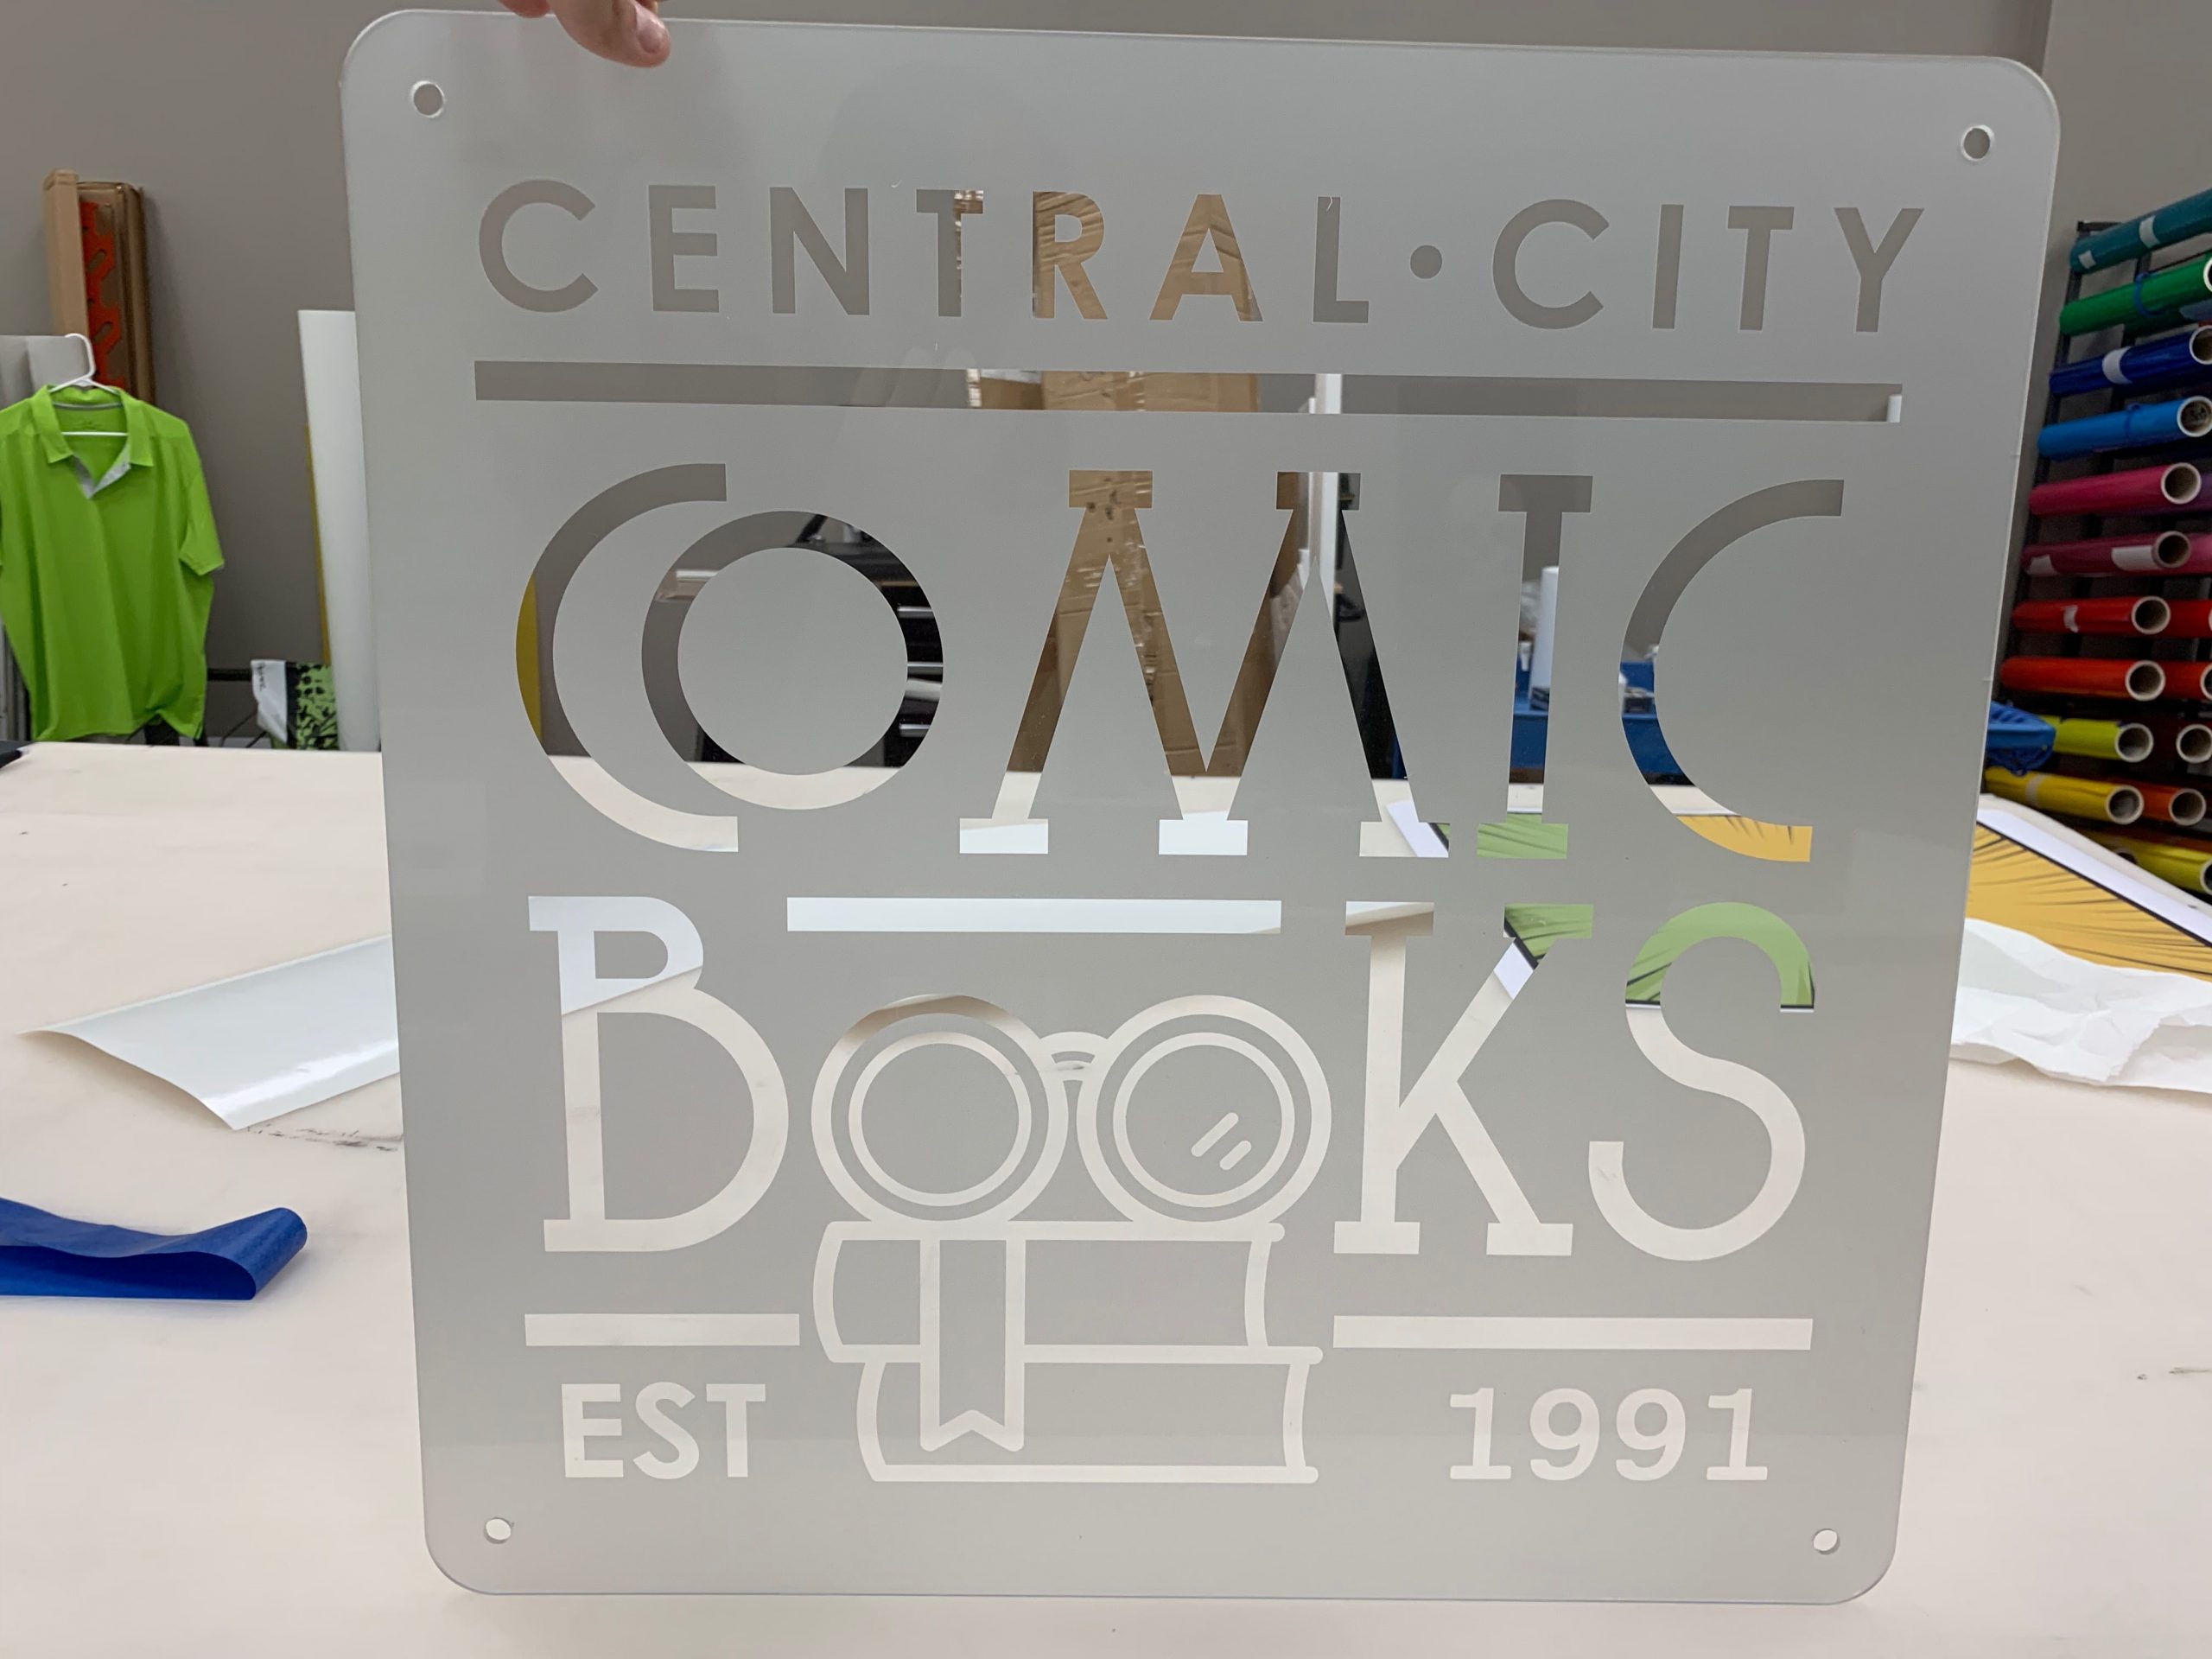
Step No. 8: Now that we have our sublimated hardboard and our vinyl decorated acrylic, the last step is to install our stand-offs.
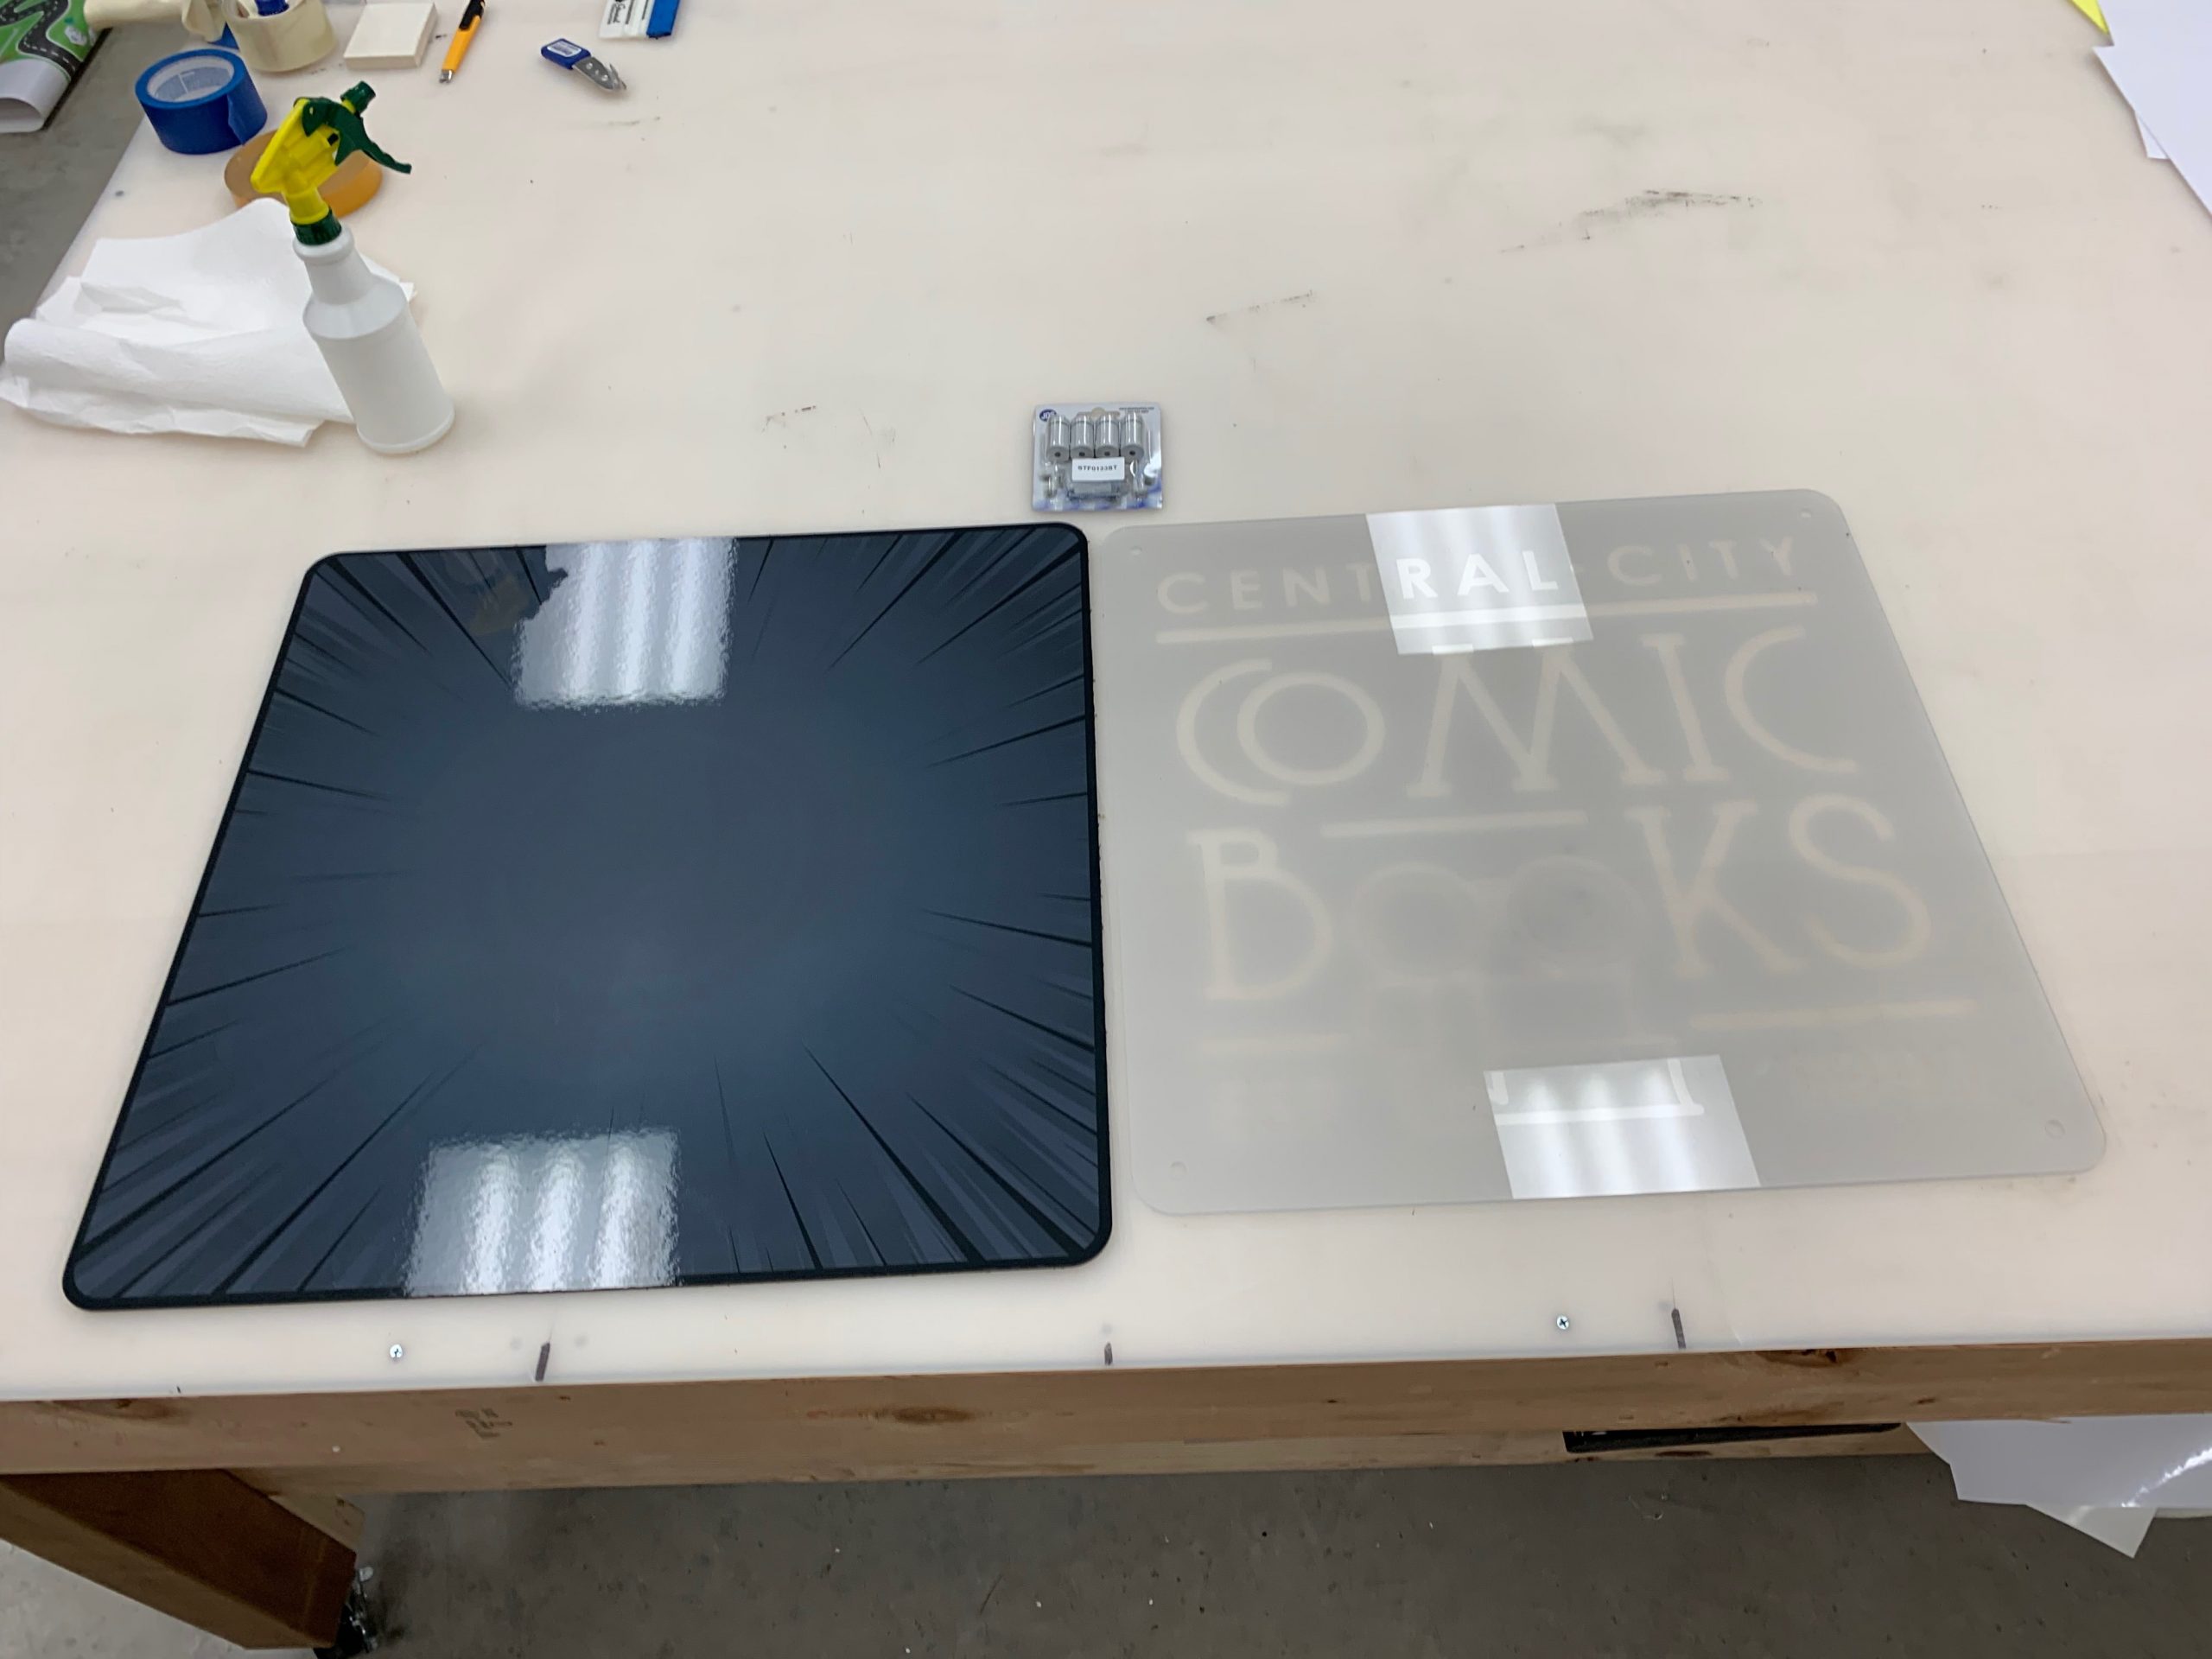
For this design, the mounting holes have already been cut to size with the laser so we just need to line everything up, screw the stand-offs together, and it is finished. The only step left is to mount it up for the world to see.