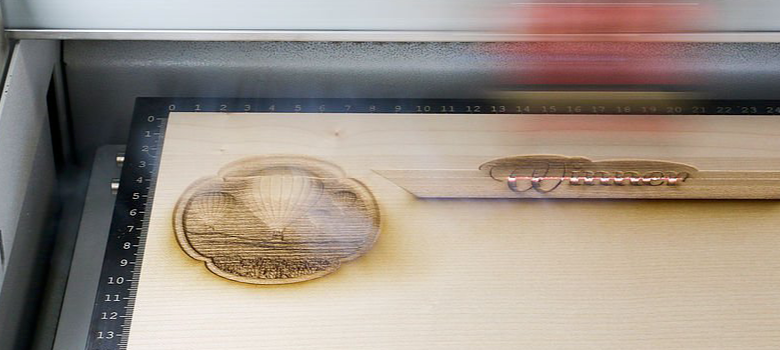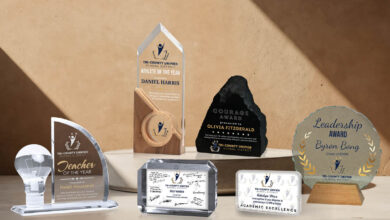
Make a three-dimensional winner’s trophy using a mix of wood and metal and 3-D relief engraving. Learn how by following the steps below…
Materials Needed:
- Sheet solid wood maple
- 2 sheets 1/4-inch cast acrylic glass (in different colors: one metallic is recommended)
- Acrylic glue and tissue
- Double-sided adhesive tape and dots
- Laser engraver (this example uses a Trotec Speedy 360 flexx)
- Vacuum table with honeycomb cutting table resp. acrylic grid
Tip: combine other types of solid wood and materials to adapt the trophy to your customer’s requirements.
Settings: (Additional details listed under each step)
- 80 watts
- 2-inch lens
Step One: Import design
You can make your own design or import a template and adapt it to your requirements. Here, we engraved a recess out of the base plate to hold the metallic ring.
- Process mode: standard
- Resolution: 500 dpi
- Cut line: none
- Halftone: color
- Other: optimized geometries
Step Two: Engraving base plate
Put the non-metallic sheet on the acrylic grid of your laser. Engrave and cut the base plate using the parameters below. The parameters can differ depending on the laser machine used and laser power available.
Engraving:
- Color: black
- Process: engrave CO2
- Power: 40 percent
- Speed: 10 percent
- ppi/Hz: 500
- Passes: 1
- Air assist: on
- Z-offset: 2 mm
Scratching:
- Color: red
- Process: cut CO2
- Power: 8 percent
- Speed: .8 percent
- ppi/Hz: 5000
- Passes: 1
- Air assist: on
- Z-offset: 1 mm
Cutting:
- Color: blue
- Process: cut CO2
- Power: 95 percent
- Speed: .8 percent
- ppi/Hz: 5000
- Passes: 1
- Air assist: on
Step Three: Design and process metallic acrylic glass
Send the job for the metallic ring to the laser using the driver settings below.
- Process mode: standard
- Resolution: 600 dpi
- Cut line: none

Put the metallic sheet on the acrylic cutting table and engrave the job using the parameters below.
Engraving:
- Color: black
- Process: engrave CO2
- Power: 16 percent
- Speed: 20 percent
- ppi/Hz: 600
- Passes: 1
- Air assist: on
- Z-offset: 1 mm
Cutting:
- Color: red
- Process: cut CO2
- Power: 50 percent
- Speed: .2 percent
- ppi/Hz: 5000
- Passes: 1
- Air assist: on
Step Four: Design and process relief engraving
Send the files for 3-D wood engravings and the other wooden parts to the laser.
- Process mode: standard
- Resolution: 500 dpi
- Cut line: none
When engraving deeply into wood, it helps to cut the job first and engrave the job afterwards.
Engraving:
- Color: black
- Process: engrave CO2
- Power: 100 percent
- Speed: 30 percent
- ppi/Hz: 500
- Passes: 3
- Air assist: on
Engraving:
- Color: red
- Process: engrave CO2
- Power: 100 percent
- Speed: 1 percent
- ppi/Hz: 1000
- Passes: 1
- Air assist: on
Step Five: Cleaning and assembling

Clean the two acrylic pieces with a damp cloth. The wood relief engraving can be cleaned best with some water and a tooth brush.
Put the acrylic glue on the engraved ring of the base plate and position the metallic ring on it. Press down firmly and allow the glue to cure.
Put double-sided adhesive tape or dots where the wooden relief will be positioned and fix it.
Take the wooden spacer and apply double-sided adhesive tape on both sides. Position it on the left and the right of the black base plate. Make sure to have a rectangular contact surface so that the trophy stands upright.
Finally, fix the lettering and the corresponding back on the spacers to complete this elegant trophy.
-Josh Stephens, Trotec Laser


