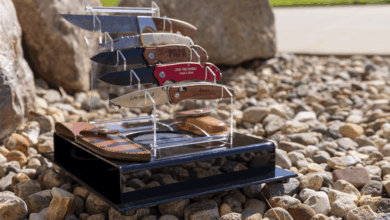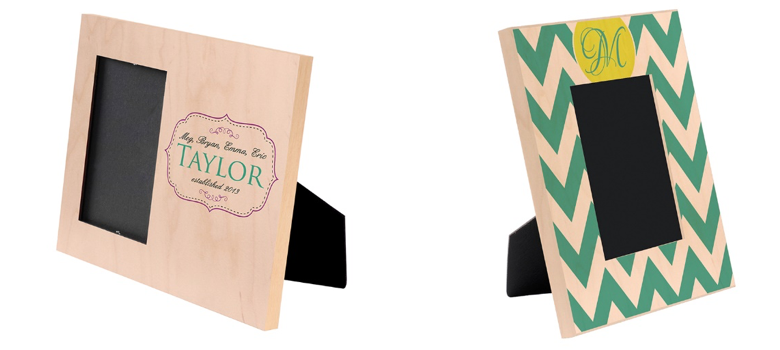
Natural wood picture frames are not only great sellers and easy to sublimate, they are a great opportunity to experiment with fun designs and personalization.
Materials Needed:
- Bare natural wood picture frame
- Sublimation printer
- Heat press
- Heat tape
- Cleaning cloth
- Blowout paper
- Printed transfer
- RIP software
- Heat gloves
- Scissors
- All-purpose cleaning fluid
Heat Press Settings:
- 400 F
- Press time: 1:30 to 1:45
Step One: Preparation
Remove film from the picture frame and clean the surface. Make sure to gently scrape where the sides meet the surface once you peel the film to remove any excess foil.

(All images courtesy of Universal Woods)
Step Two: Tape the print transfer
Line up and center the picture frame to the transfer. Tape the transfer to the back of the picture frame.

Tip: When you want to print a full-size image on the natural wood picture frames, use a smaller bleed around the frame, so inks won’t fuse into the sides.
Step Three: Pressing
Place the picture frame in the heat press using the settings above (time may vary based on your equipment).

Step Four: Assembly
Once the frame has cooled, place the glass and insert a photo. Attach easel back or kickstand.
-Sara Nicholson, Universal Woods