Try This: Sublimate Metal Name Badges
Learn how to sublimate metal name badges for fun and profit.
So, you’ve been wanting to get in on sublimating metal name badges, or maybe a client asked you to and you don’t like to say, “No.” Either way, your instincts are spot-on. The good news is that it’s really not that difficult. The even better news is that we are here to make your learning curve a whole lot shorter. Follow along with this tutorial.
Equipment needed:
- Sublimation printer and paper
- Heat press and manufacturer recommended settings
- Name badge blanks and attachments
- Badge frames (optional)
Step one: Navigate metal badge options
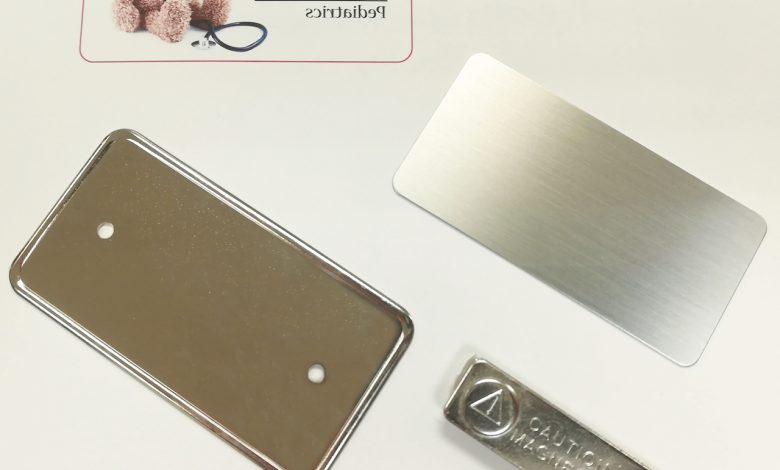
First, you need to choose the correct metal blanks. Though not all metals are sublimatable, you still have quite a variety of options for metal color and thickness. If you are using a frame, the badge can be thinner. Stand-alone badges need to be a bit thicker.
Frames themselves come in black, gold, and silver colors, either plastic or metal, and even rhinestone-encrusted or windowed. Frame shapes are oval or rectangle, the latter with a choice of squared or rounded corners. There are a few standard sizes of each frame, so if you go with a frame, be sure to get a blank that is specifically made to fit that frame.
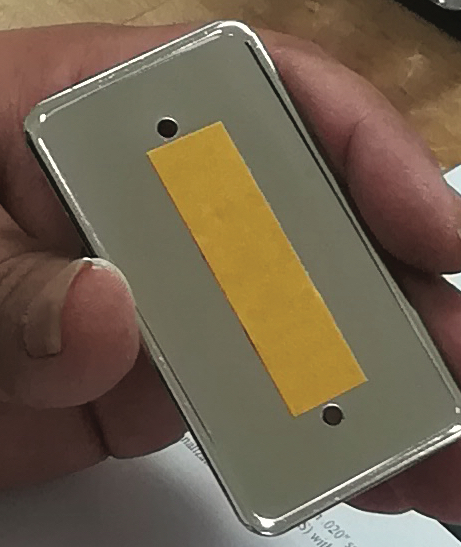
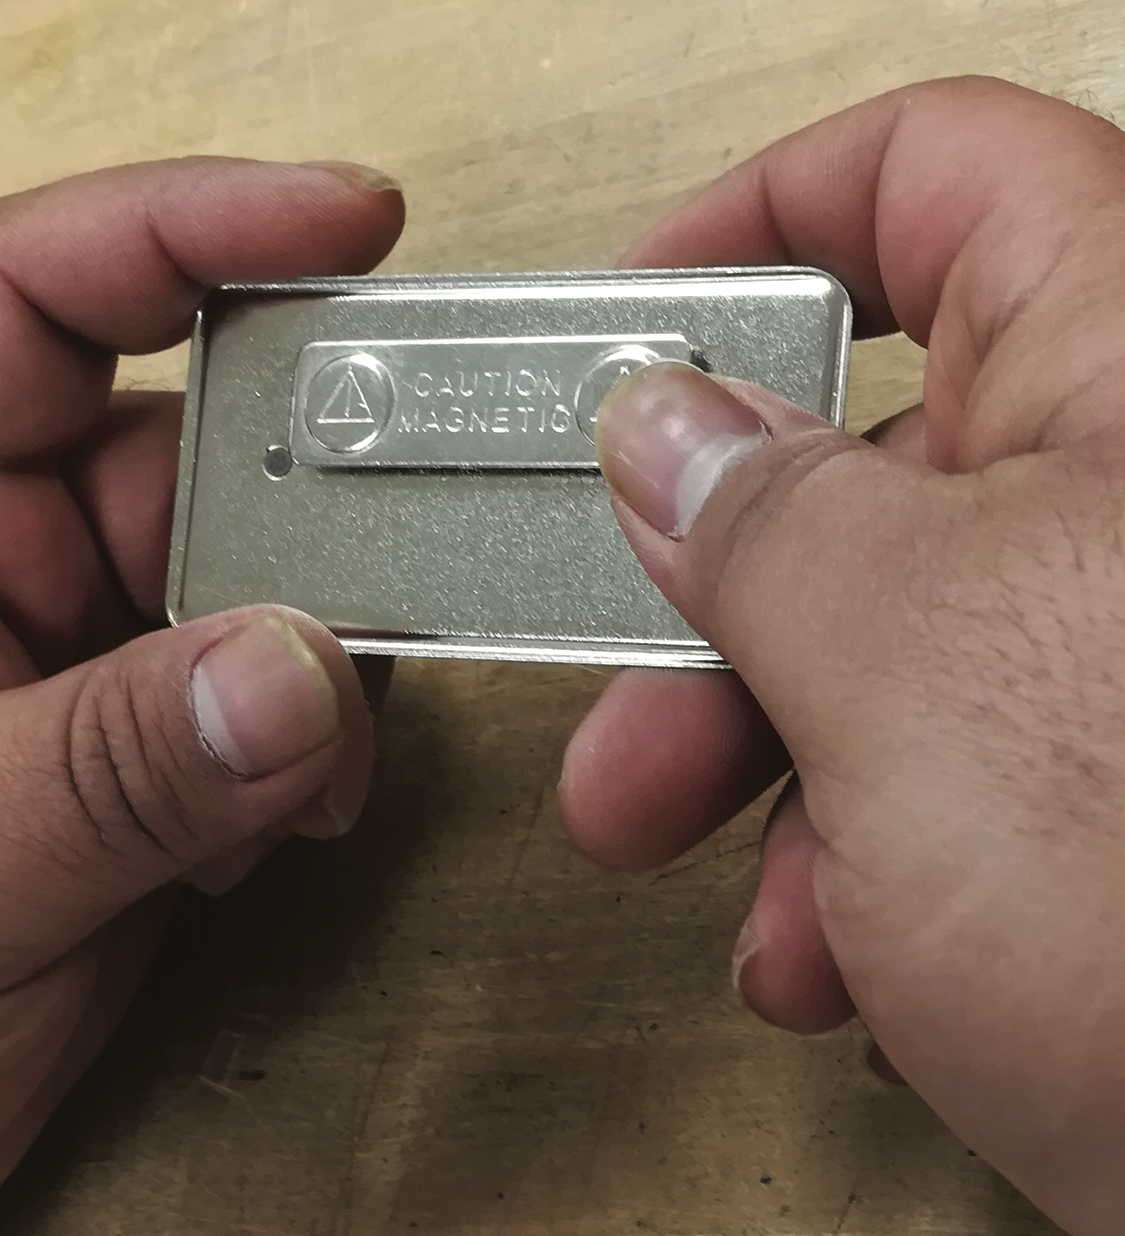
Let’s flip over to the back side of the badge for a moment to discuss attachment options. Some frames come with a built-in safety pin attachment. Some are specifically for military applications and come with dual fused posts and butterfly clutches. Most badges and frames come blank on the back for your choice of an adhered safety pin; bulldog clip for a pocket; or collar, tack and clutch, or magnetic clasp.
Sublimation is usually paired with aluminum due to its lower cost, though brass, nickel silver, and copper are options available for an upscale or unique look. A white substrate will show the truest colors on your design screen because sublimated ink will be translucent to the metal you use. Silver is slightly darker than your design screen. Gold and copper colored metals will skew your colors significantly unless you are only sublimating black. If you want the end result to be gold, try starting with a silver metal and sublimating a goldish tan color into it.
Step two: Text and graphics
The most important thing to remember about name badges is that the name must be easily readable from two to three feet away, across a table for example. We warn against fonts that are too small, too thin, too wild, and too intricate. Colors are also important for readability and should have enough light-to-dark contrast or incorporate complementary brights (opposites on the color wheel). Note that sublimation is not guaranteed to exactly match a spot color.
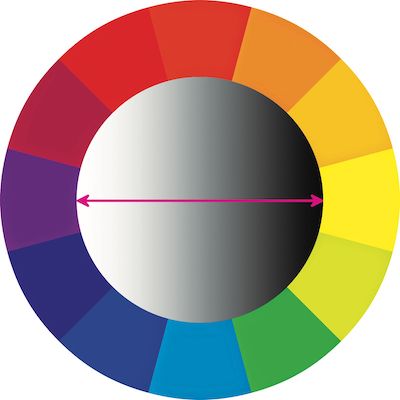
Contrasting and complementary colors.
Step three: Production
Now that you’ve sorted through pages worth of options and your art is ready, it is just like any other sublimation job. Make sure that you consult documentation from the manufacturer of your heat press for the appropriate settings. And remember that metal holds more heat longer than a T-shirt. Once cool, set the badge into the frame and attach clip, pin, or magnet to the back with adhesive.
Recommended times, pressures, and temperatures vary with the thickness and density of the metal chosen, as well as the heat press manufacturer. In this example, the thin, aluminum, pictured badge was pressed for 35 seconds at 380 F and 50 pounds of pressure on an Insta heat press.