Try This: Sublimate LumaShell Jewelry
Have you considered adding sublimatable jewelry to your arsenal? Test this method for new profit opportunities.
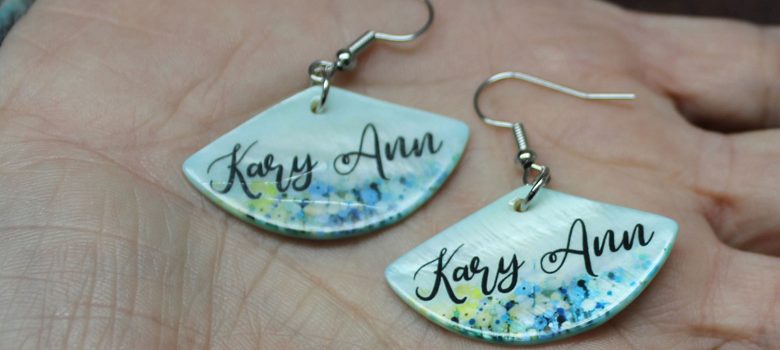
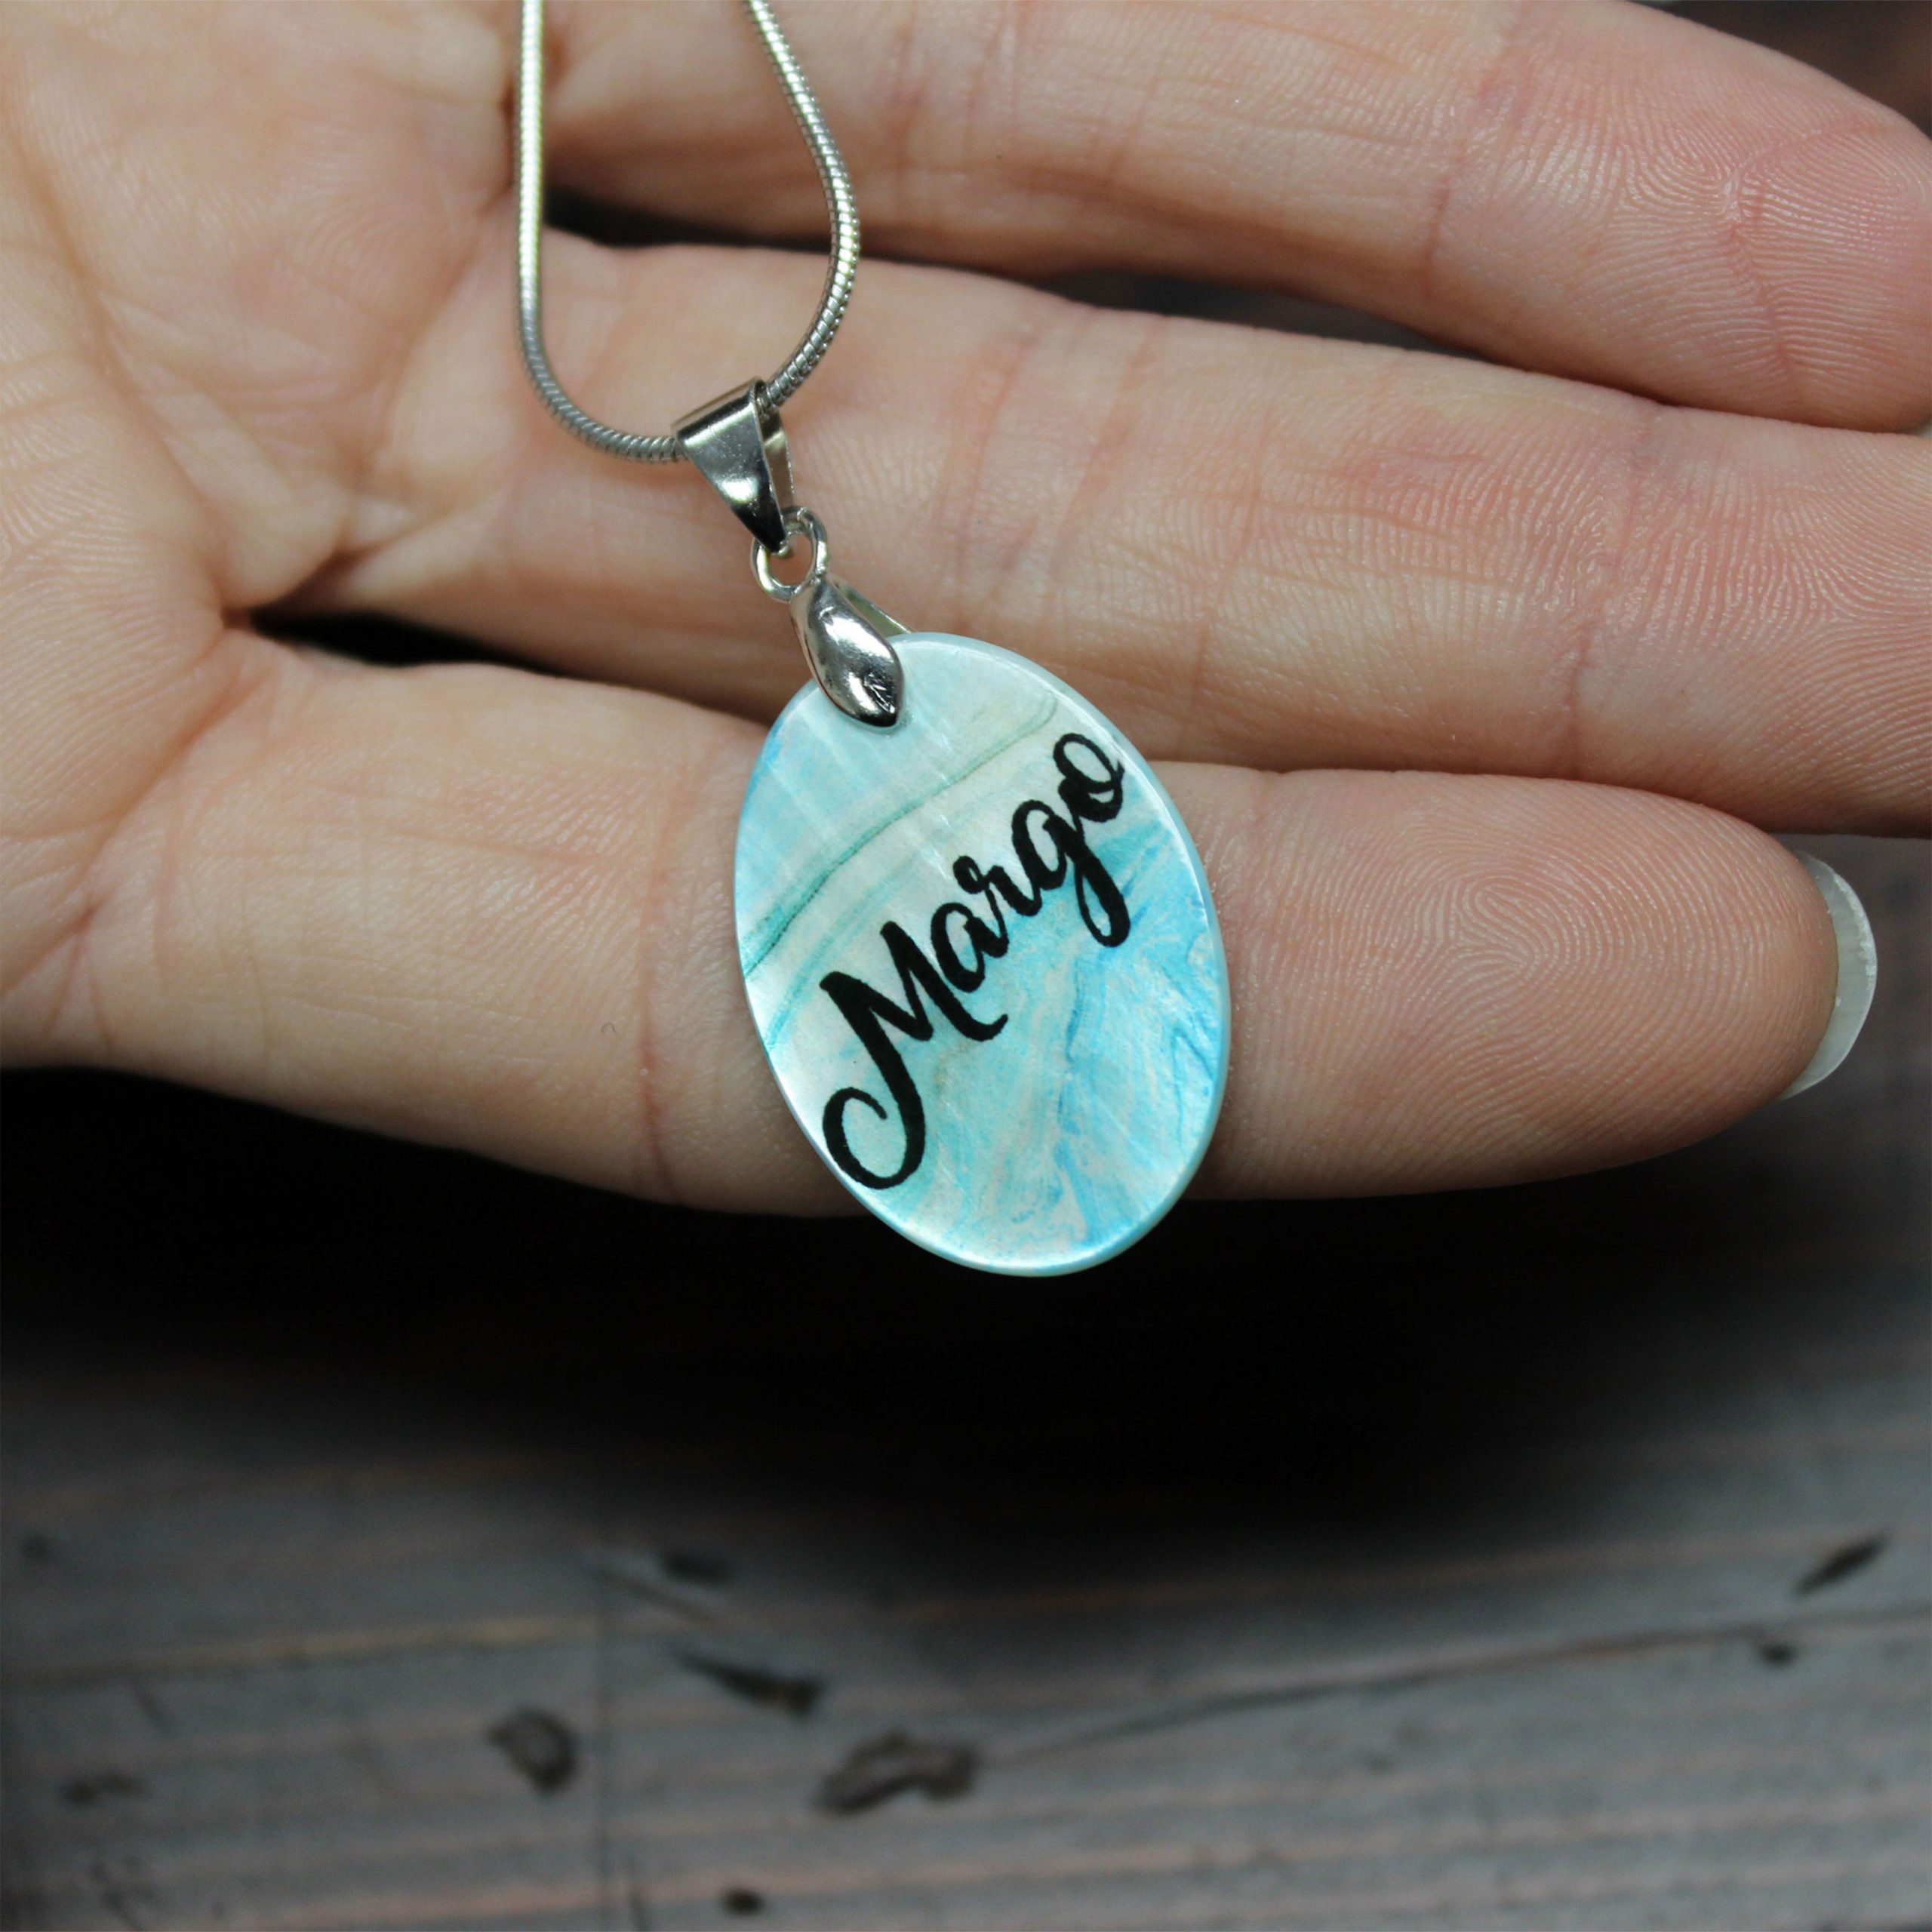
As a way to tap into new profit opportunities, consider adding sublimatable shell jewelry to your arsenal. With the help of this tutorial, you can give your customers the choice of unique and customizable jewelry.
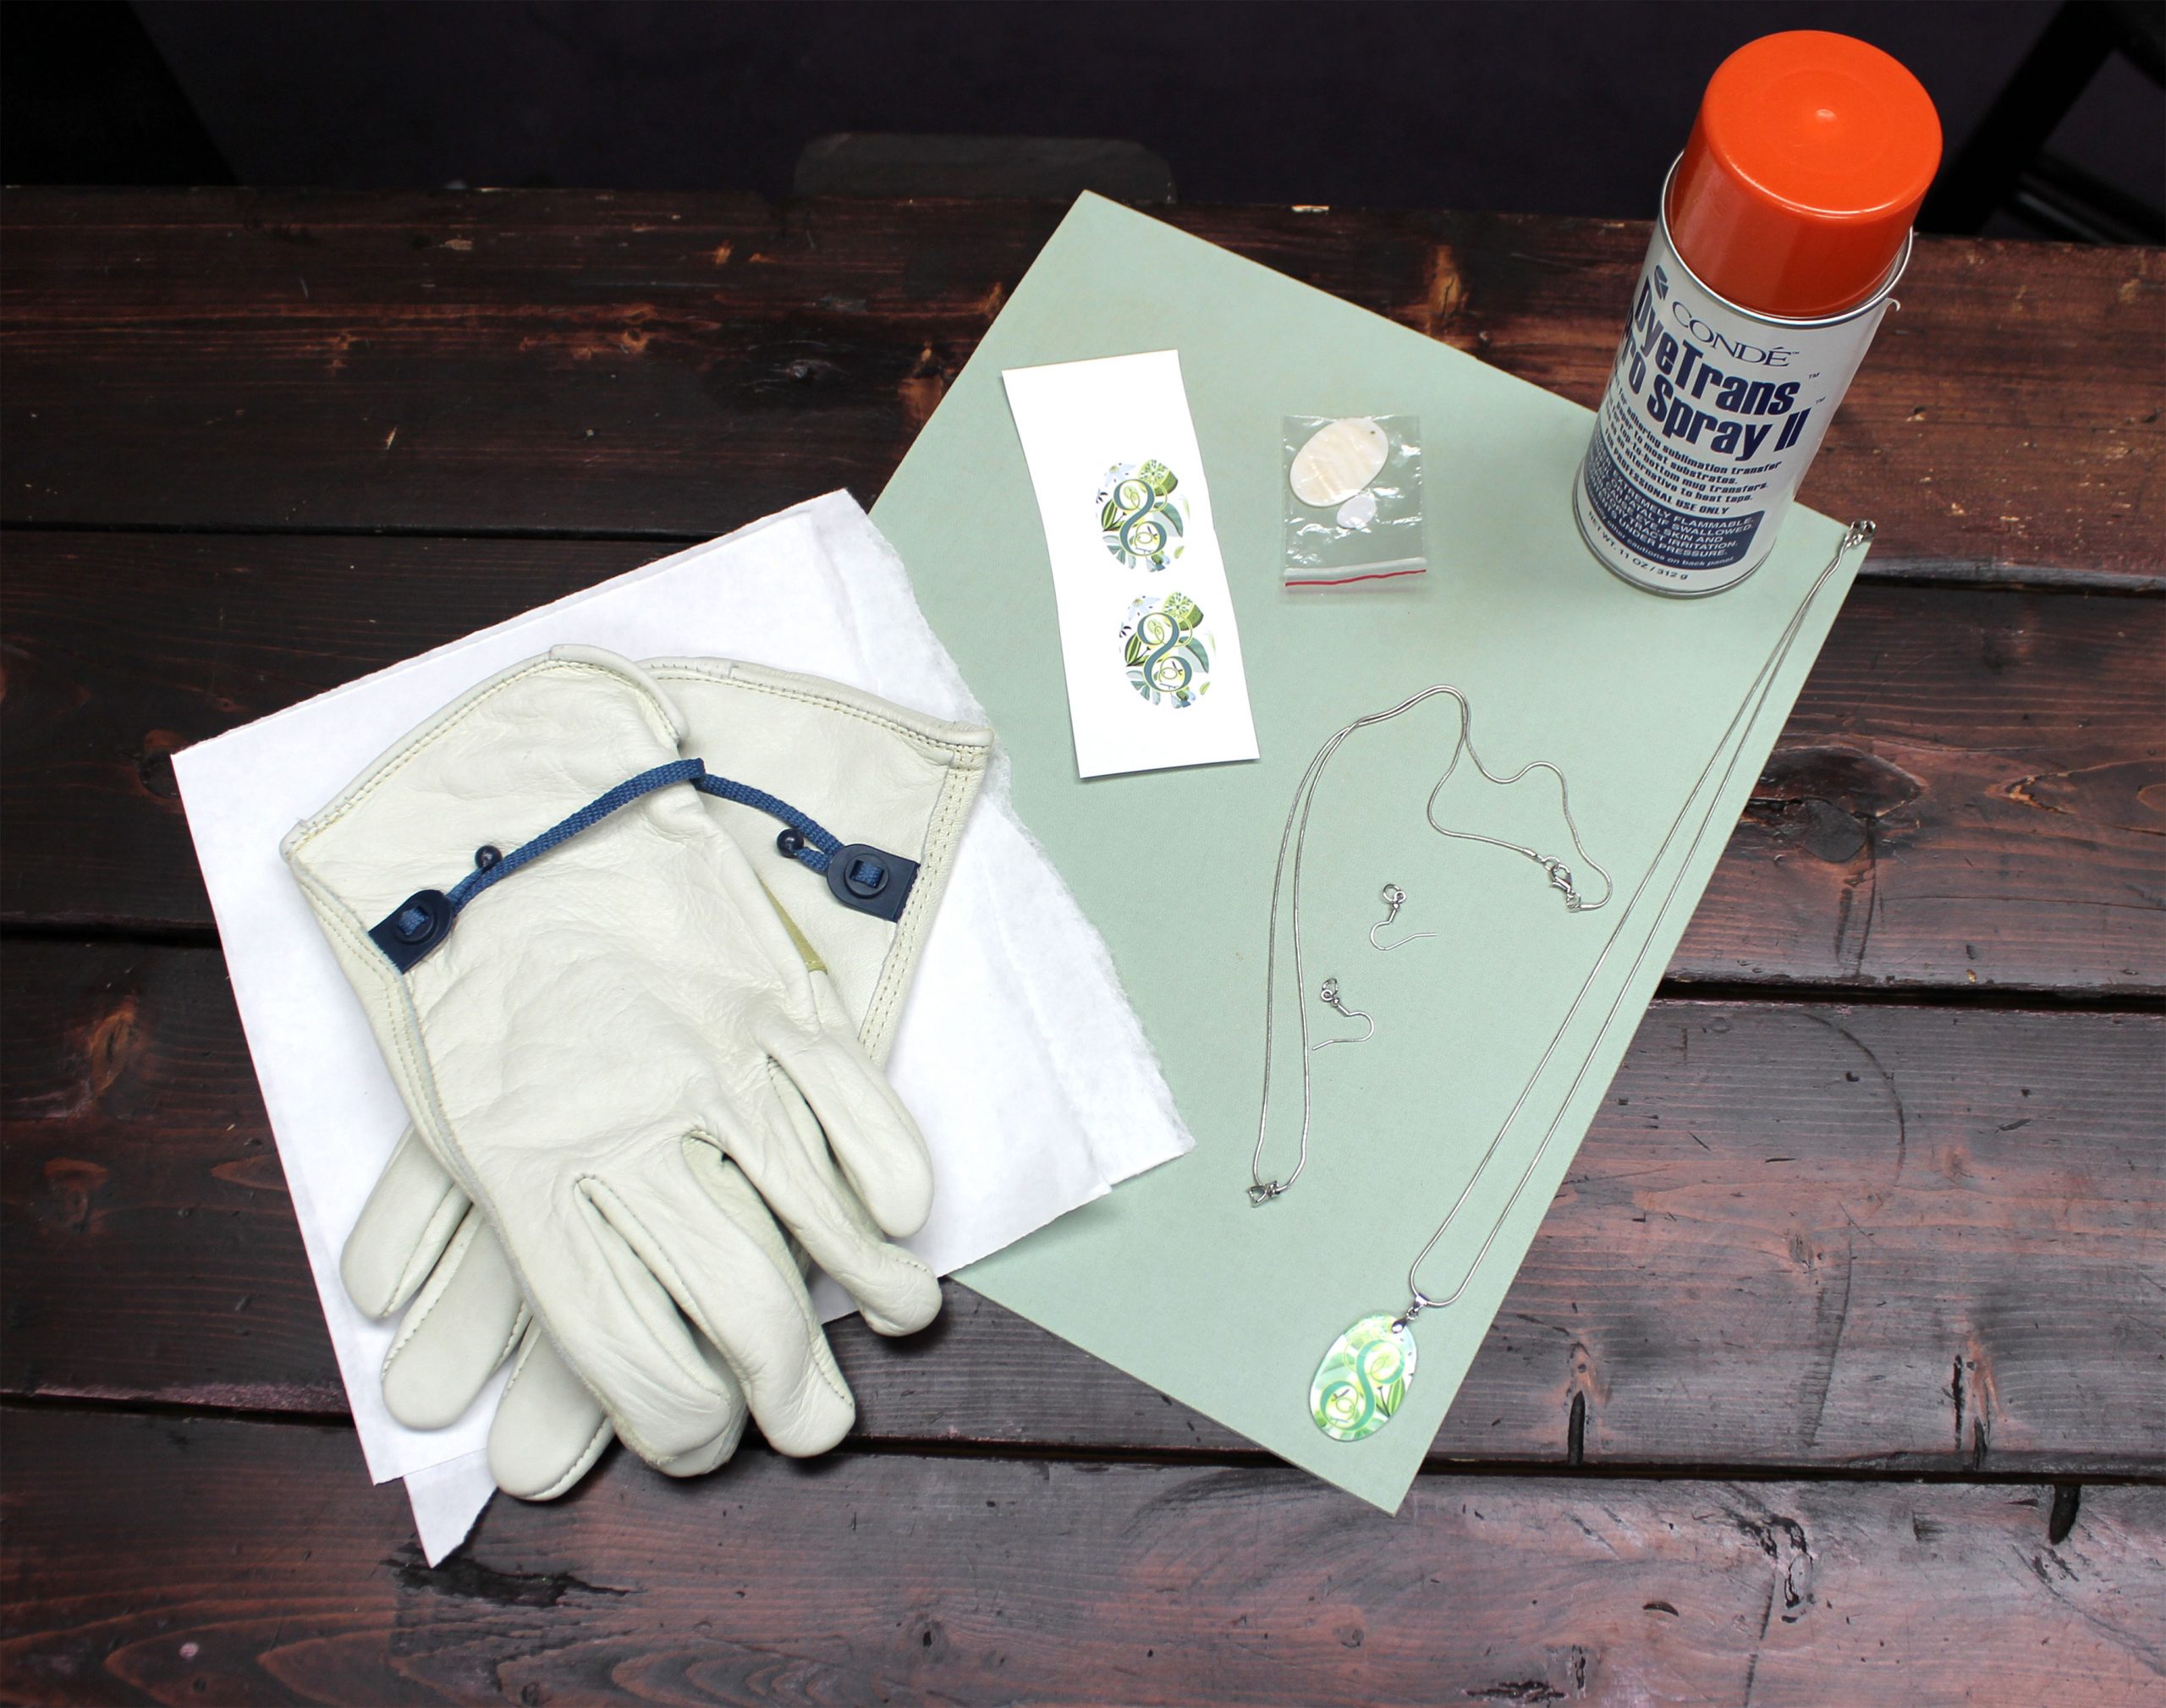
Supplies needed:
- Heat press
- Heat gloves
- Adhesive spray
- Protective paper
- Sublimation printer
- Sublimation transfer
- 1/16″or 1/8″ heat-conductive rubber pad
- Jewelry pliers
- Jewelry findings (chains or earring hooks)
All images courtesy Condé
Step 1: Hover printed transfer under the open heat press for 20 seconds to dry excess moisture.
Step 2: Cover the bottom platen of the heat press with a sheet of protective paper.
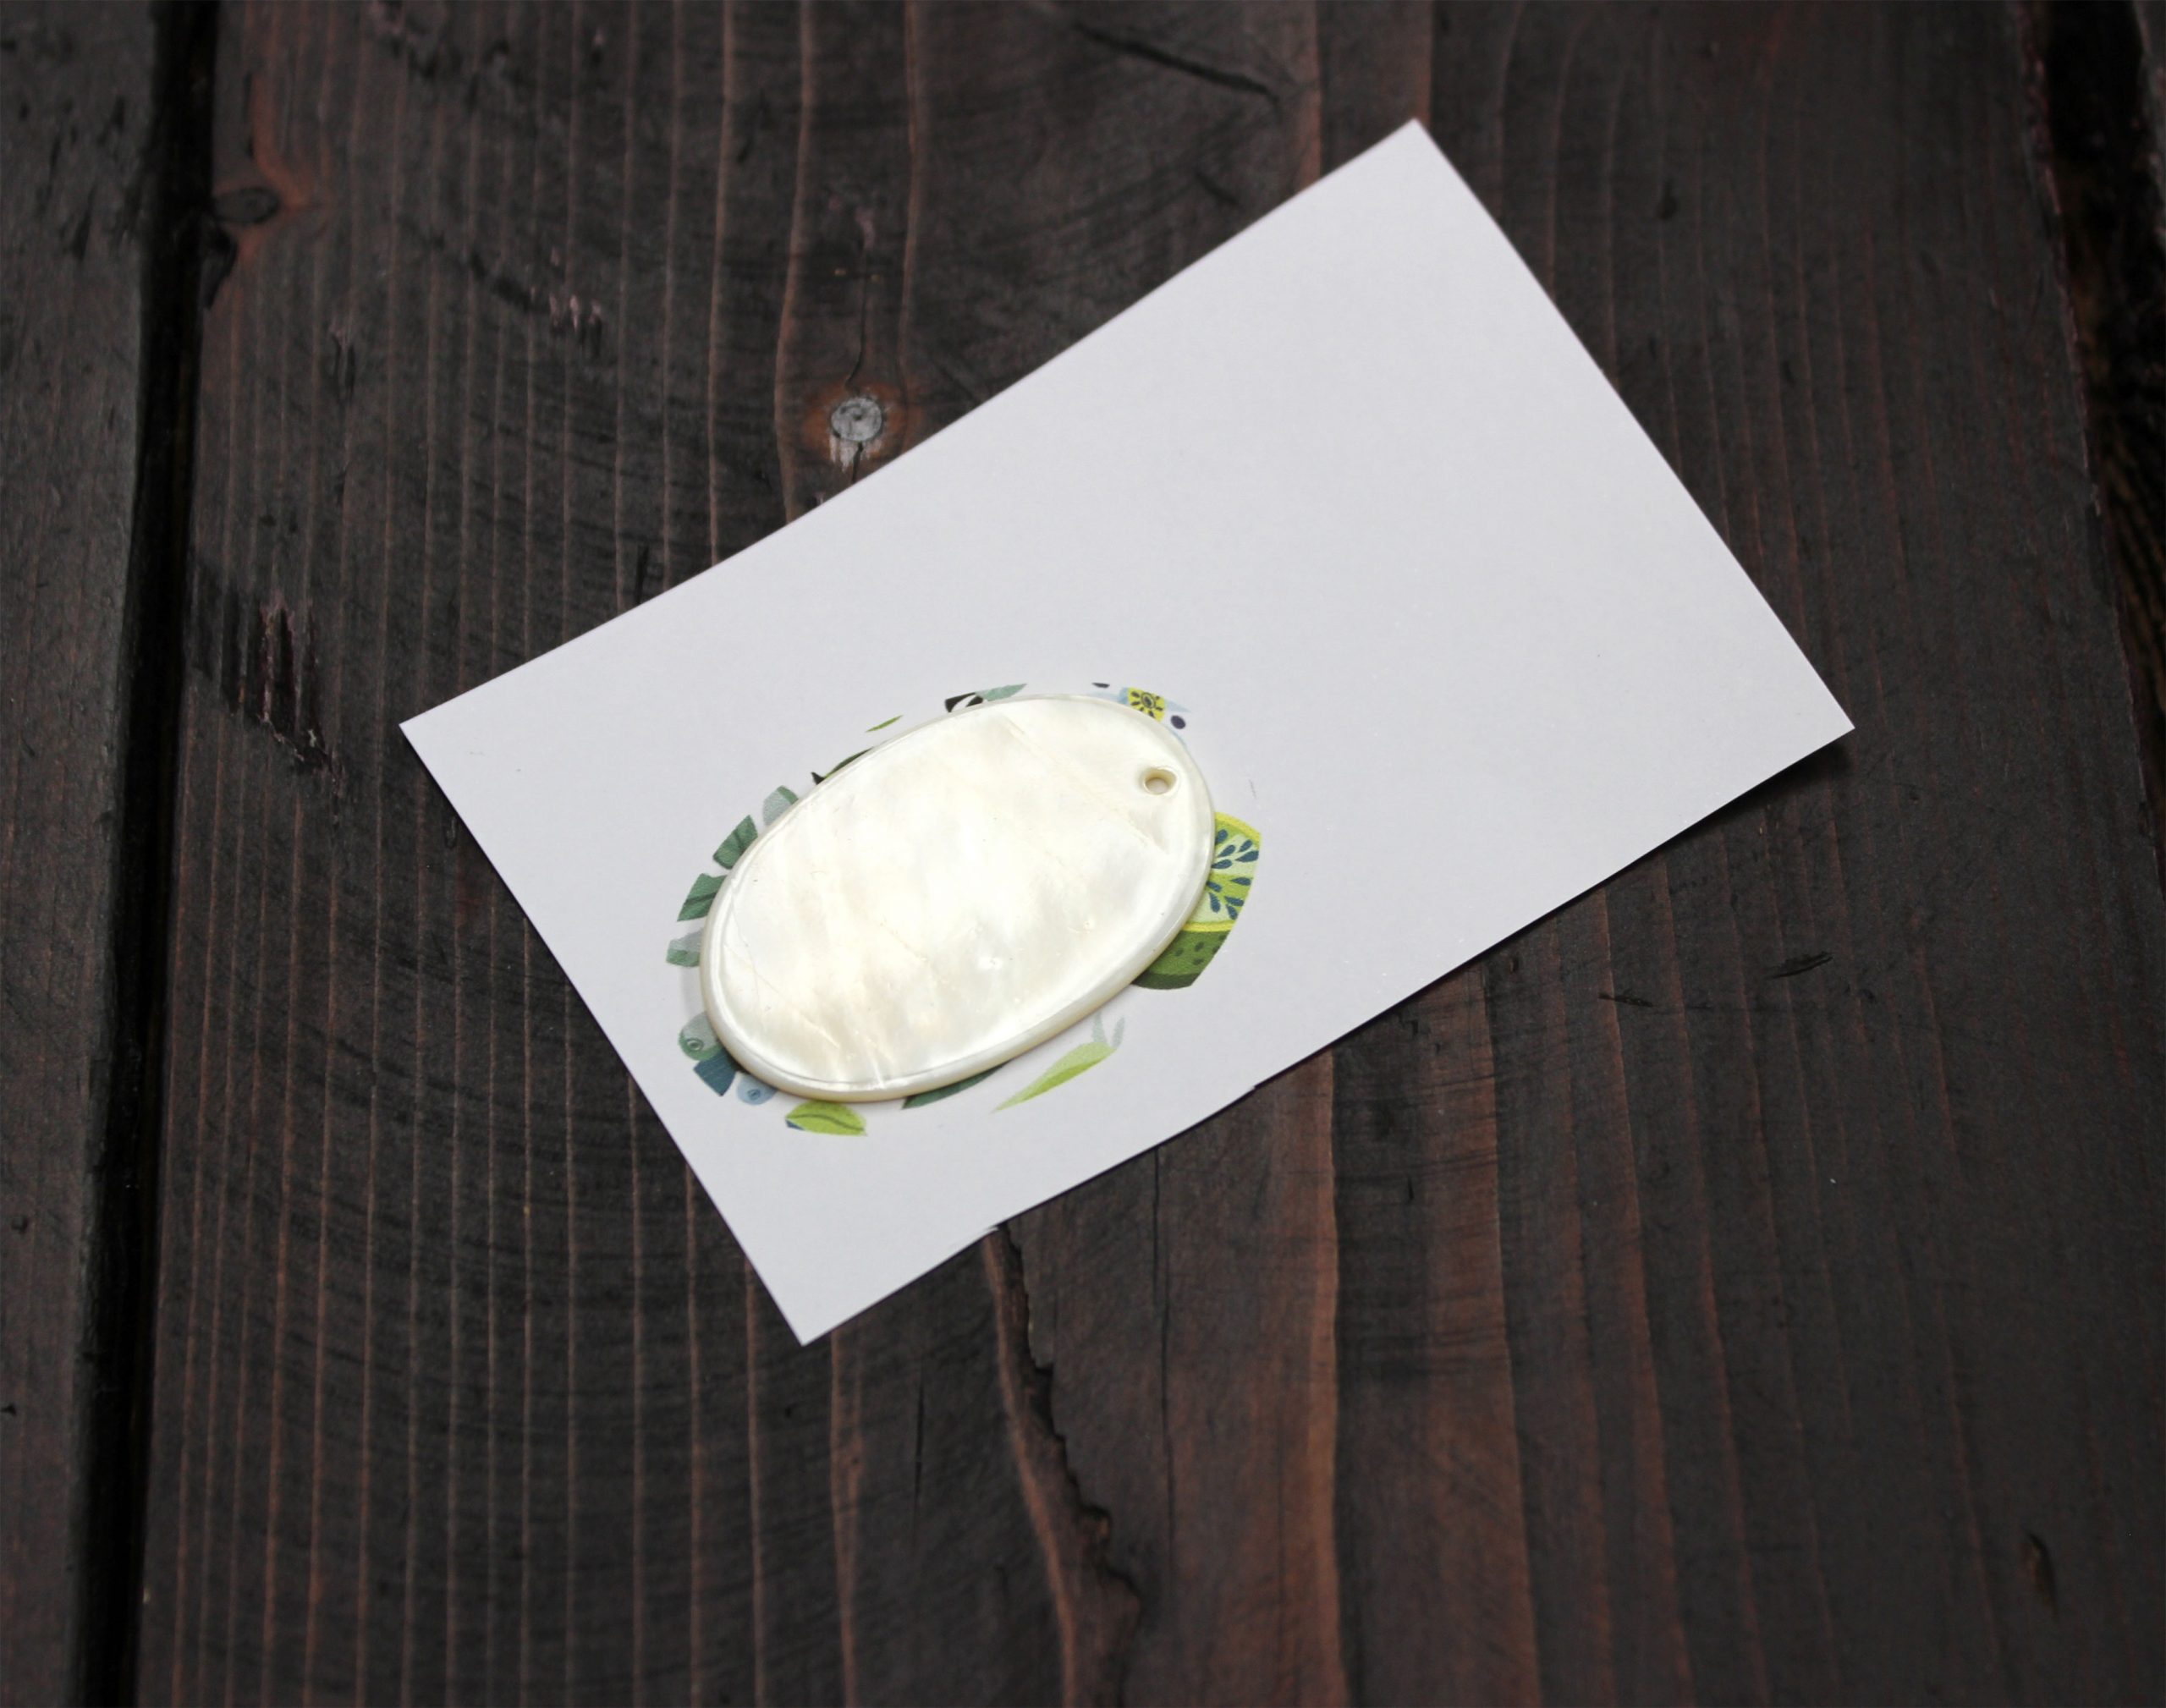
Step 3: Lightly mist your transfer with adhesive spray and adhere the pendant to your image.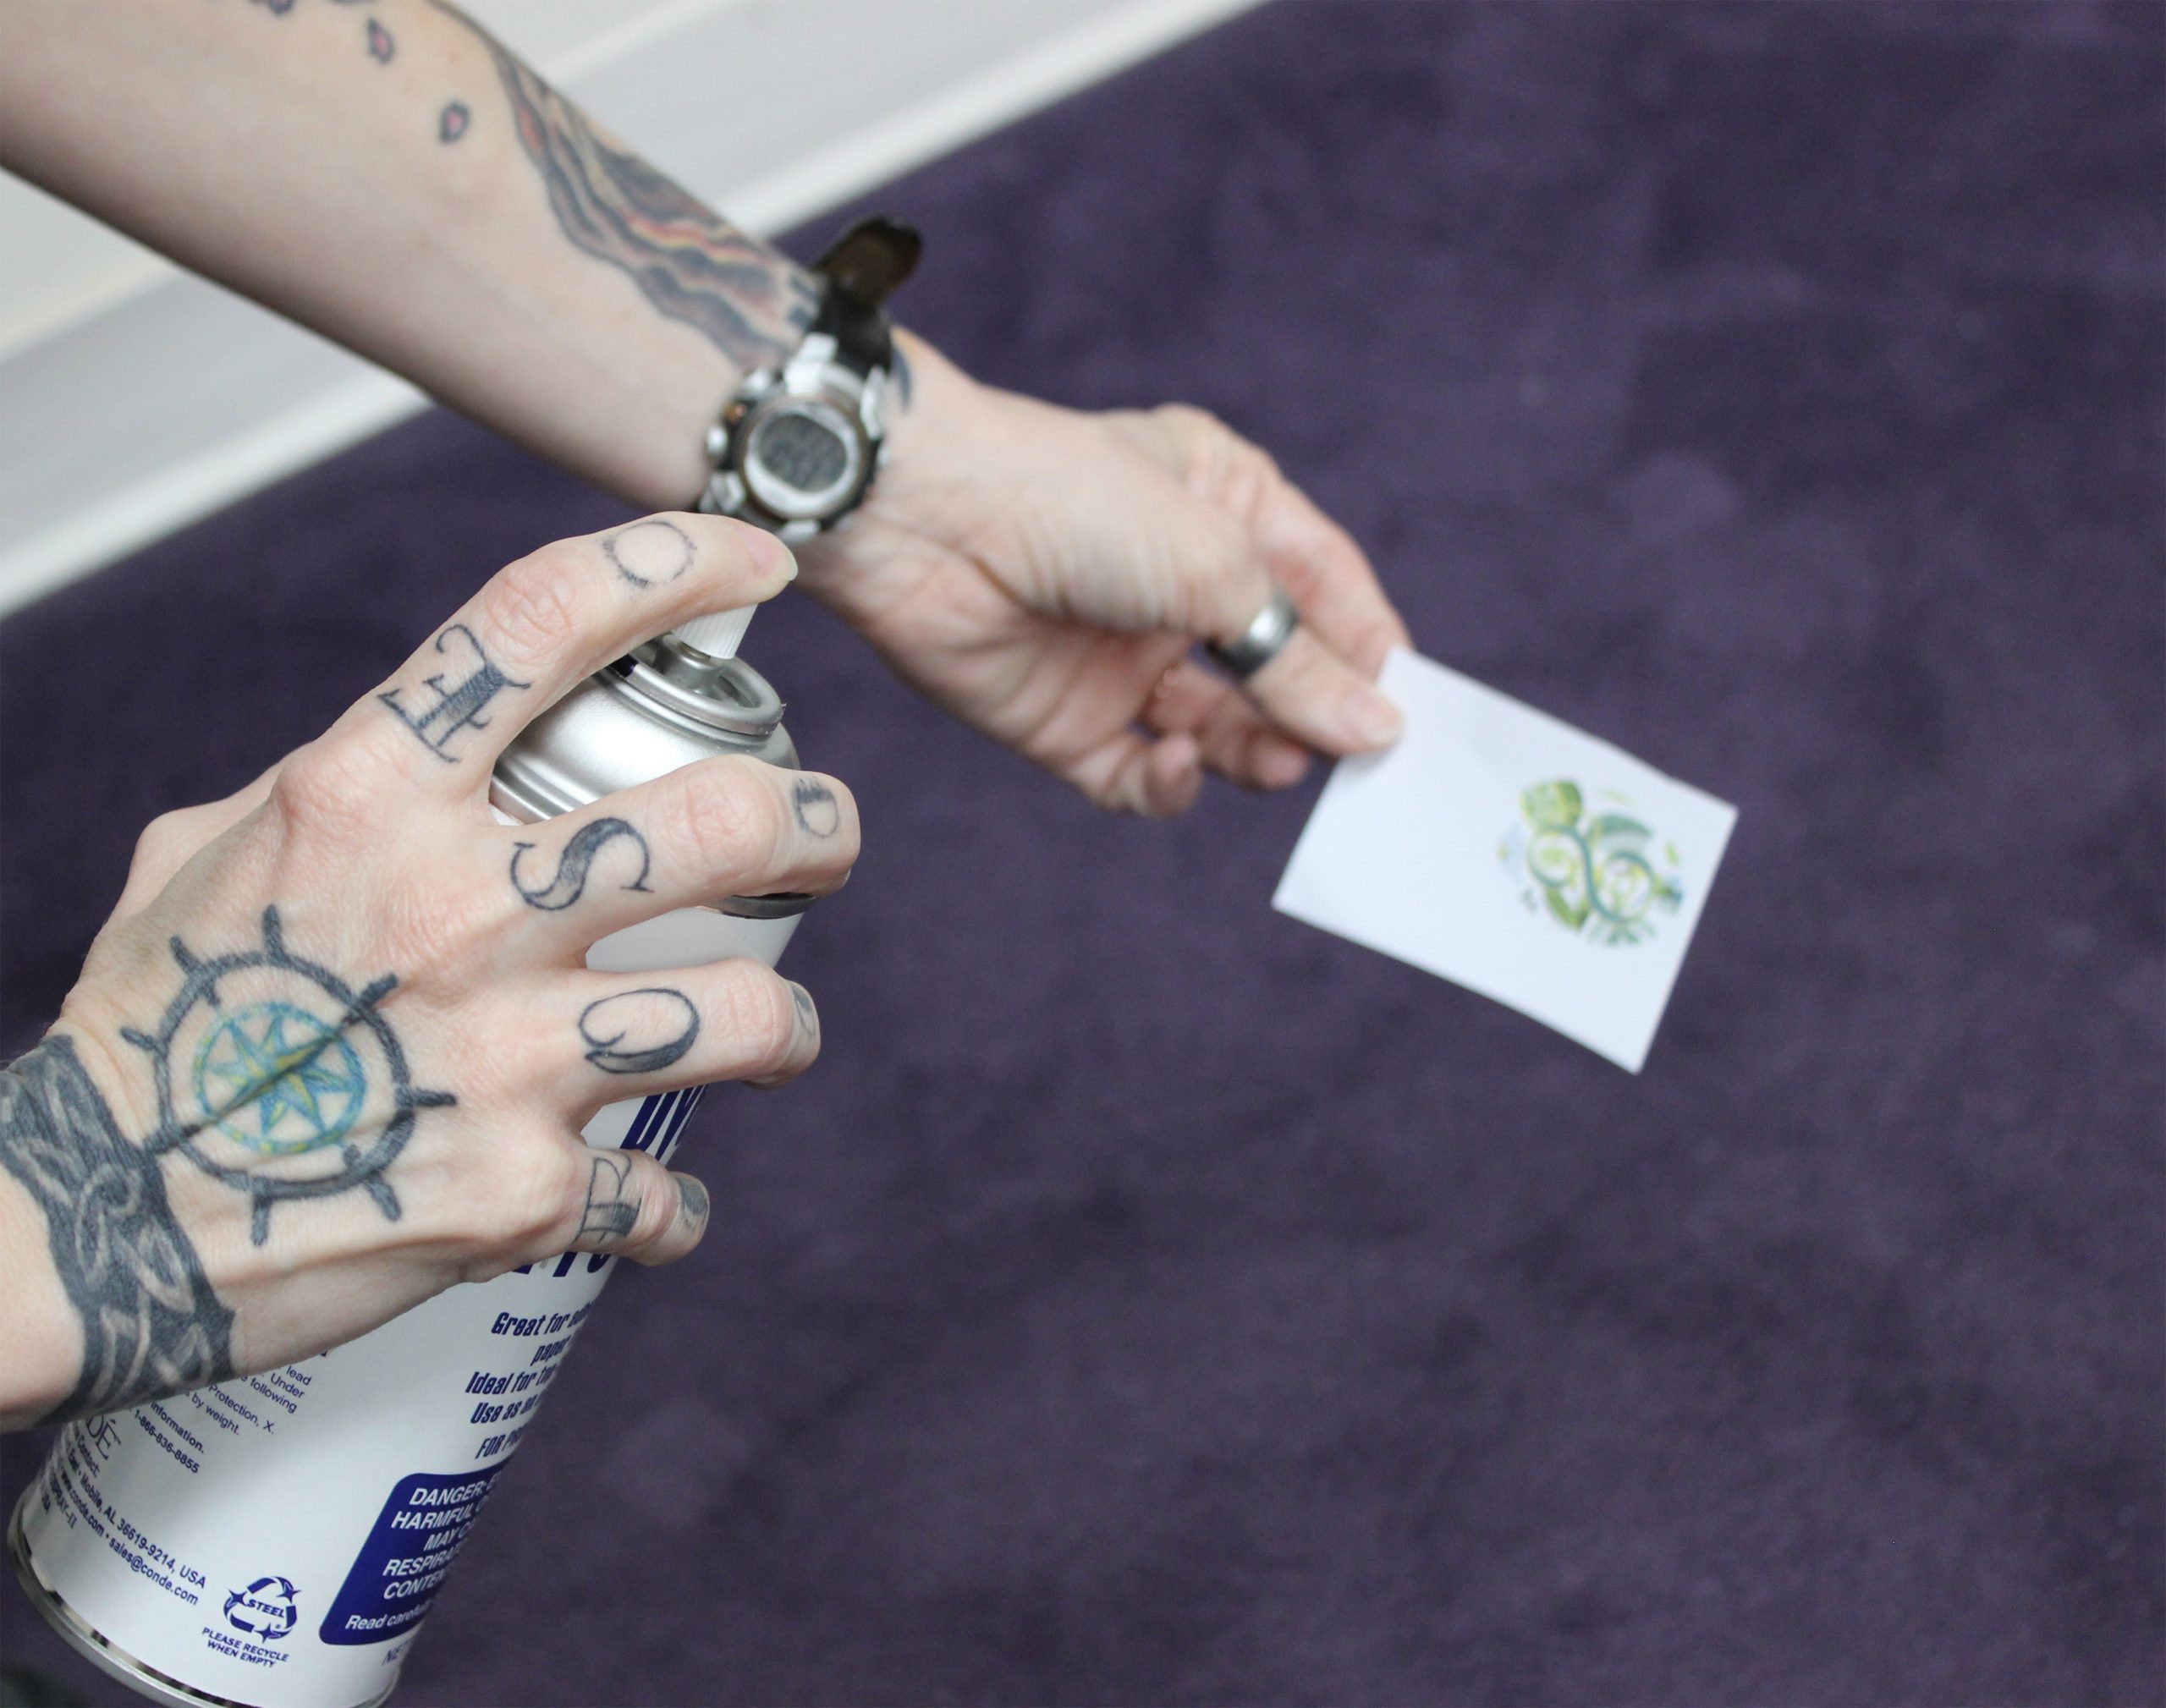
Step 4: Place the pendant face-up, with the attached transfer face-down, on top of the protective paper on the bottom platen.
Step 5: Cover everything with another piece of protective paper and a 1/16″ or 1/8″ heat-conductive rubber pad and press. Note: if using 1/8″ HCR, please add one minute onto press time. 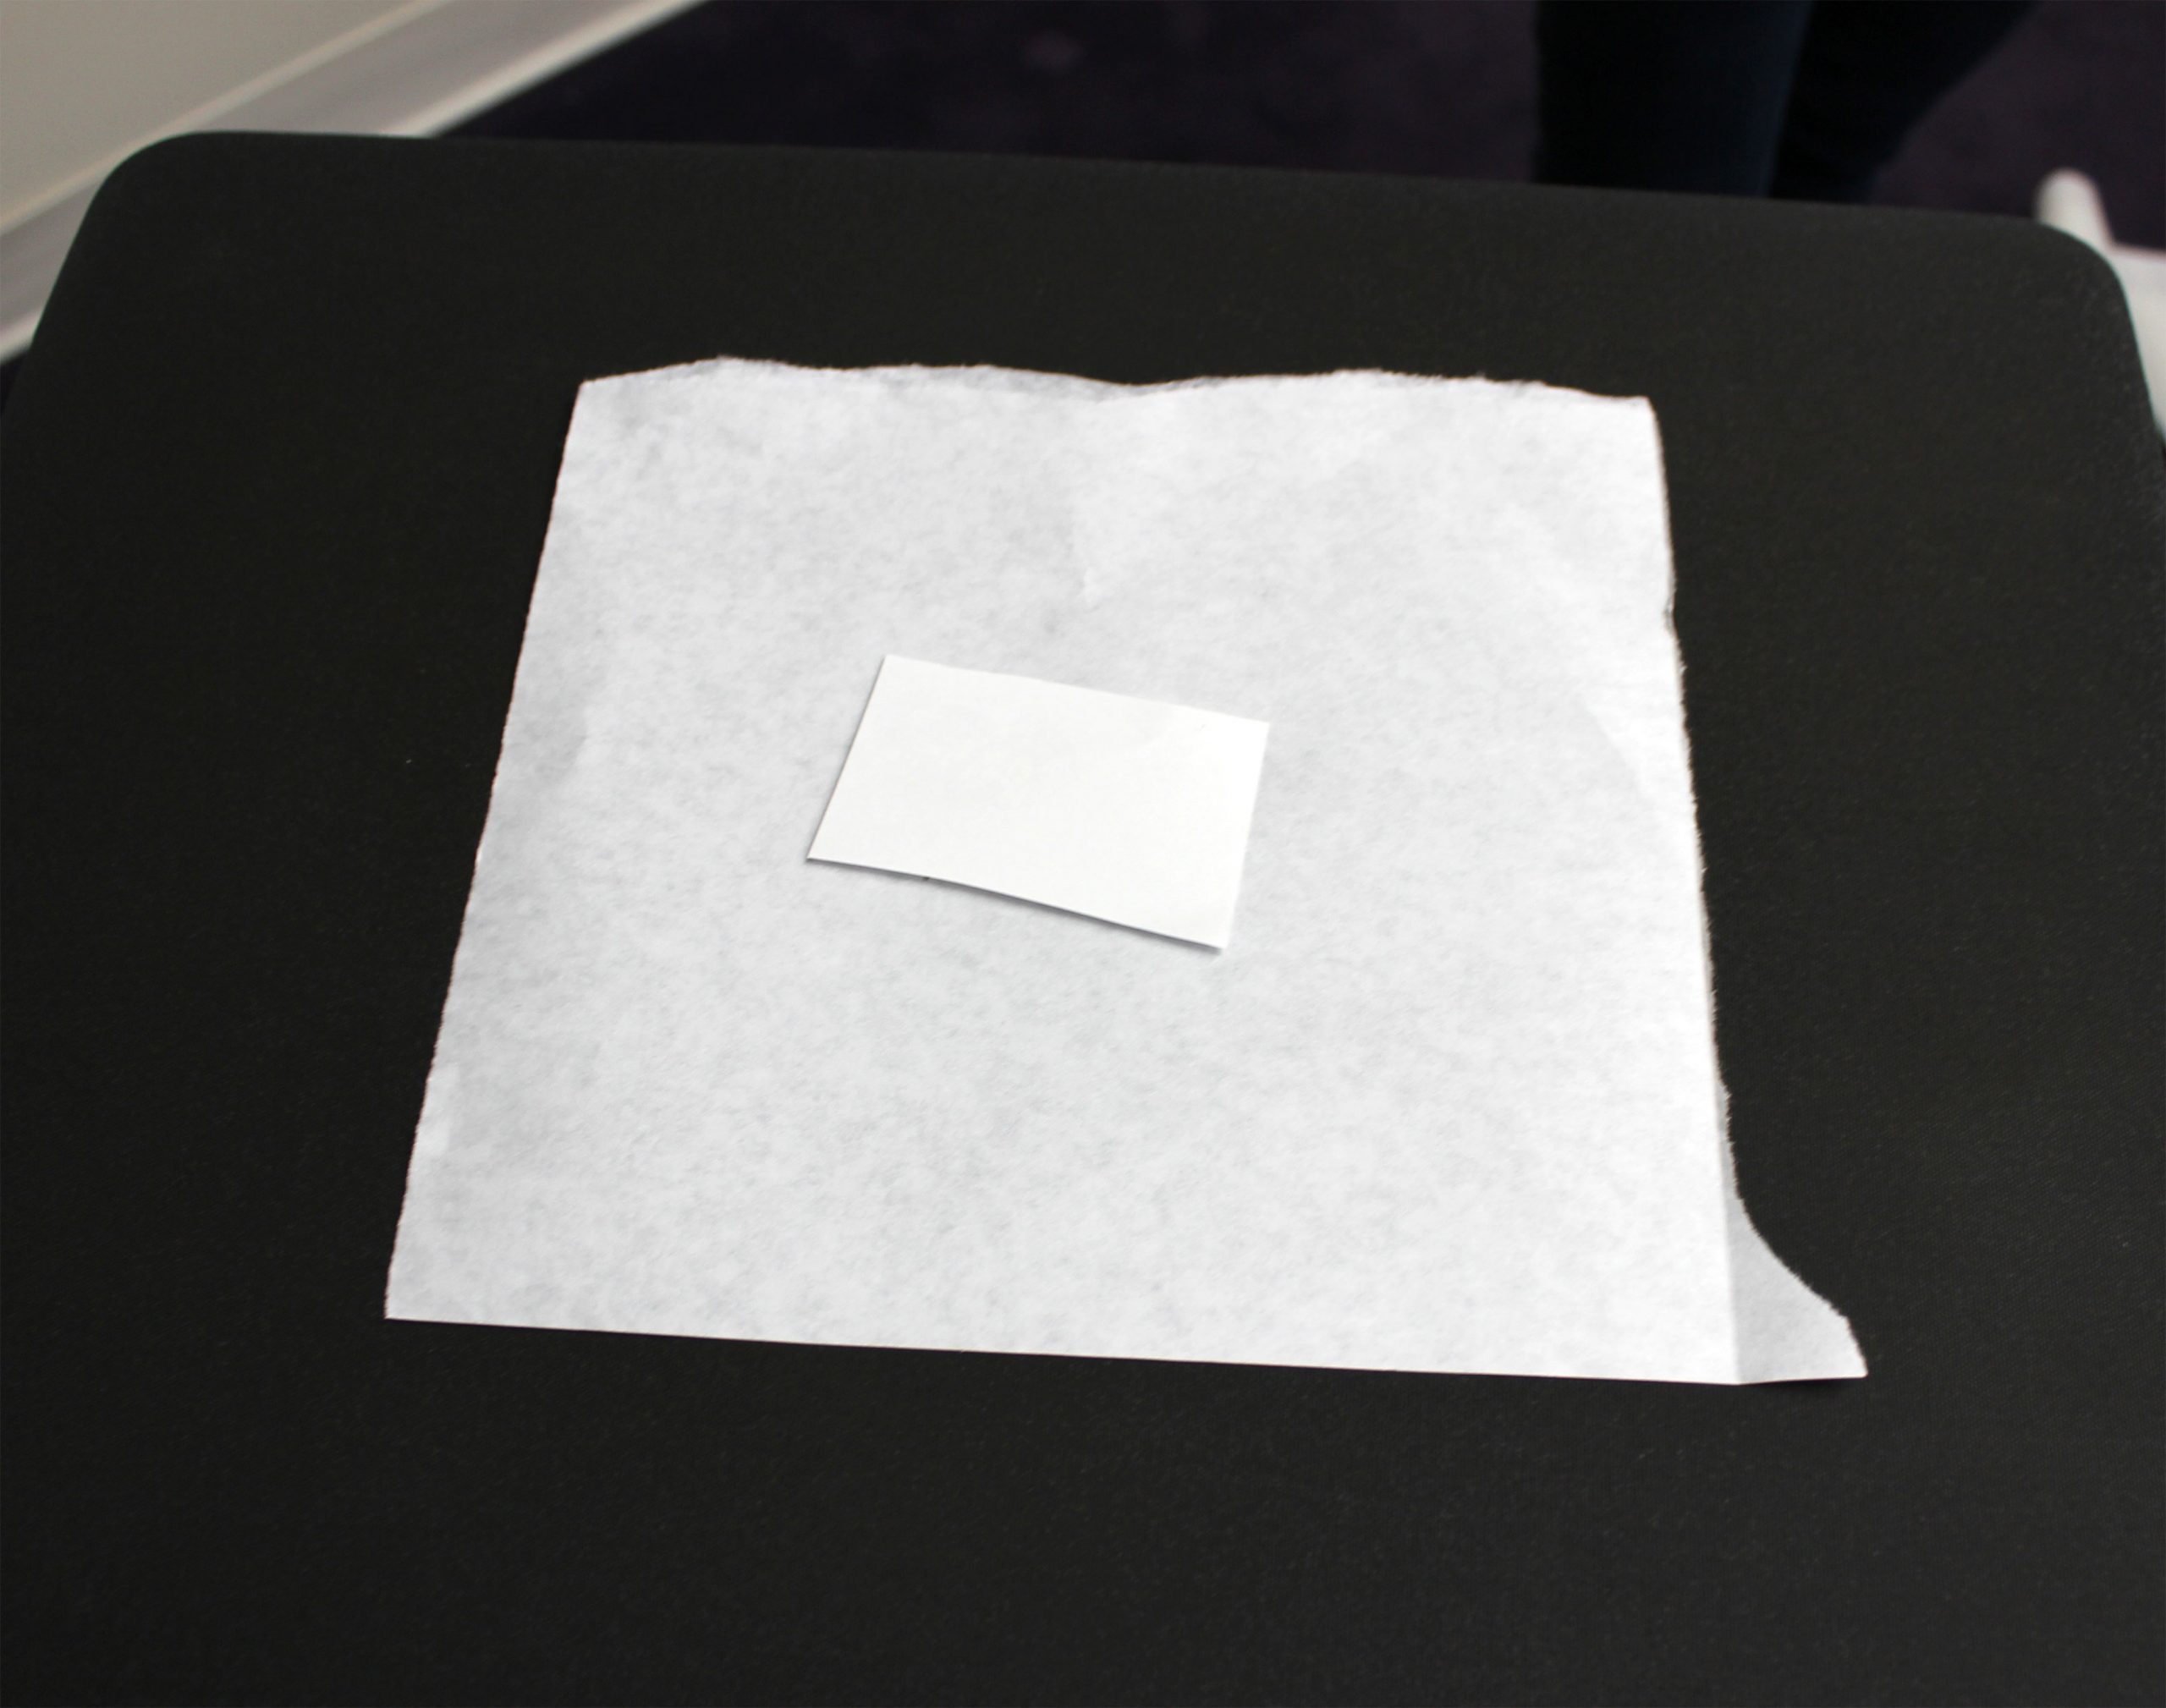
If imprinting both sides, allow first side to cool completely, then repeat steps 1-5 for second side. If imaging more than six at one time, please add 10-15 seconds per additional pendant.
Jewelry construction:
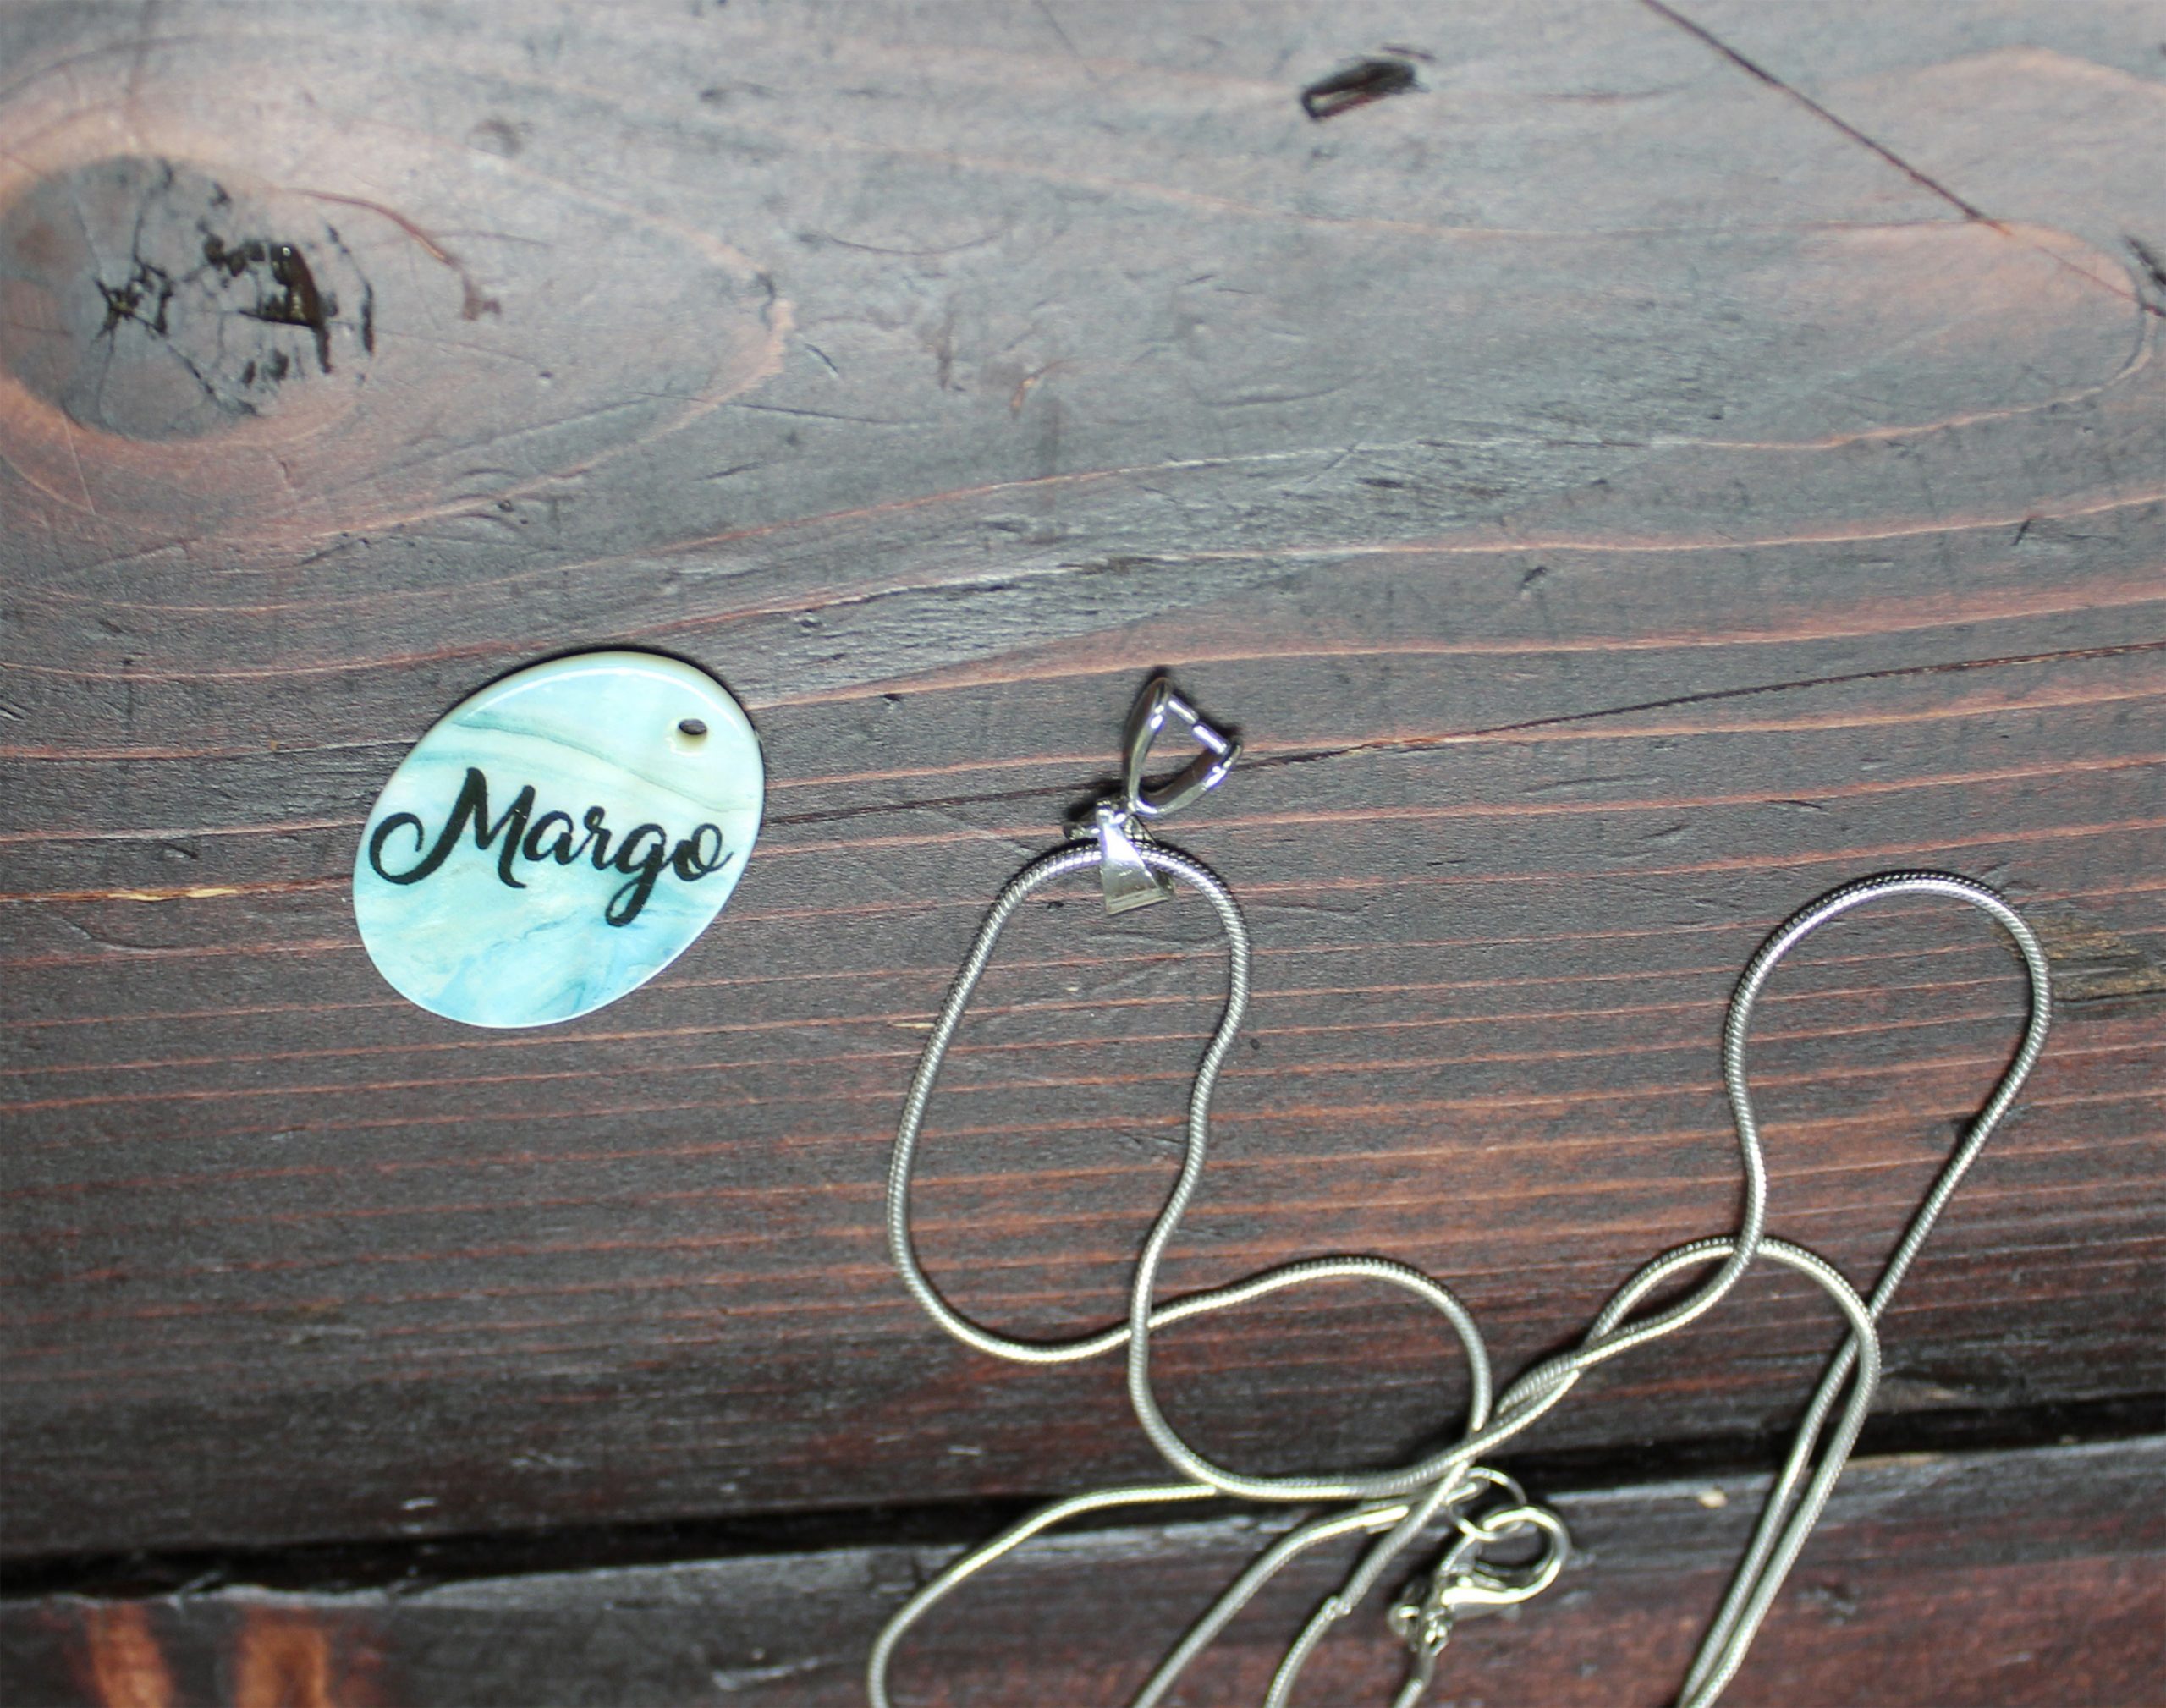
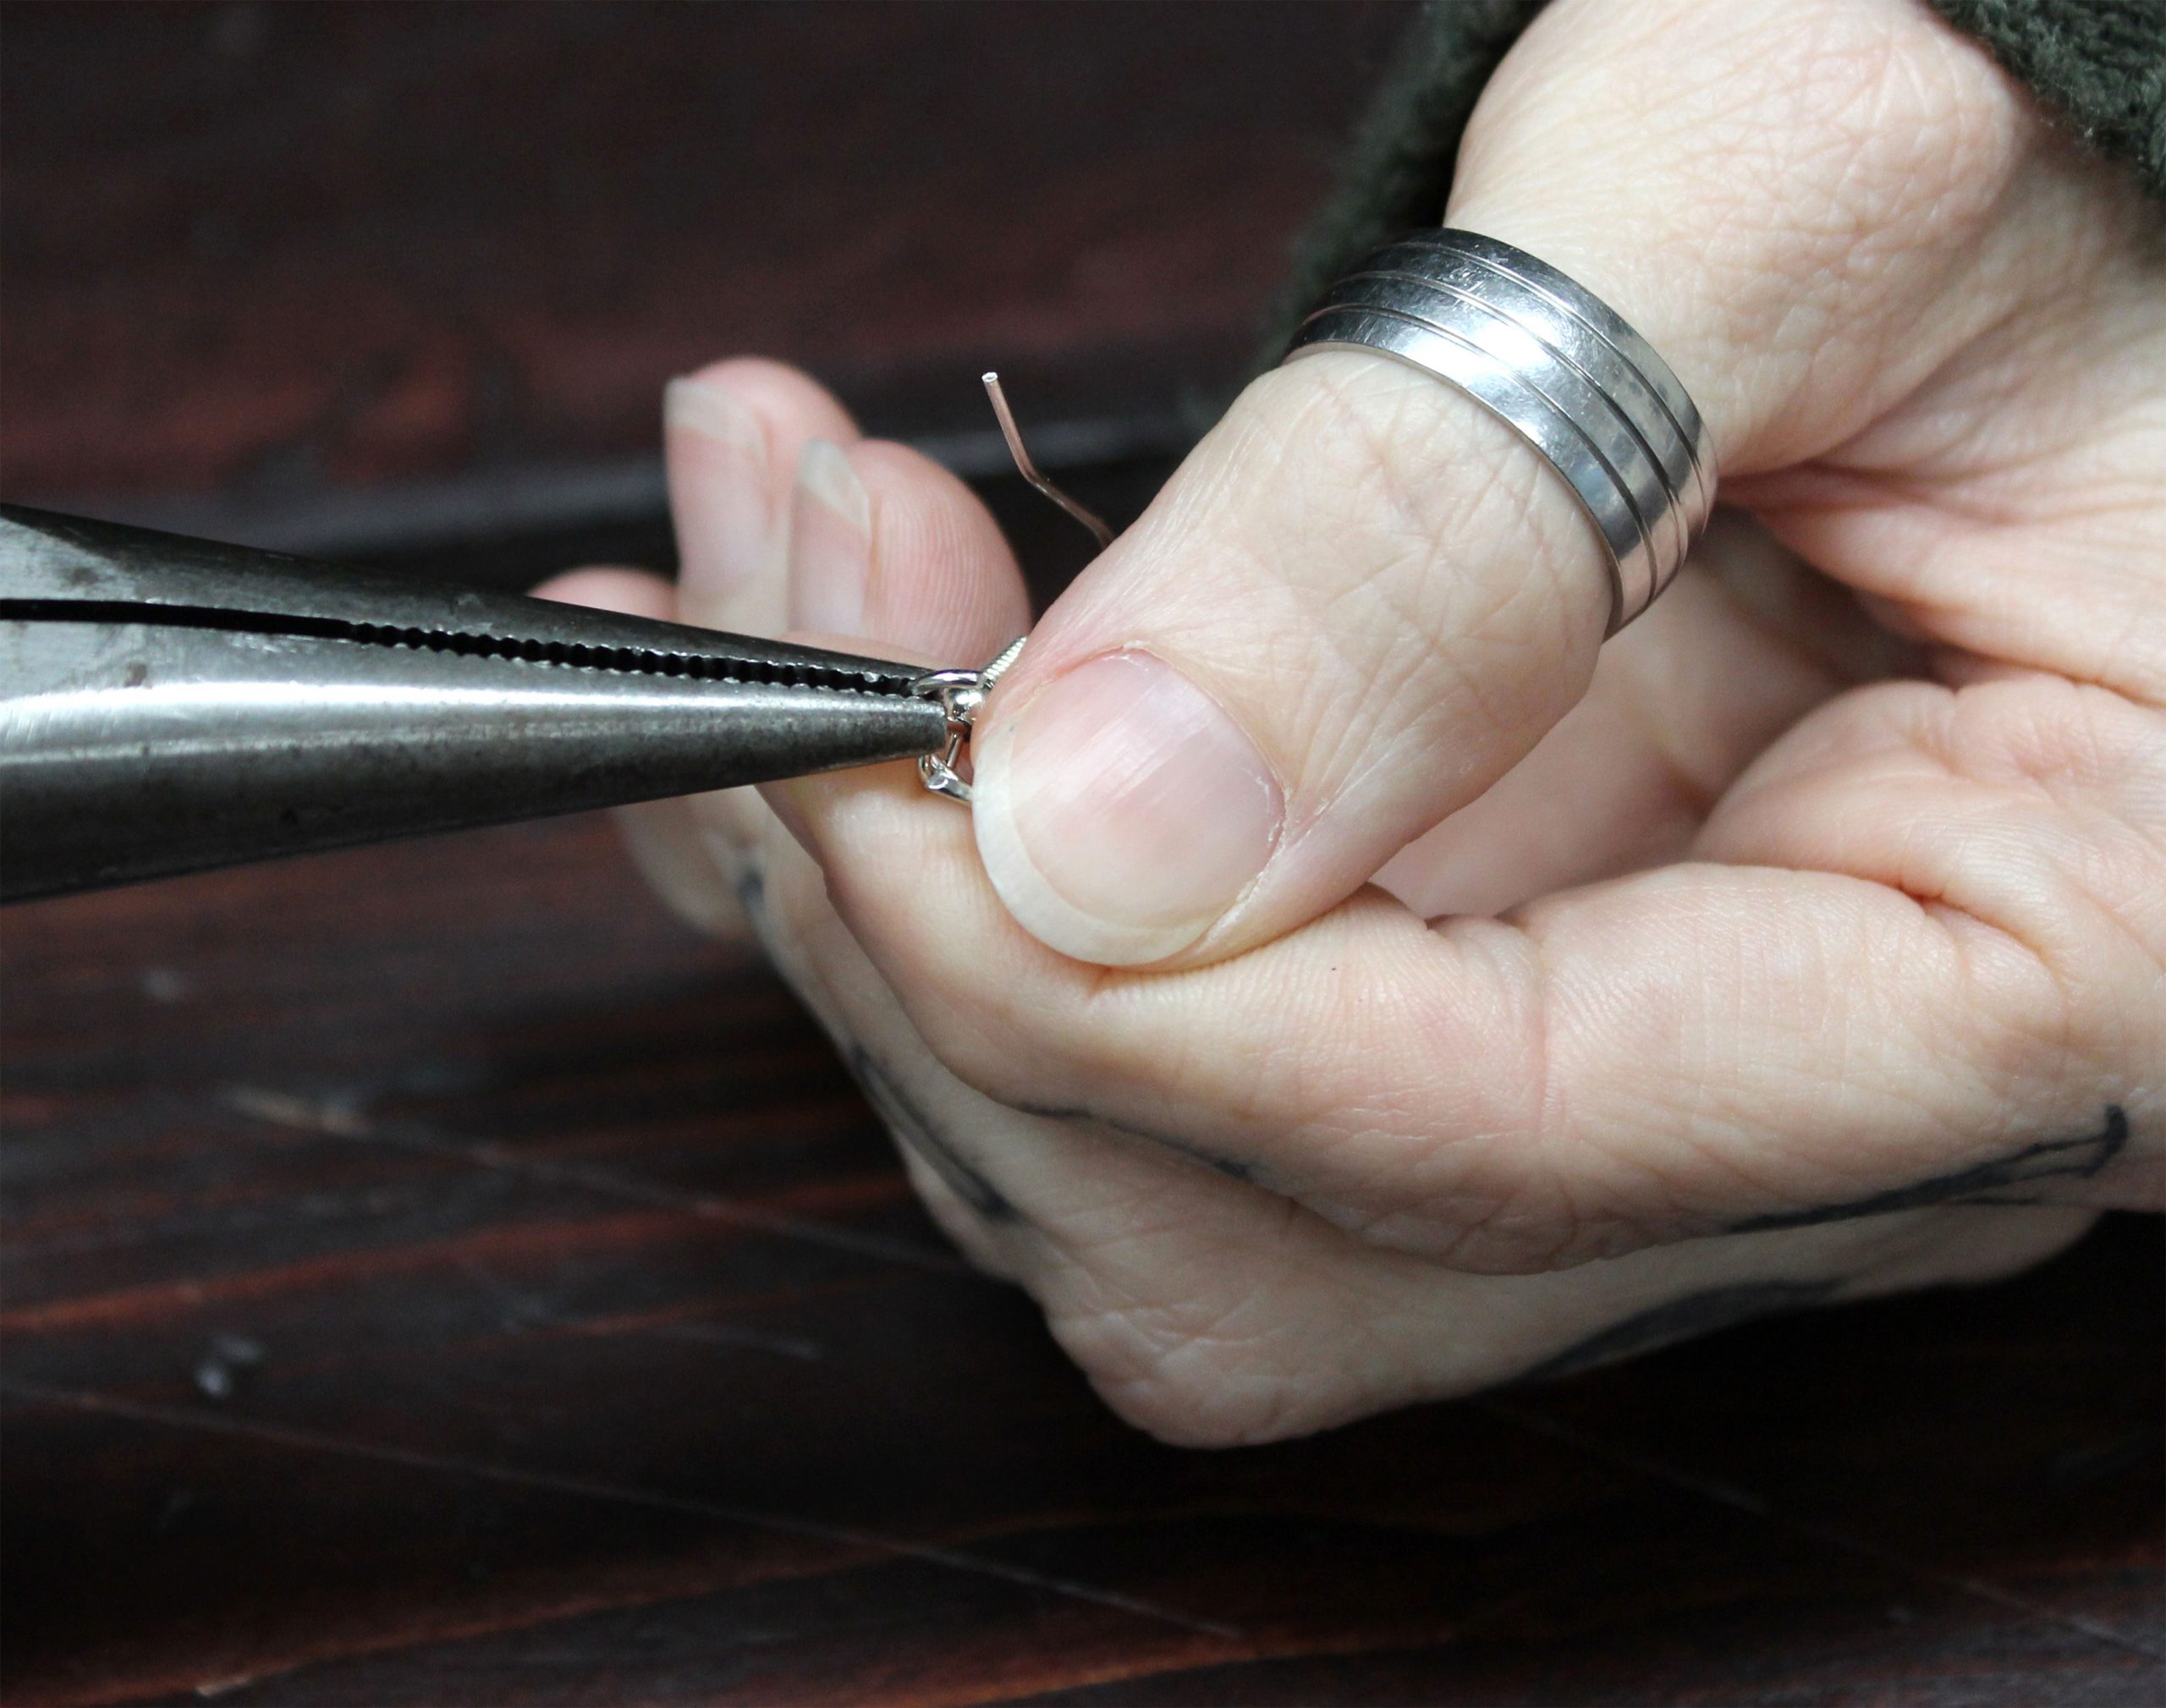
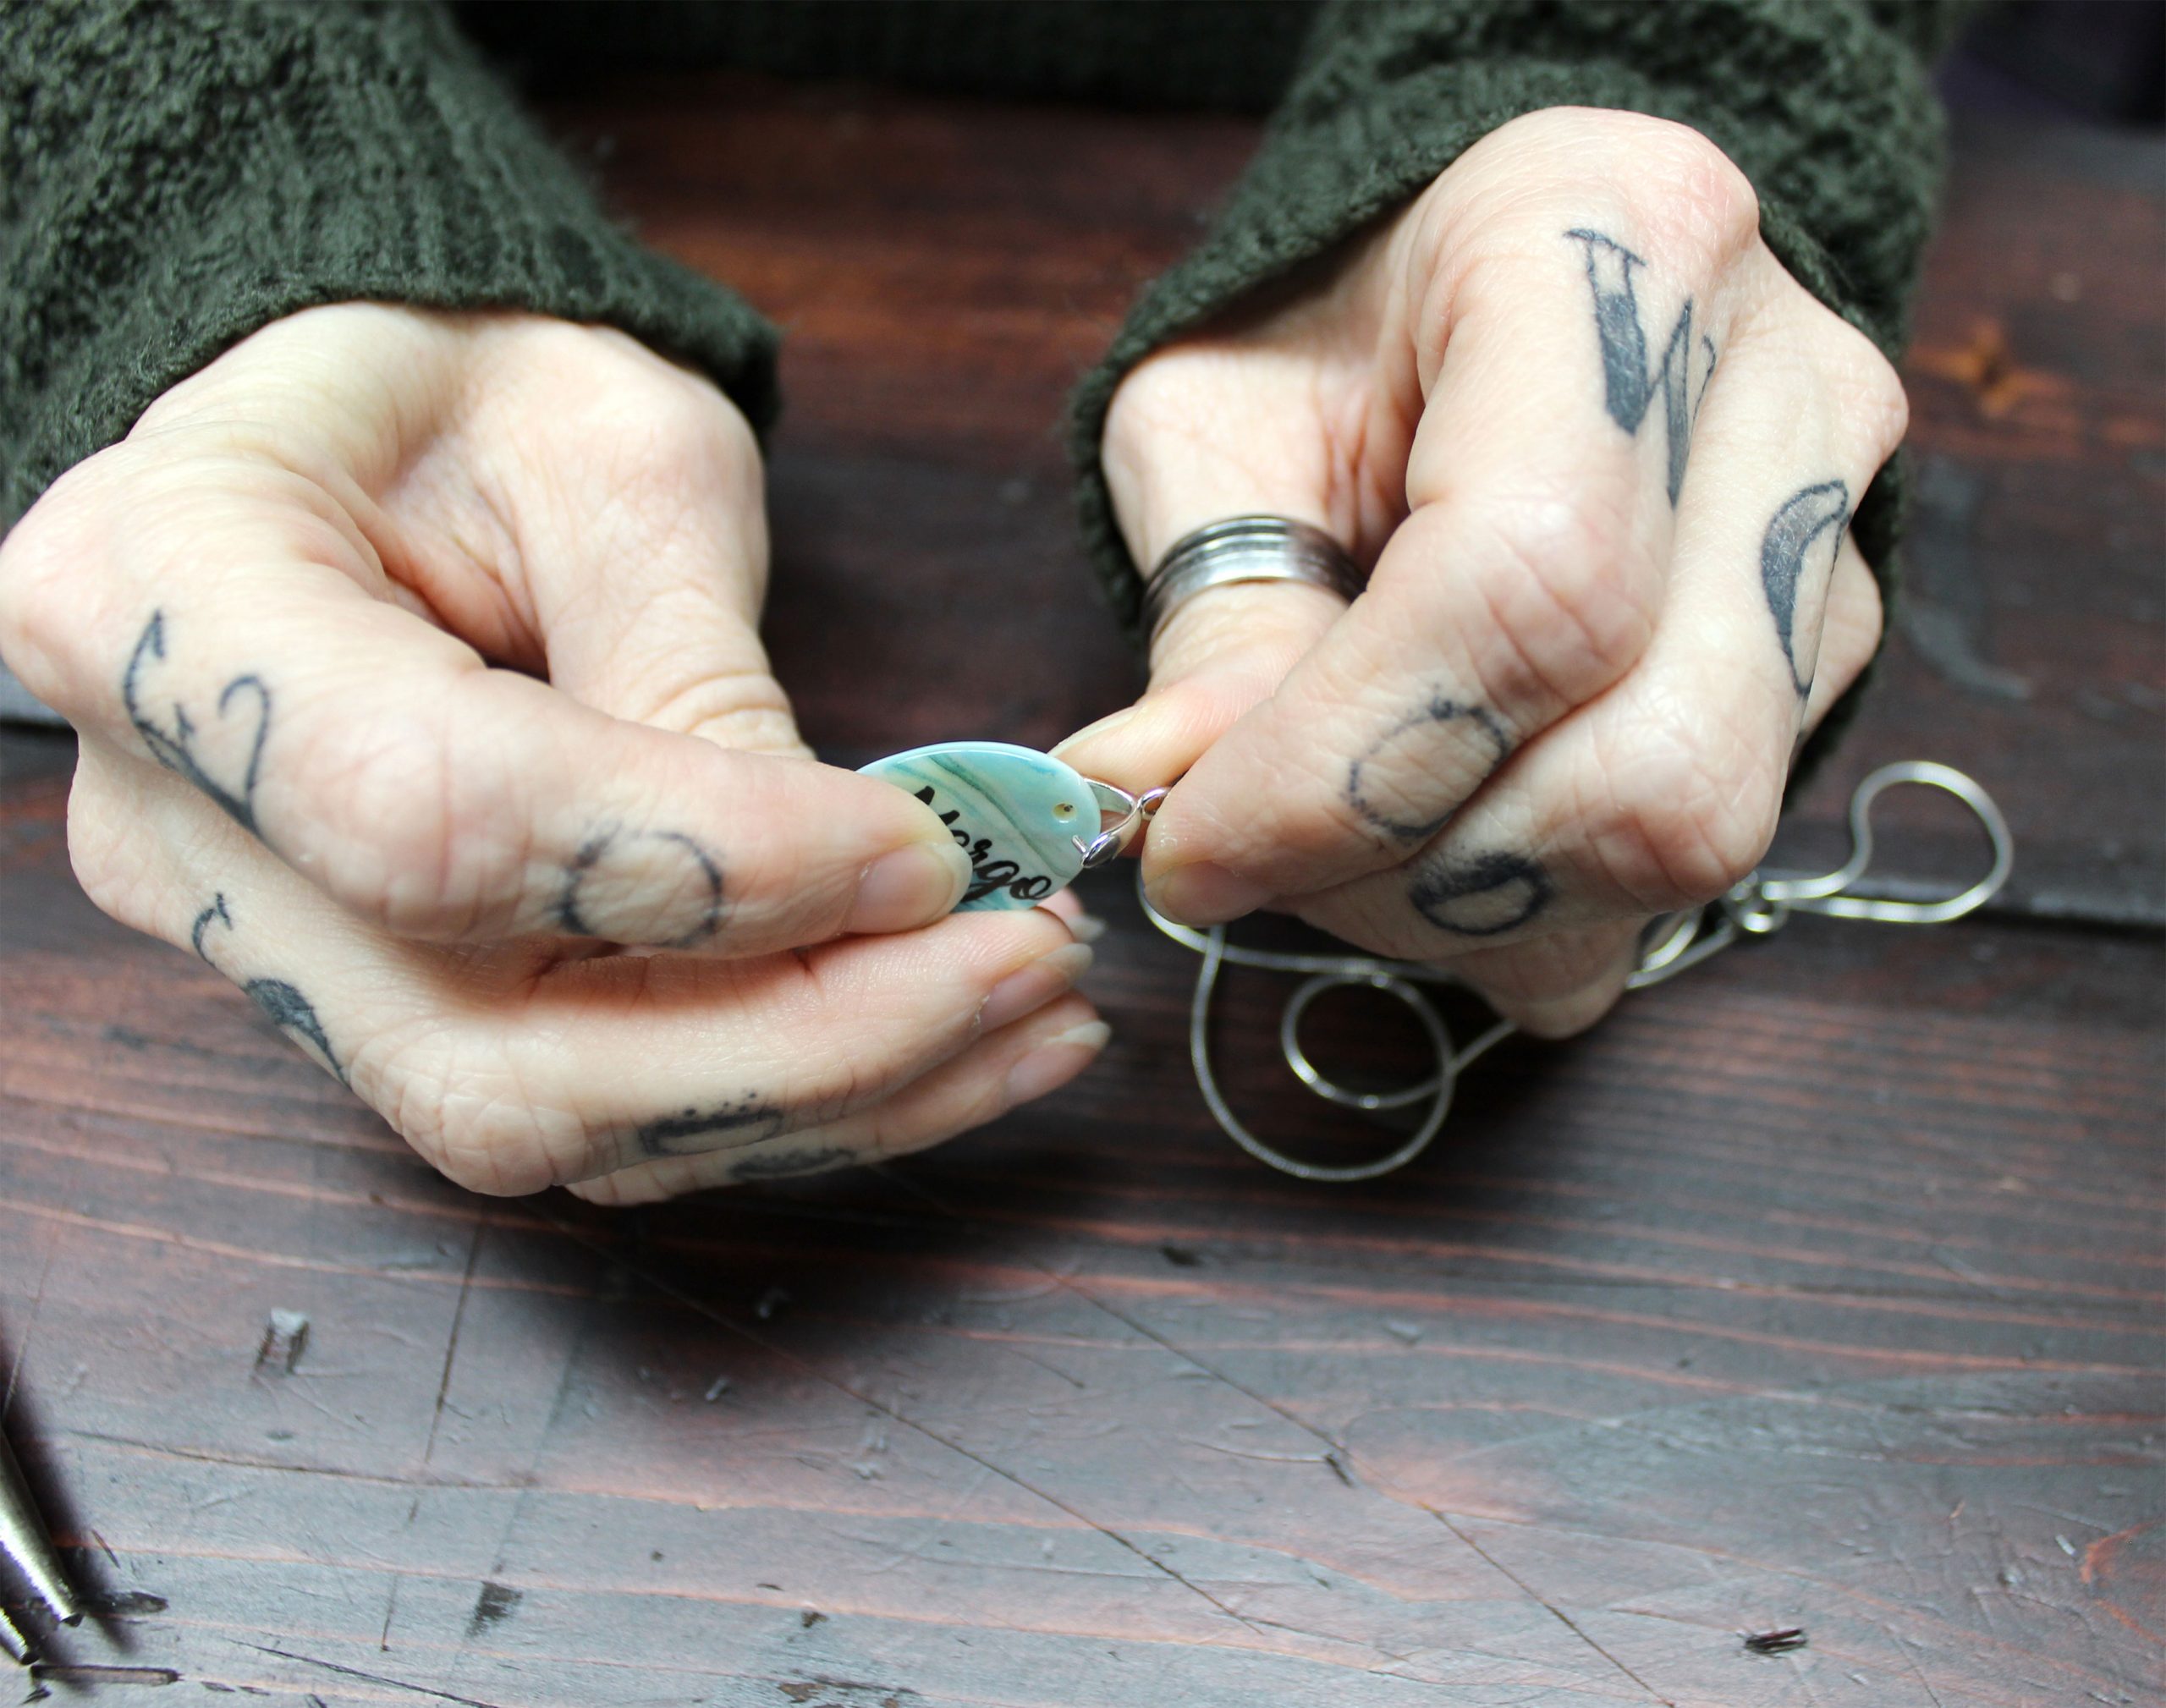
Step 1: To attach jewelry to the chain bale, use jewelry pliers to spread bale posts.
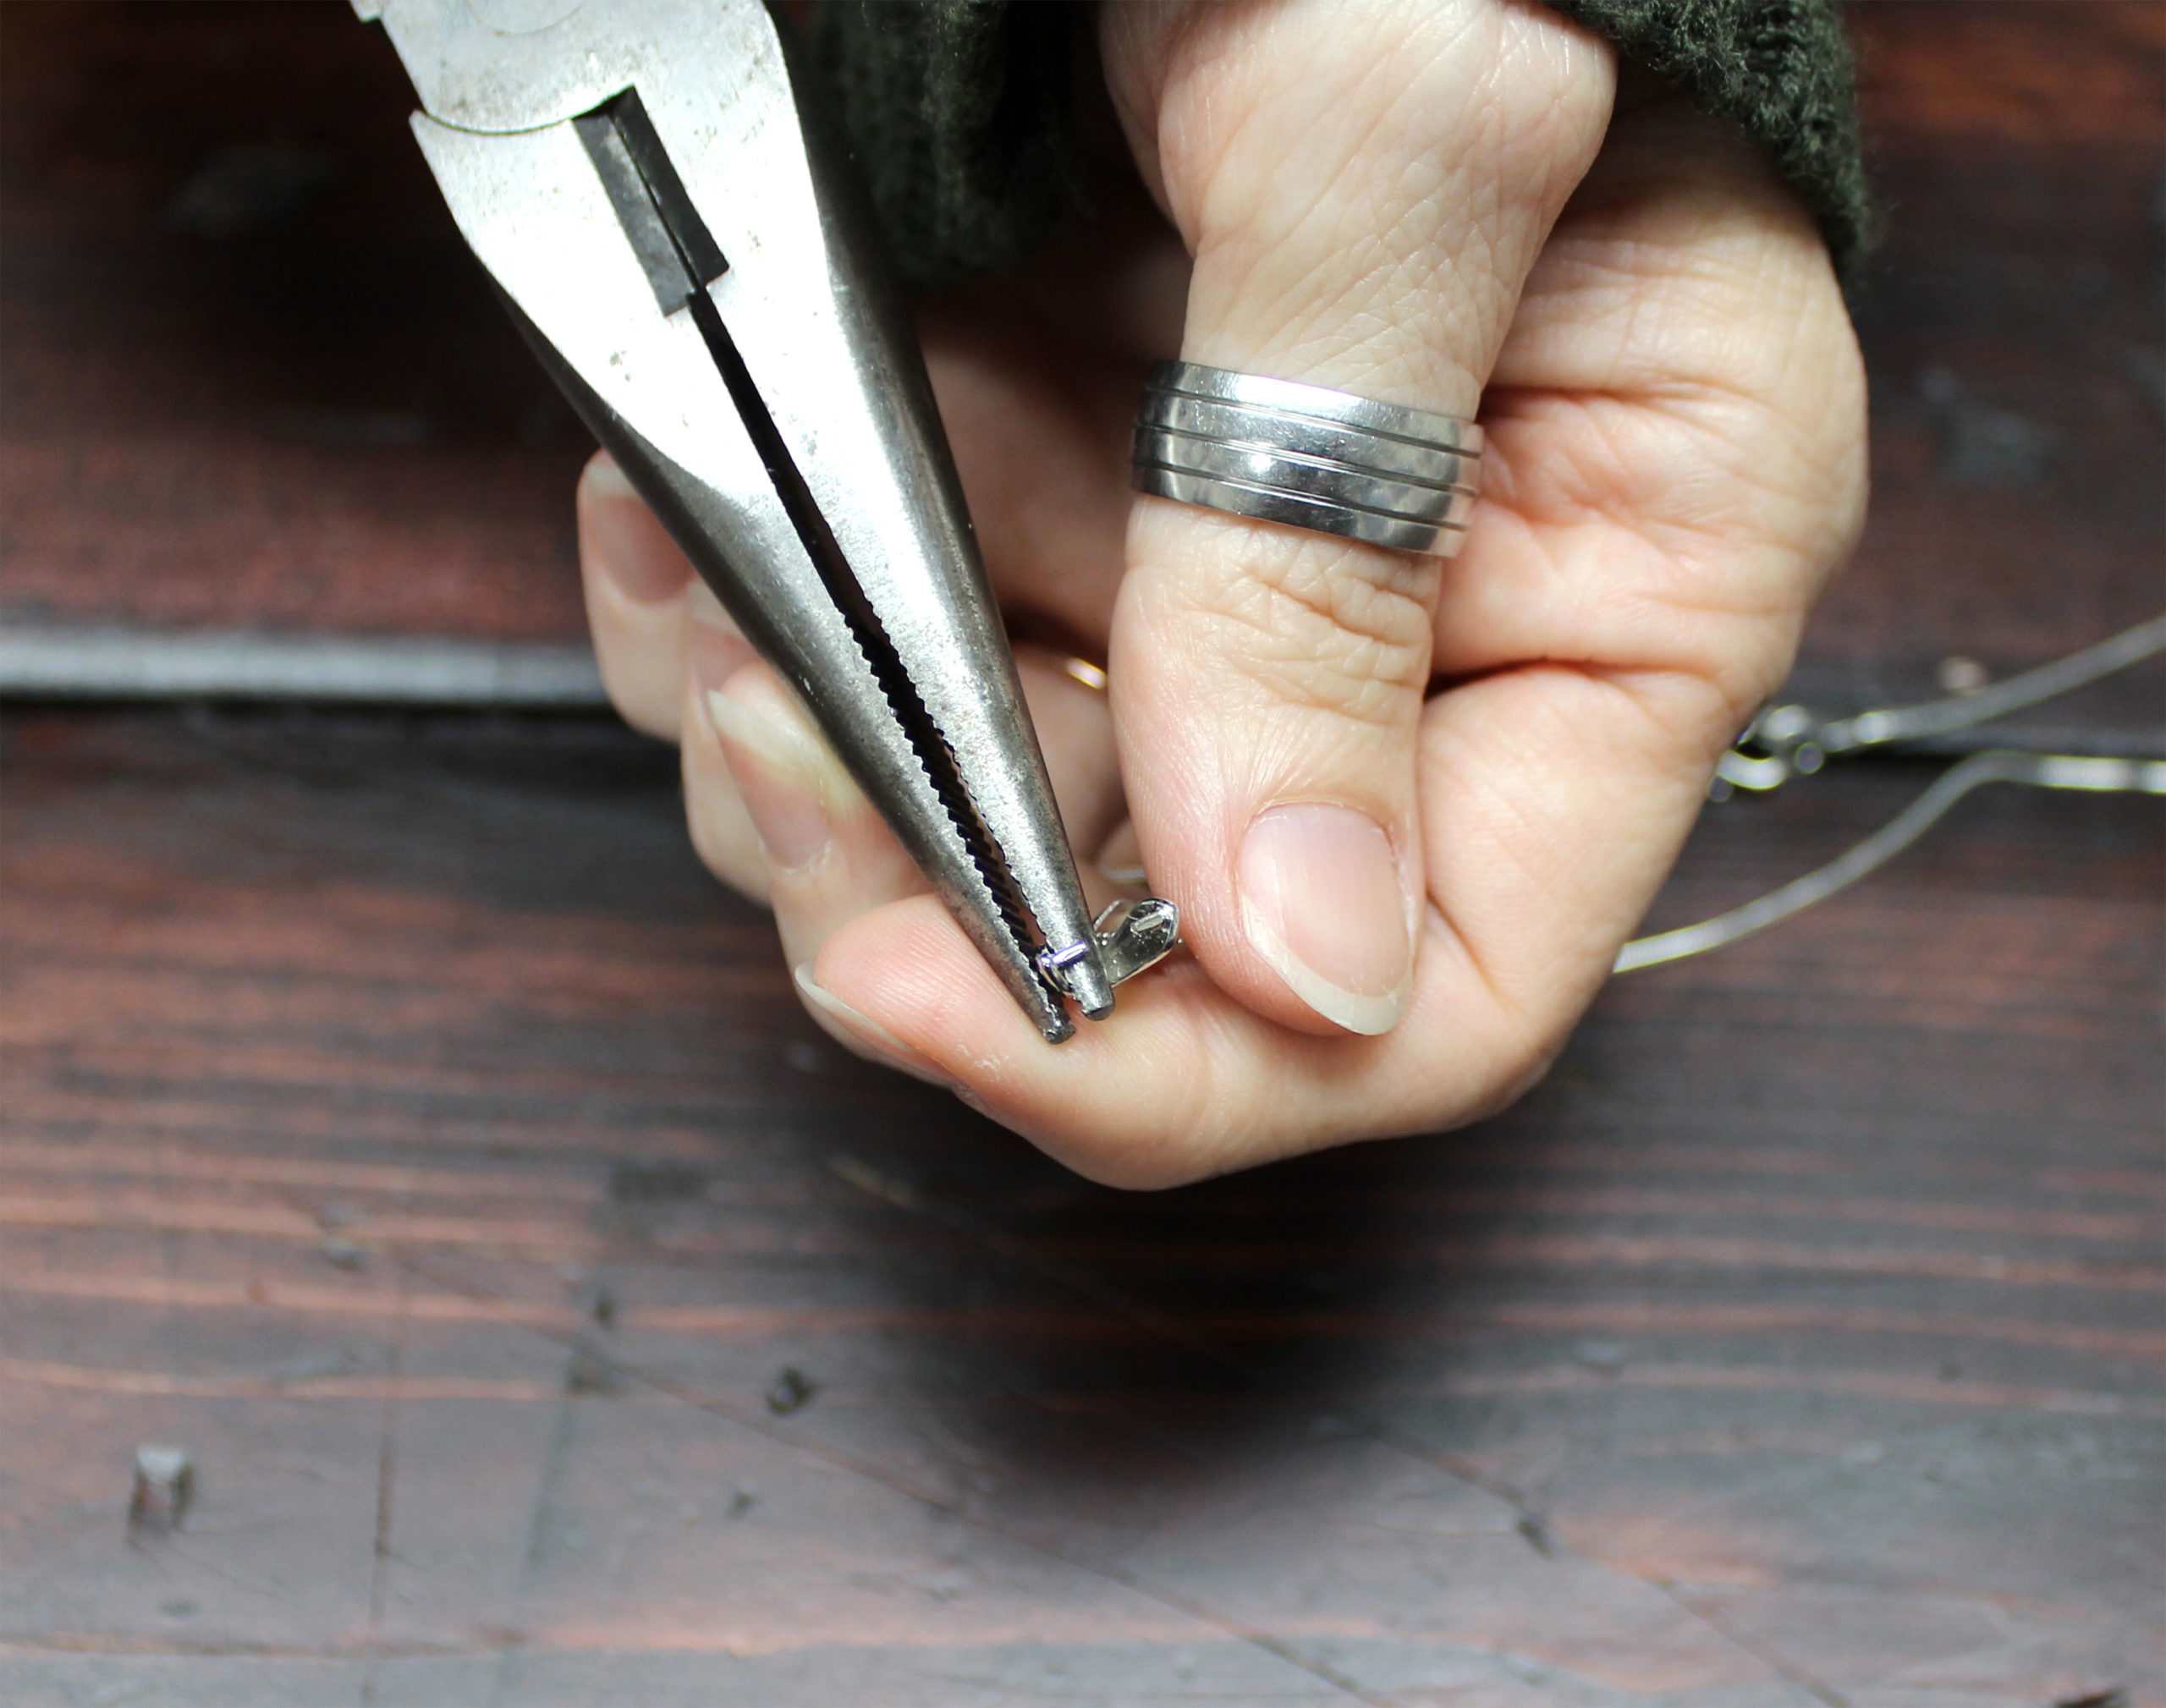
Step 2: Insert jewelry onto a post and clamp with pliers to tighten.
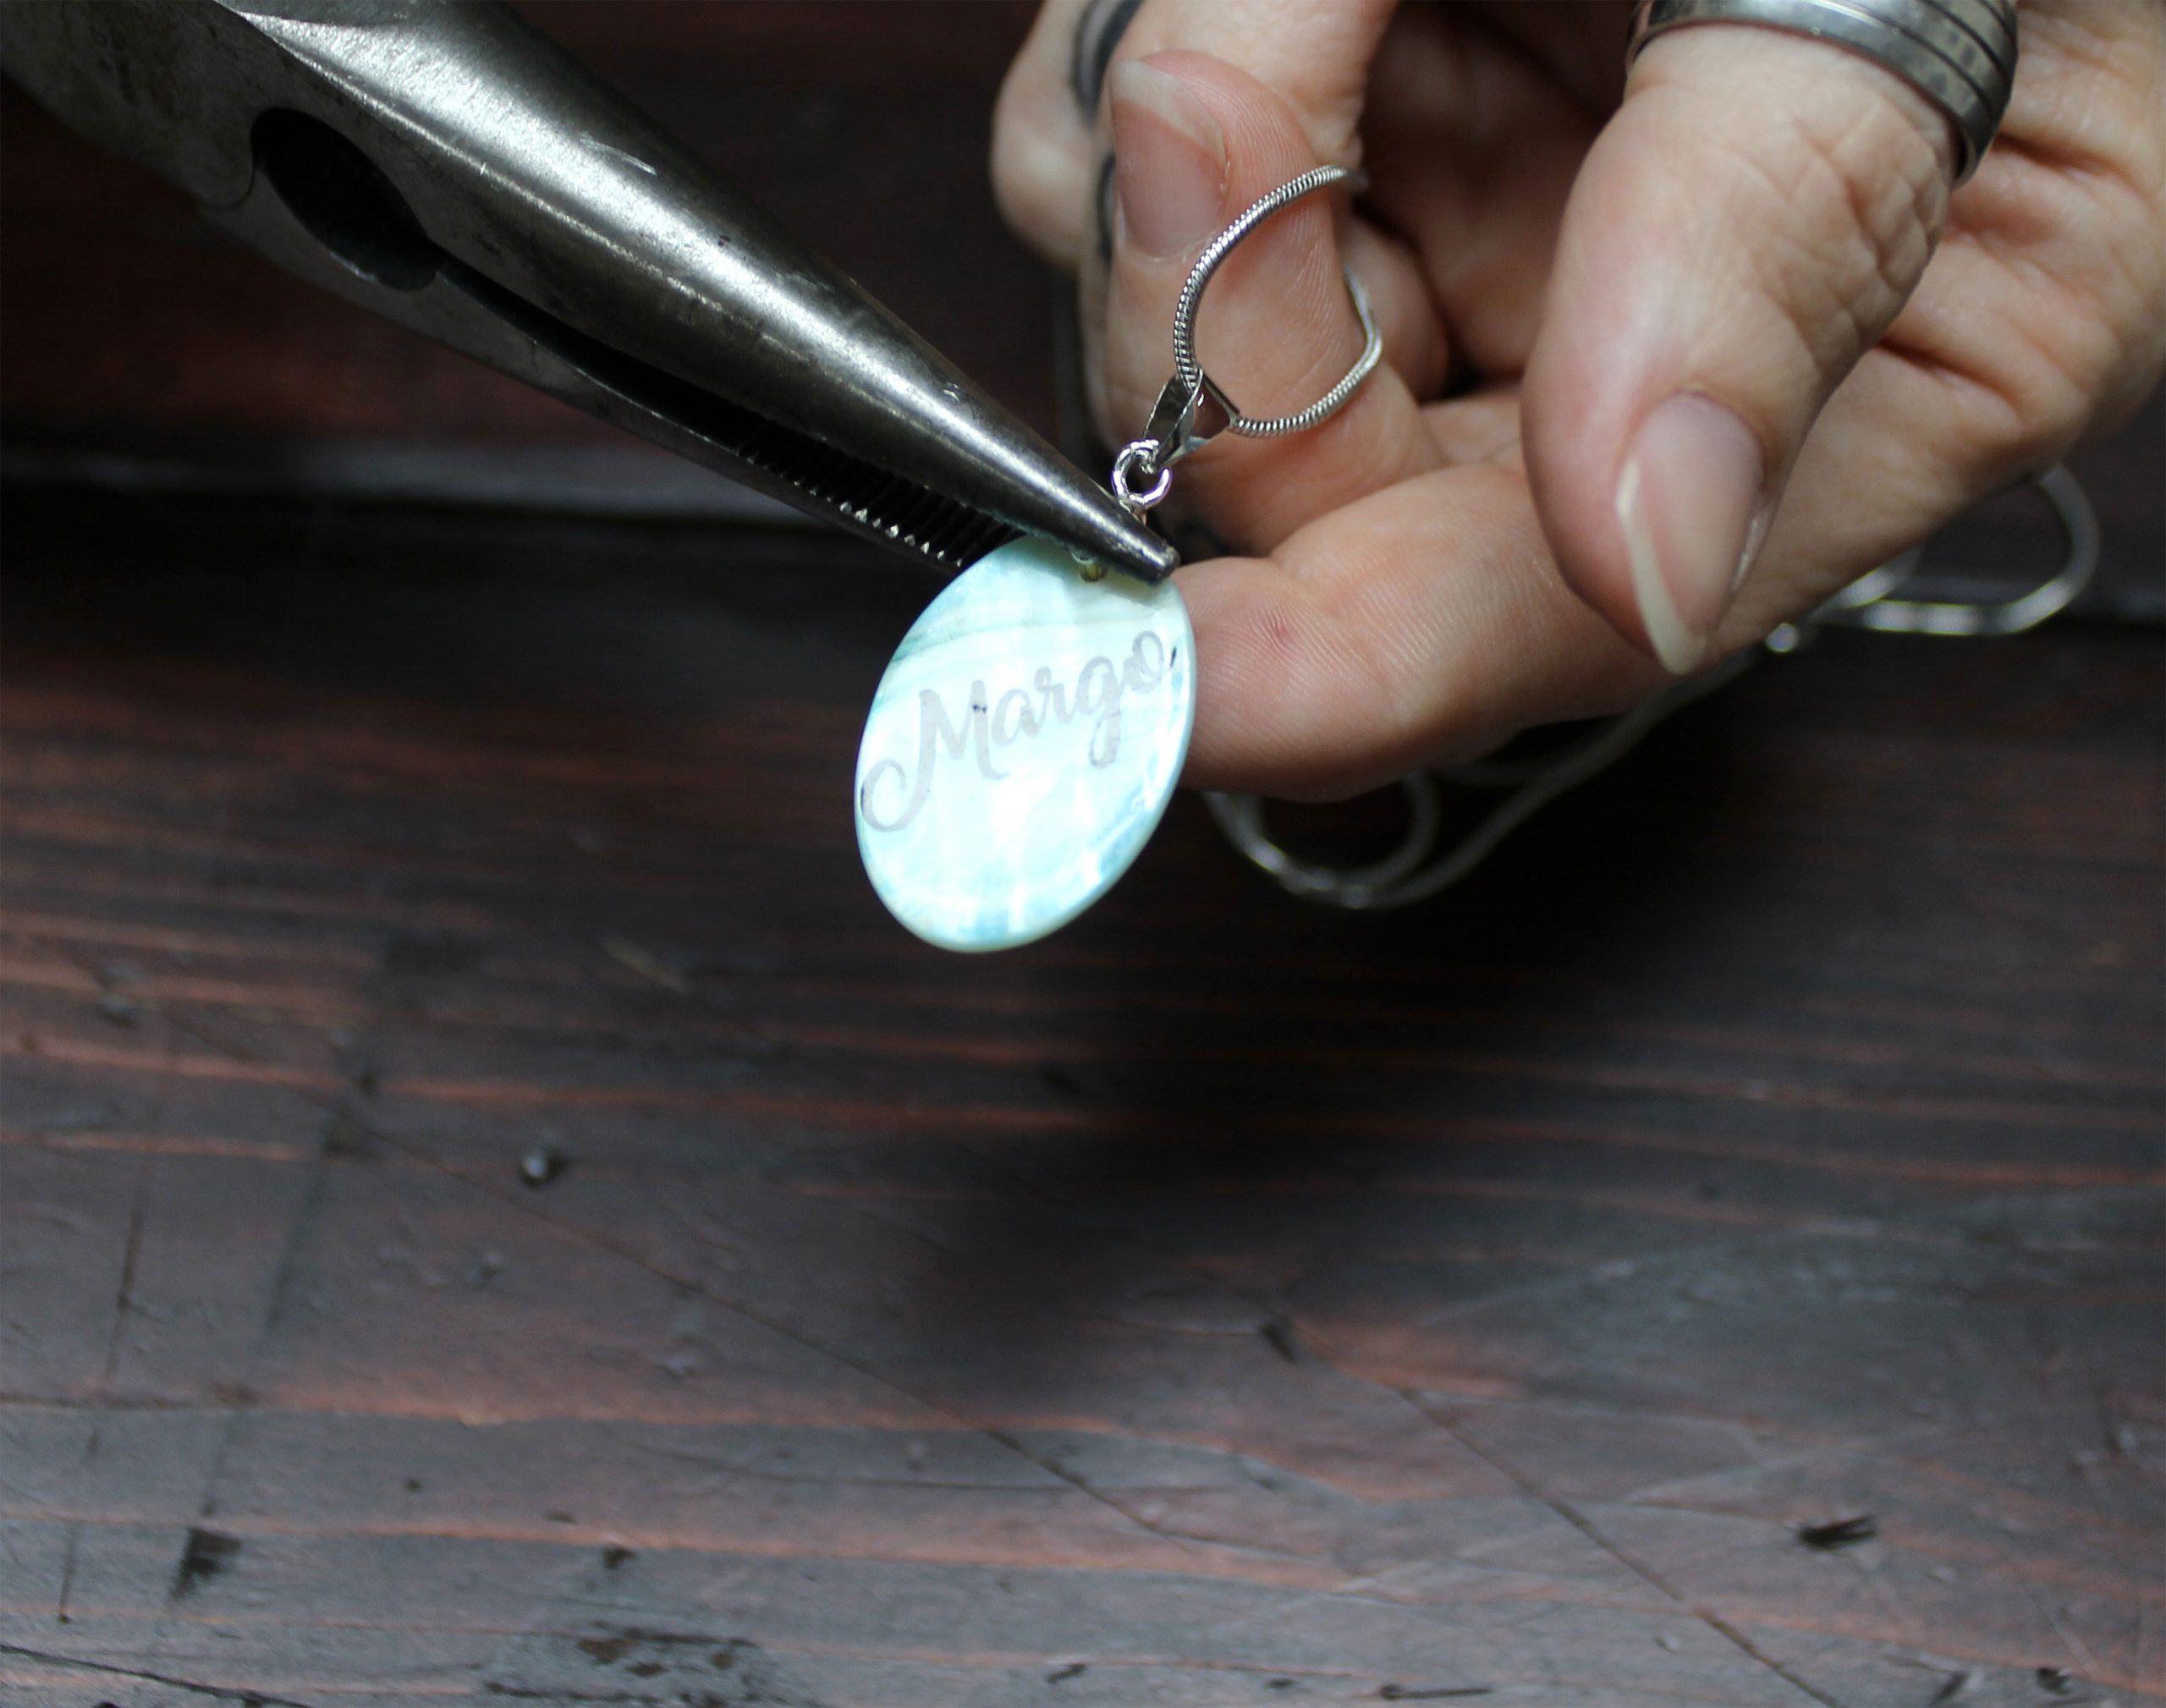
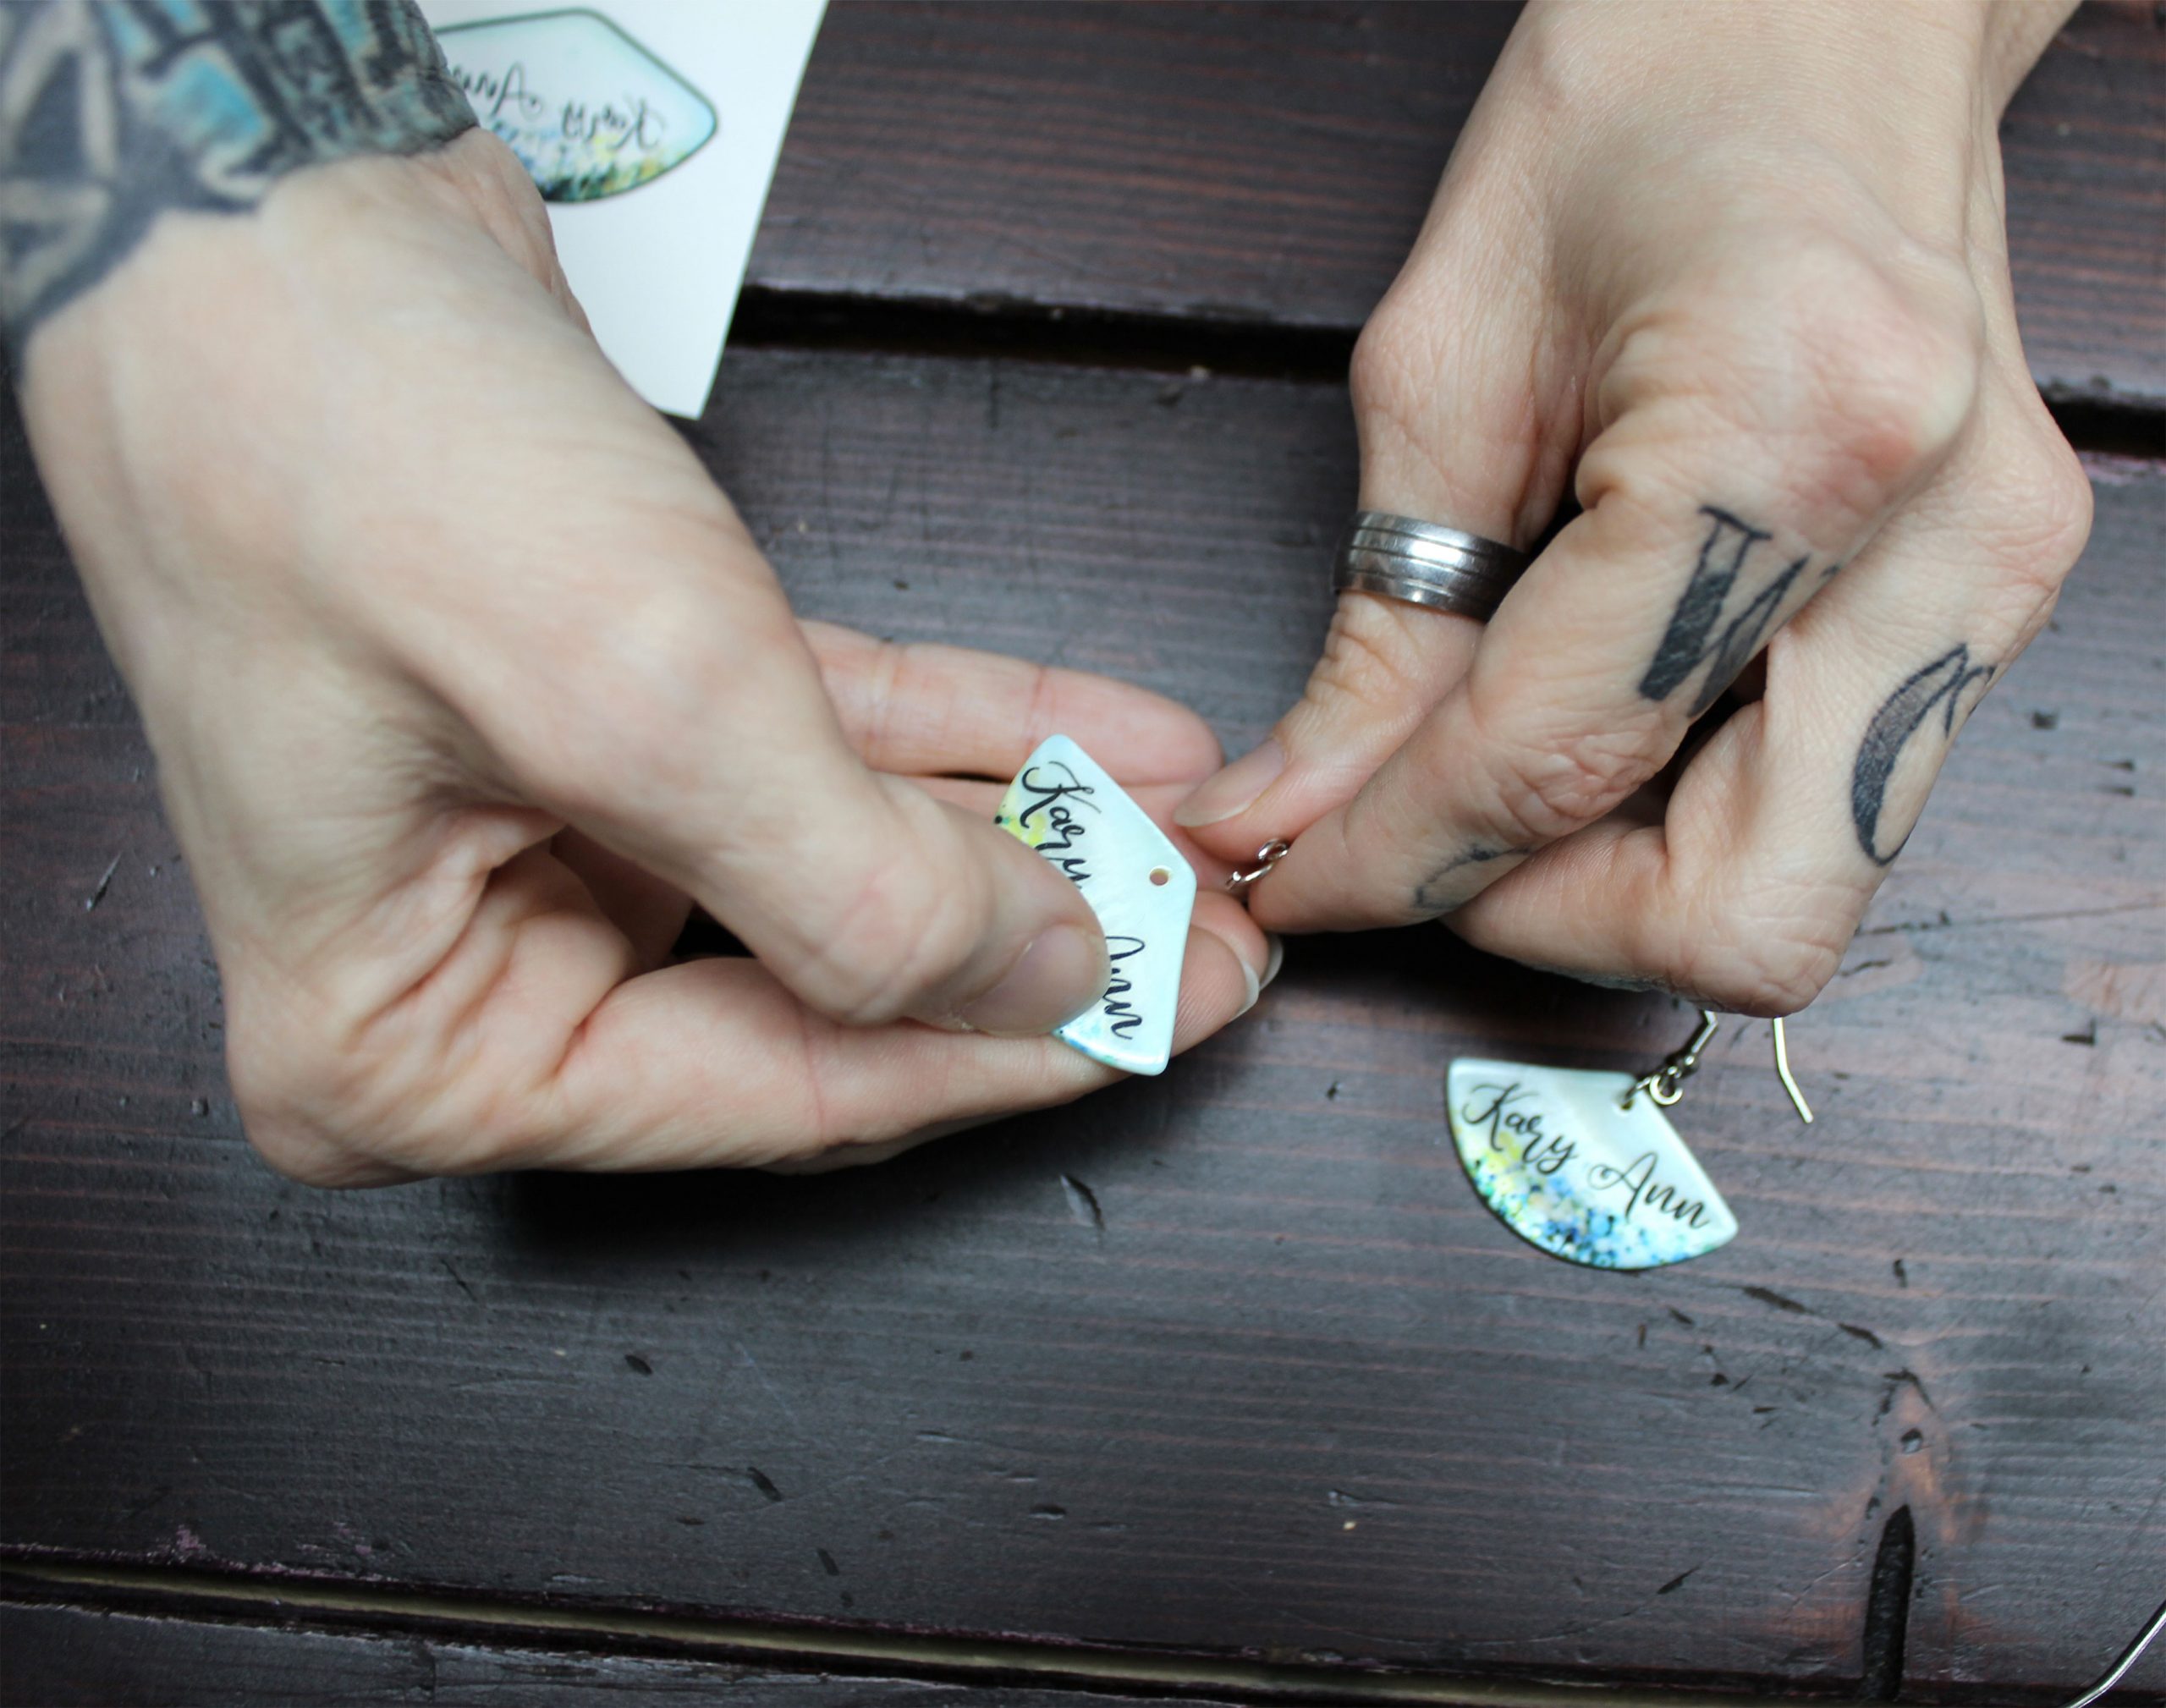
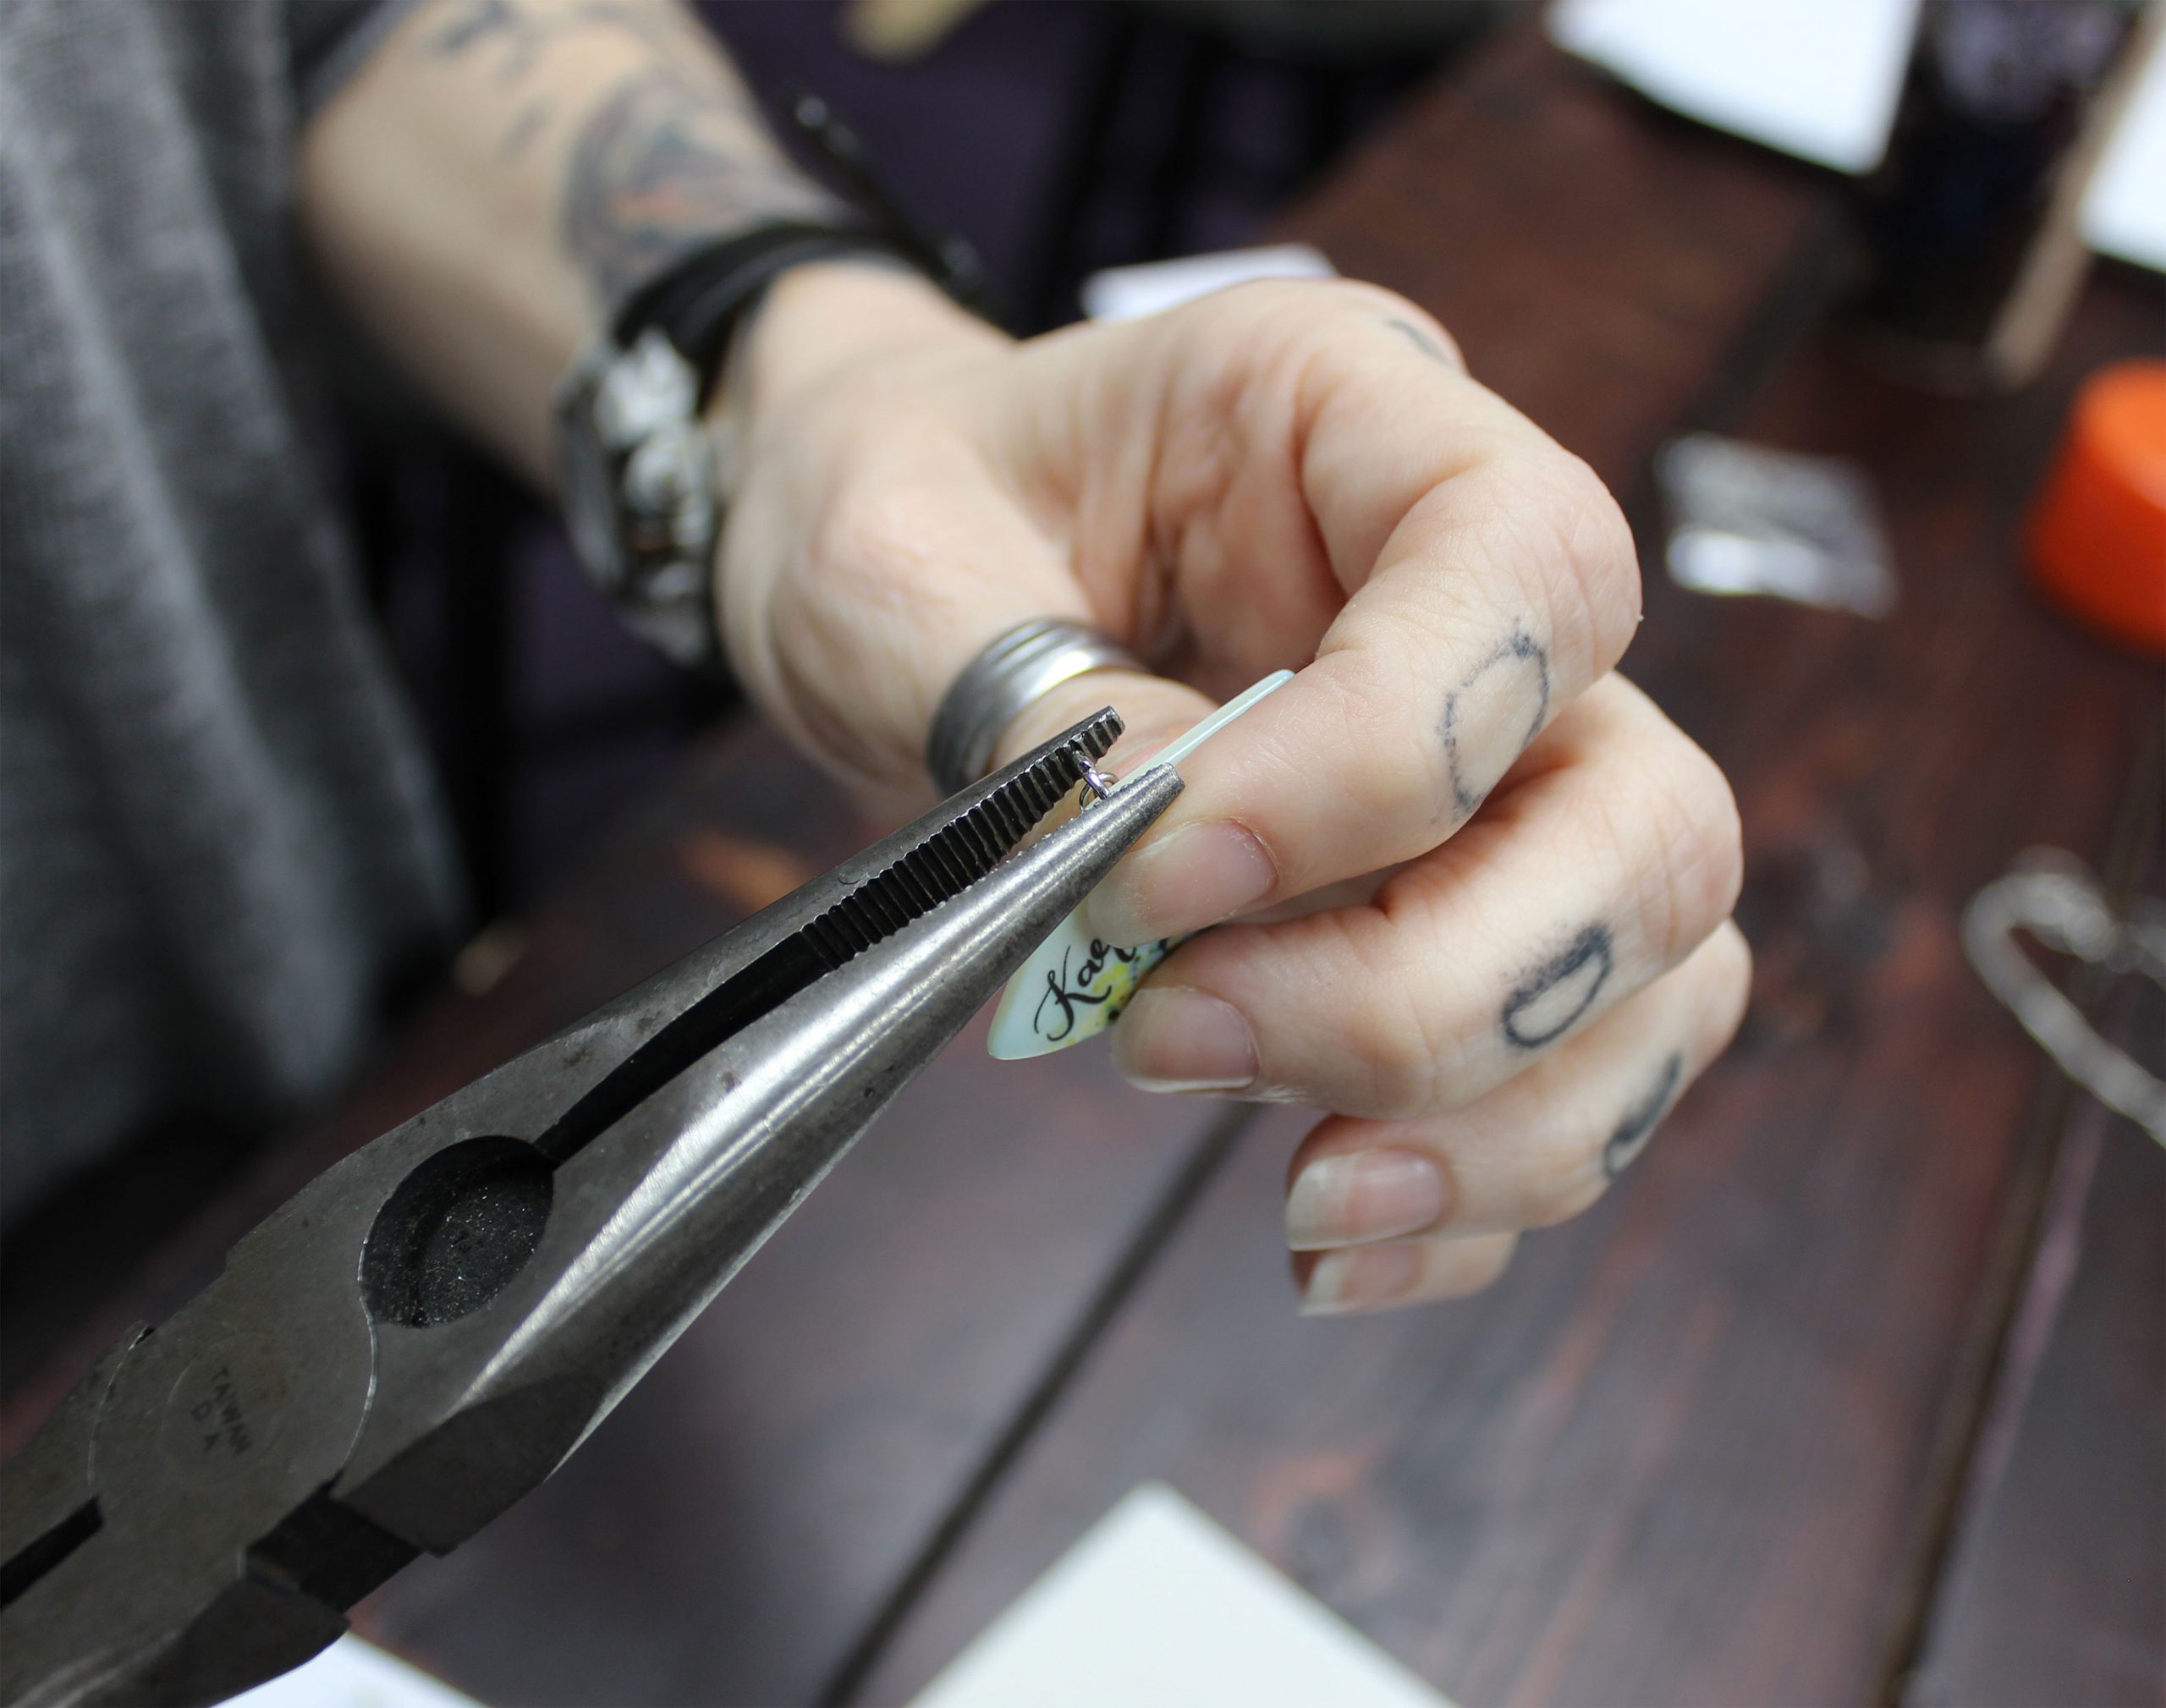
Step 3: Attach to the earring hooks, then separate the jump ring with pliers.
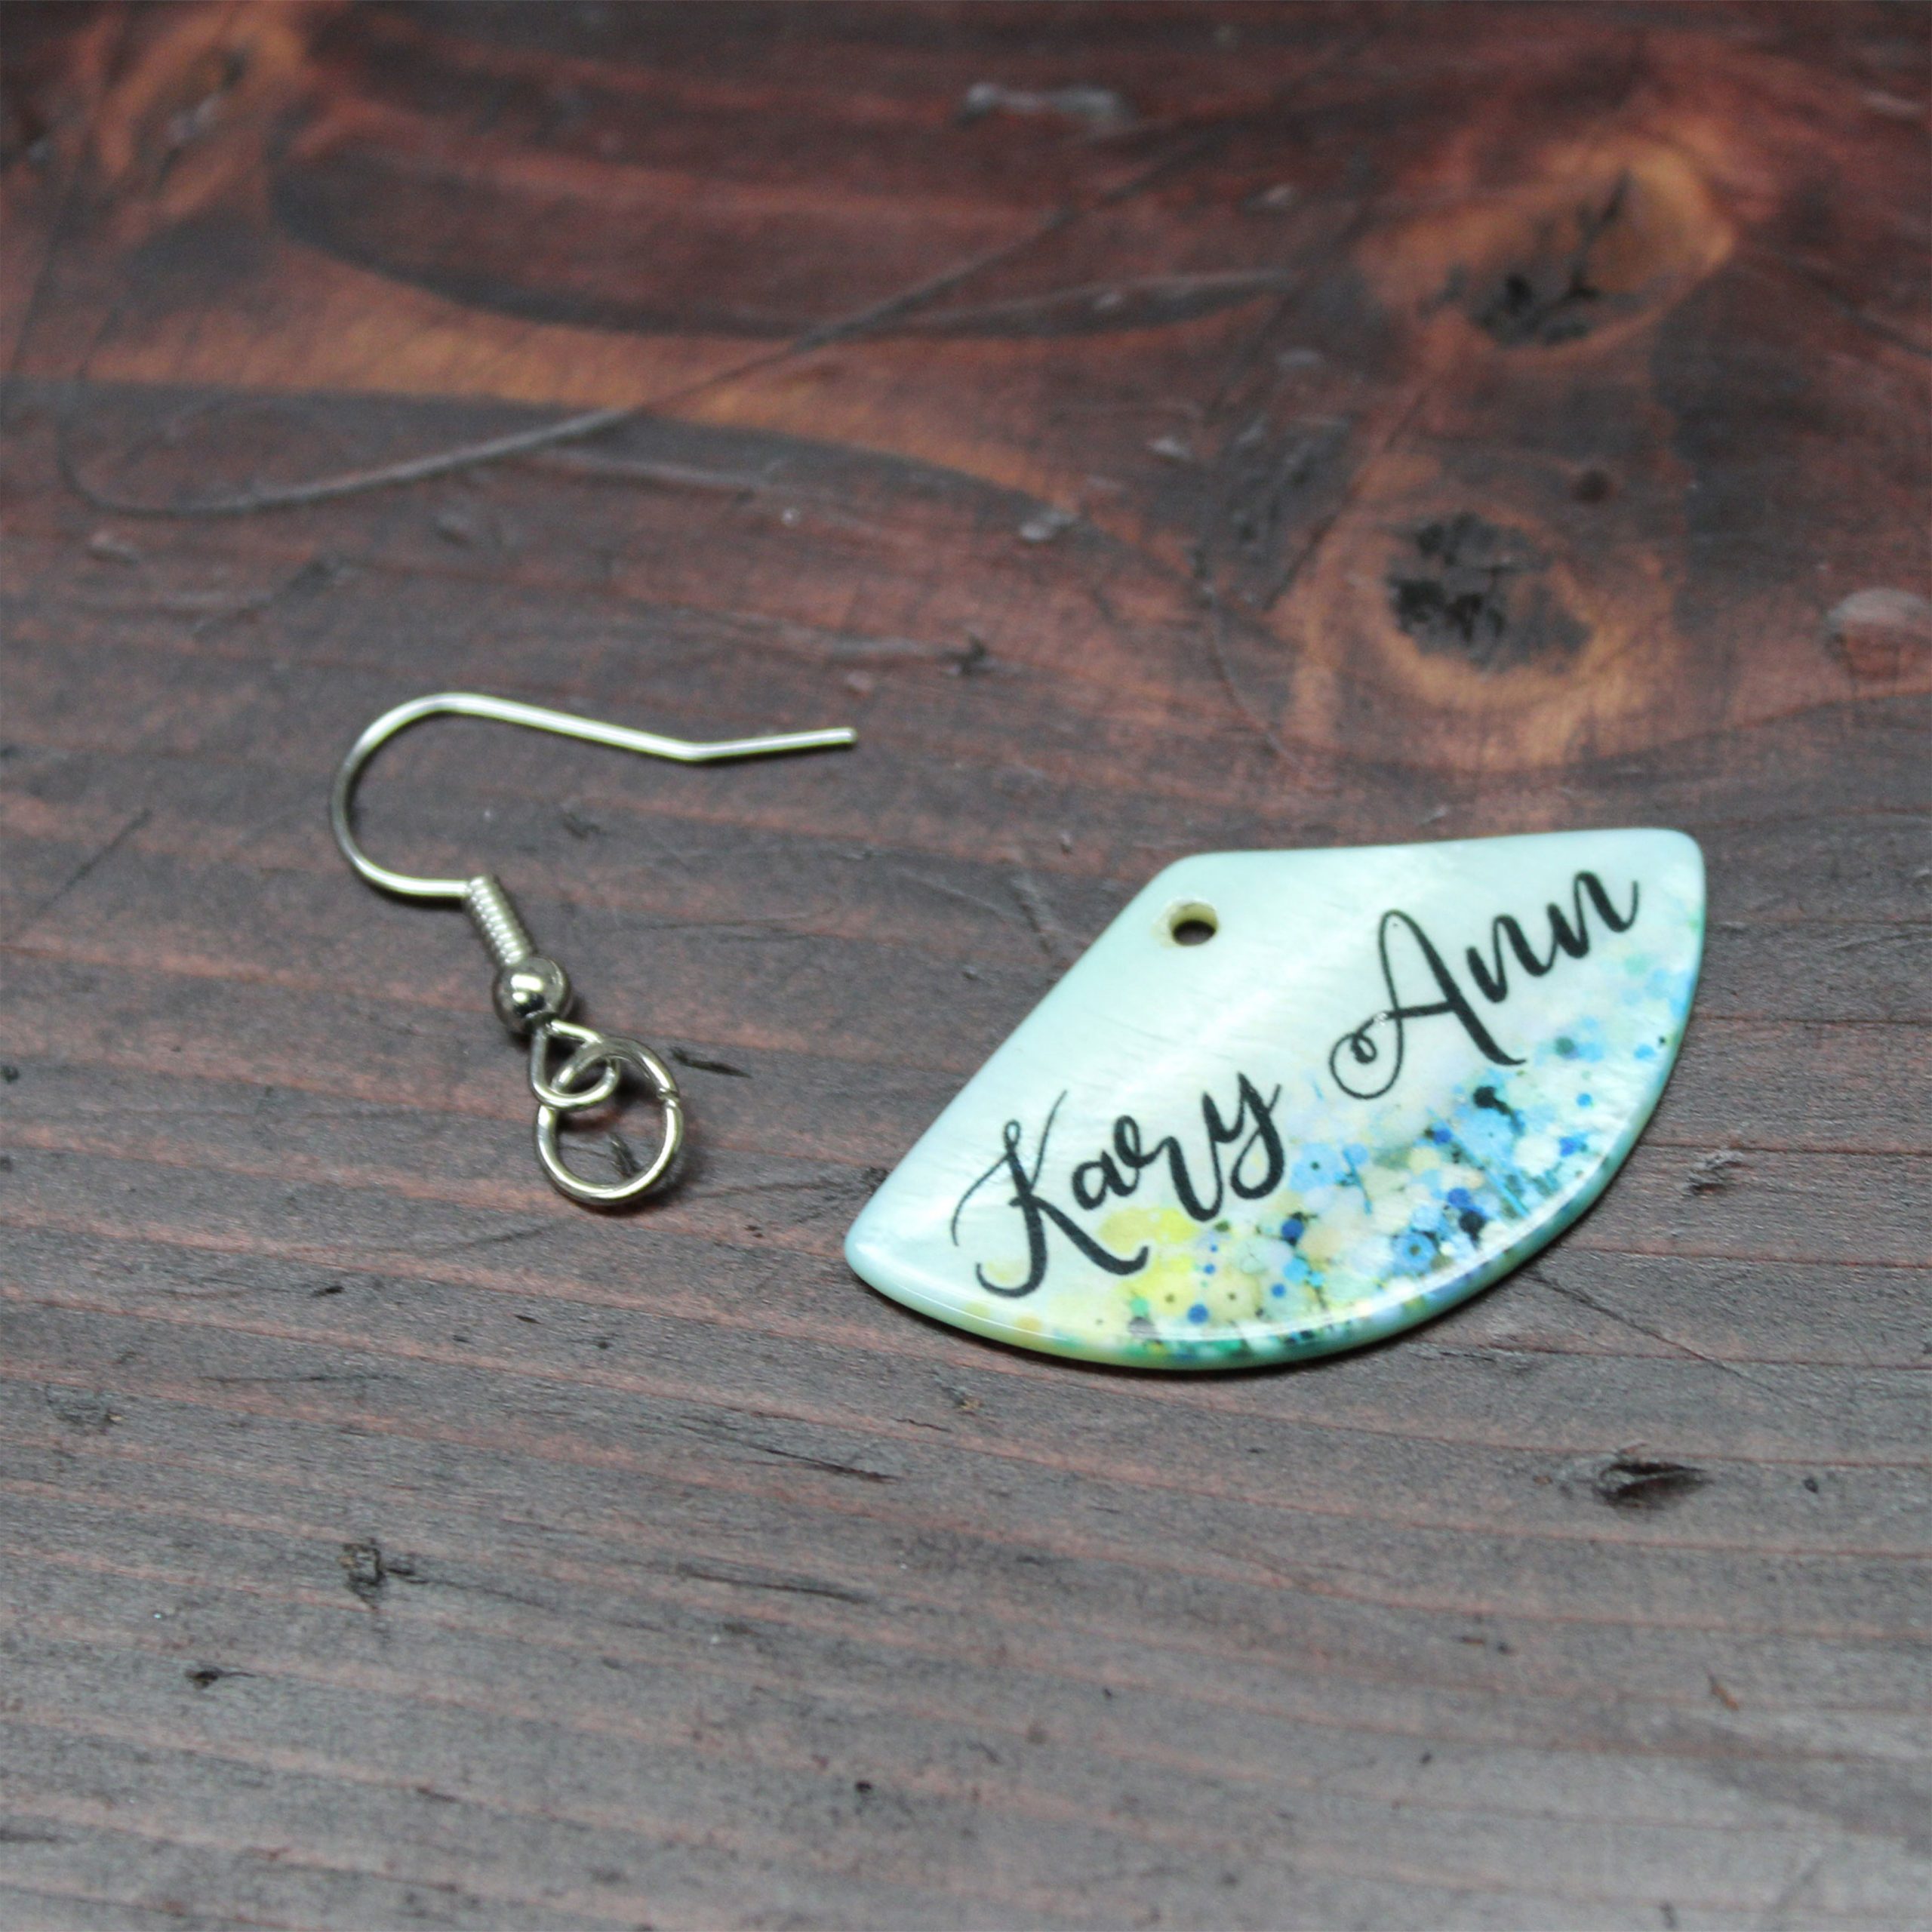
Step 4: Insert the jewelry onto the ring and close with pliers.