Try This: Sublimate Baby Blankets
Take a dive into personalized blankets following these six steps.
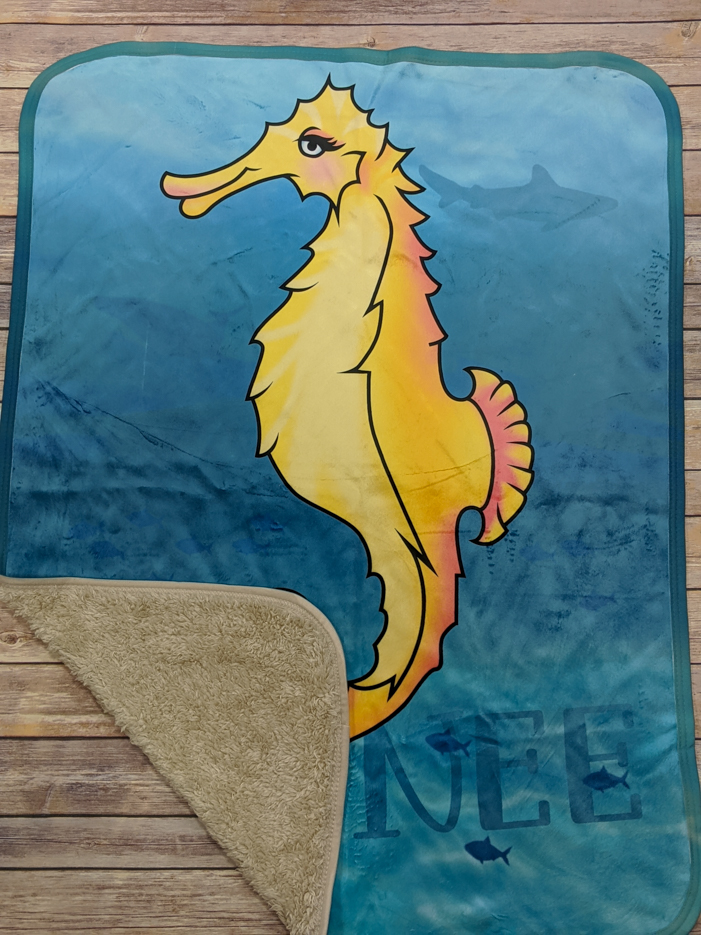
There is hardly a more thoughtful gift for young ones and parents (new and expecting) than a personalized baby blanket. With dye-sublimation, you can create the perfect gift by printing vibrant, full-color blankets complete with the baby’s name, animals, and other fun designs.
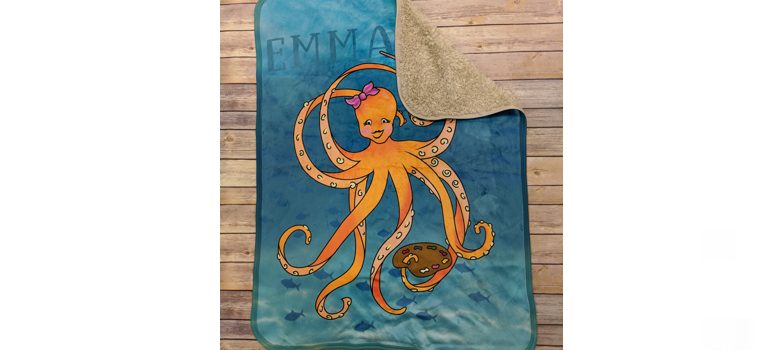
When our graphic designer Monica Smith’s two young nieces (ages two and four) came into town all the way from Puerto Rico, she came up with the idea to make them each a custom baby blanket, printed with their favorite marine animals. They loved them – just as your customers will love the ones you make, too.
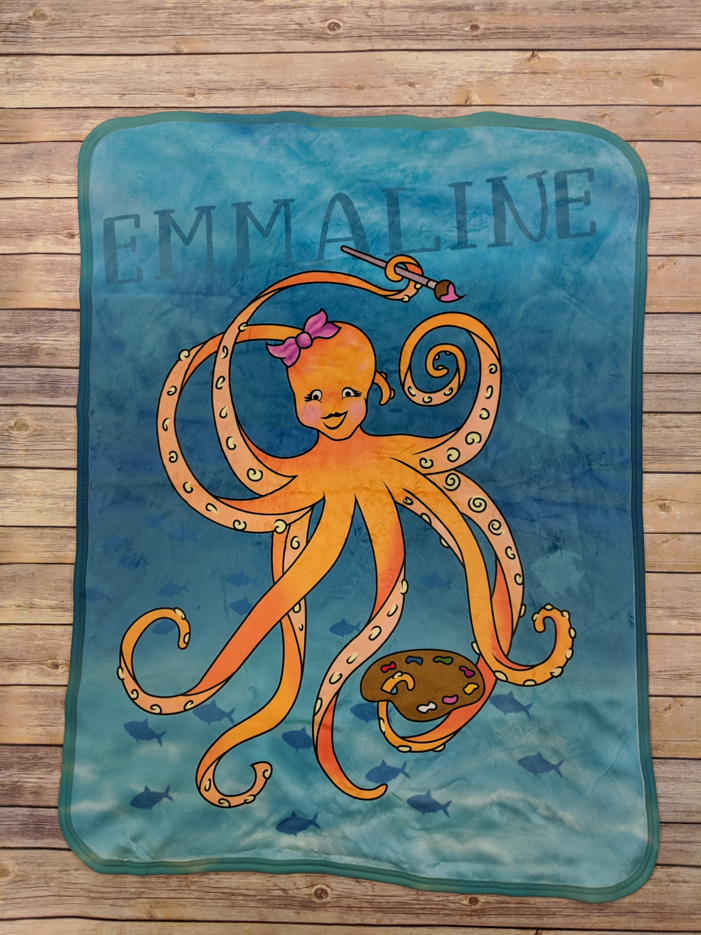
(All images courtesy Coastal Business Supplies)
To make your own baby blanket, it’s easiest to print with a wide-format dye-sublimation printer and heat press (44″ and up). However, if you do not own one, do not despair. You can still create your own custom baby blankets using a desktop printer and a smaller heat press (such as a 16″ X 20″) – it just takes a little more work and some precision.
Materials needed:
- Heat press
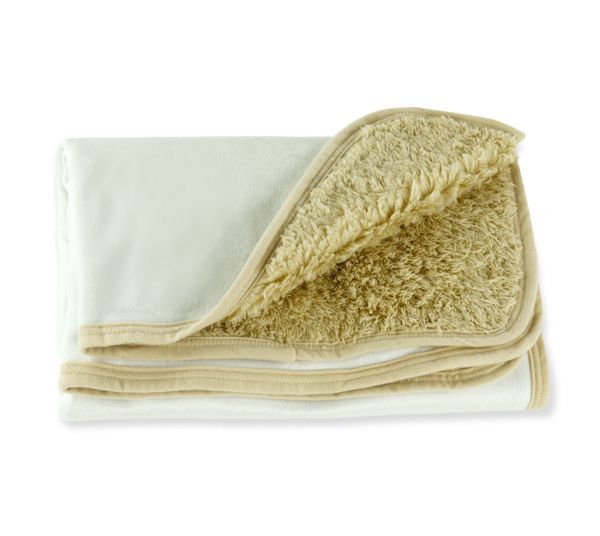
- Polyester blanket (a Sherpa-lined blanket is used in this example)
- Wide-format dye-sublimation printer*
- Transfer paper
- Heat tape
- Adhesive spray
*Note: a desktop printer can also be used.
Here are the six steps to creating personalized baby blankets:
Step 1: Prepare the design
Create your design in your graphic program of choice (e.g., Photoshop, CorelDRAW, etc.). Ensure that your design is the dimensions of your blanket (for us, it was 30″ X 40″) with at least a 1/2″ bleed around your design. If you’re using a smaller desktop printer, you may cut your design up into sections.
Step 2: Print the design
Once your design is finished, upload it to your RIP software (if you’re printing with a wide-format printer). Select the proper configuration for your design and send it to the printer. If you are using a desktop printer such as a Sawgrass SG400/800, send your design to your Virtuoso Print Manager and send it to the printer.
Note: Be sure to print your image in reverse (mirrored).
Step 3: Pre-Press
Pre-press the blanket for 15-20 seconds.
Step 4: Align the transfer
Align your printed transfer onto your blanket. For best results, affix the transfer with thermal tape or by lightly coating your transfer with an adhesive spray.
Step 5: Press the blanket
Press your blanket with the transfer on top at 400 F for 60 seconds with a medium pressure.
Step 6: Complete the project
Remove the paper immediately after printing. If you printed multiple transfers with a desktop printer, repeat steps 4-6. For best results, your images should not overlap.