Try This: Sublimate Aluminum Ornaments
Establish a quicker production speed with this method to sublimate a large order of ornaments.
‘Tis the season for sublimating aluminum ornaments. If you have an order for more than just a few ornaments, they can be more time consuming than perhaps you’d like. Productivity is key during this time of year. Instead of sublimating the ornaments one side at a time and cooling in between pressings, you can sublimate both sides at once.
Step One: Artwork setup
First, add another contour line outside of the size of the ornament and apply a thick black outline to your design.

(All images courtesy JDS Industries)
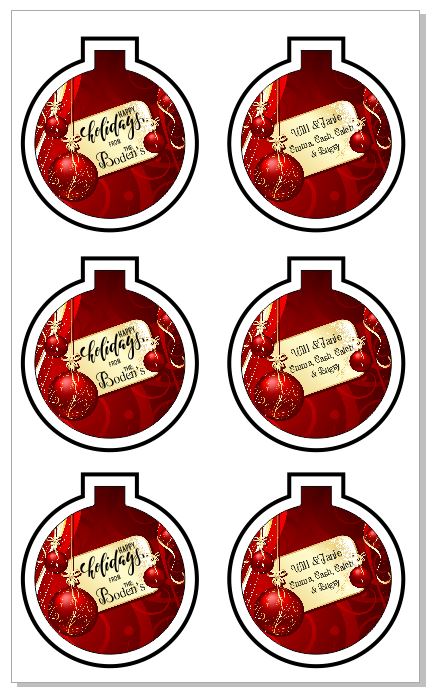
Apply your design elements and then copy-and-paste or duplicate the entire layout. Using the arrow keys on the keyboard, nudge the copied layout directly horizontal to the original, leaving about one-half inch of space between them.
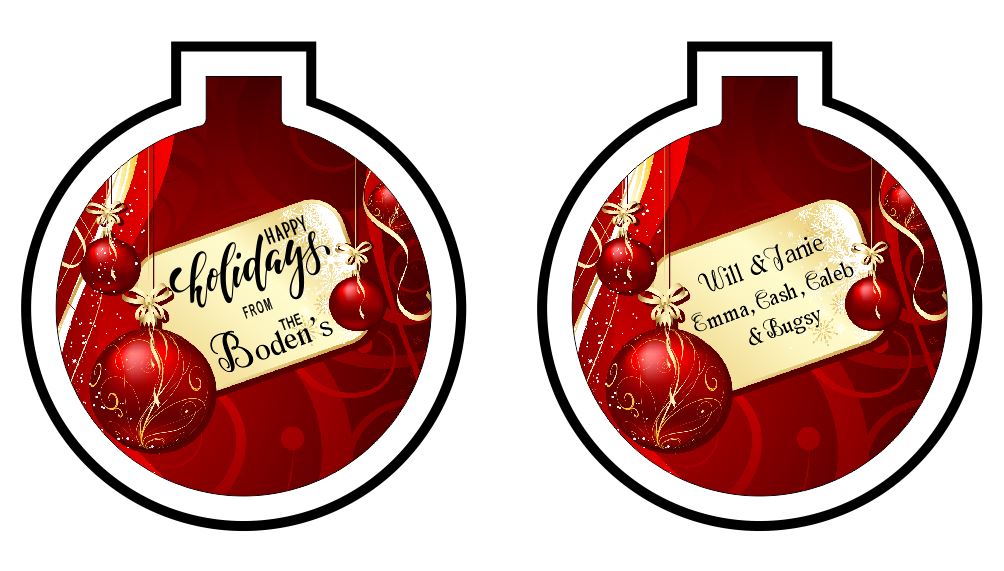
Copy and paste both layouts and nudge them vertically. Repeat this until the page size is filled.
Step Two: Prepare the transfer
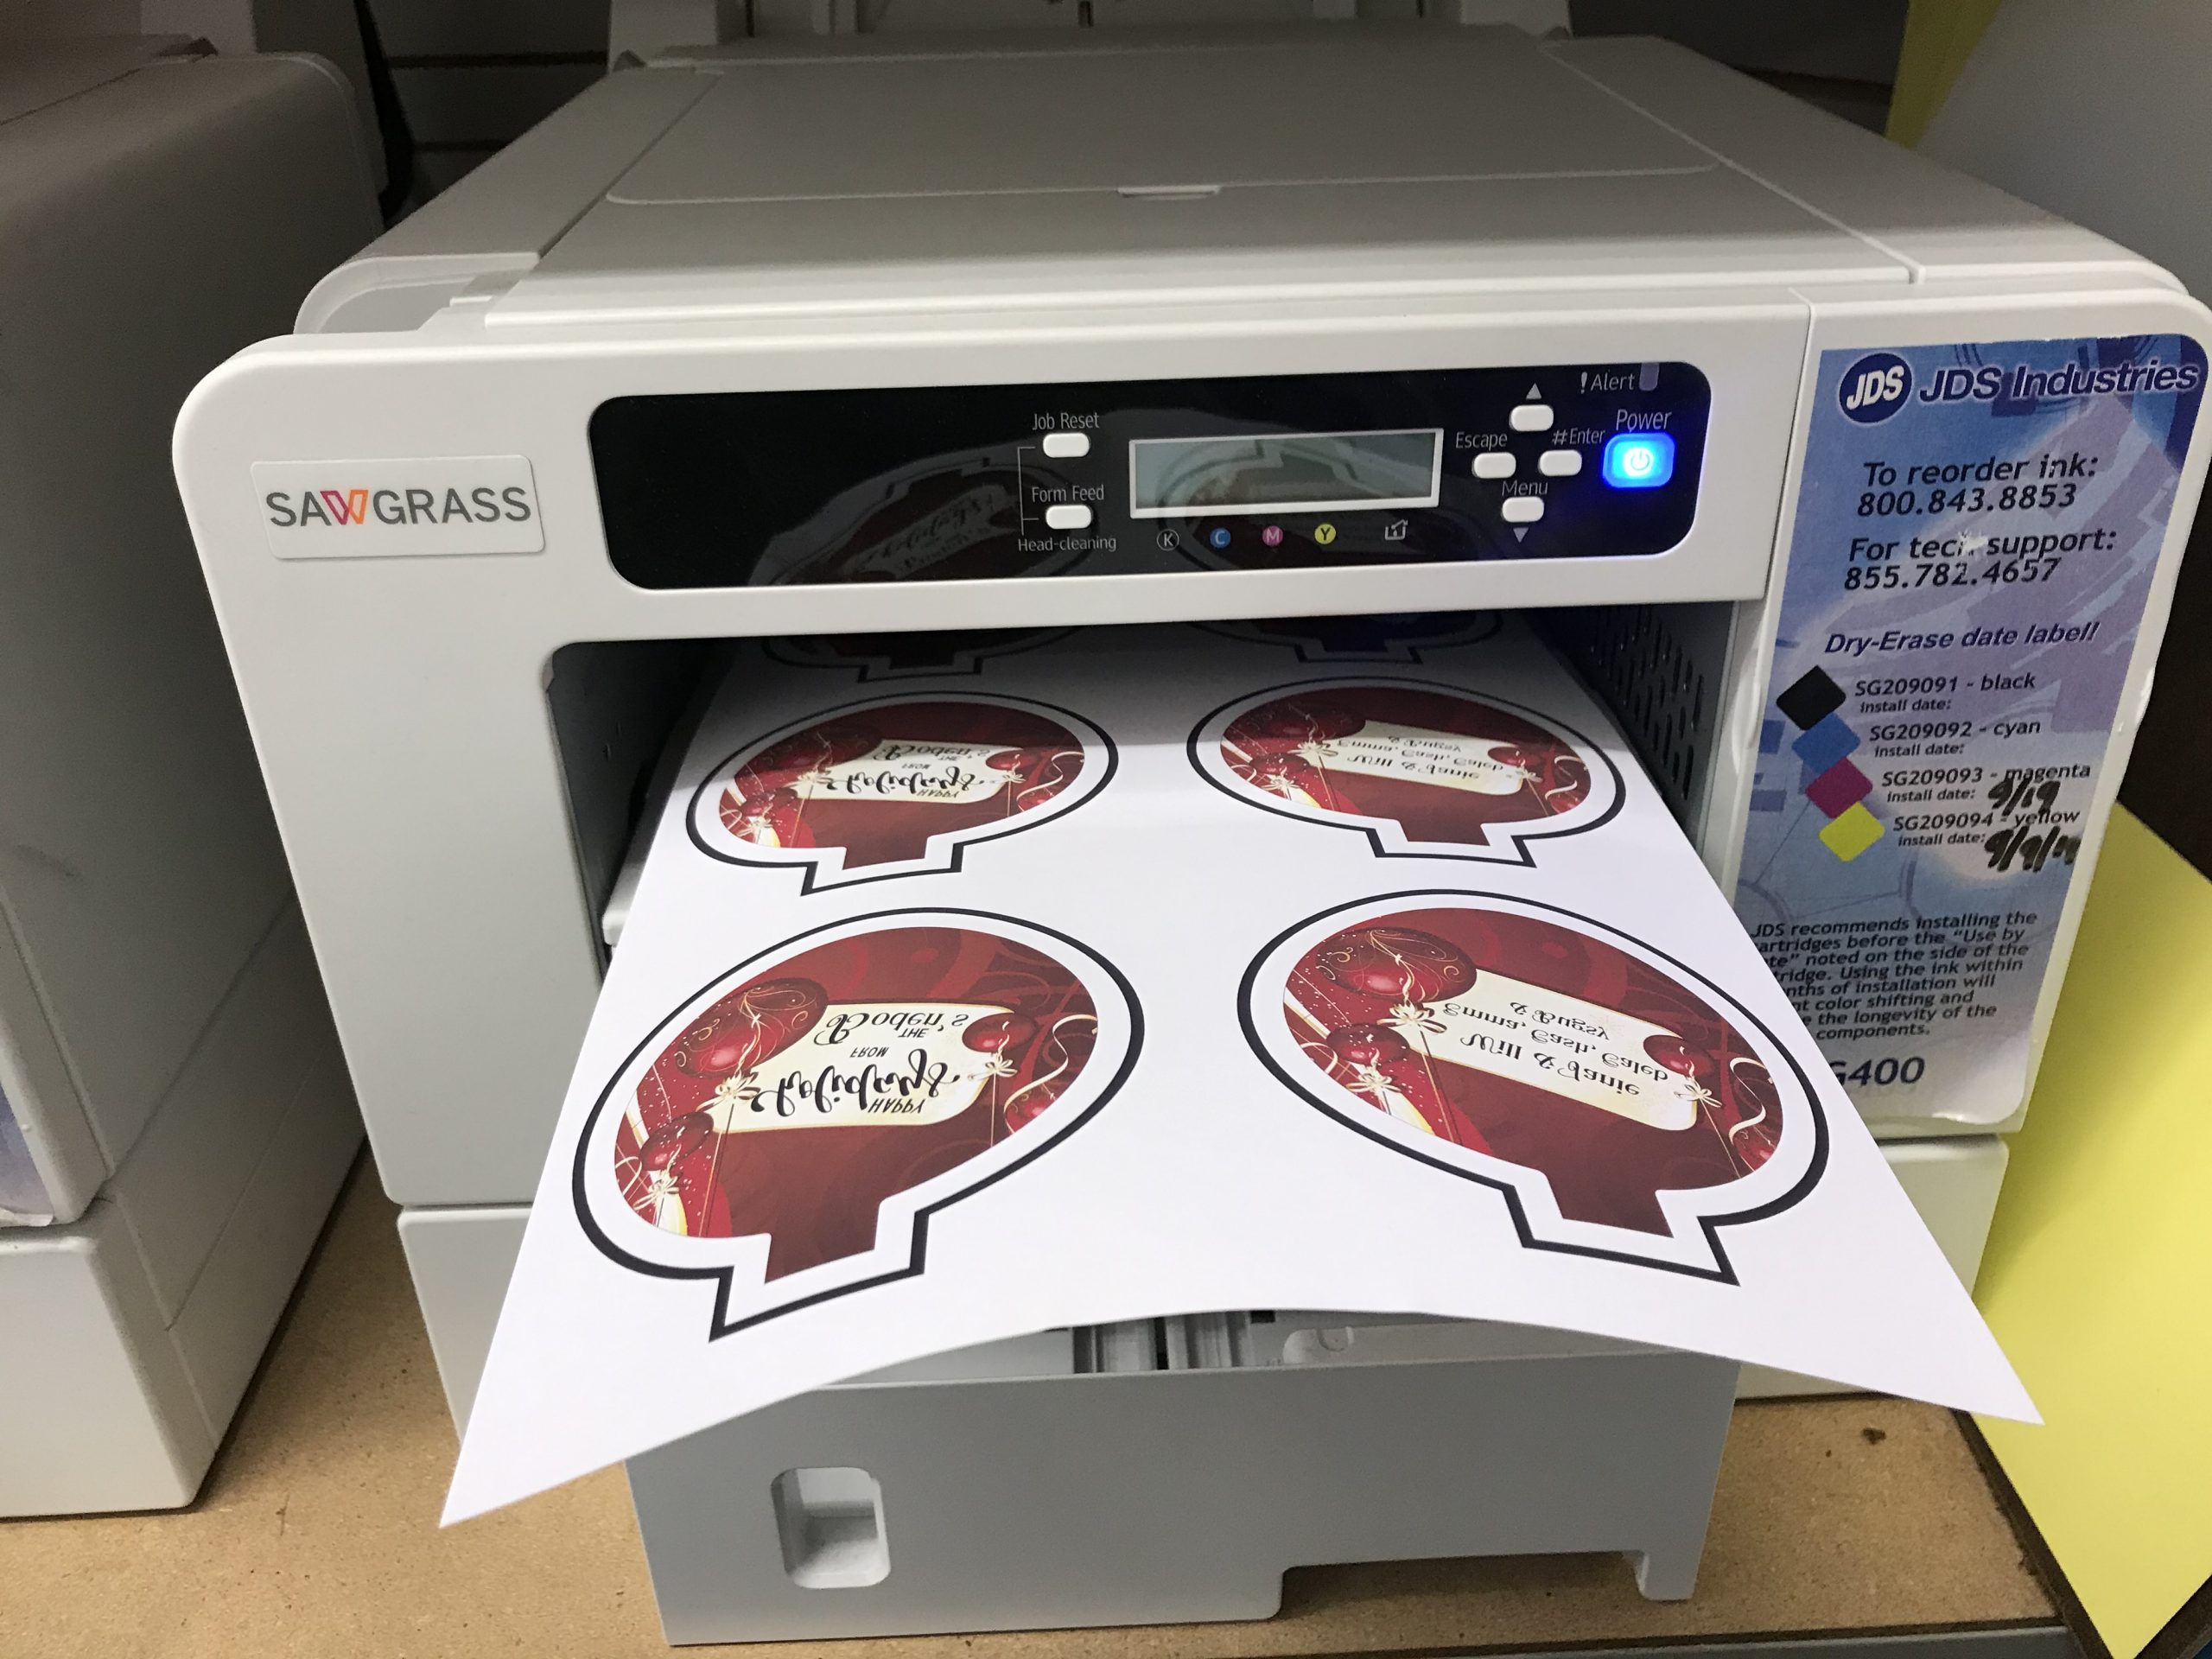
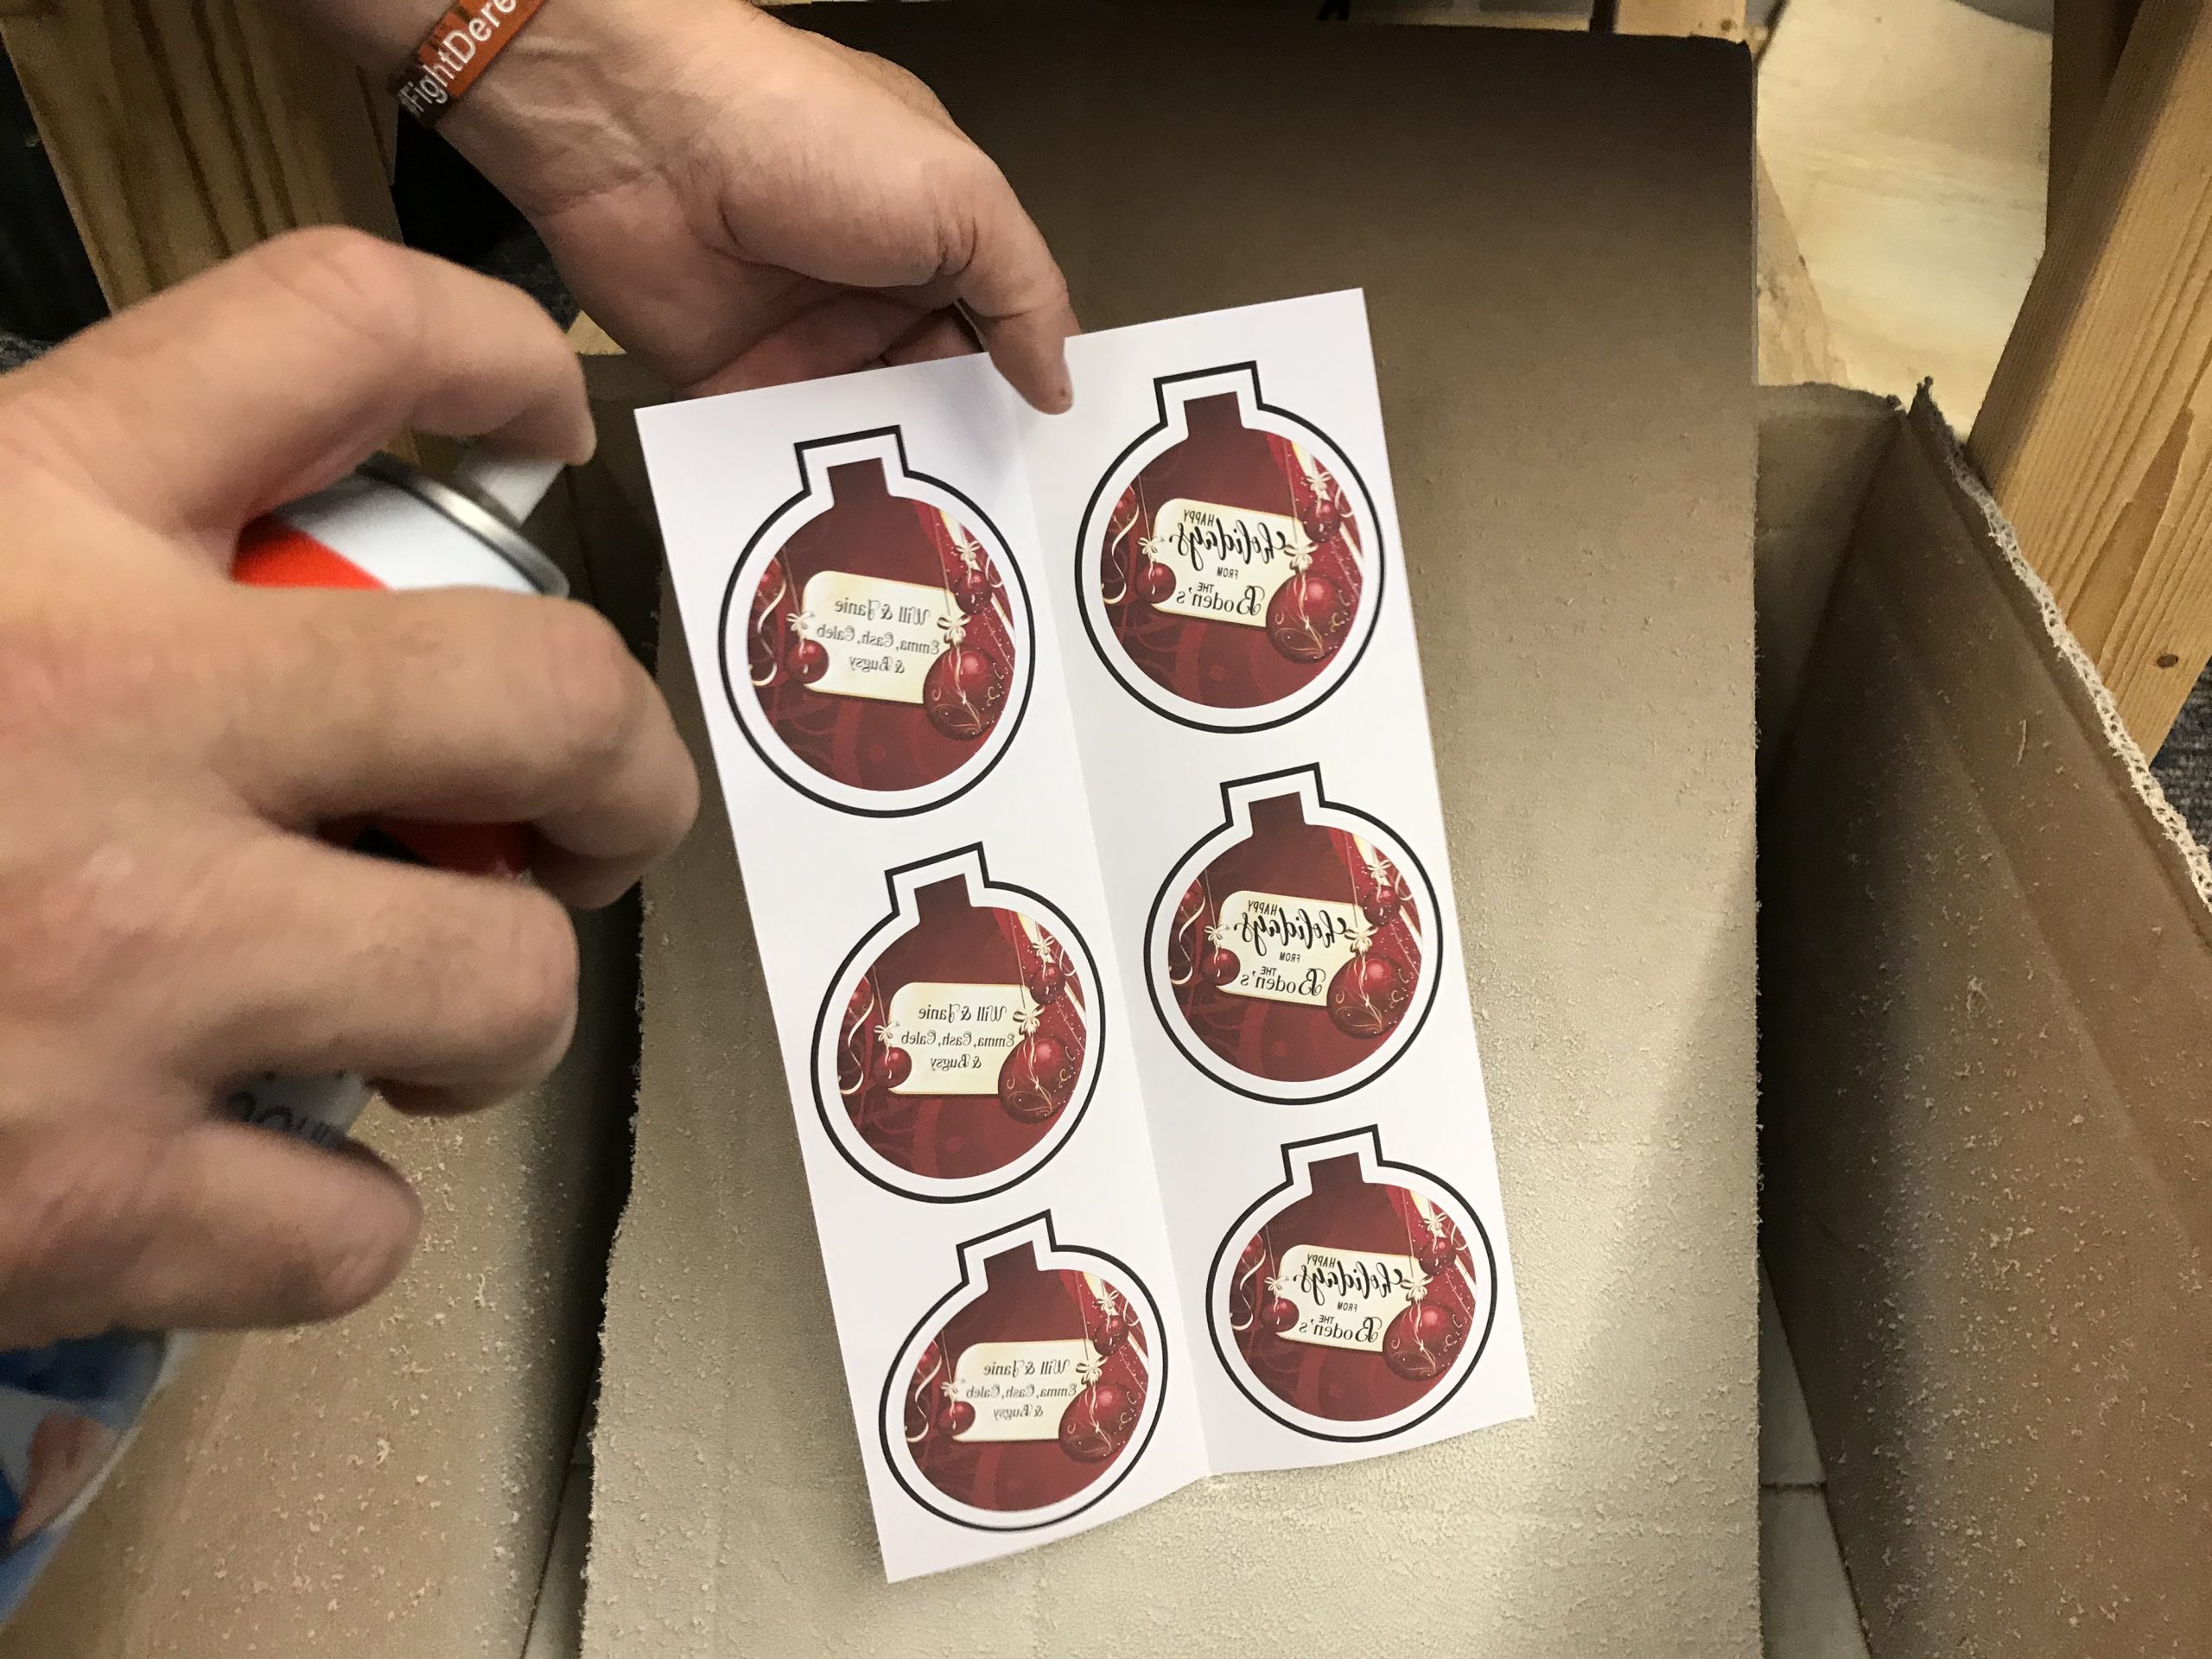
Now the fun starts. Print your transfer out on your sublimation printer.
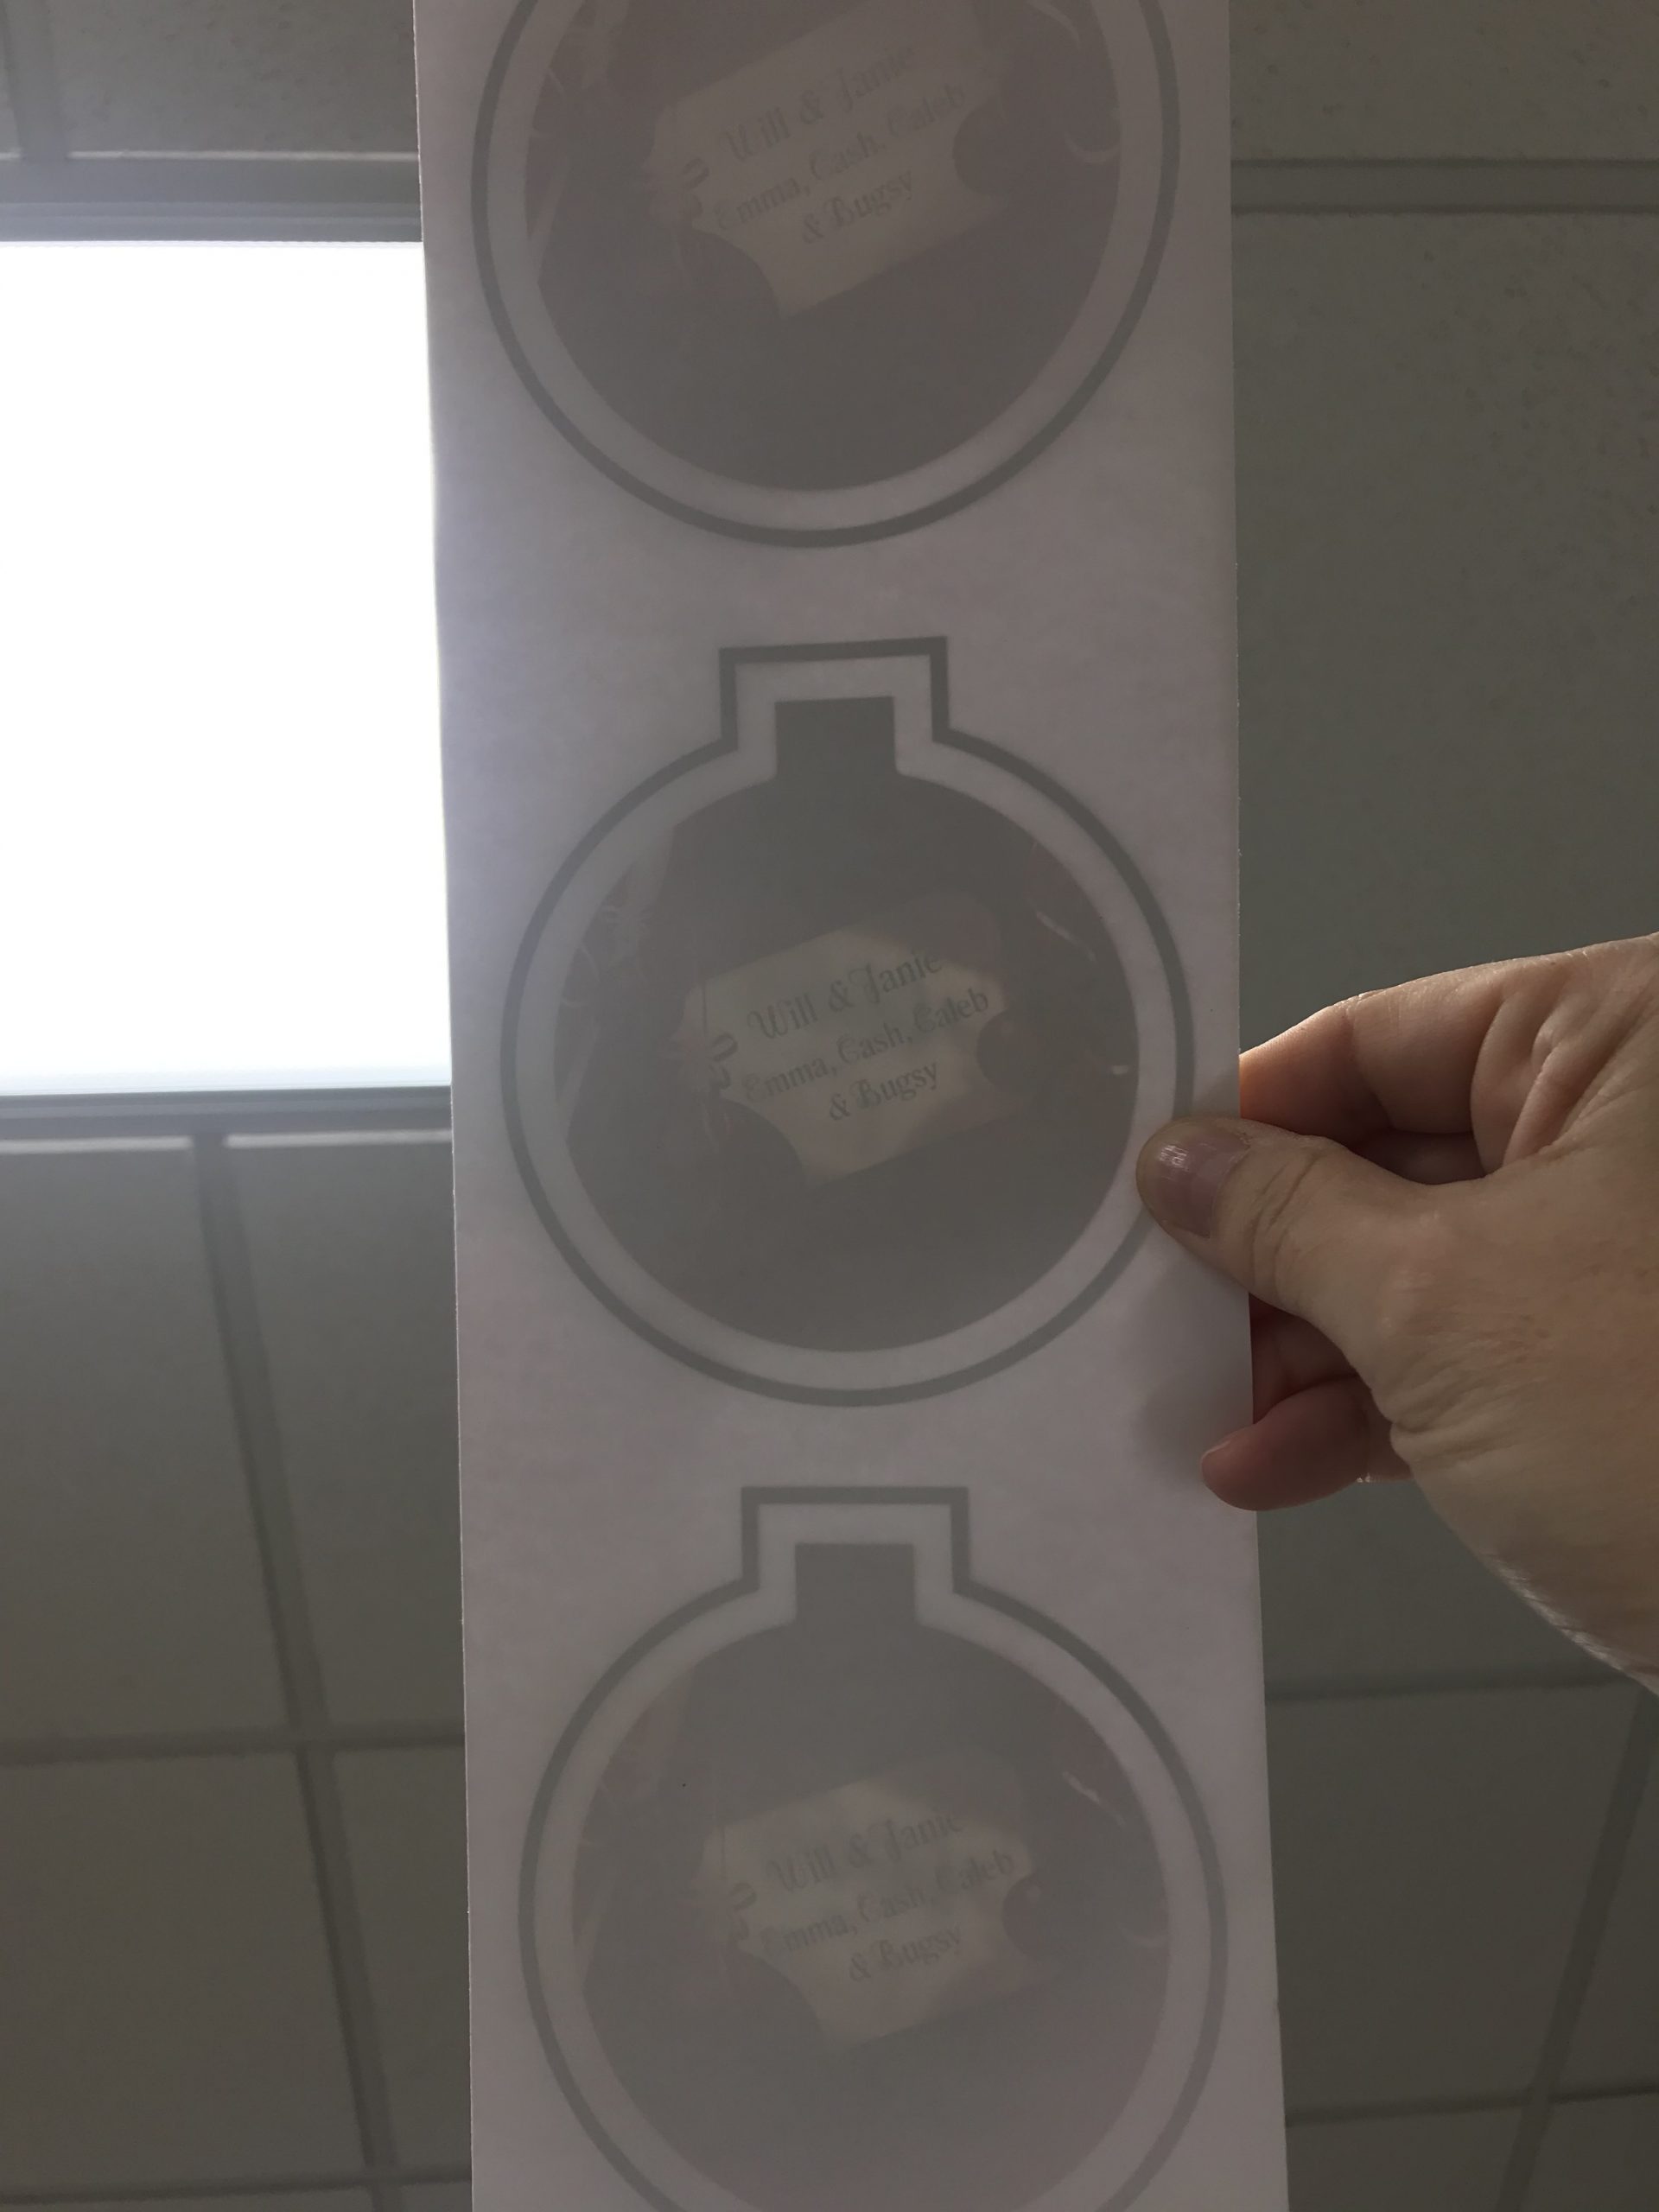
Using a light table or even holding the transfer up to an overhead light, fold the transfer over. You should be able to line up the two sides of the transfer using the black outline around each layout.
Unfold the transfer and spray it with repositionable adhesive spray.
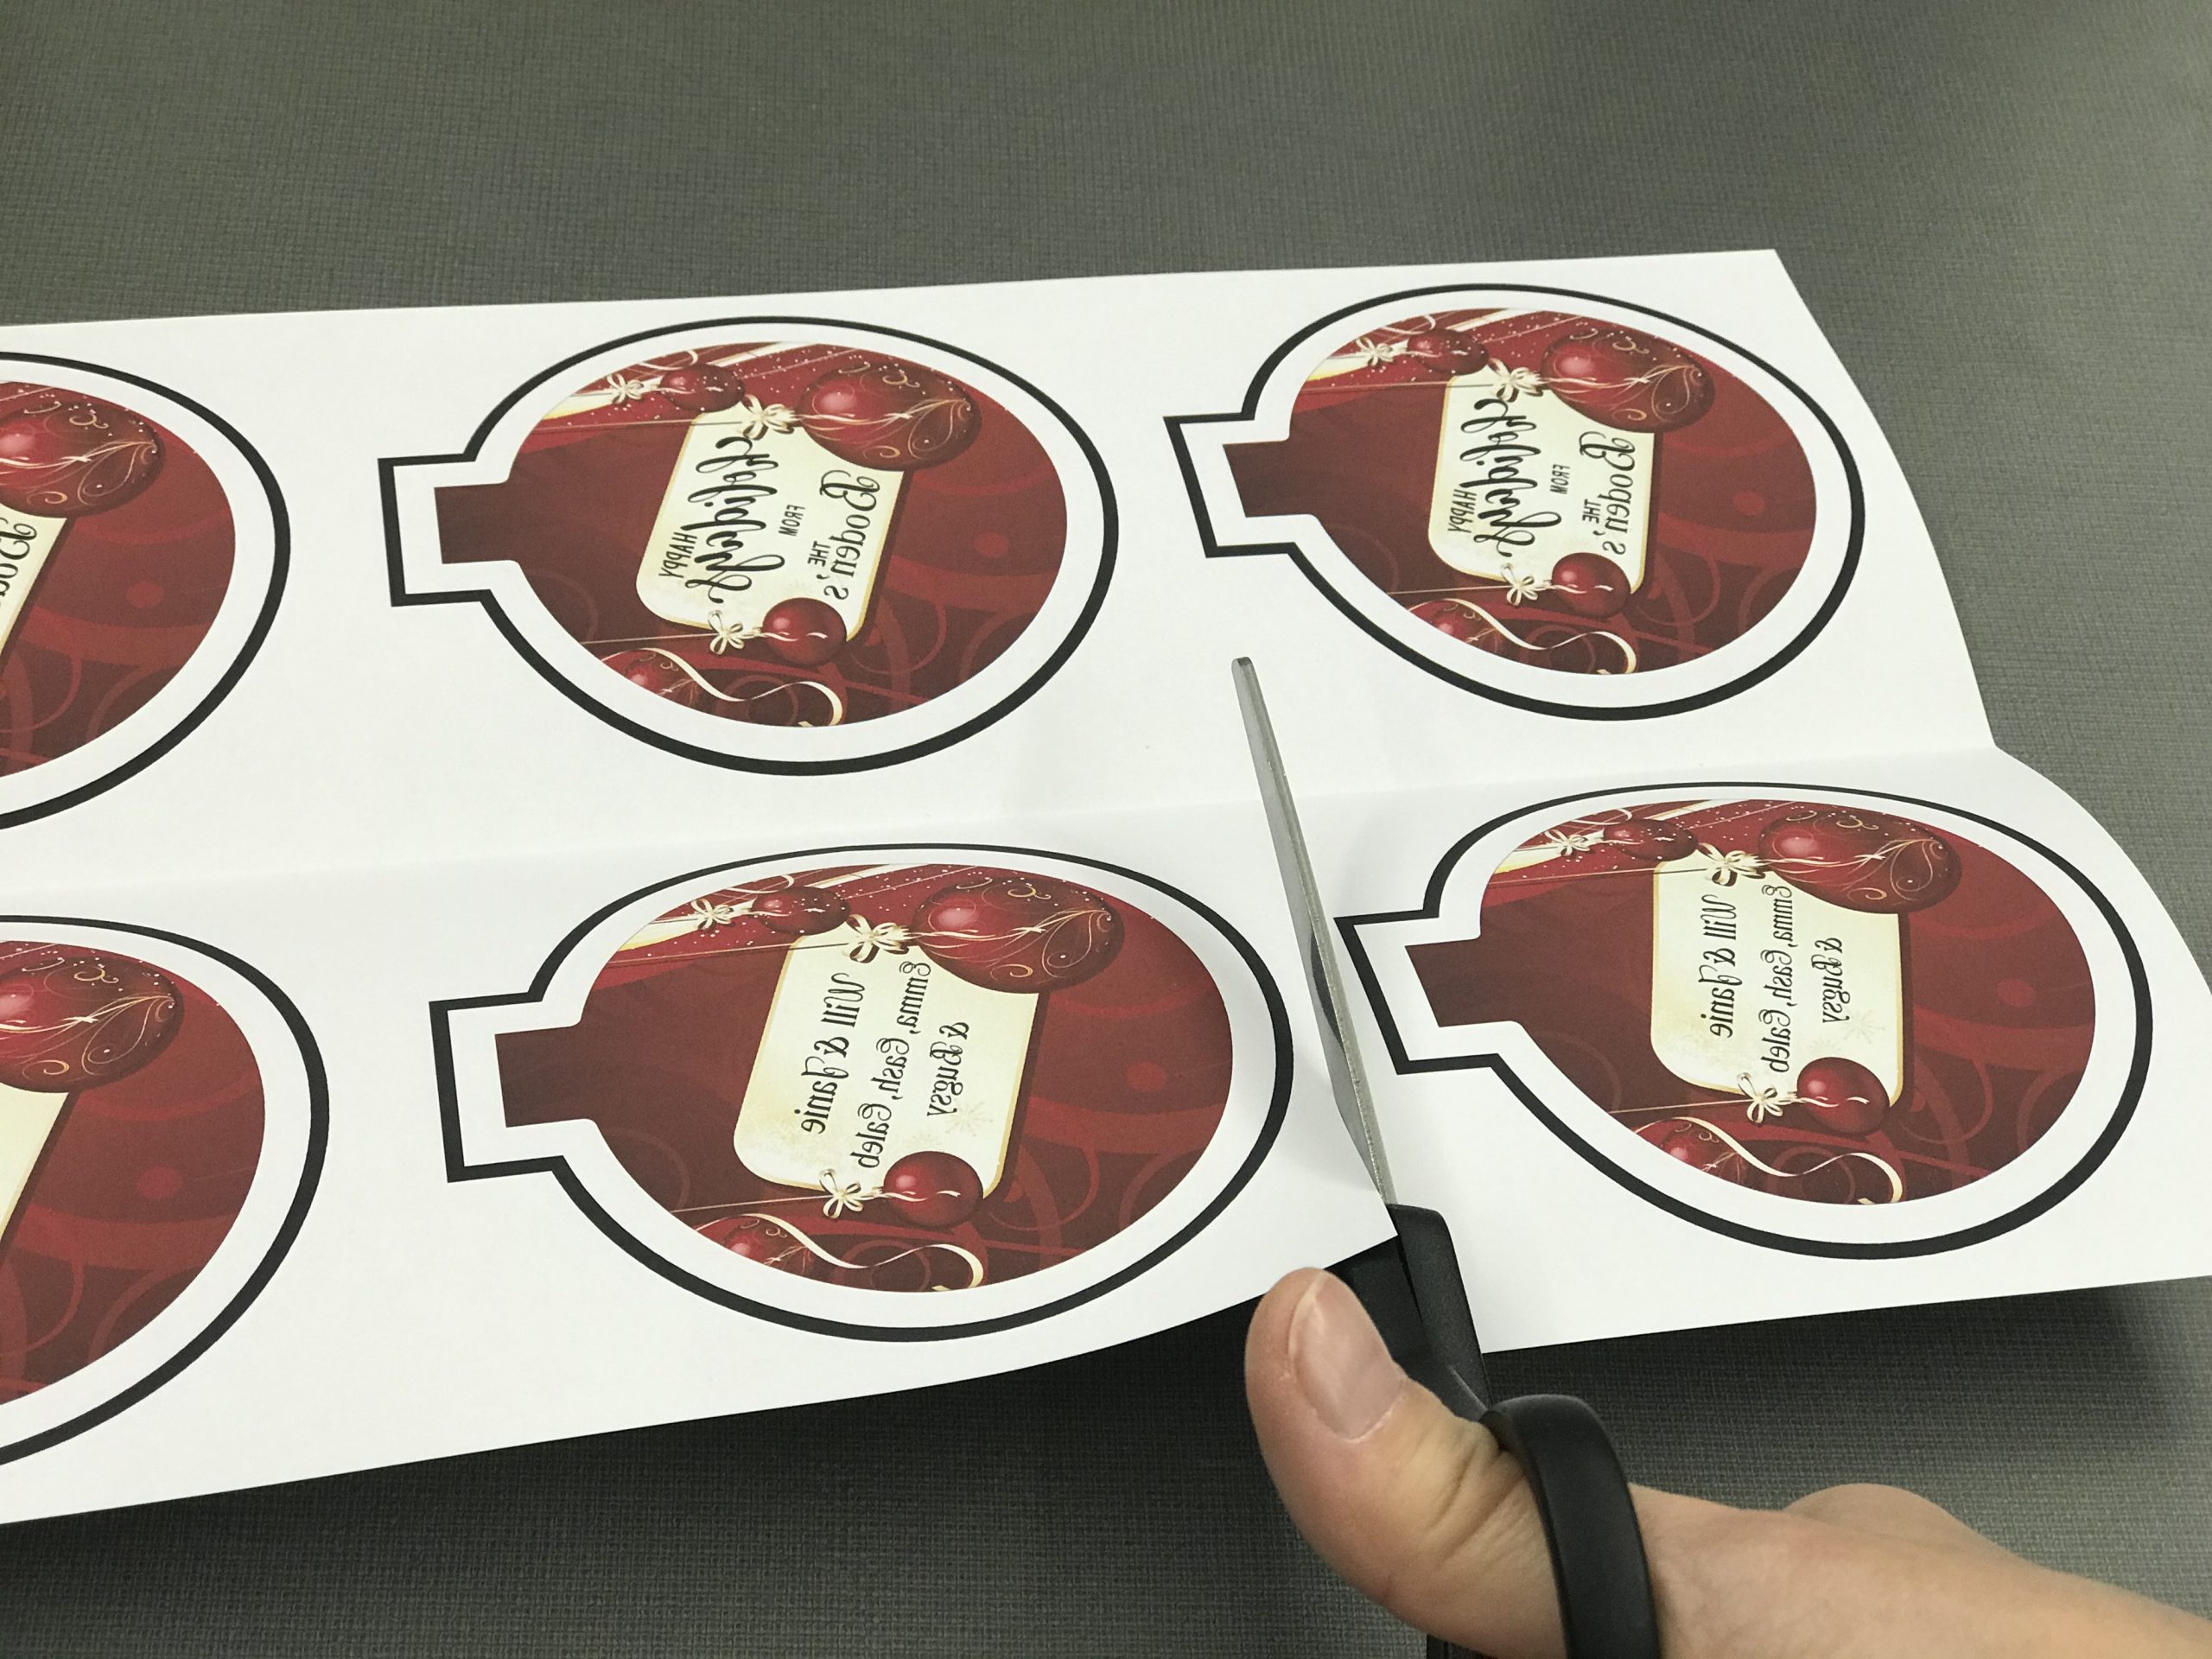
Cut the transfer apart horizontally. This makes it easier to fold the transfer back over after placing the ornament.
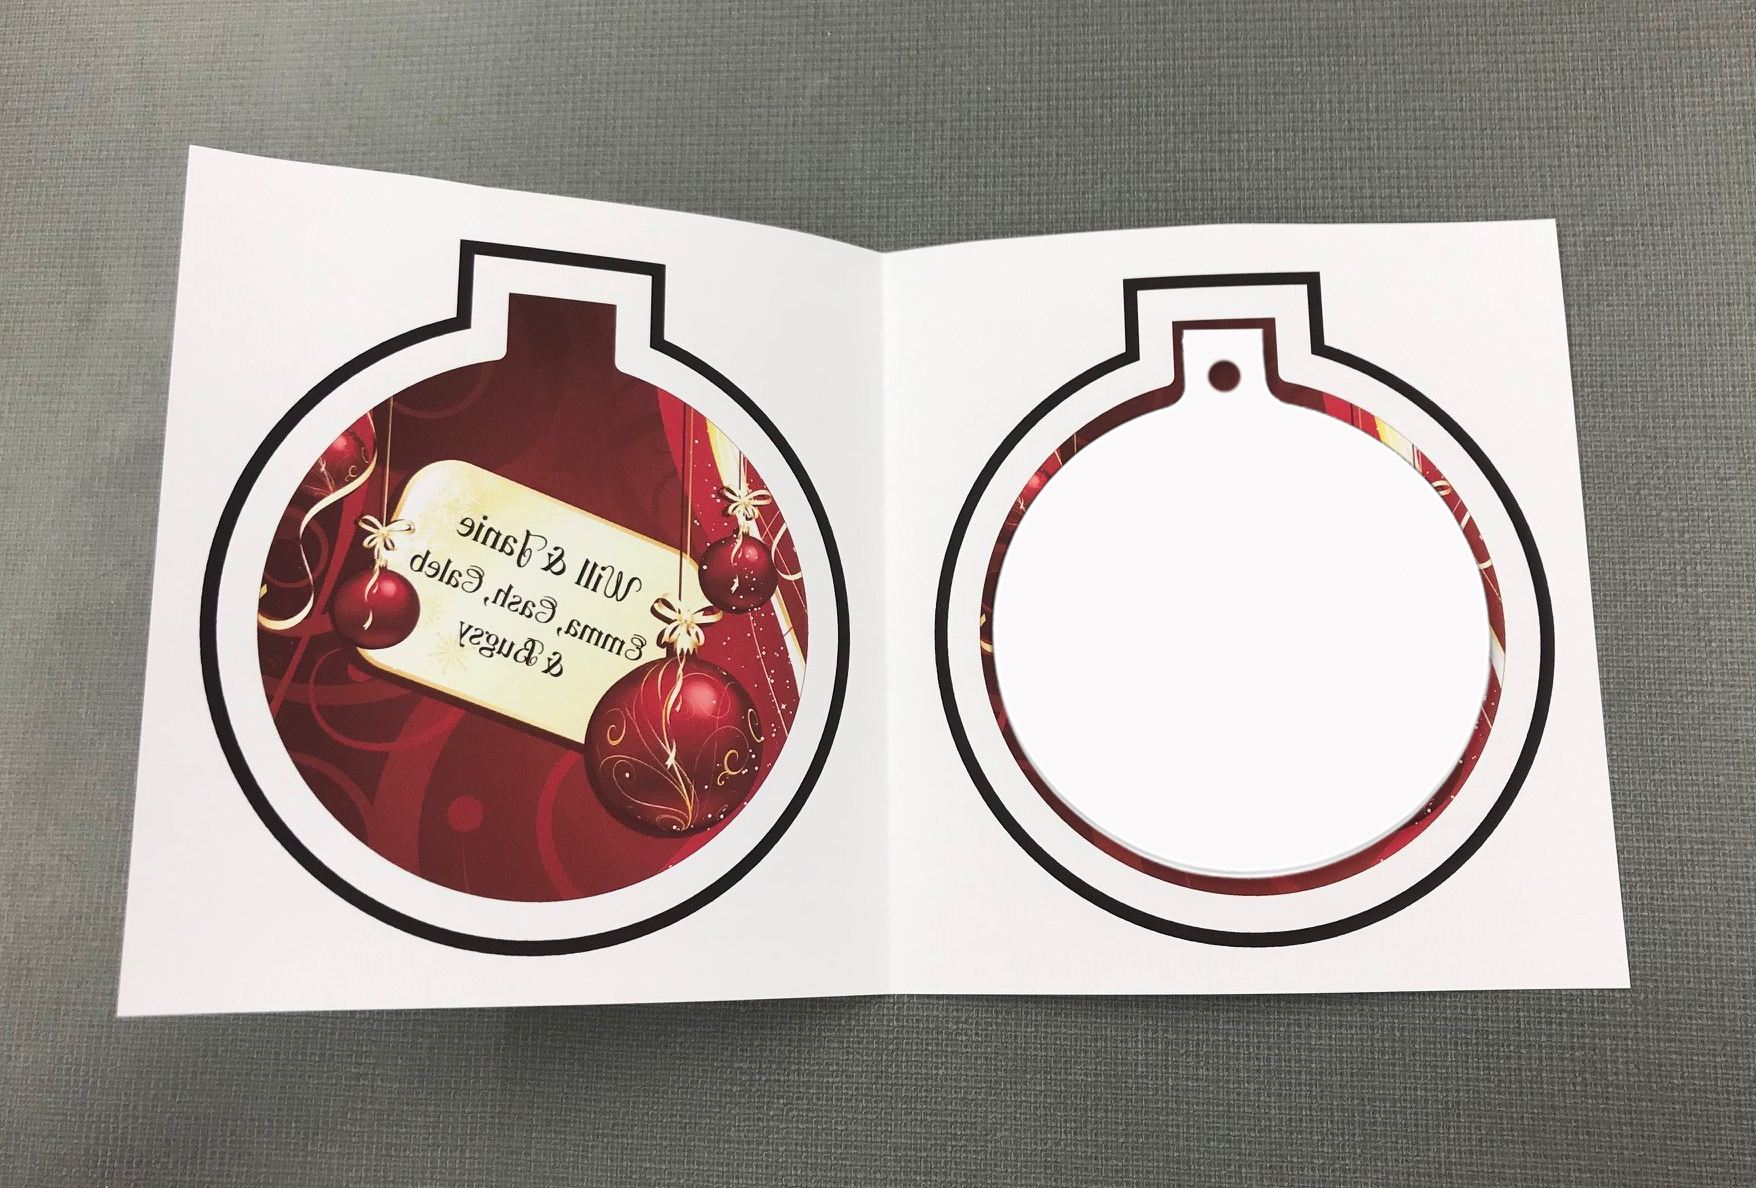
Position the ornament onto the tacky transfer and fold back over. Make sure the transfer is lined up properly with the ornament on both sides. Hold it up to the light again if necessary.
Step Three: Sublimate the ornament
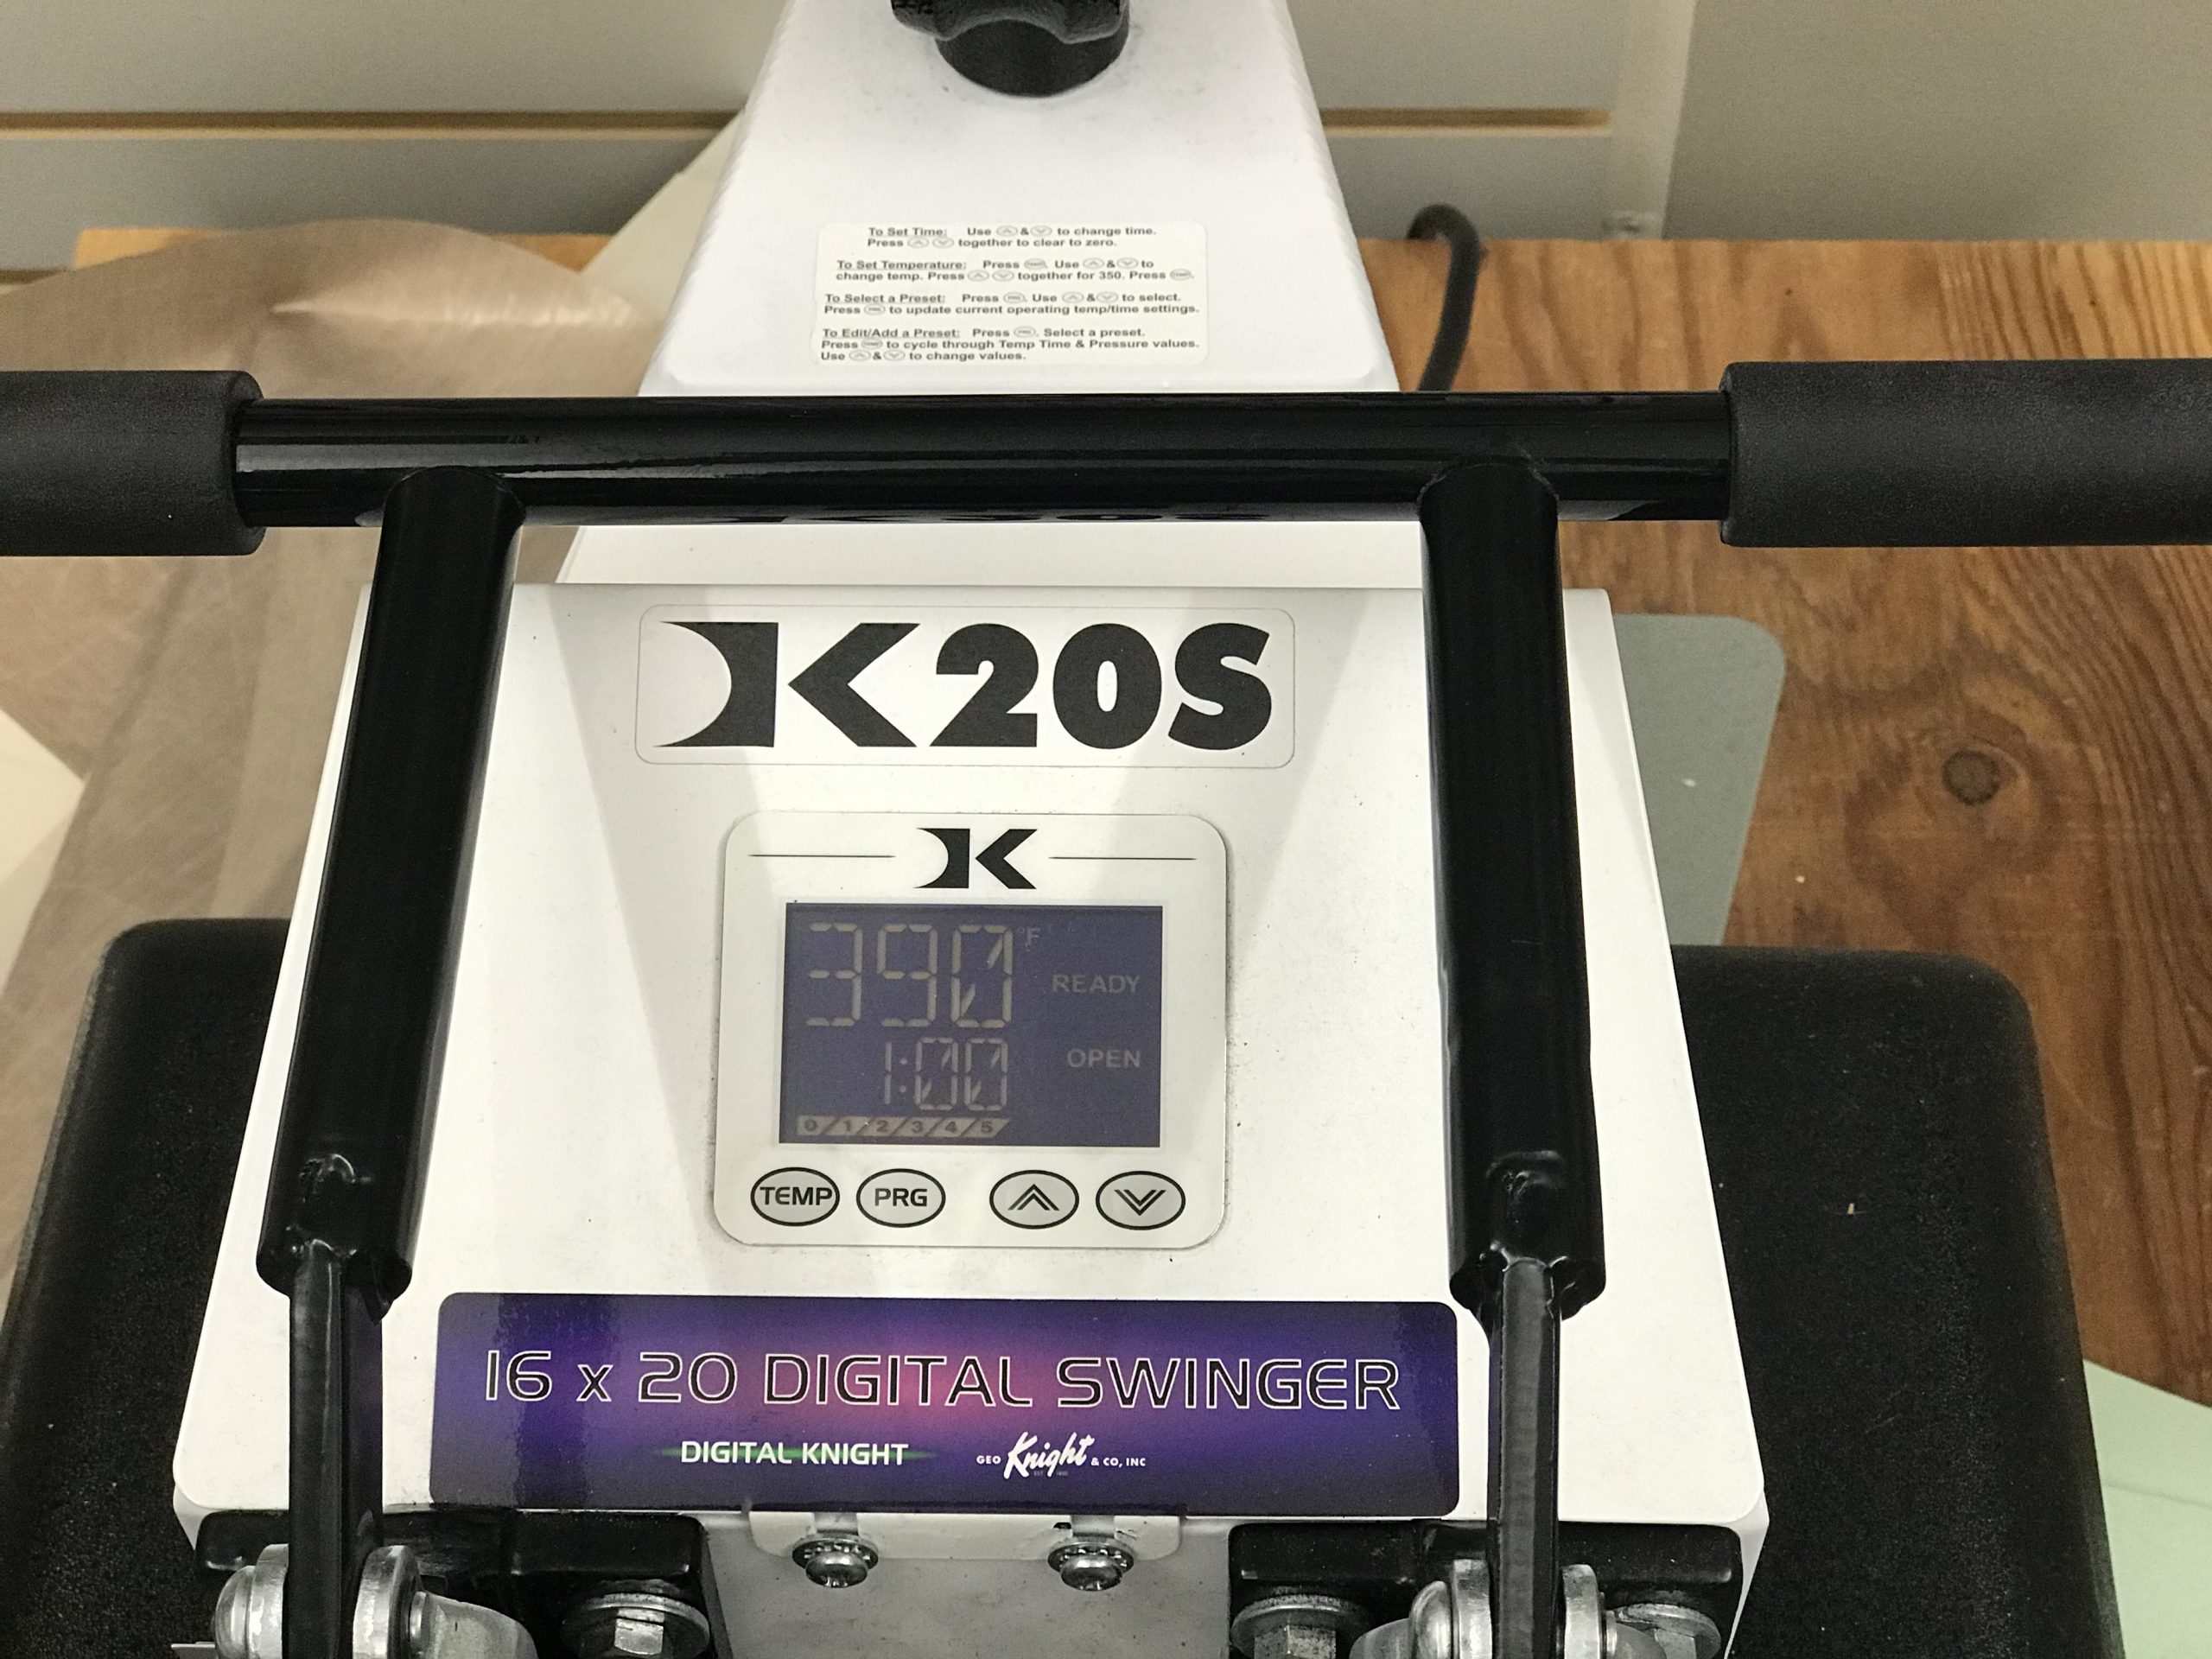
Place the transfer and ornament in the heat press with a Teflon sheet or scratch paper on the bottom of the press followed by two to three layers of soft non-quilted paper towel, then the transfer and ornaments, then a Teflon sheet or scratch paper on top.
Press the ornament at 390 F for 1 minute with medium pressure.
Step Four: Complete the project
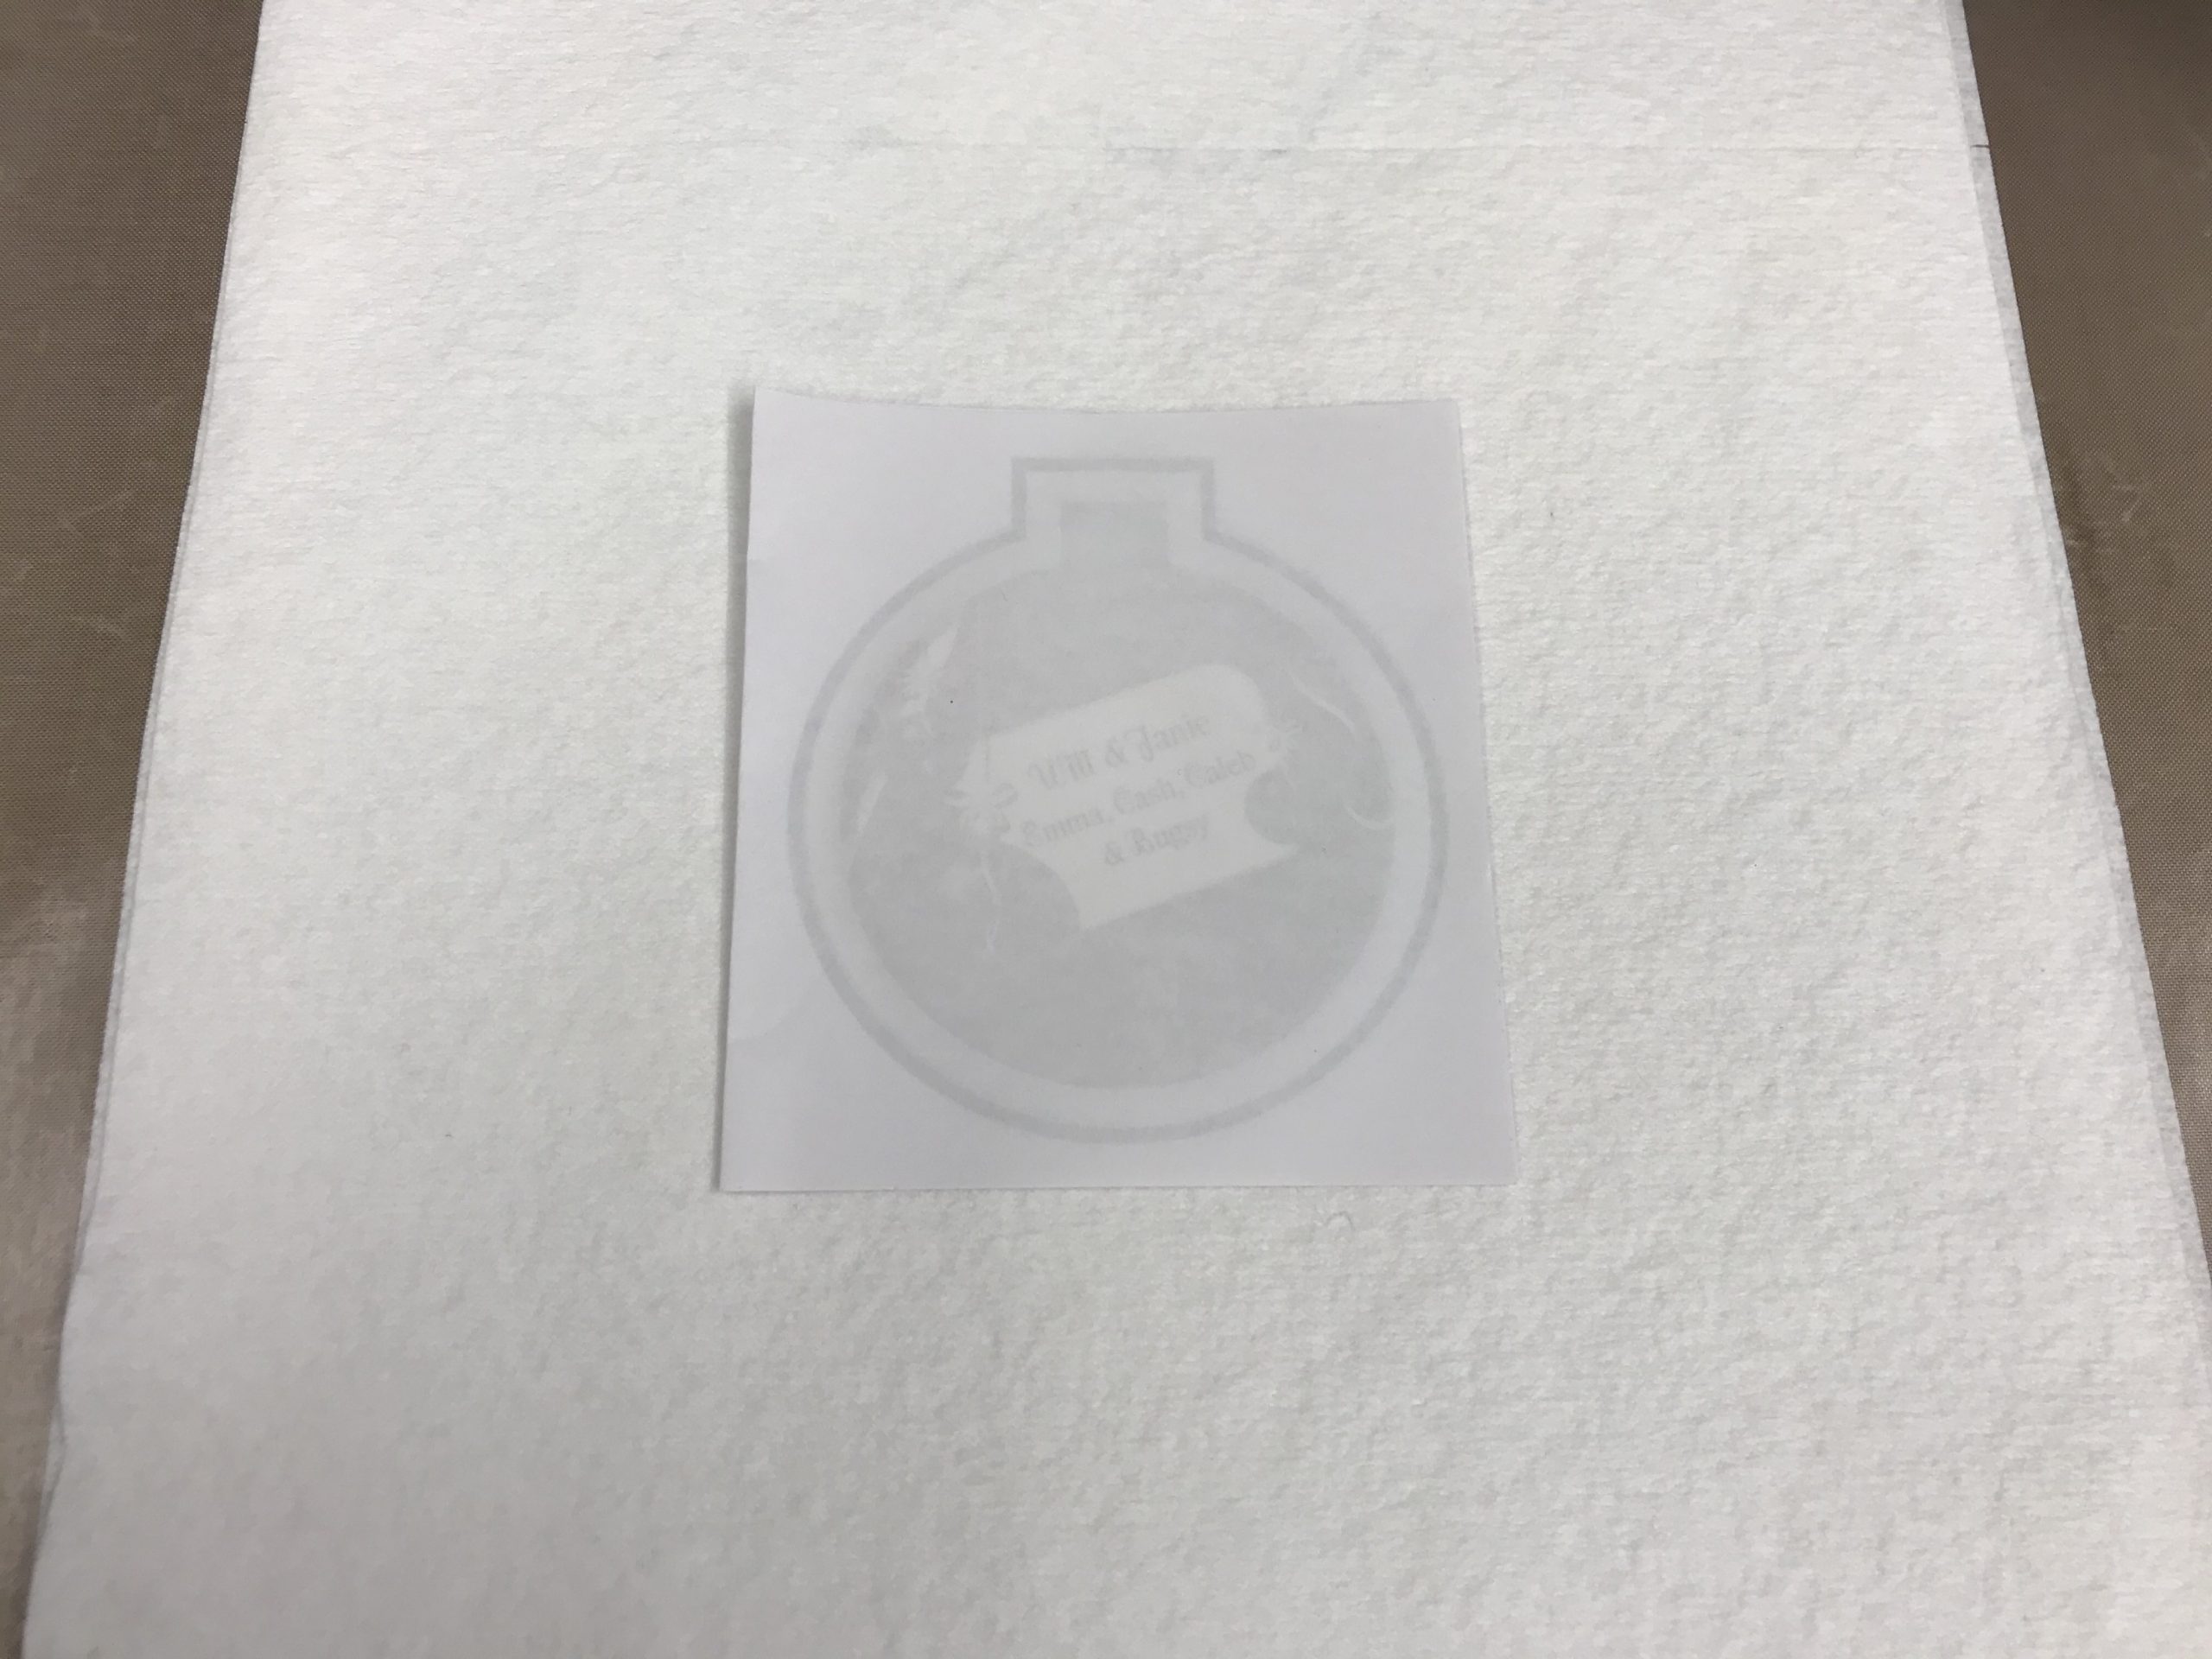
Remove the ornament and let it cool. To remove any adhesive residue, wipe it off with a paper towel and cigarette lighter fluid.
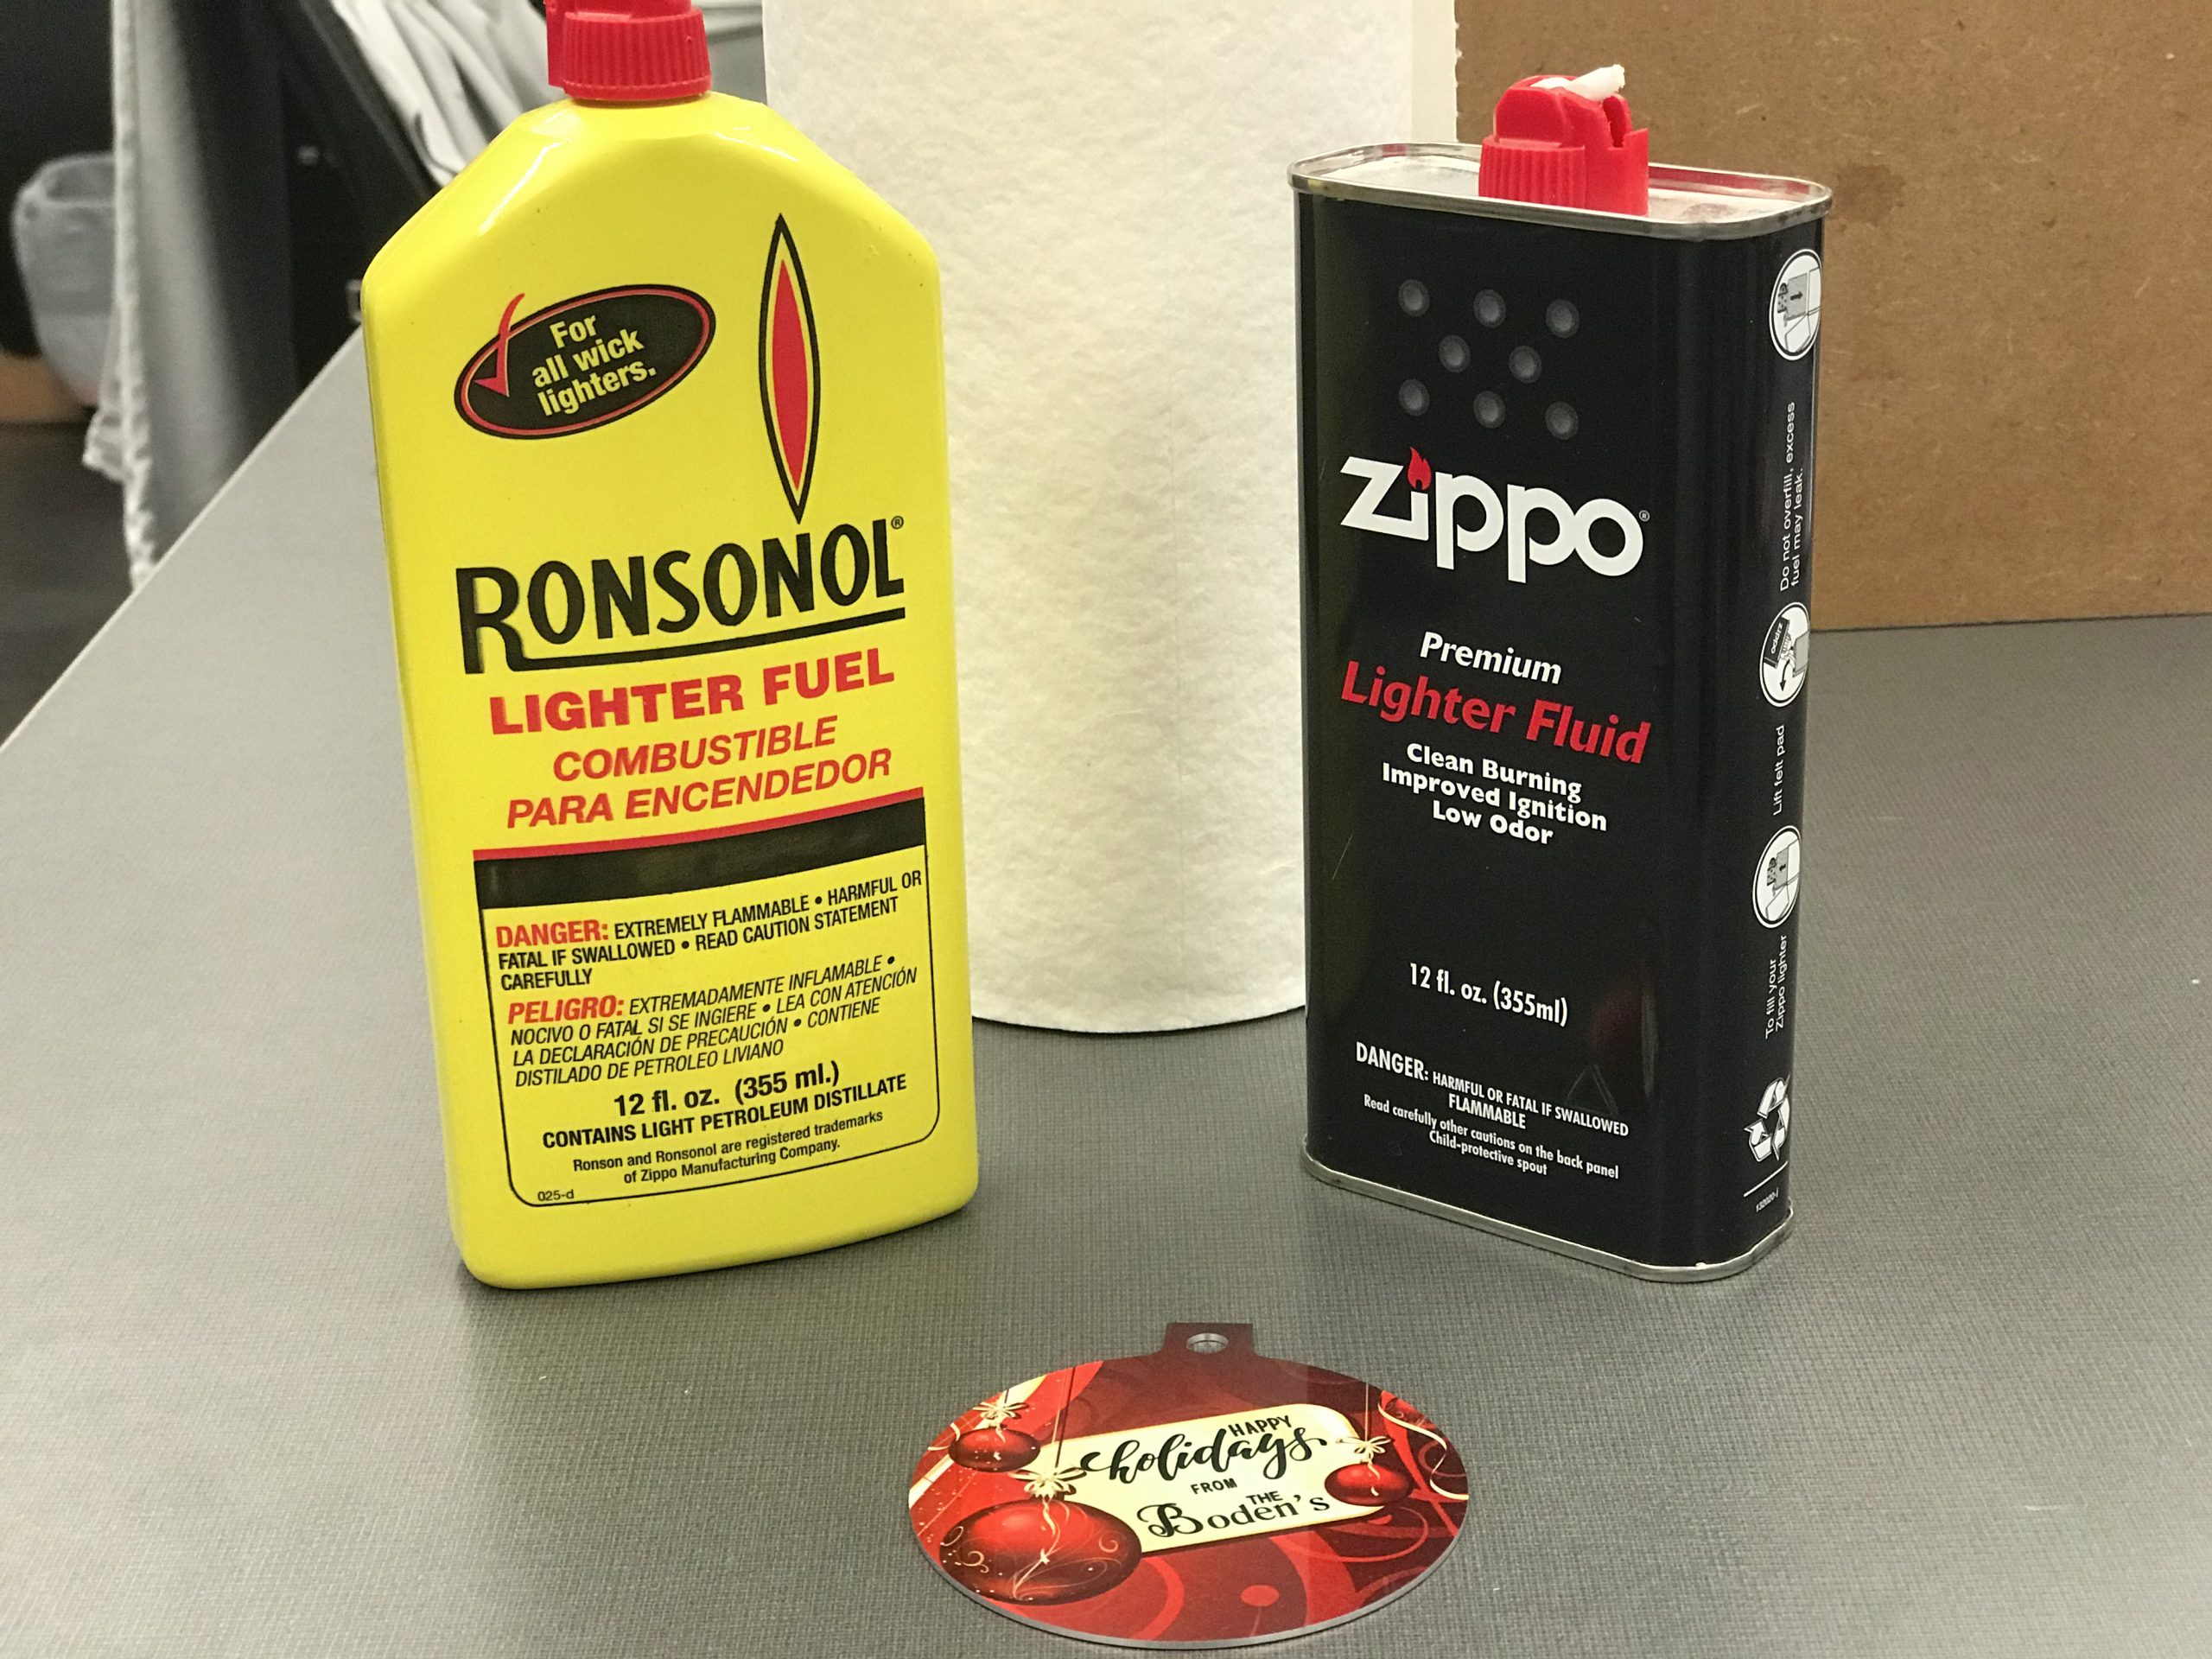
Tie the ribbon hanger onto the ornament and your job is done.
