Try This: Spot Gloss UV-LED Printing
Are you looking to offer high-margin printing to your customers?


Are you looking to offer high-margin printing to your customers? You might already own everything you need to attack this market. You have probably heard about the explosion of opportunity with UV printing. Here we will go over one of the best-kept secrets of UV printing.
Spot Gloss UV
First, decide what effect you want to produce. As we know, most UV prints have a matte non-reflective finish, and when you add gloss spot clear, it’s pretty amazing. The creative applications are almost limitless, and I will go over a few to get you headed in the right direction.
Application examples:
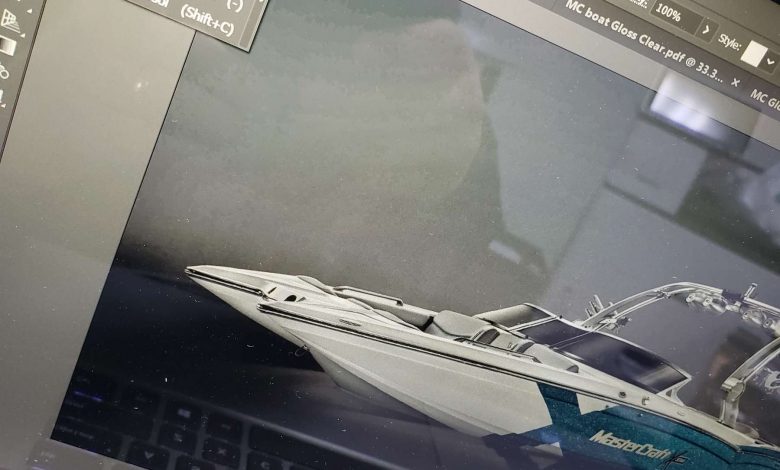
- Special effect advertising: Boat image with gloss clear UV to highlight the metal flake in the design.
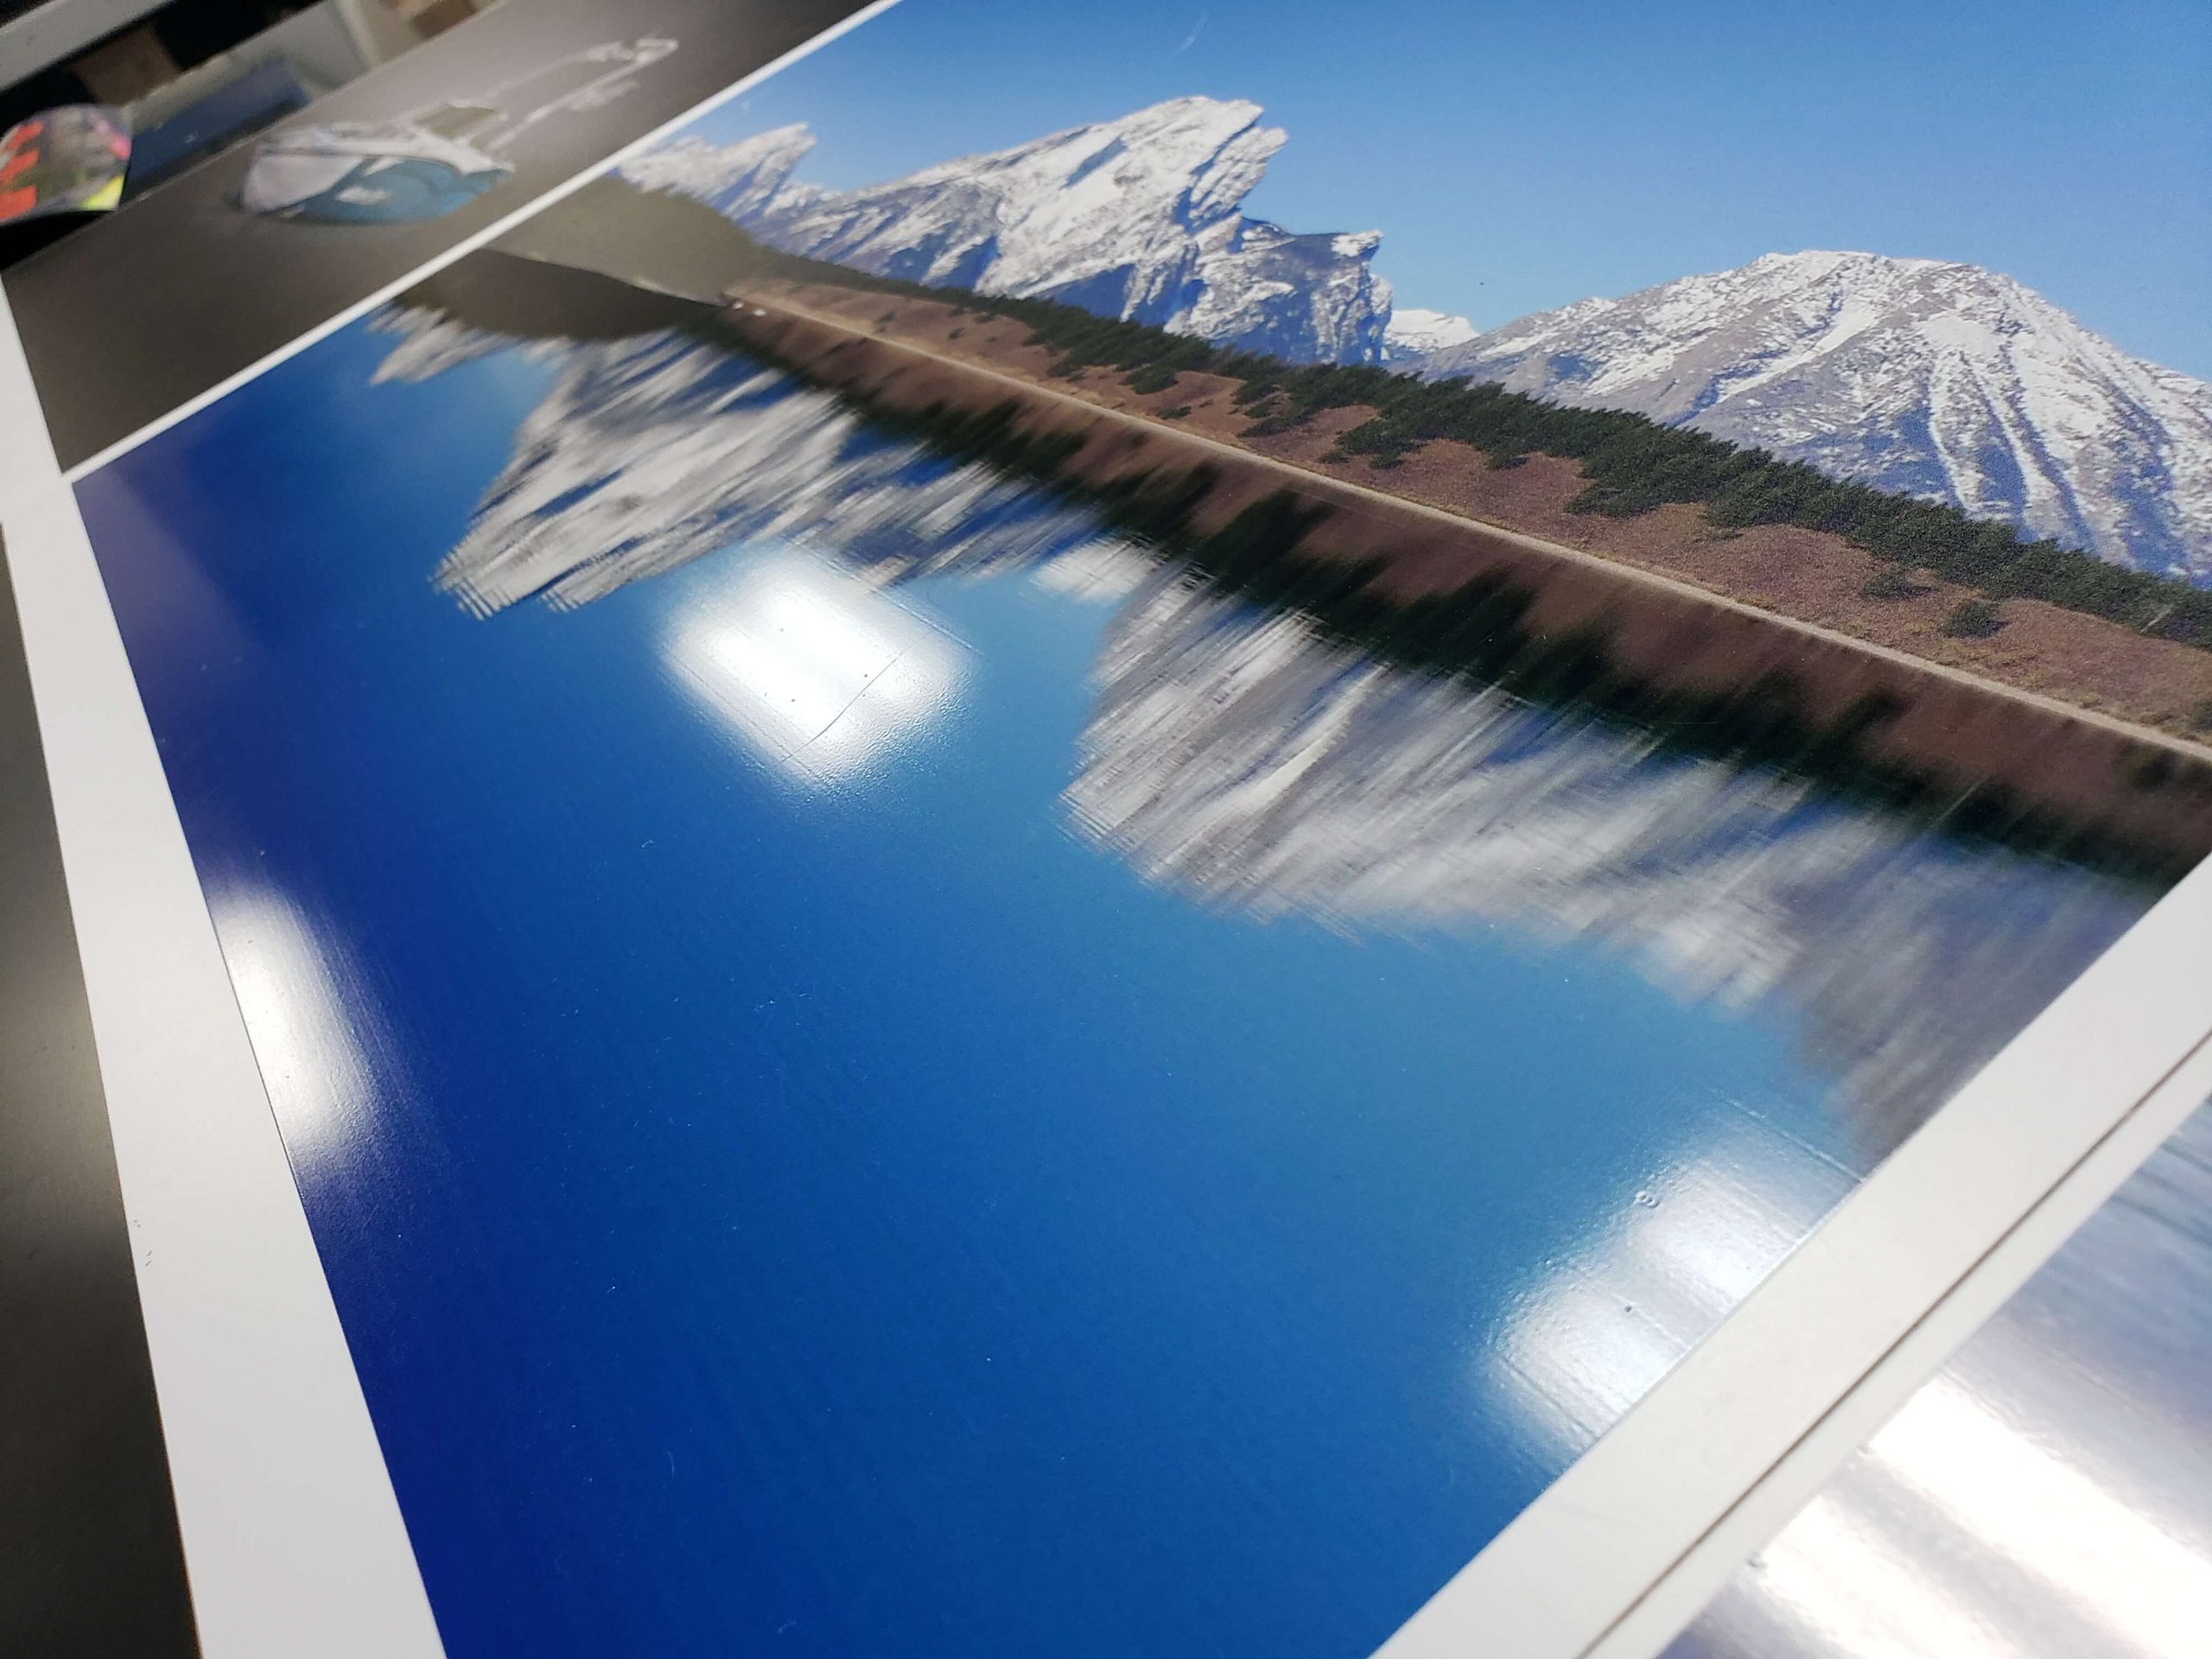
- Special effect photography: Mountain lake scene image with a matte finish and wet water (gloss clear).
- Special effect signage: Matte black solid with gloss clear text.
- Jewelry advertising: Diamonds and gold that sparkle in the light.
In this application, we will use the boat with gloss clear UV to highlight the metal flake in the design of the boat.
Step one: Prepare the design
After determining the design, I import the print file into AI (Adobe Illustrator). Once the file is in AI, I use the Pen tool to trace out the area that I want to spot clear. This area needs to be given a color; any color works, but for clear, I normally use 100 percent magenta. Save one file of just the area you want to spot clear and save one additional file of the original base file. Now we have saved two files in AI; I normally save as CMYK EPS format. We are now ready to send the file over to the RIP. For this demonstration, I use Mimaki Rasterlink 6+.
Step two: Setup to print
Now that both files have been imported into Mimaki Rasterlink, we can get to work. The base file is ready to roll with no adjustment needed. The clear file needs to be made to produce gloss clear. As you remember, we saved the clear file as 100 percent magenta. The Mimaki Rasterlink 6+ can generate the special plates = clear, white, and primer plates for you and allow you to decide the composition of the layers. In Rasterlink 6+, I select the 100 percent magenta file and make a Clear Valid pixel special plate.
Now, go to your UV Mode and select the clear file to be Gloss; by default, it is set to Matte finish. We need to link the files together inside Rasterlink 6+. You are now ready to produce a high-margin UV gloss clear print.
Note: Your customers will probably not ask for the gloss clear application. Sell it. You should be using gloss UV as a sales tool that allows you to offer products that your competitors can’t. If you own a Mimaki and need help with this application or any other UV print application, give us a call.